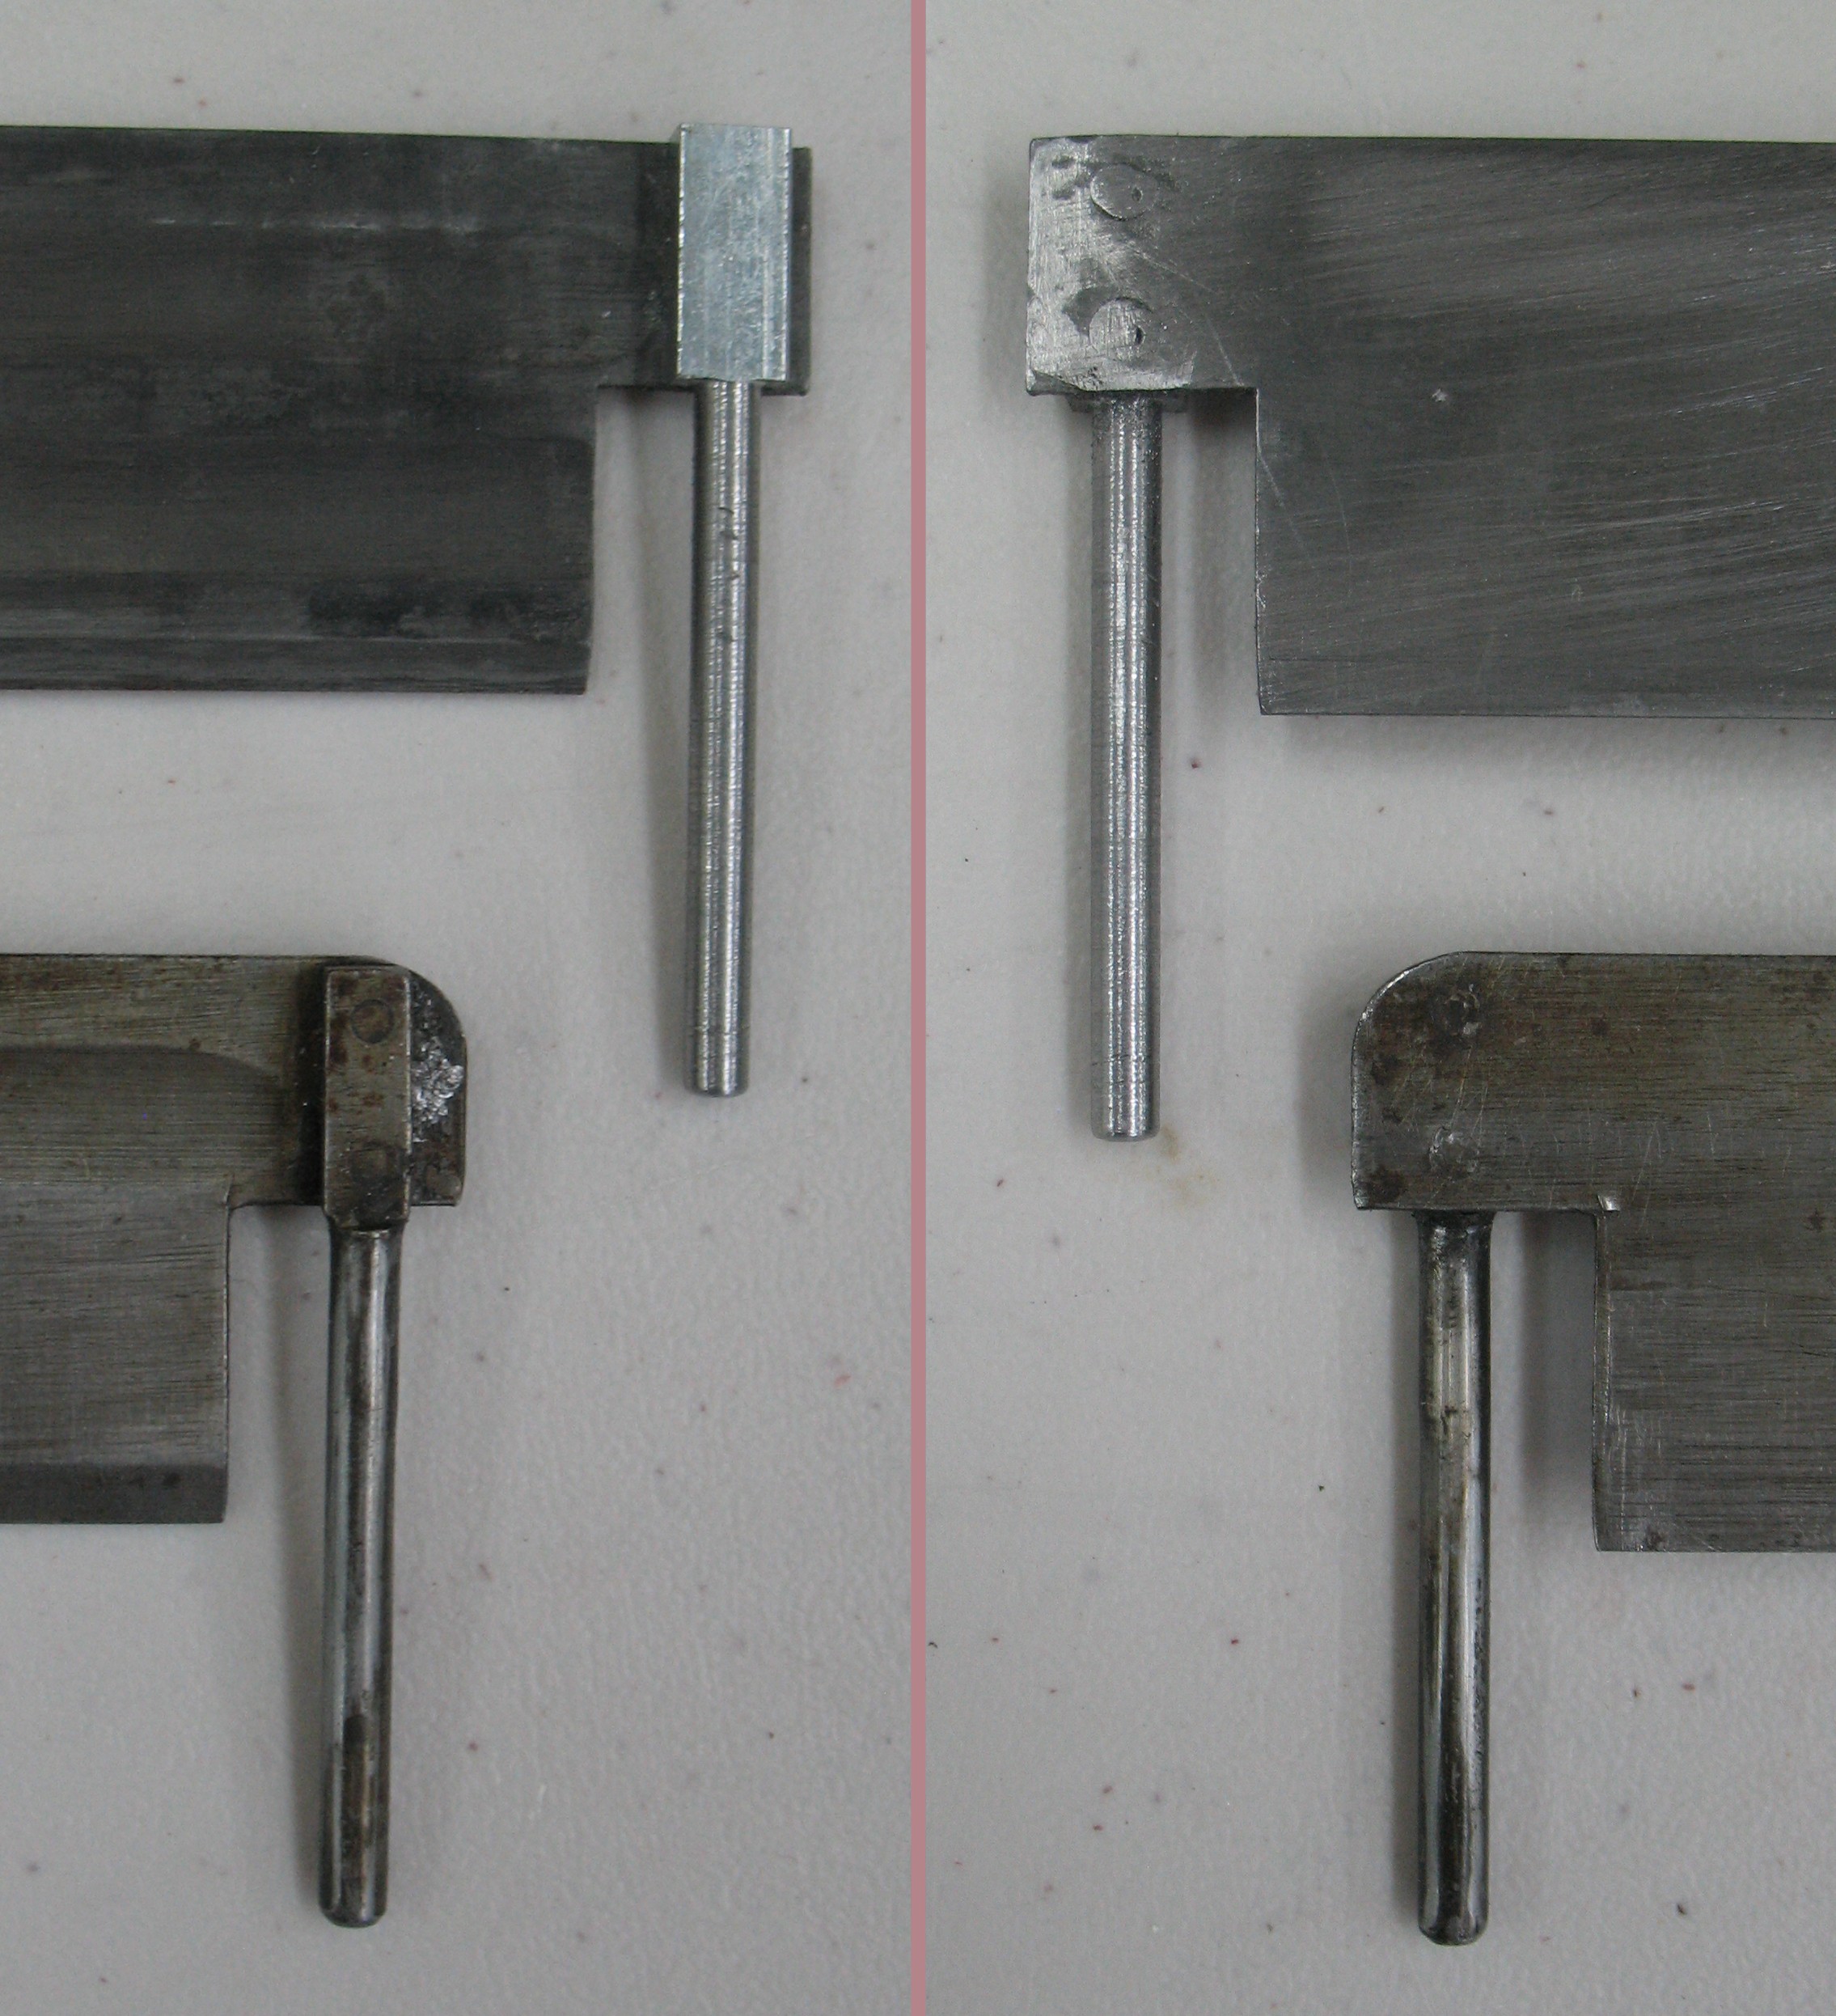
One of the items I picked up at the swap meet of the recent ATF conference was a brand-new-old-stock Rule Guide Pin (c39F1) for the Monotype Composition Caster.
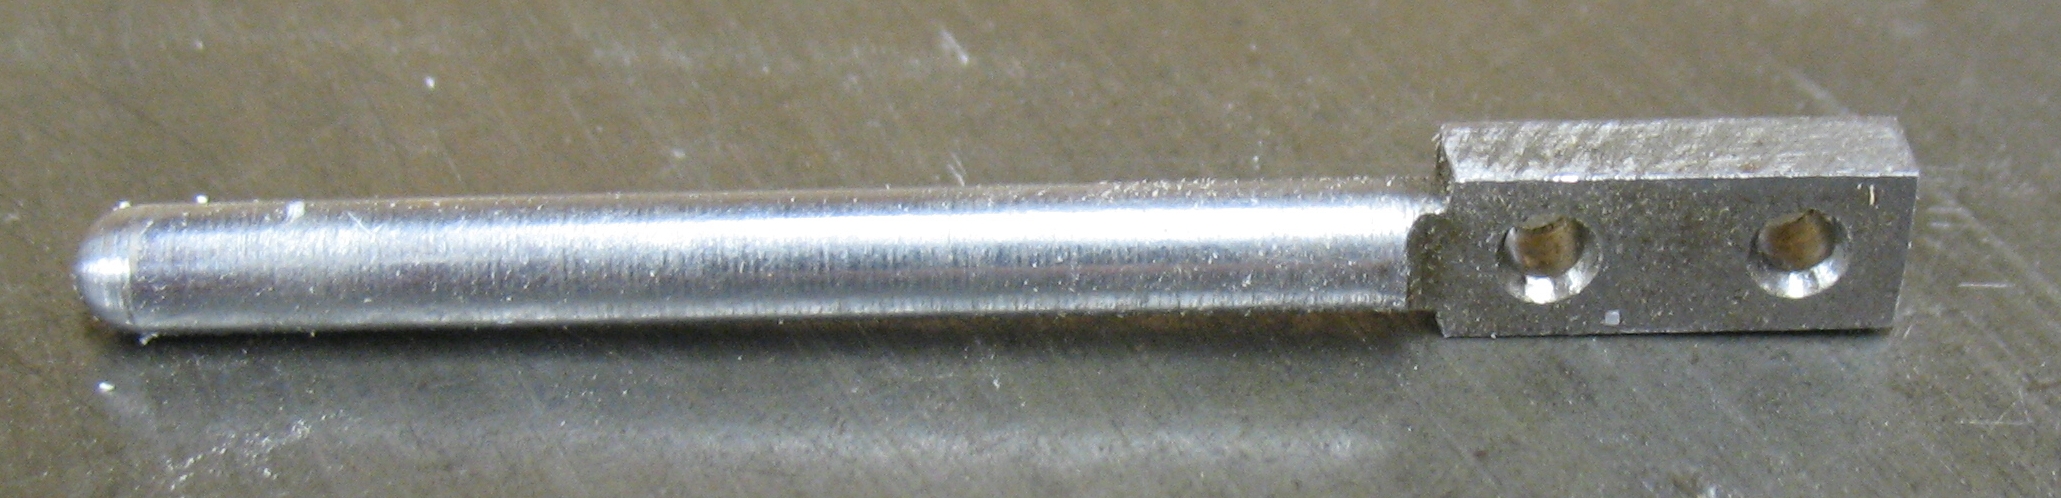 This not only let me verify the dimensions I had from my first rule repair, but it also gave me the pin to repair another broken rule. At the conference Rich Hopkins had (at my prior request) provided me with a collection of broken rules to repair, and I also picked one up at Firefly Press. It turned out that most of the dimensions I had determined earlier were only a couple of thousandths of an inch off. The only one that was way off was the spacing between the holes, where I was off by about 0.022″ which explained why I had to do some filing to make my first repair fit.
To make my own rivets I put a plain nail in my lathe and carefully turned it down to just under 0.093″ to fit the holes in the pin and rule.
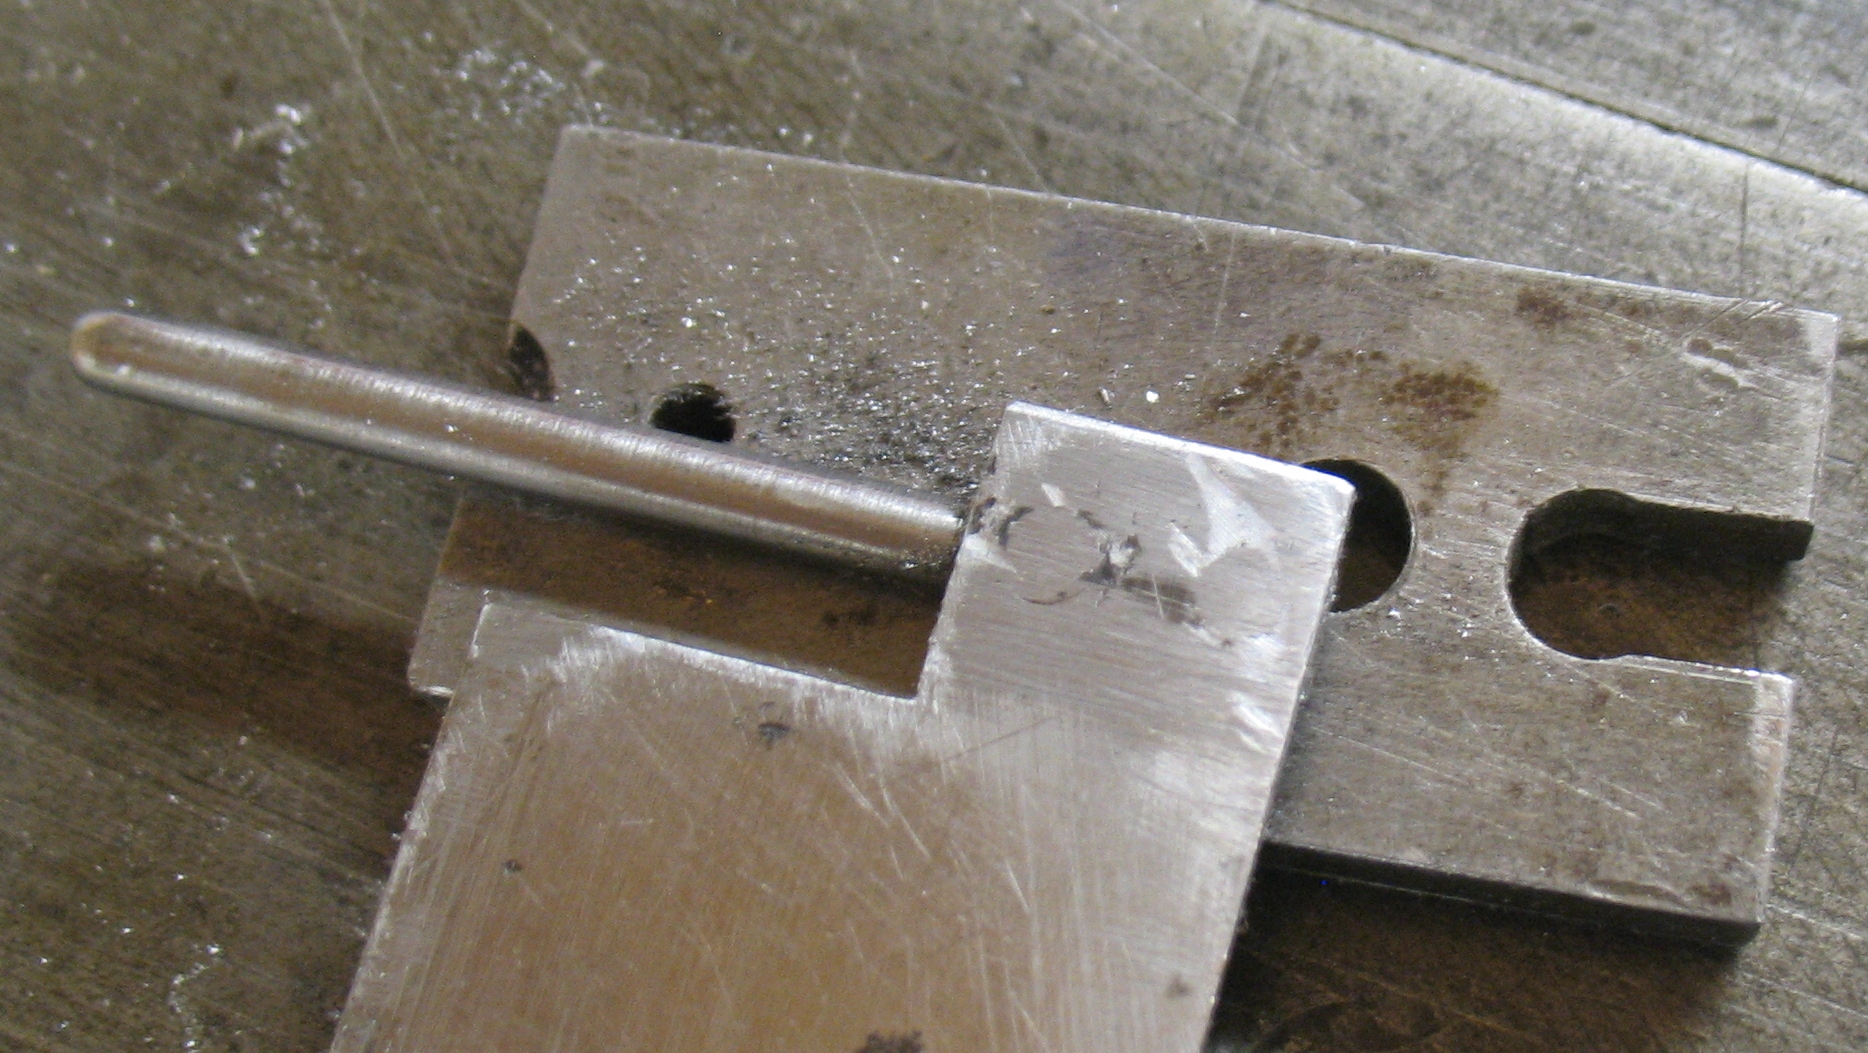
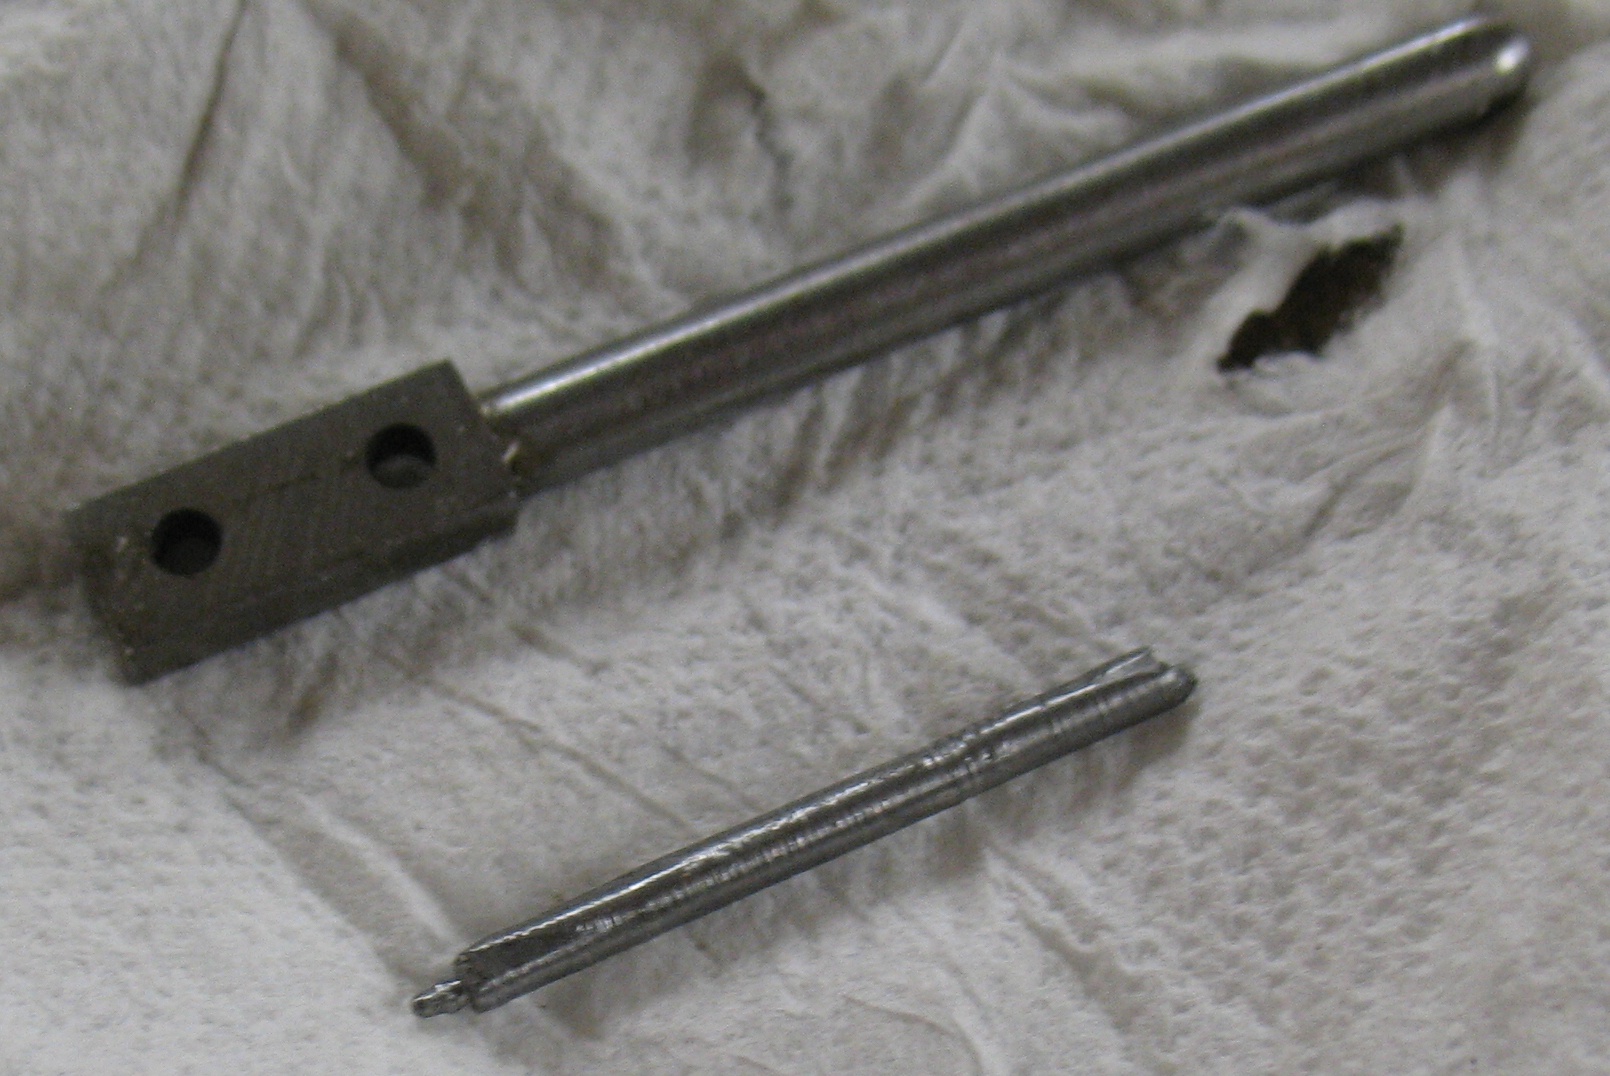 I made a guess at how long the rivets had to be, cut the tiny rod using wire cutters and turned the ends square and flat on the lathe. I drilled a 0.093″ hole in a ¼″-thick steel plate, inserted each rivet blank in turn and struck it with a hammer several times to form a rivet head. I assembled the guide pin, rule, and two rivets and peened the plain ends of the rivets to hold everything together.
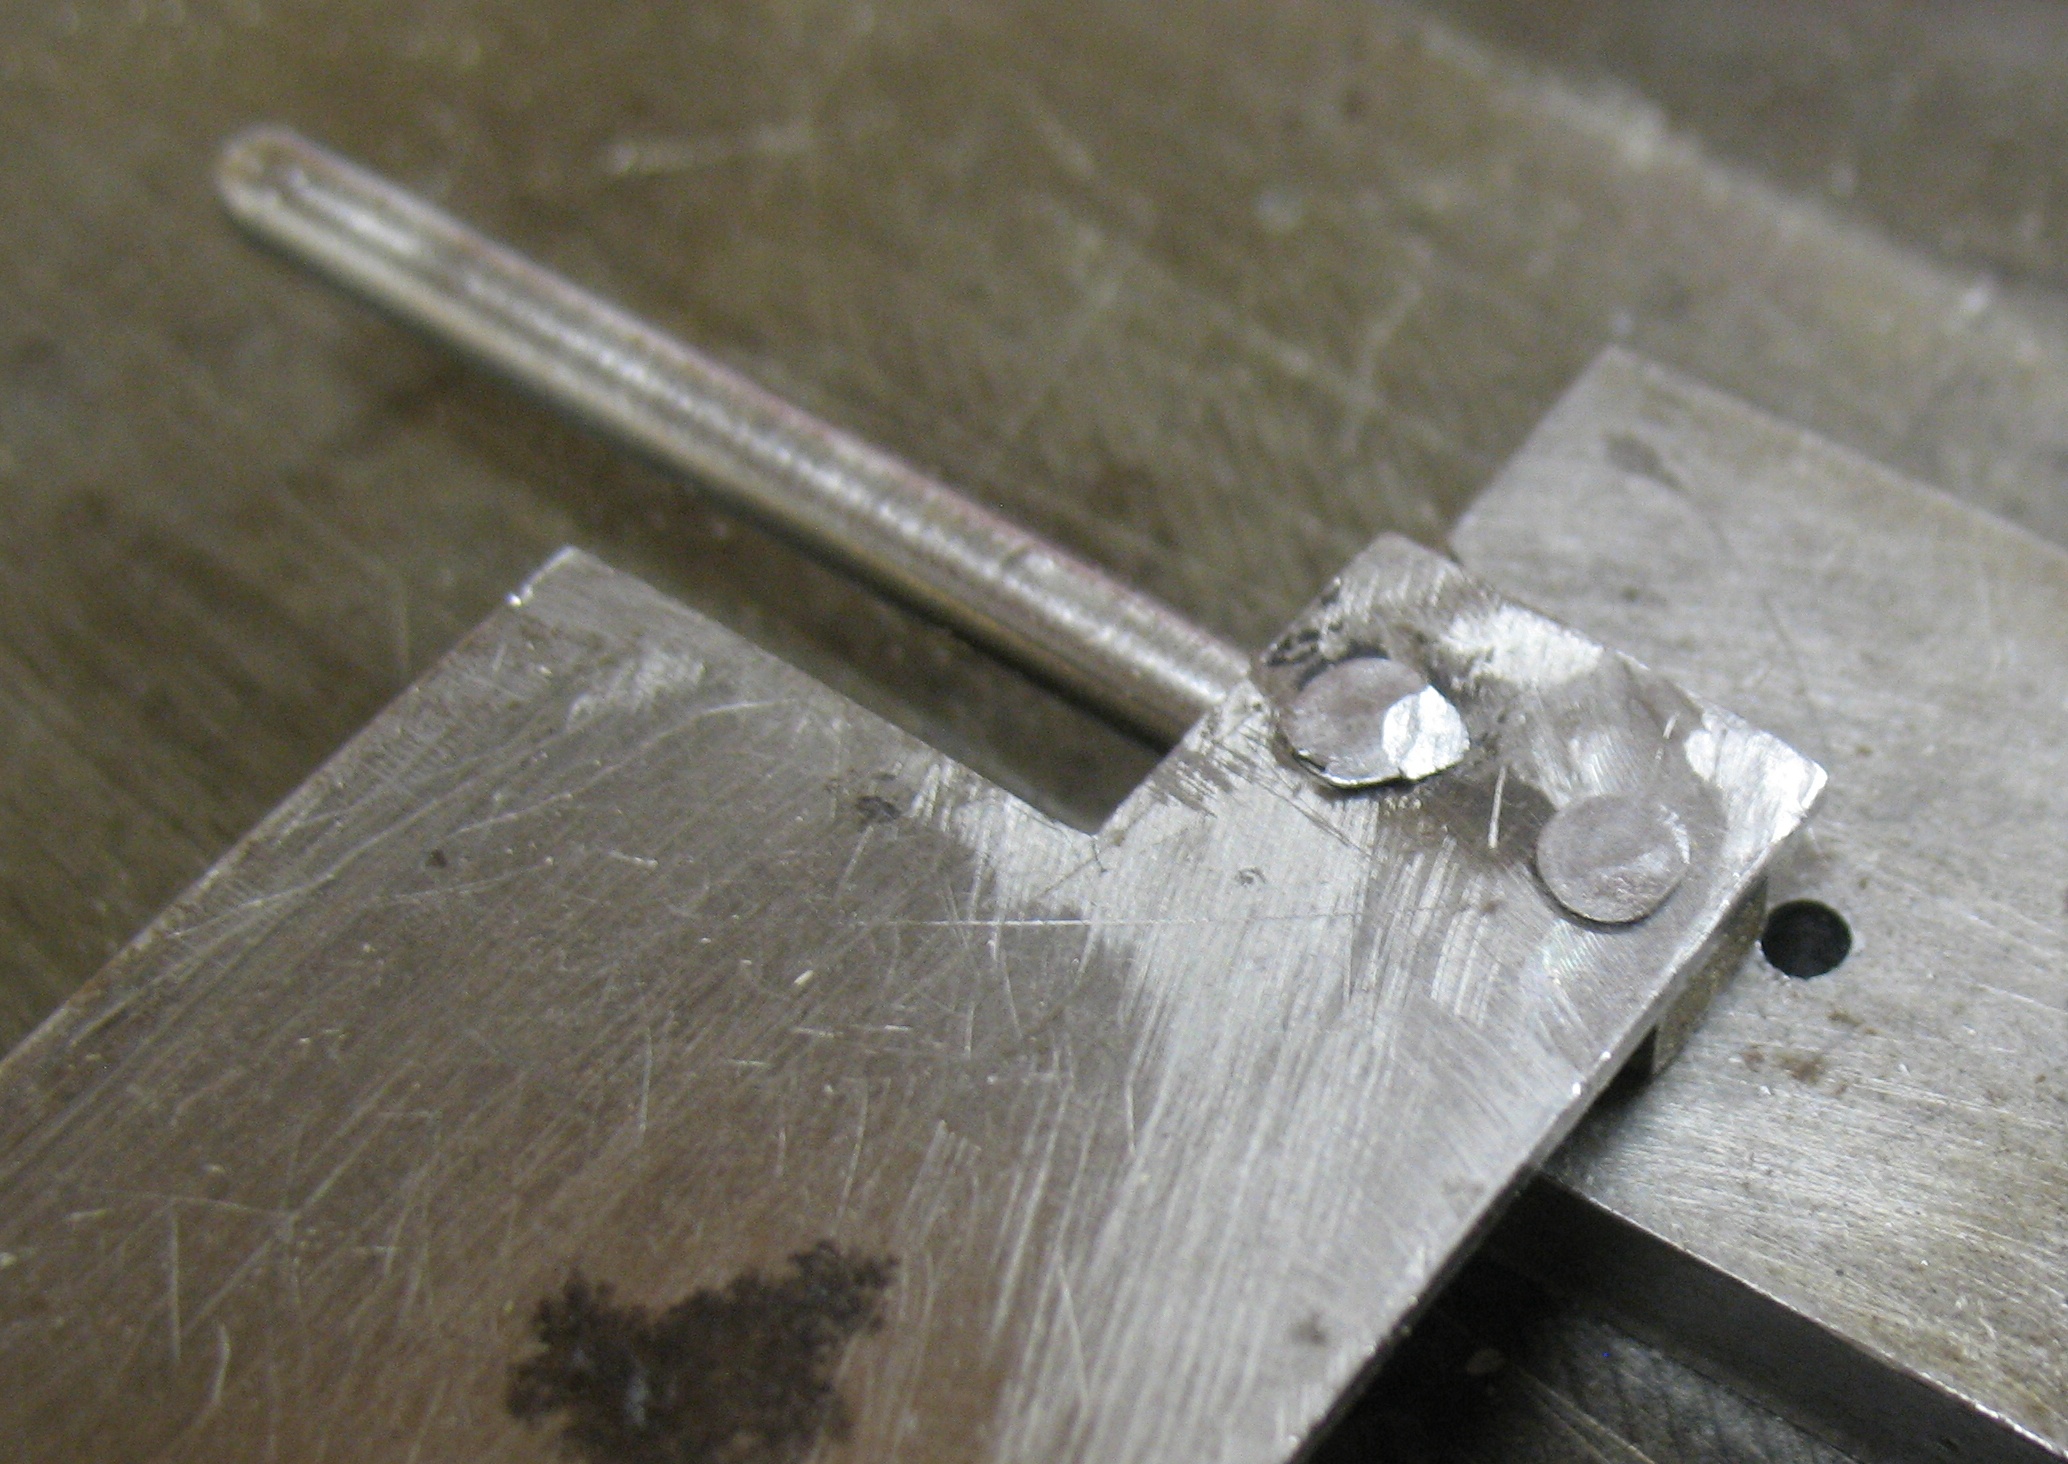 I had to support the guide pin on the ¼″ plate because of the step between the pin proper and its head. I filed the rivets smooth so the type could exit the type channel without snagging on them, and the assembled rule was ready for a test fitting on my caster.
 I had already straightened the rule a bit, but the test fitting revealed that the rule had a bit of a twist as well, which I corrected by twisting it the opposite way using pliers, and now it moved smoothly up and down on my caster.
This leaves me with three more rules to repair (some are going back to Rich). I now have the correct dimensions to make my own guide pins with integrated rivets. The only other hitch is that the remaining rules still have the head of the broken guide pin riveted in place. This has to be removed without damaging the rivet holes in the rule.