Today we held a washi workshop for a lady and her two daughters (and their dog Willow, who was not paying much attention to the proceedings). The lack of names in this post is not because I’m trying for anonymity, but because I’m not sure how to spell the daughters’ names!
They had taken a stab at making washi before but needed a bit of hands-on guidance to smooth out a few parts of the process.
Although we cooked up a fresh batch of kozo, we actually made the paper with some kozo left over from our PEI trip that we had stored in the freezer. As a result we could get on with the papermaking fairly early in the day.
We also experimented with a few sources of formation aid. I had some mallow roots which I had collected and stored in the freezer; crushing these in water produced some formation aid but it was too weak to use for Japanese sheetforming. We also had a package of frozen okra which I had bought the day before; this produced decent formation aid (much stronger than the mallow roots) but one package of okra was not enough for the large vat I had. Finally, I had some true tororo-aoi roots and stems that I had grown about 5 years ago and frozen; these produced copious amounts of strong neri which we ended up using to make the paper.
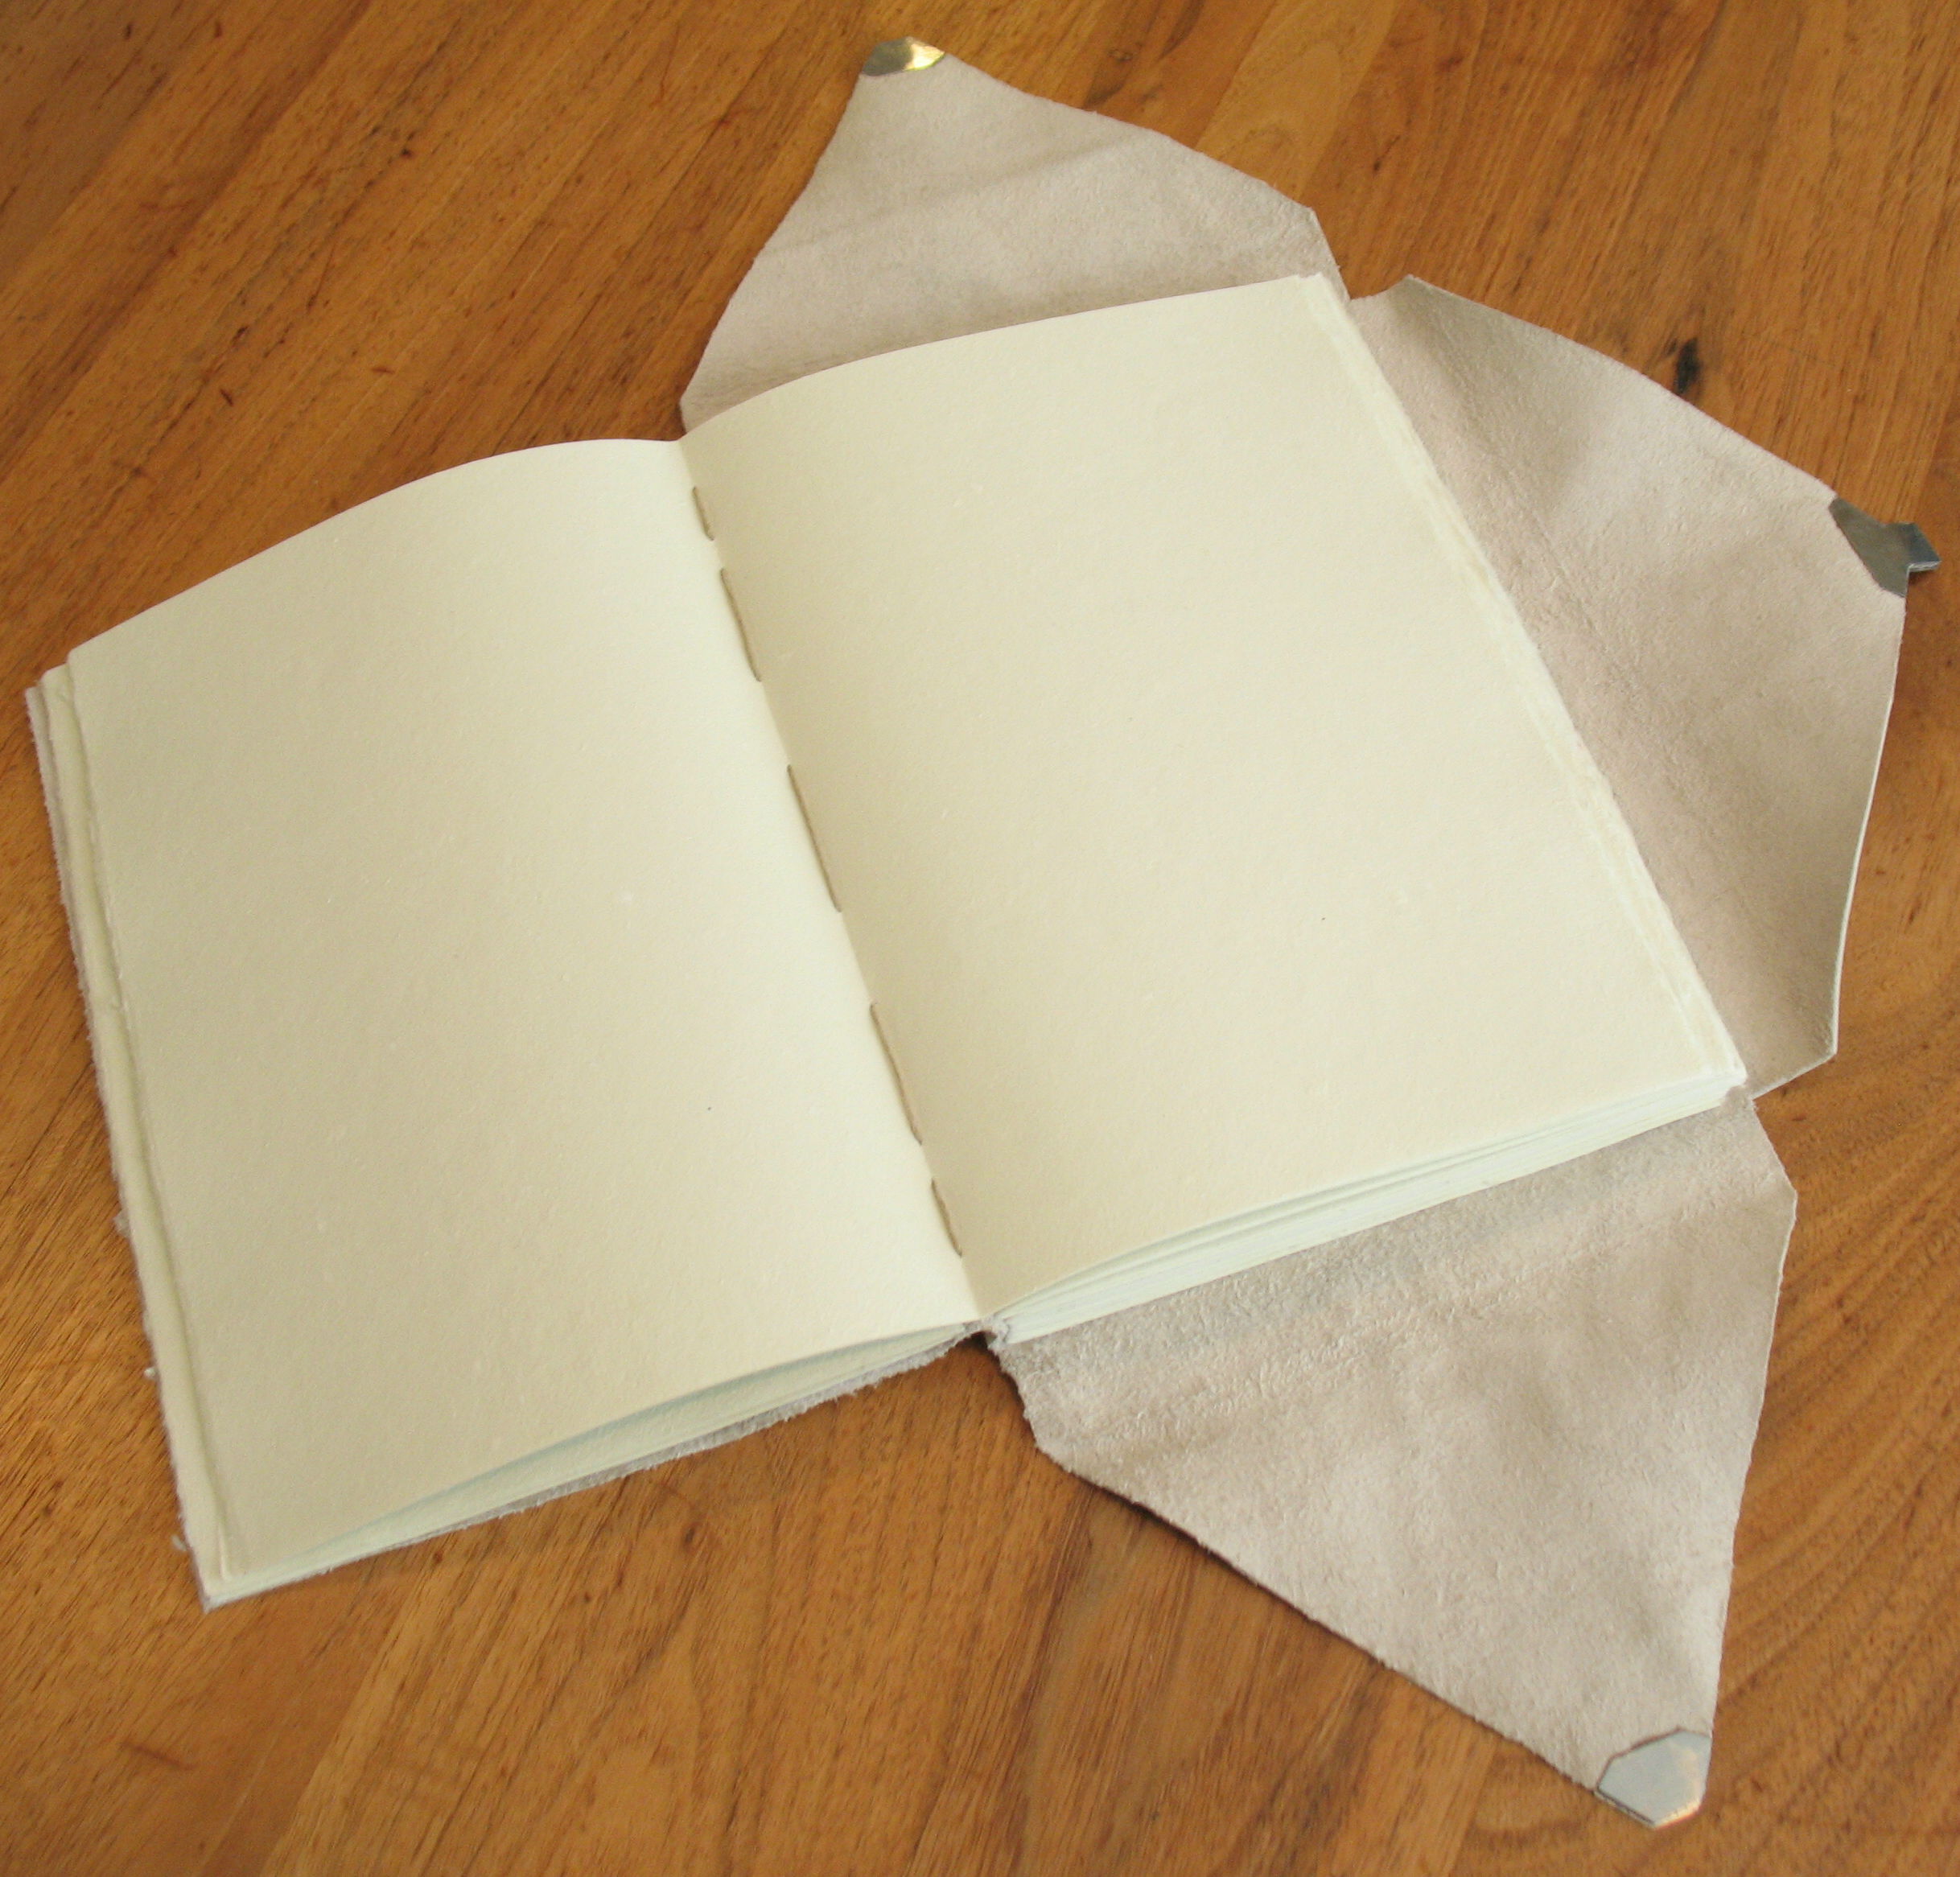
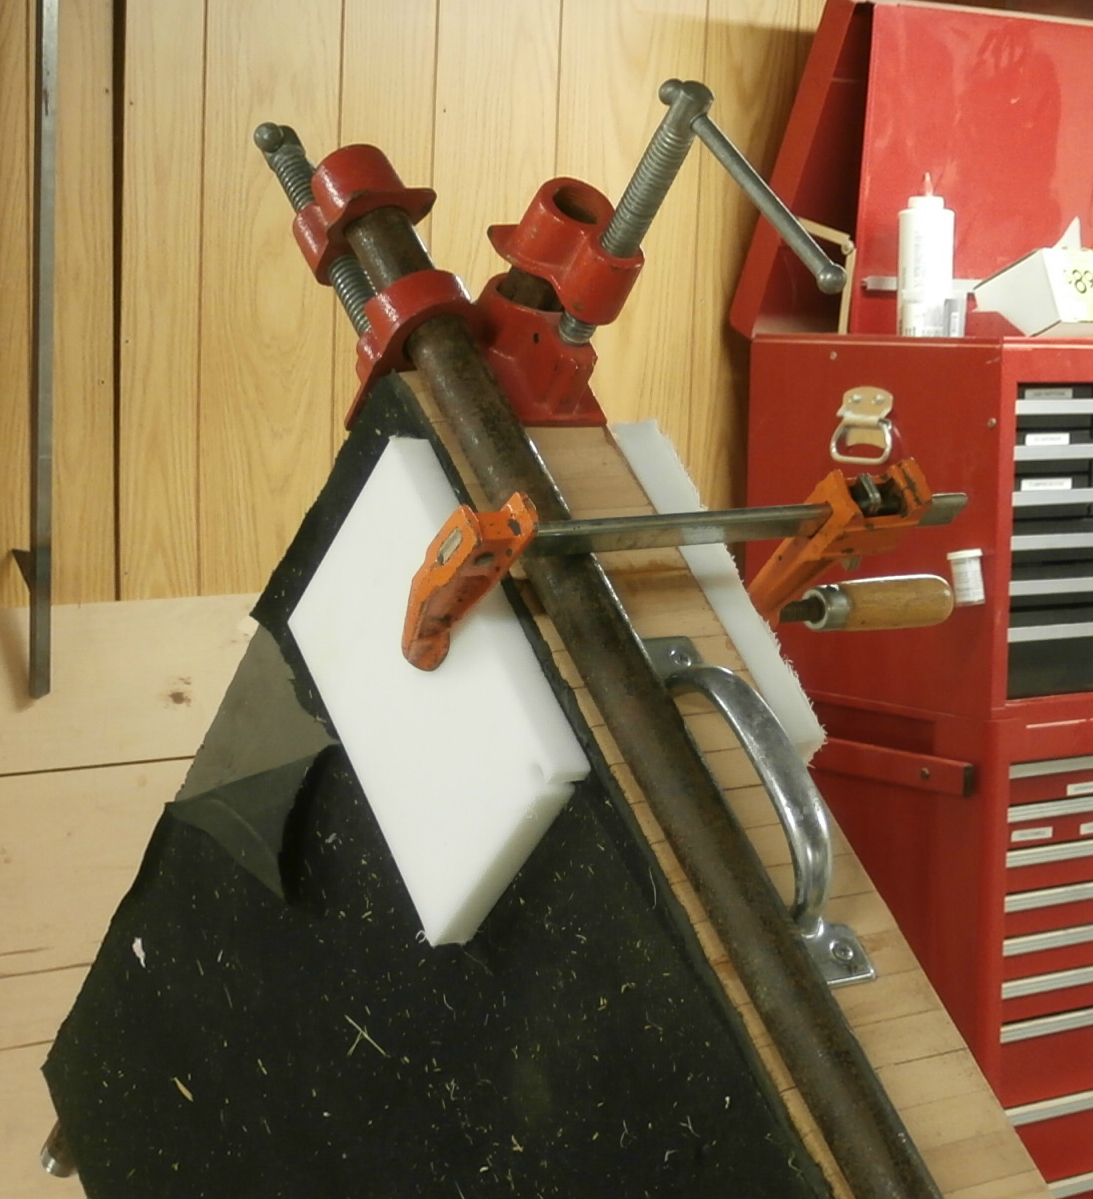
By the end of the day we were able to make some half-decent sheets of washi and couch them off without damaging them. They are now pressing under light weights which I will increase tomorrow morning.
One piece of equipment used in PEI which I could not find was the piece of no-see-um netting that I had attached to my su. So we ended up doing without, but eventually made sheets that couched off reasonably easily.

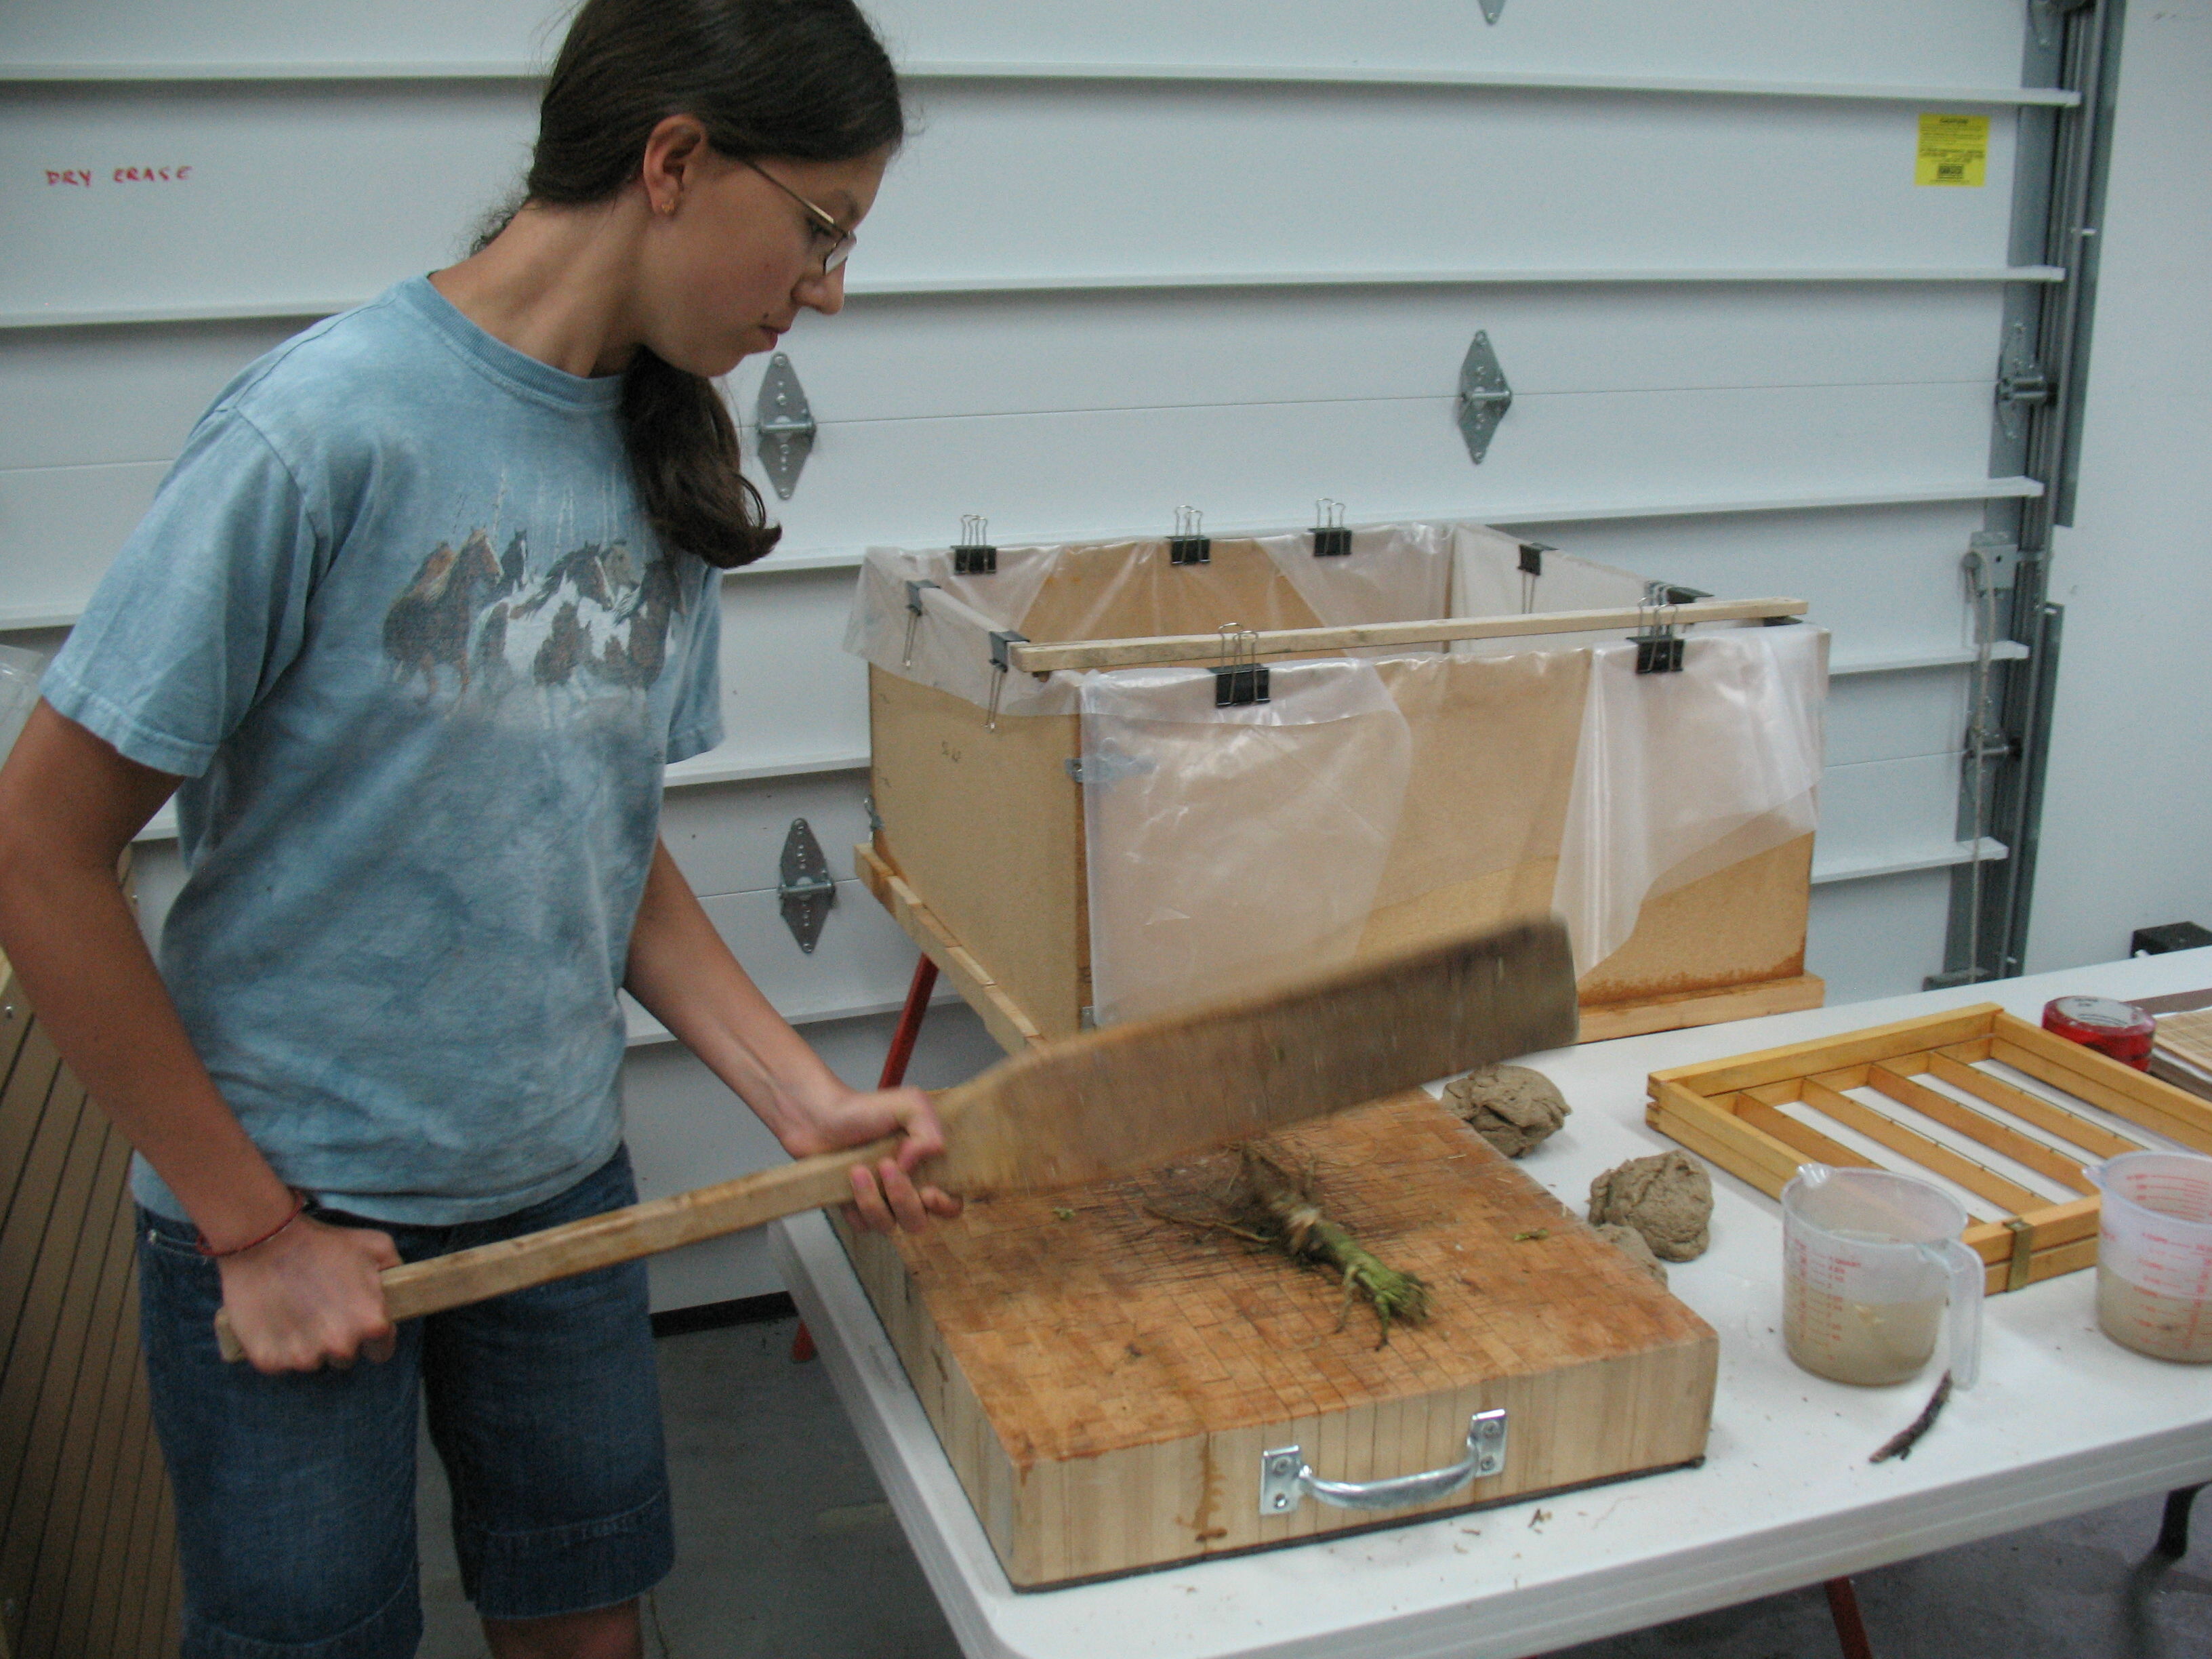
Everyone took a turn at beating the kozo from the freezer. Even though it had already been beaten, it was still somewhat coarse and lumpy and any extra beating would improve it.

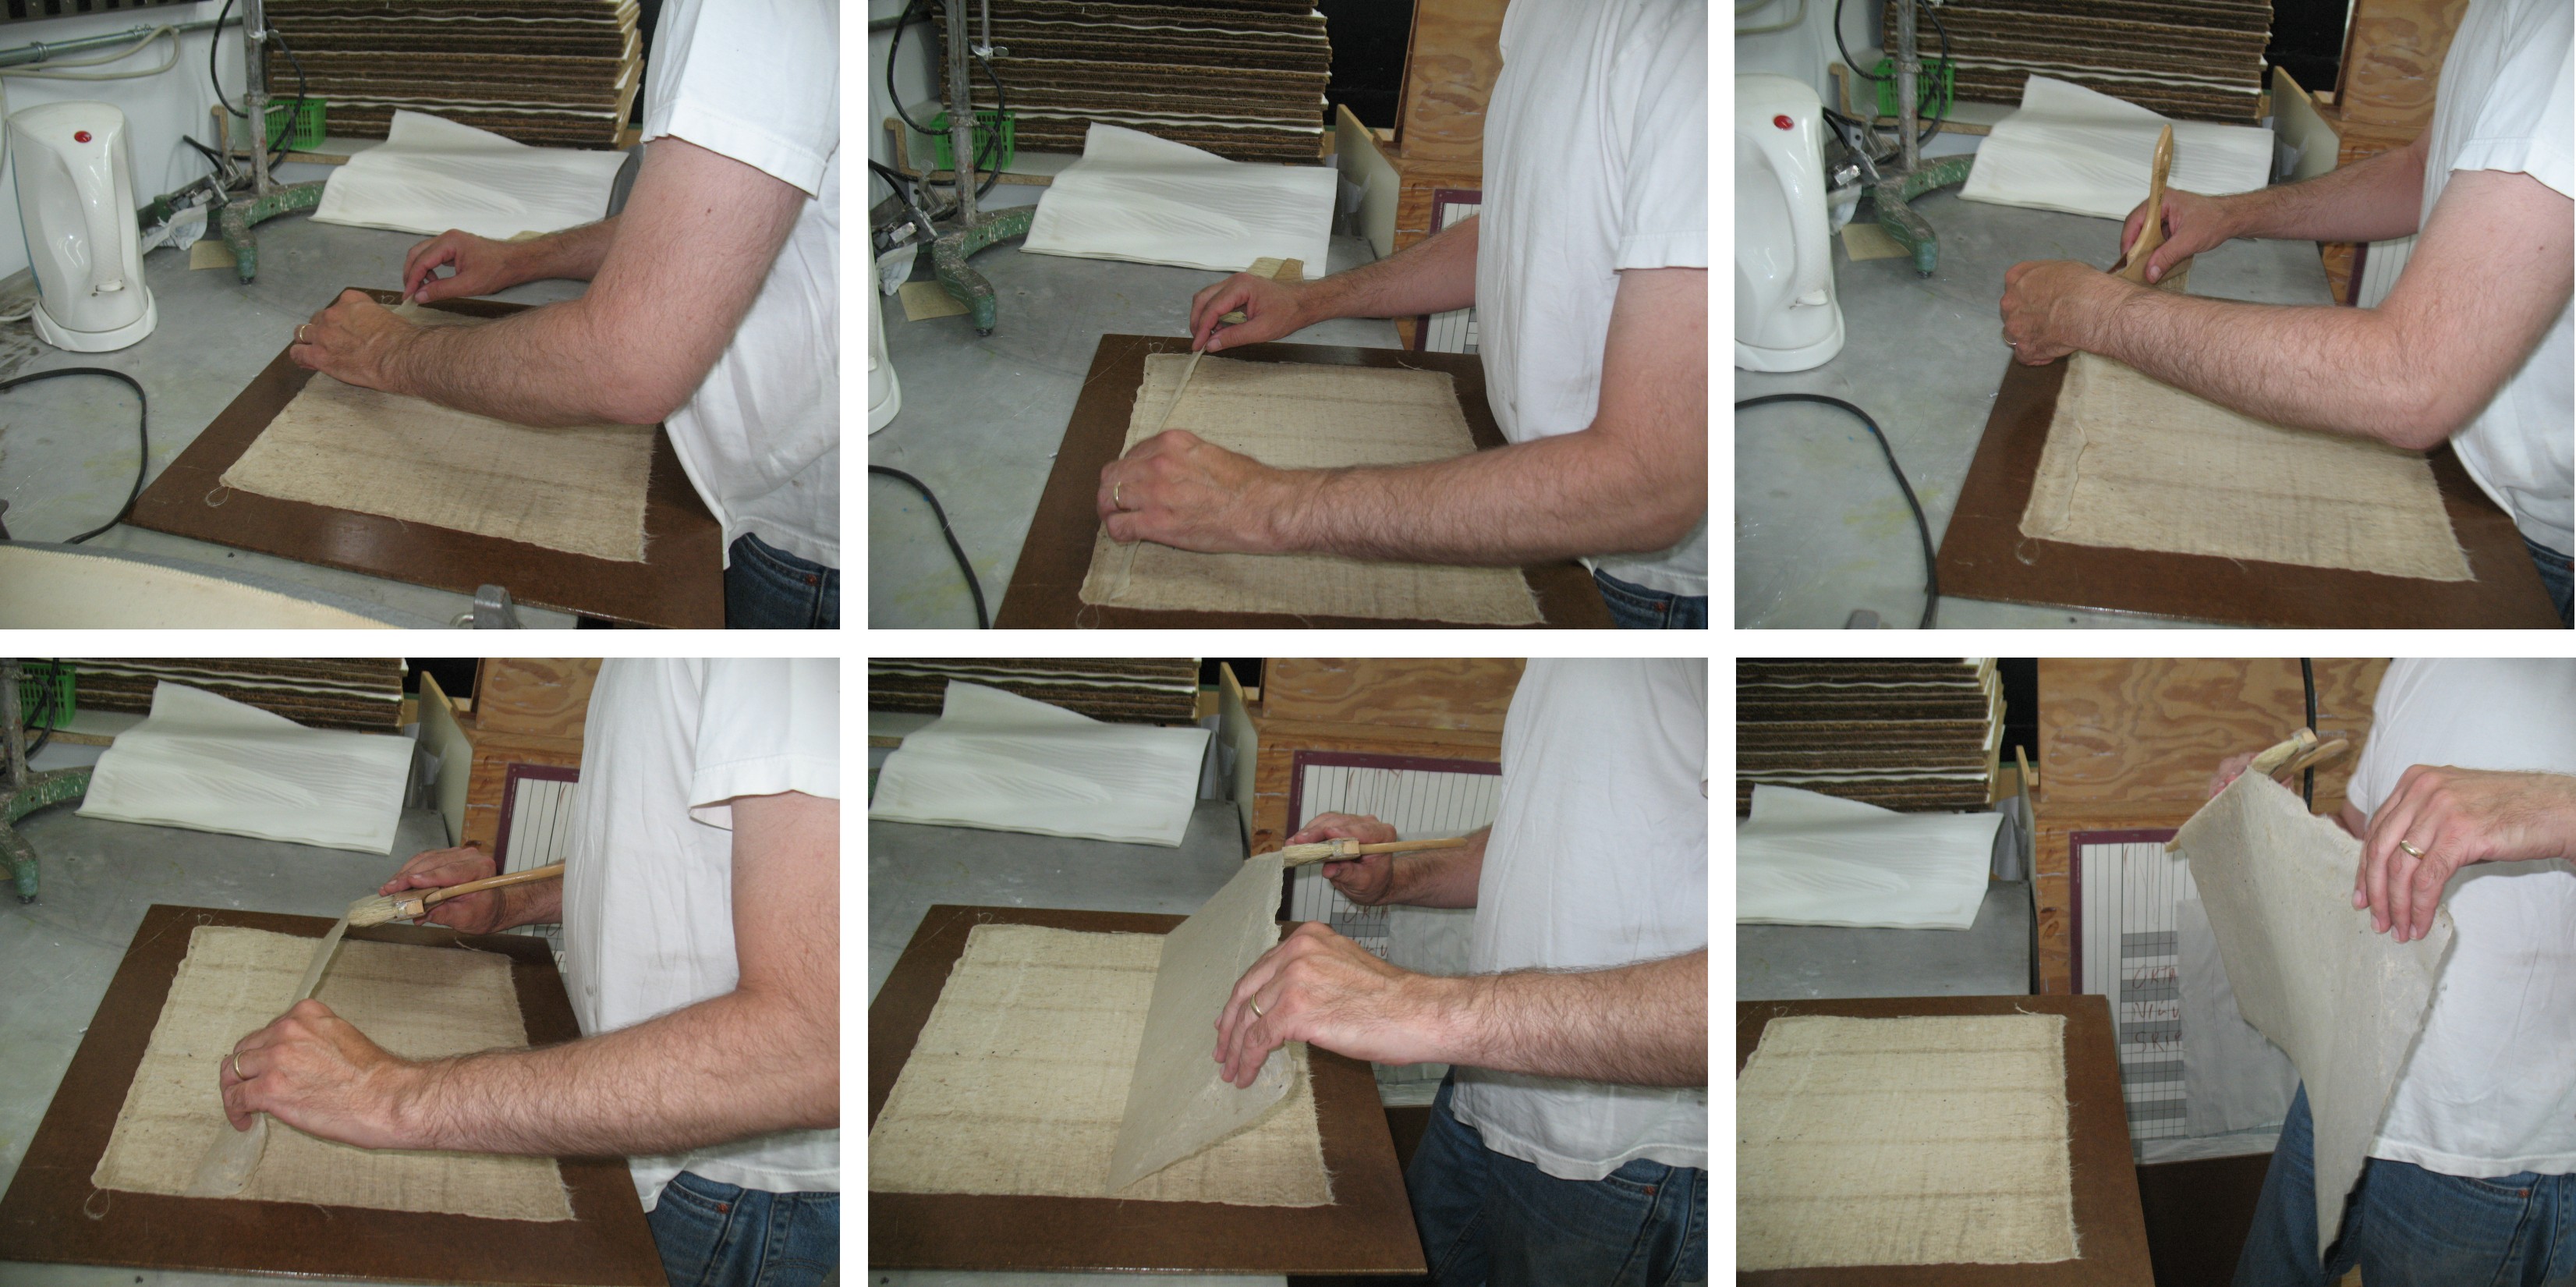
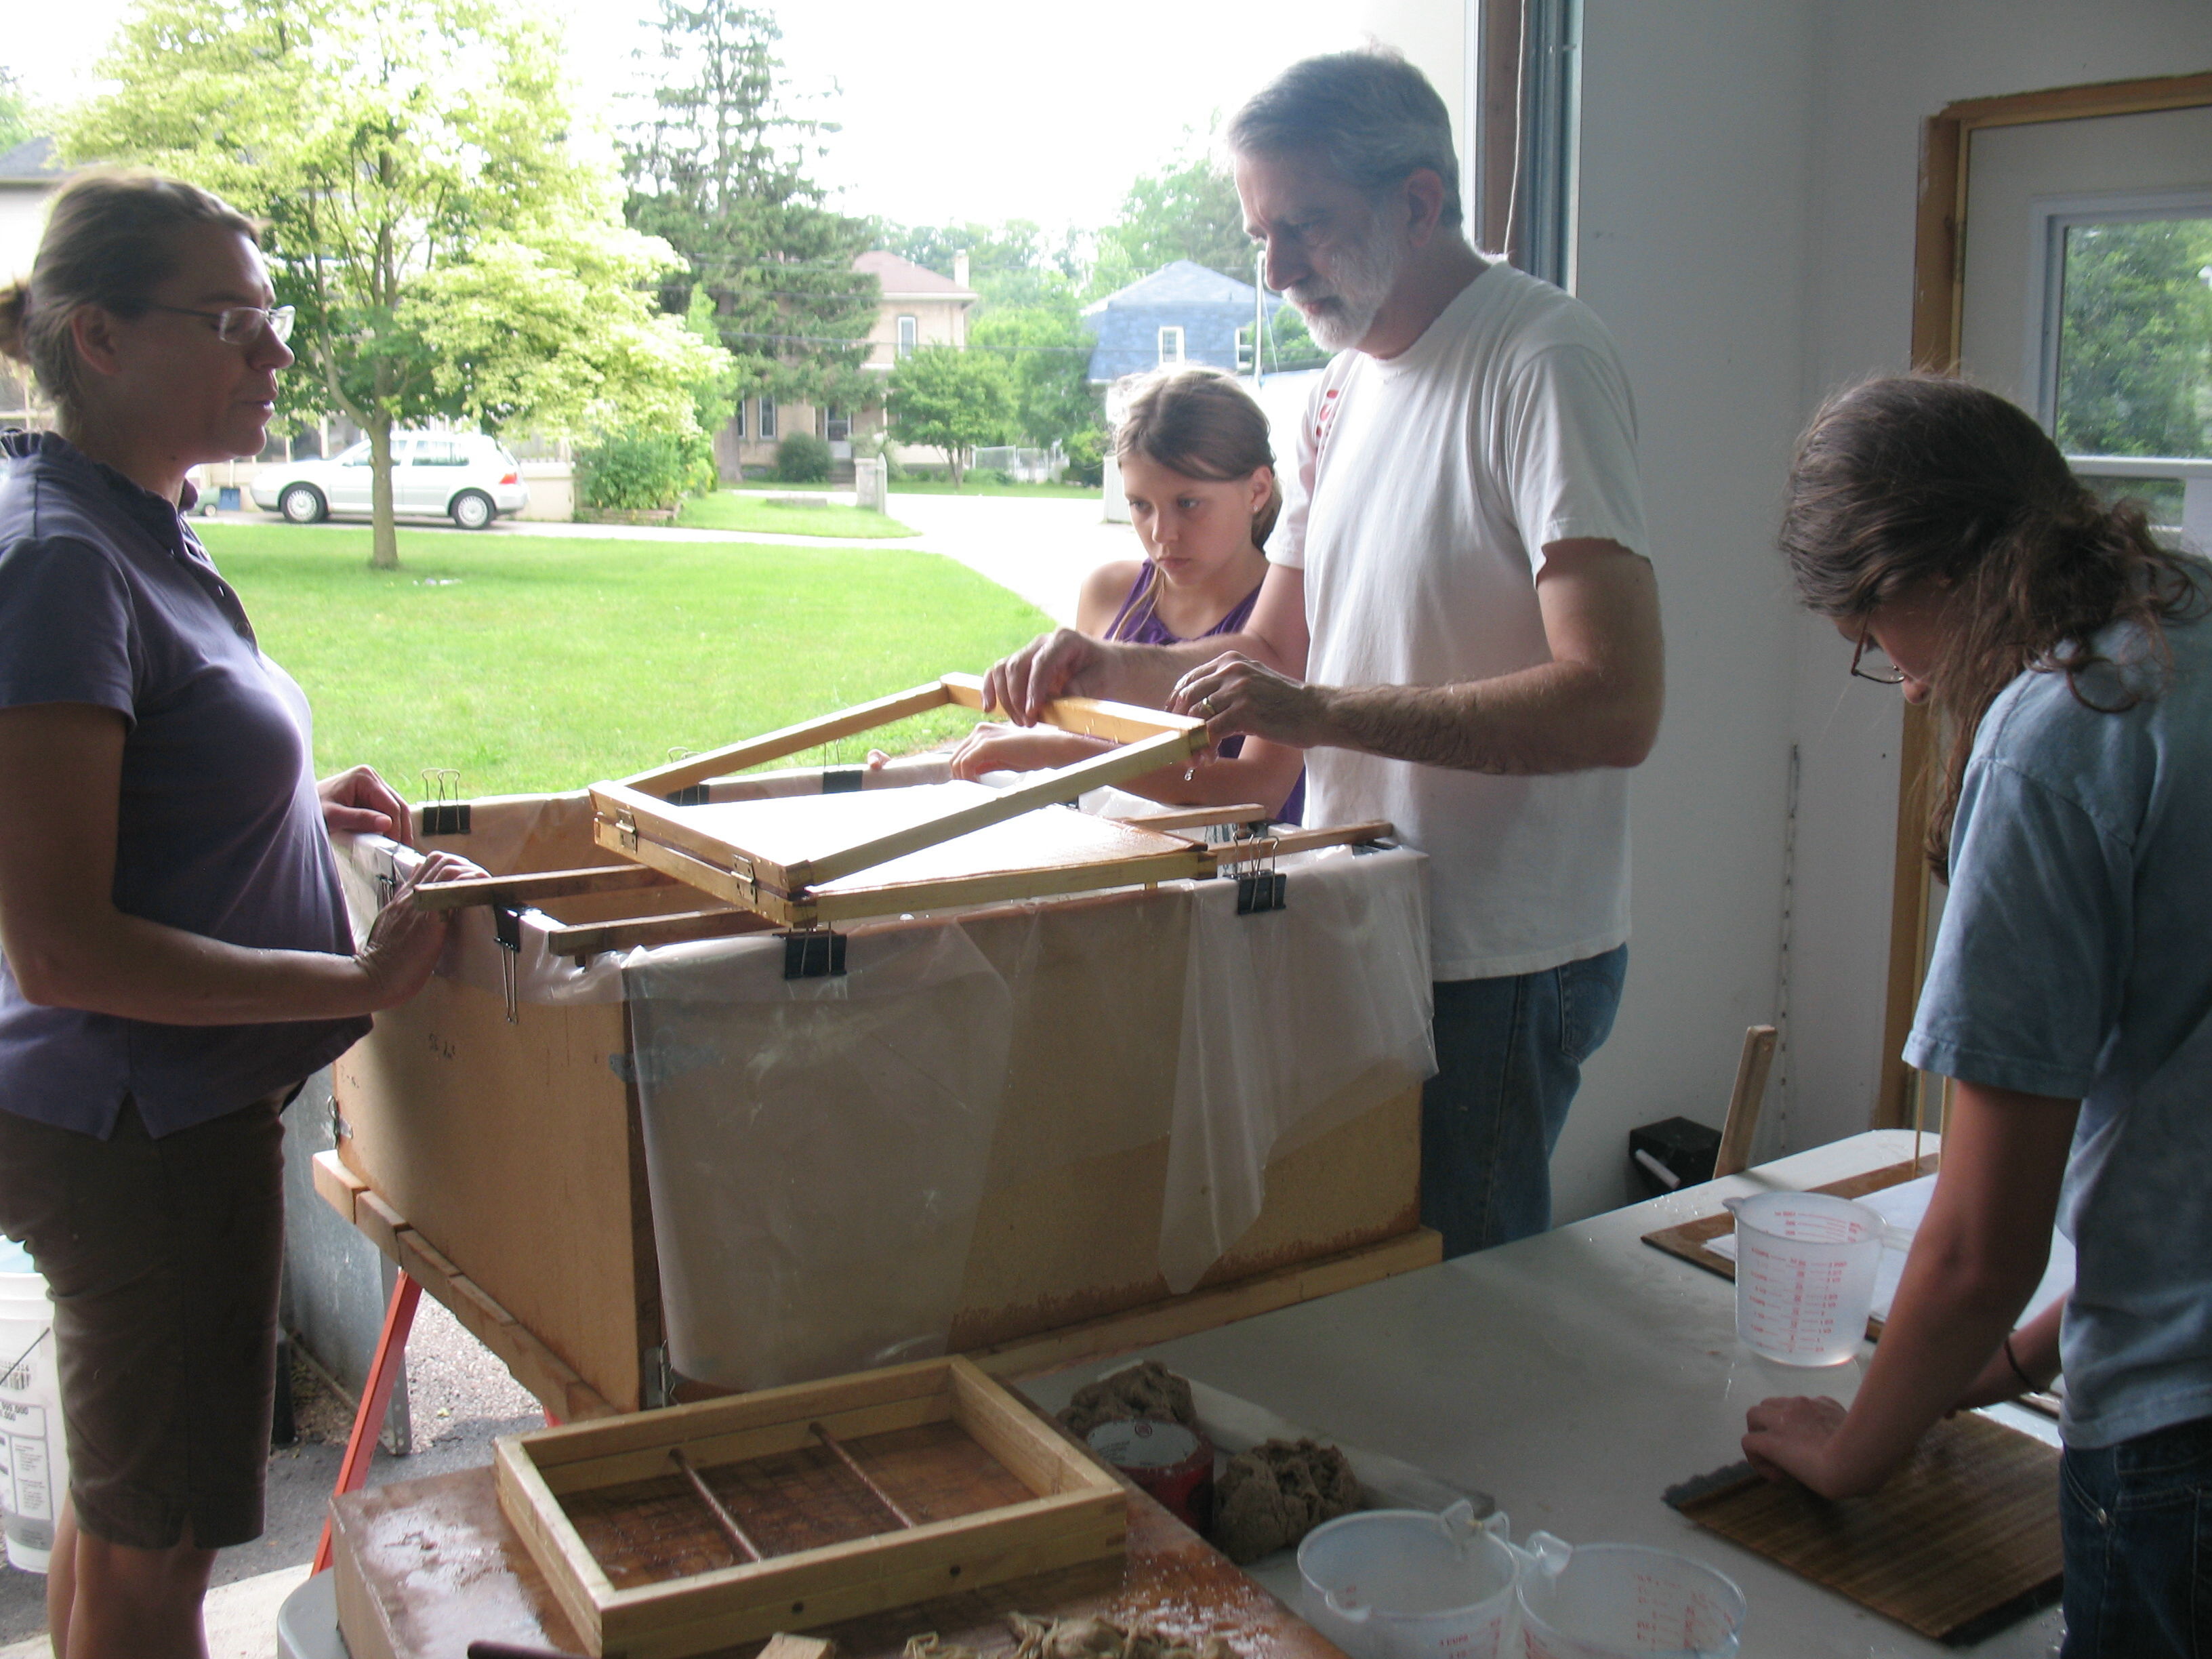
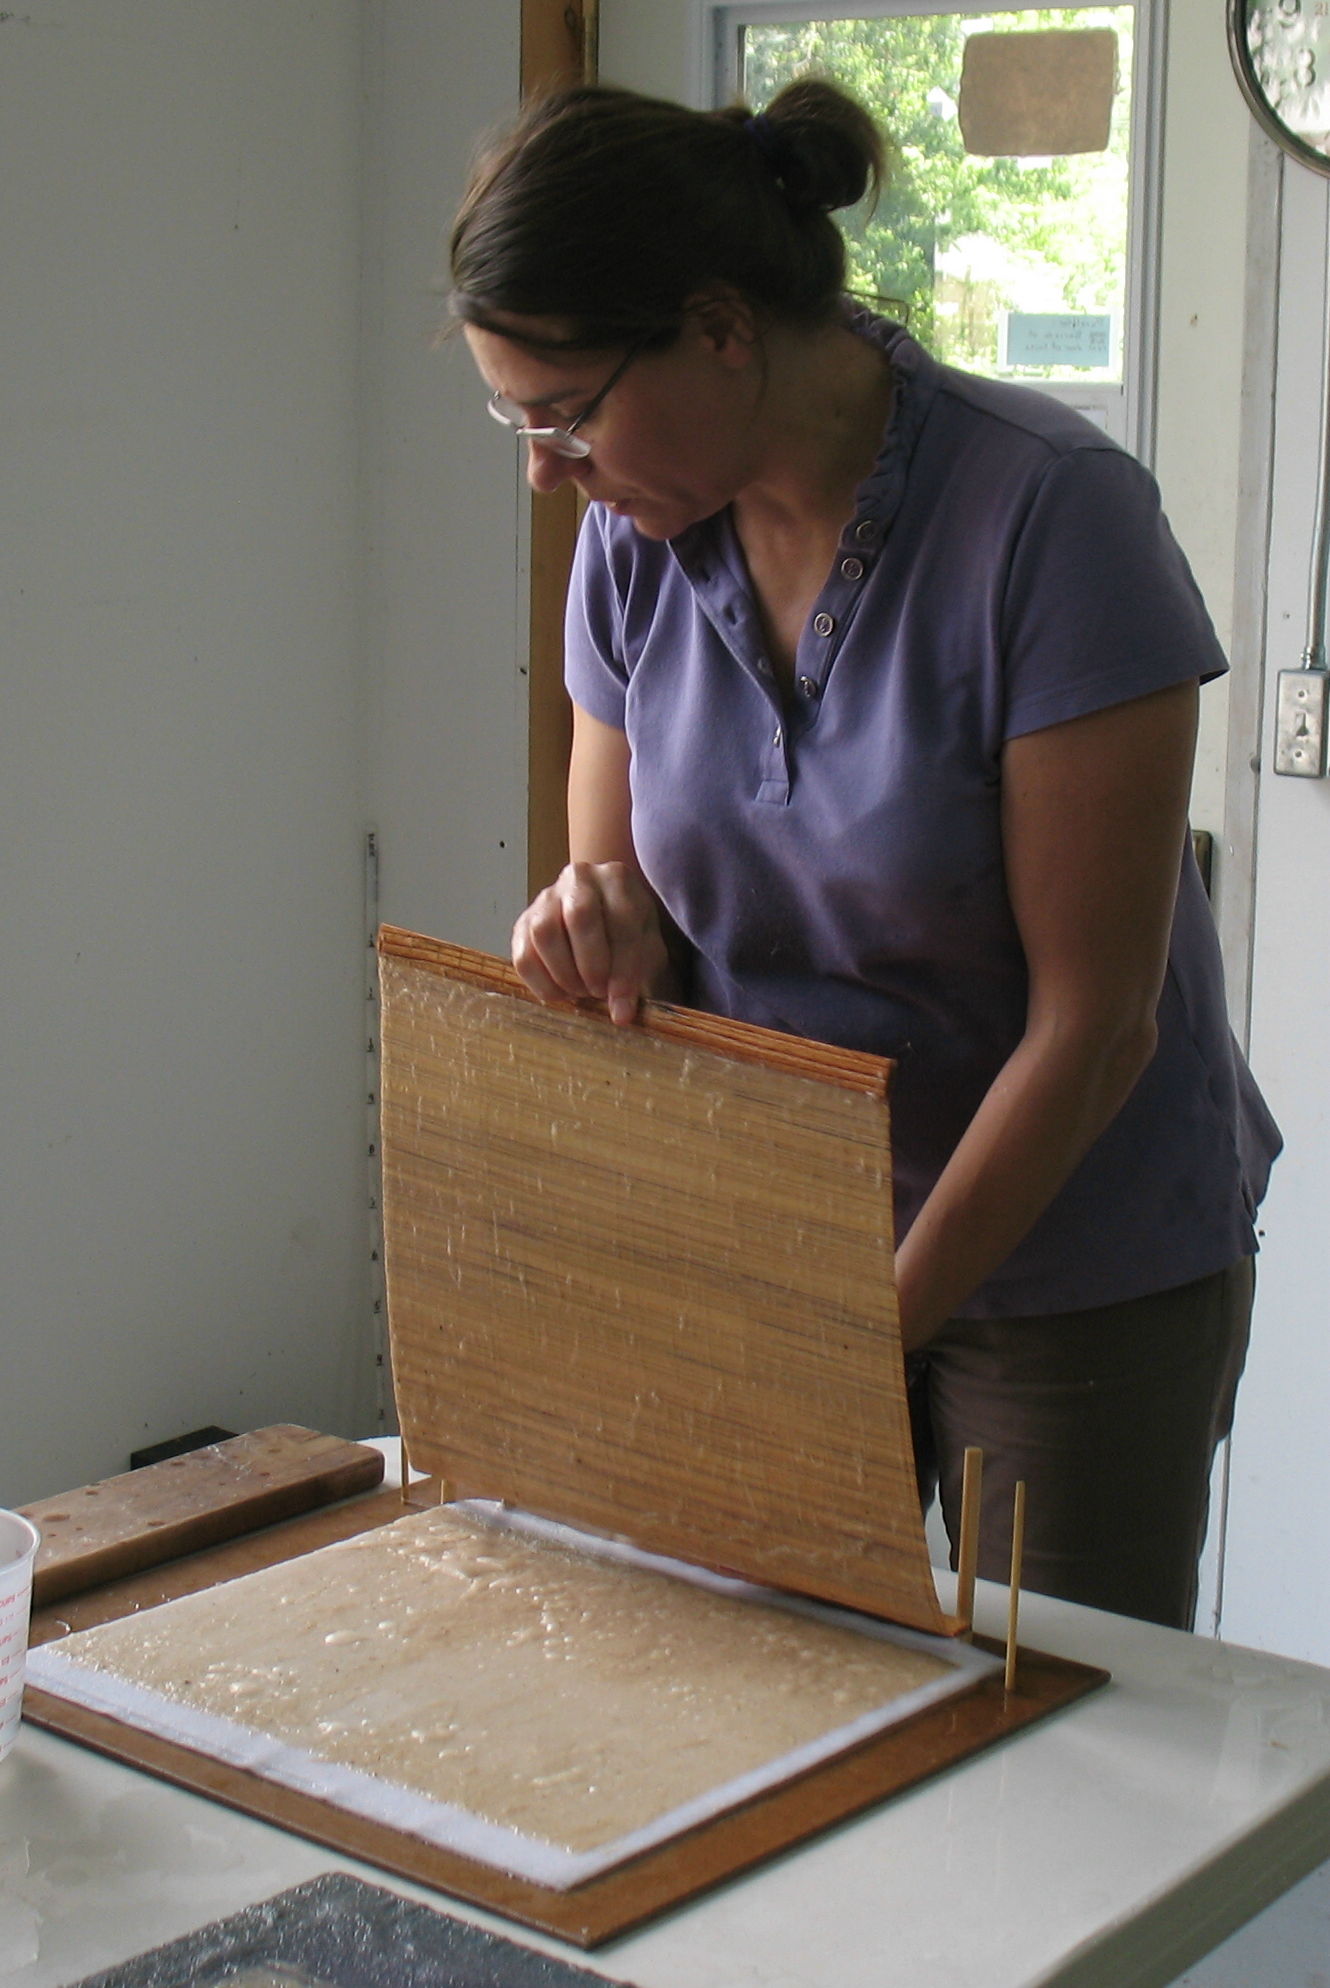
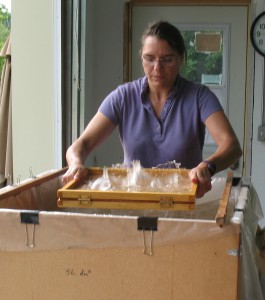
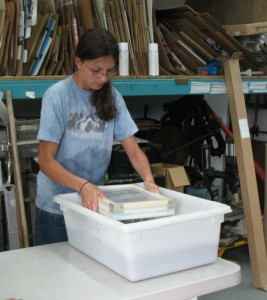
Everything was ready for making the first sheet. Here I was closing the keta to hold the su in place.
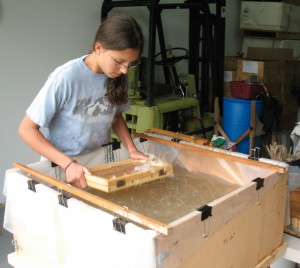
Mom trying her hand at forming a sheet of washi

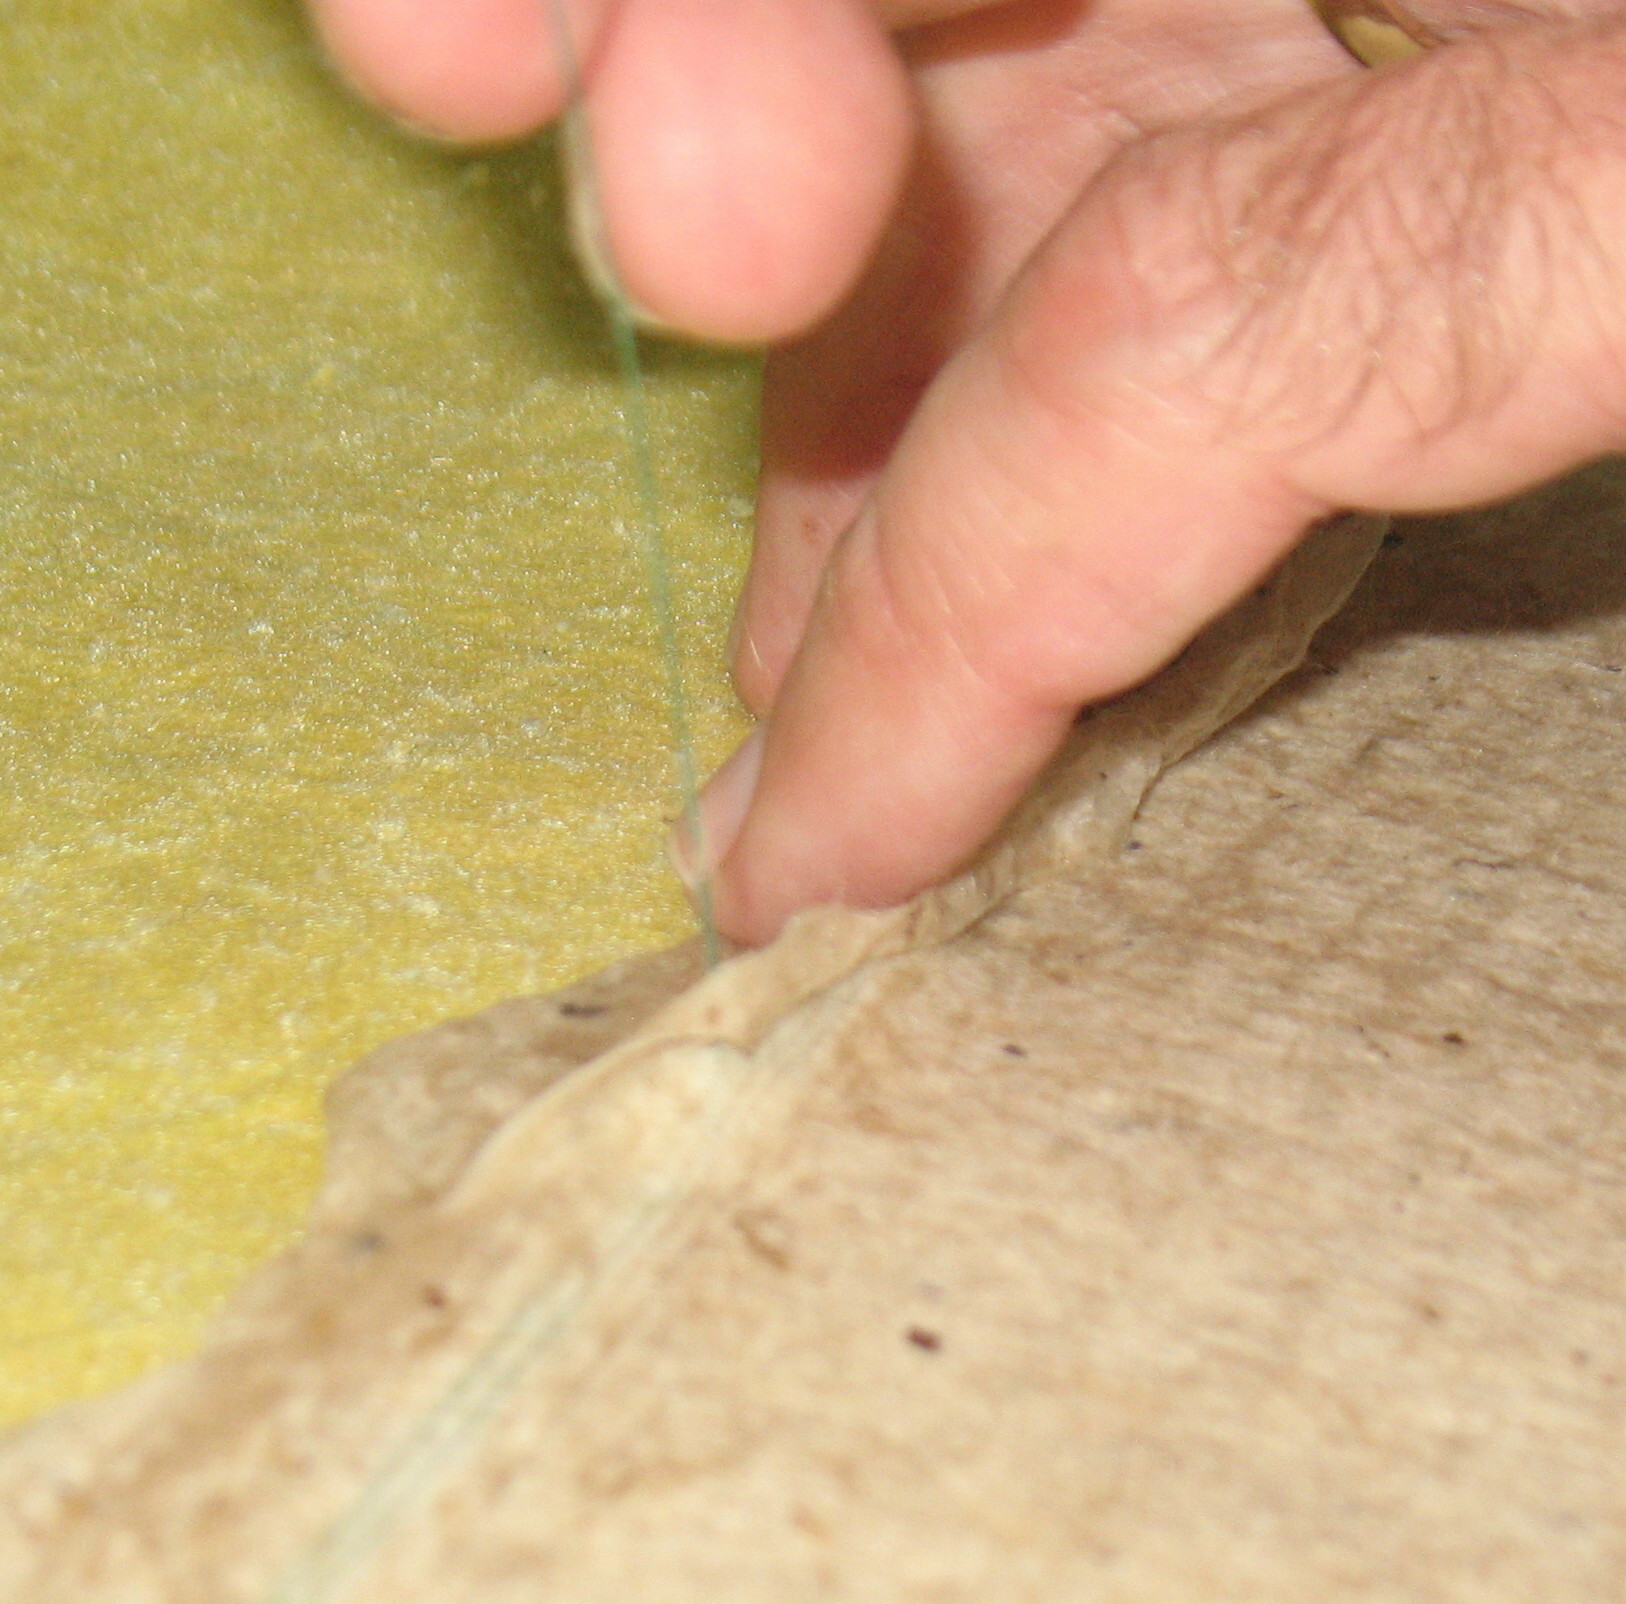
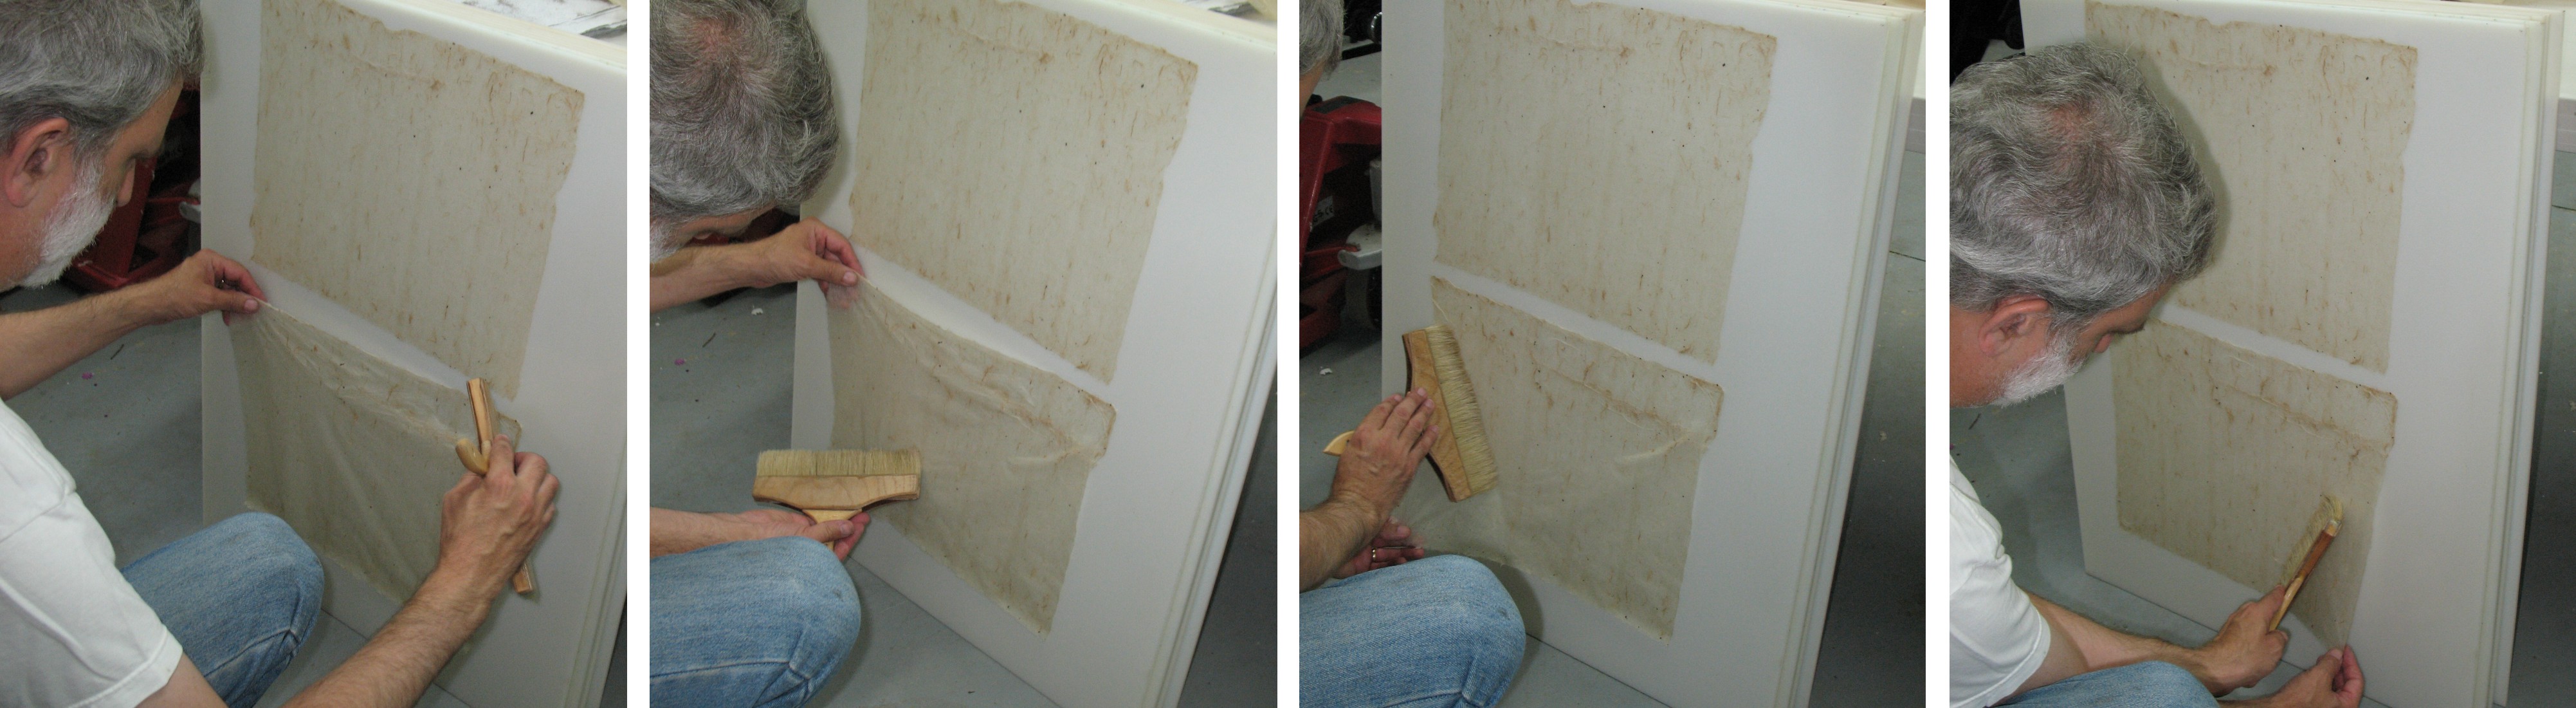
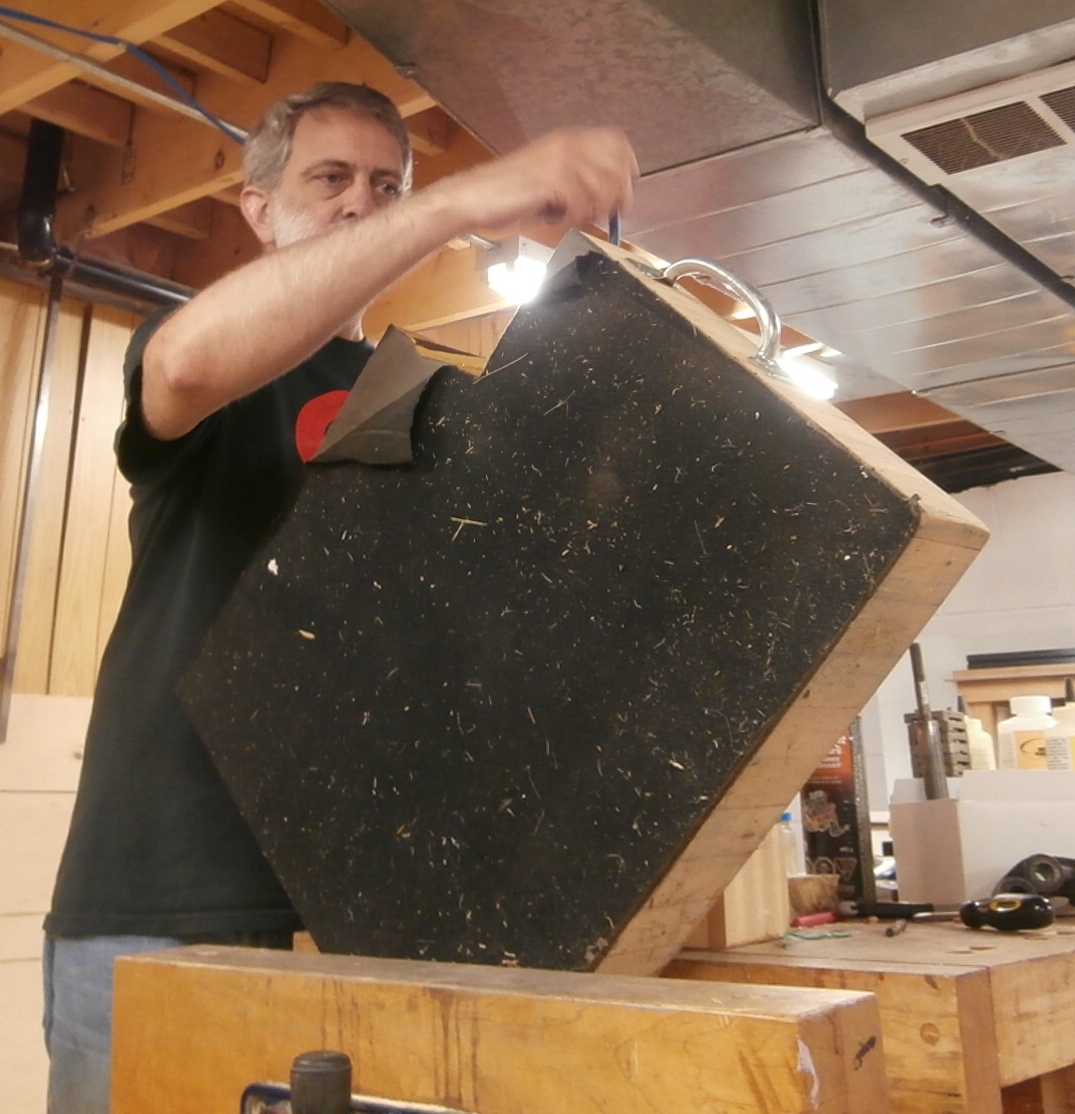
Preparing to lay the sheet (still on the su) onto the post.
Using a smaller sugeta to form sheets.

The keta has been opened up to reveal the sheet of paper on the su. This su is just the plain bamboo screening with no heavier handle sticks top and bottom, so before lifting the su we would fold it over to form a small folded edge to the sheet. The goal was to make for easier separation of the sheet from the su when couching off.

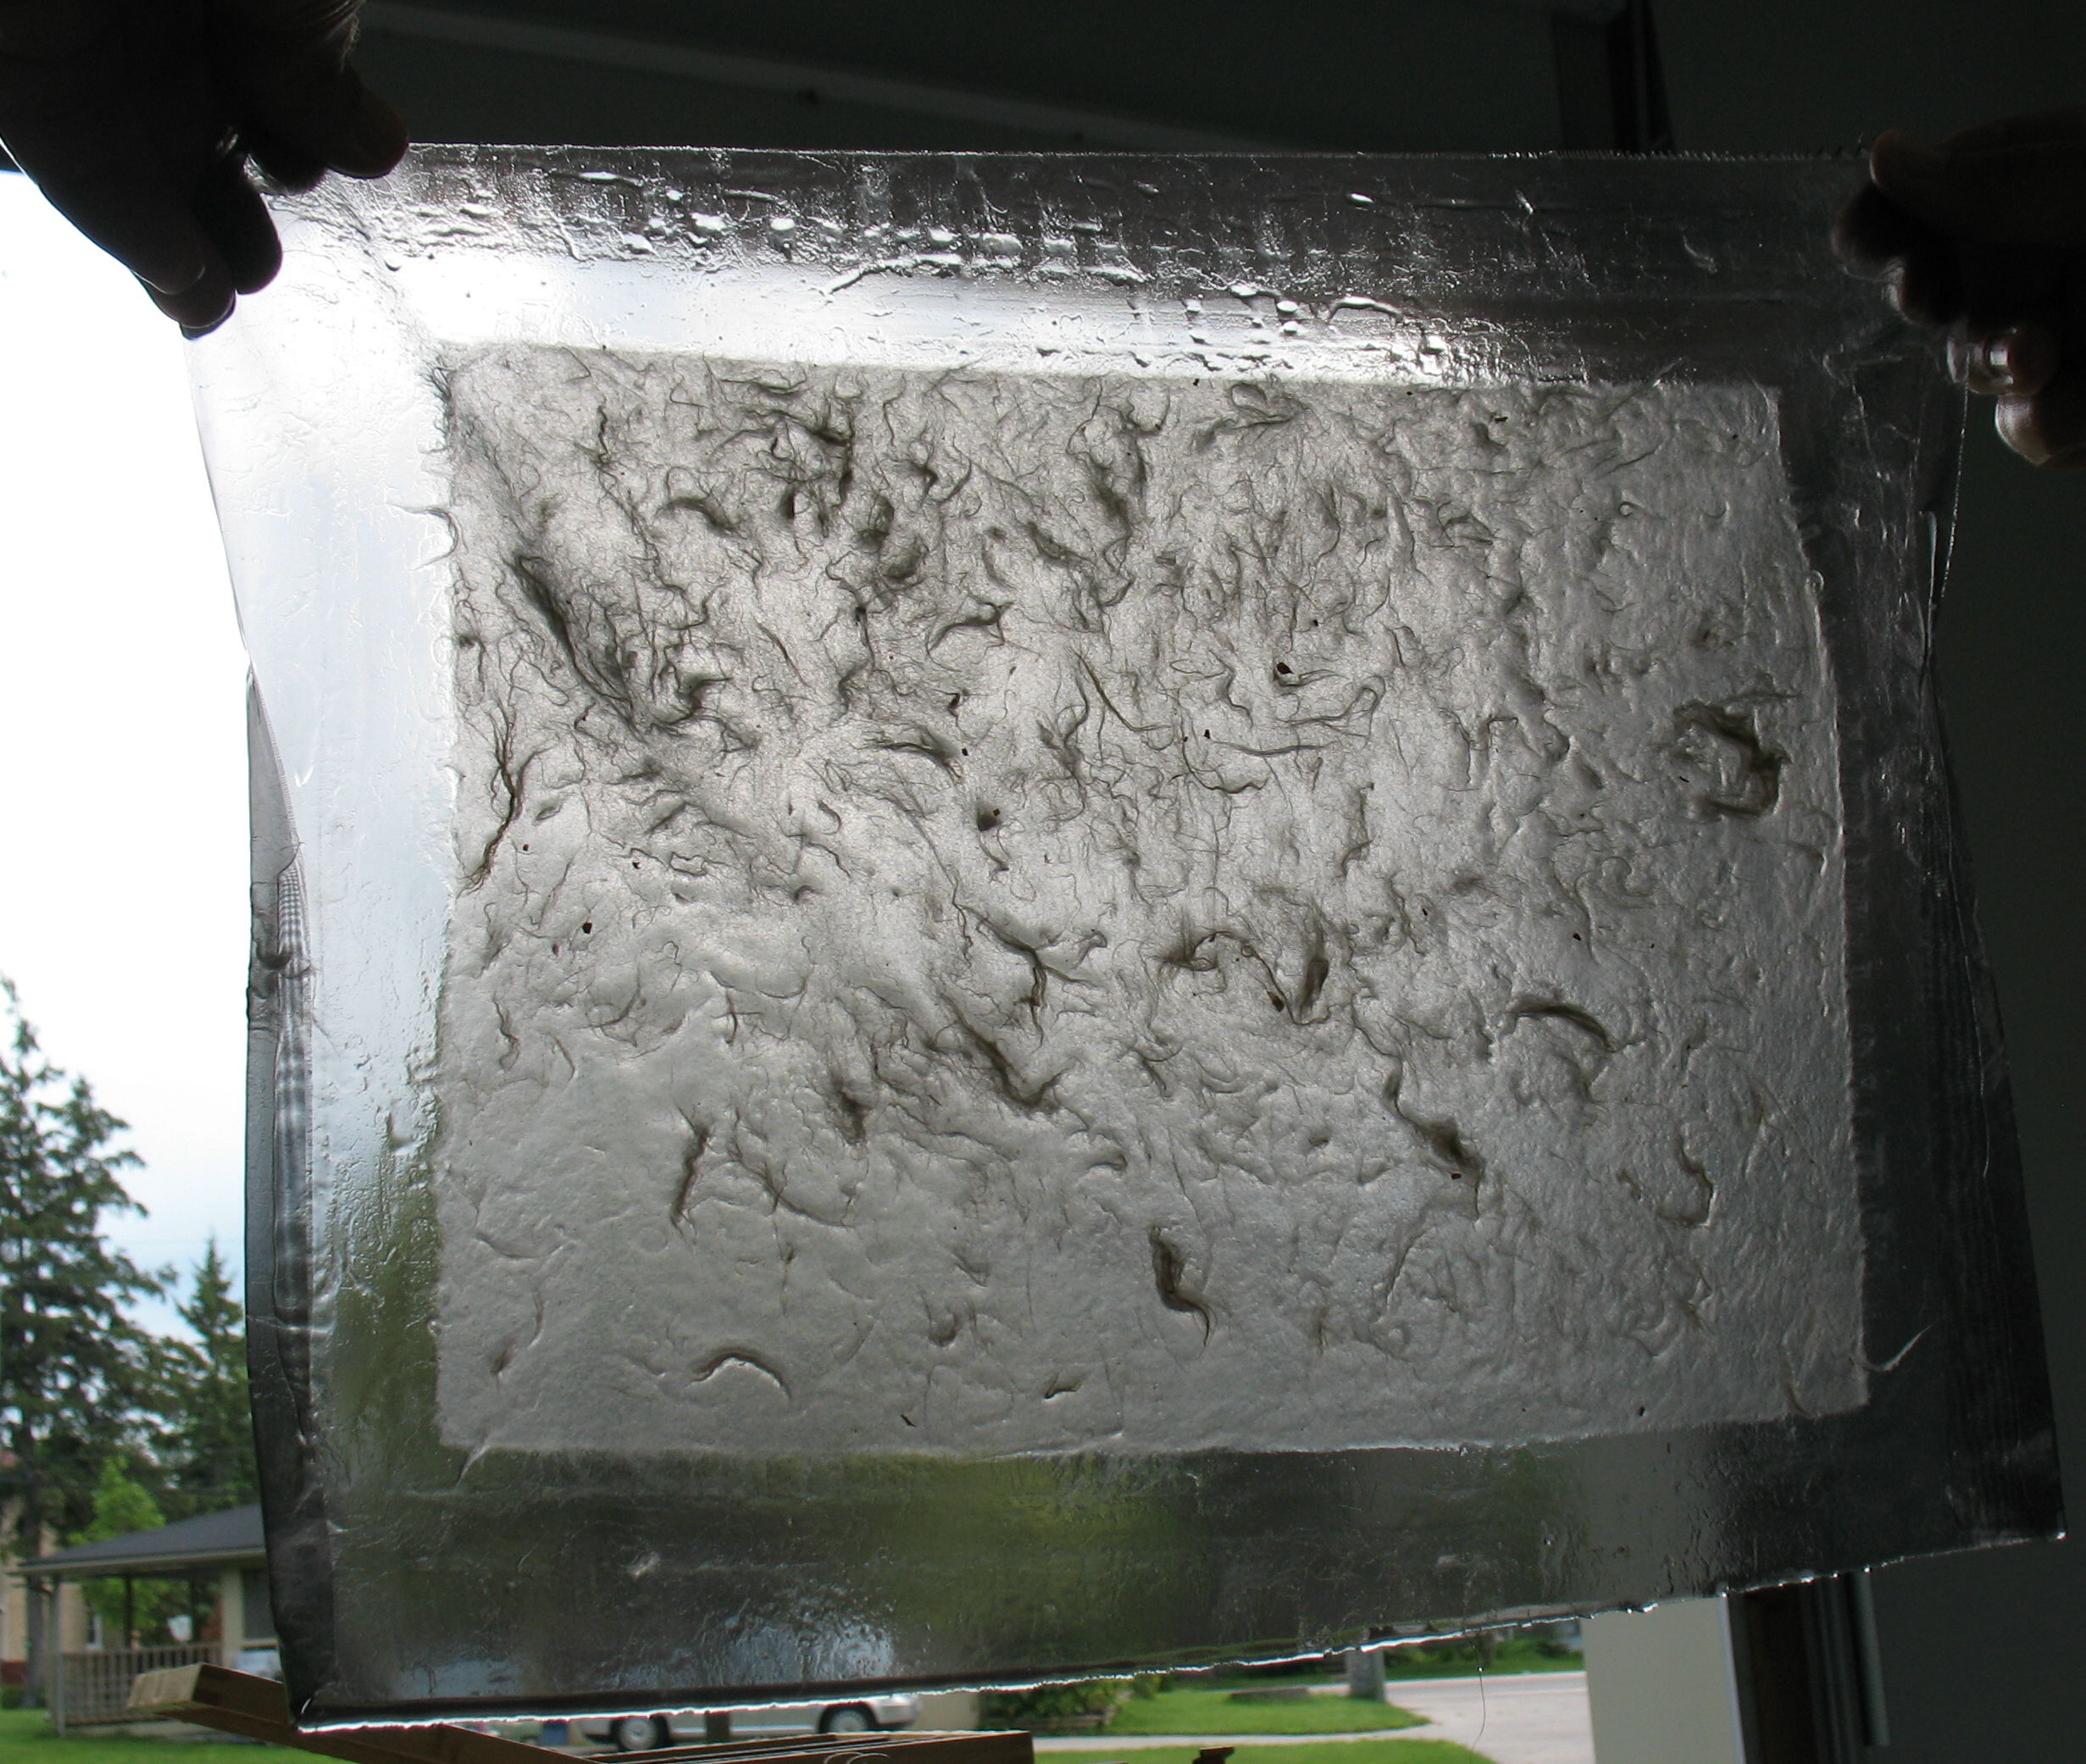
We made one sheet using western-style dip action on a western-style mould and deckle with a piece of no-see-um netting over the mould’s screen. This is the resulting wet sheet on the netting backlit.
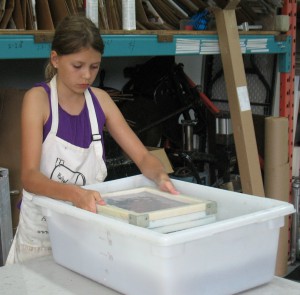
As a diversion from the Japanese sheetforming, which can be frustrating and tiring, we also put together a western-style papermaking setup.
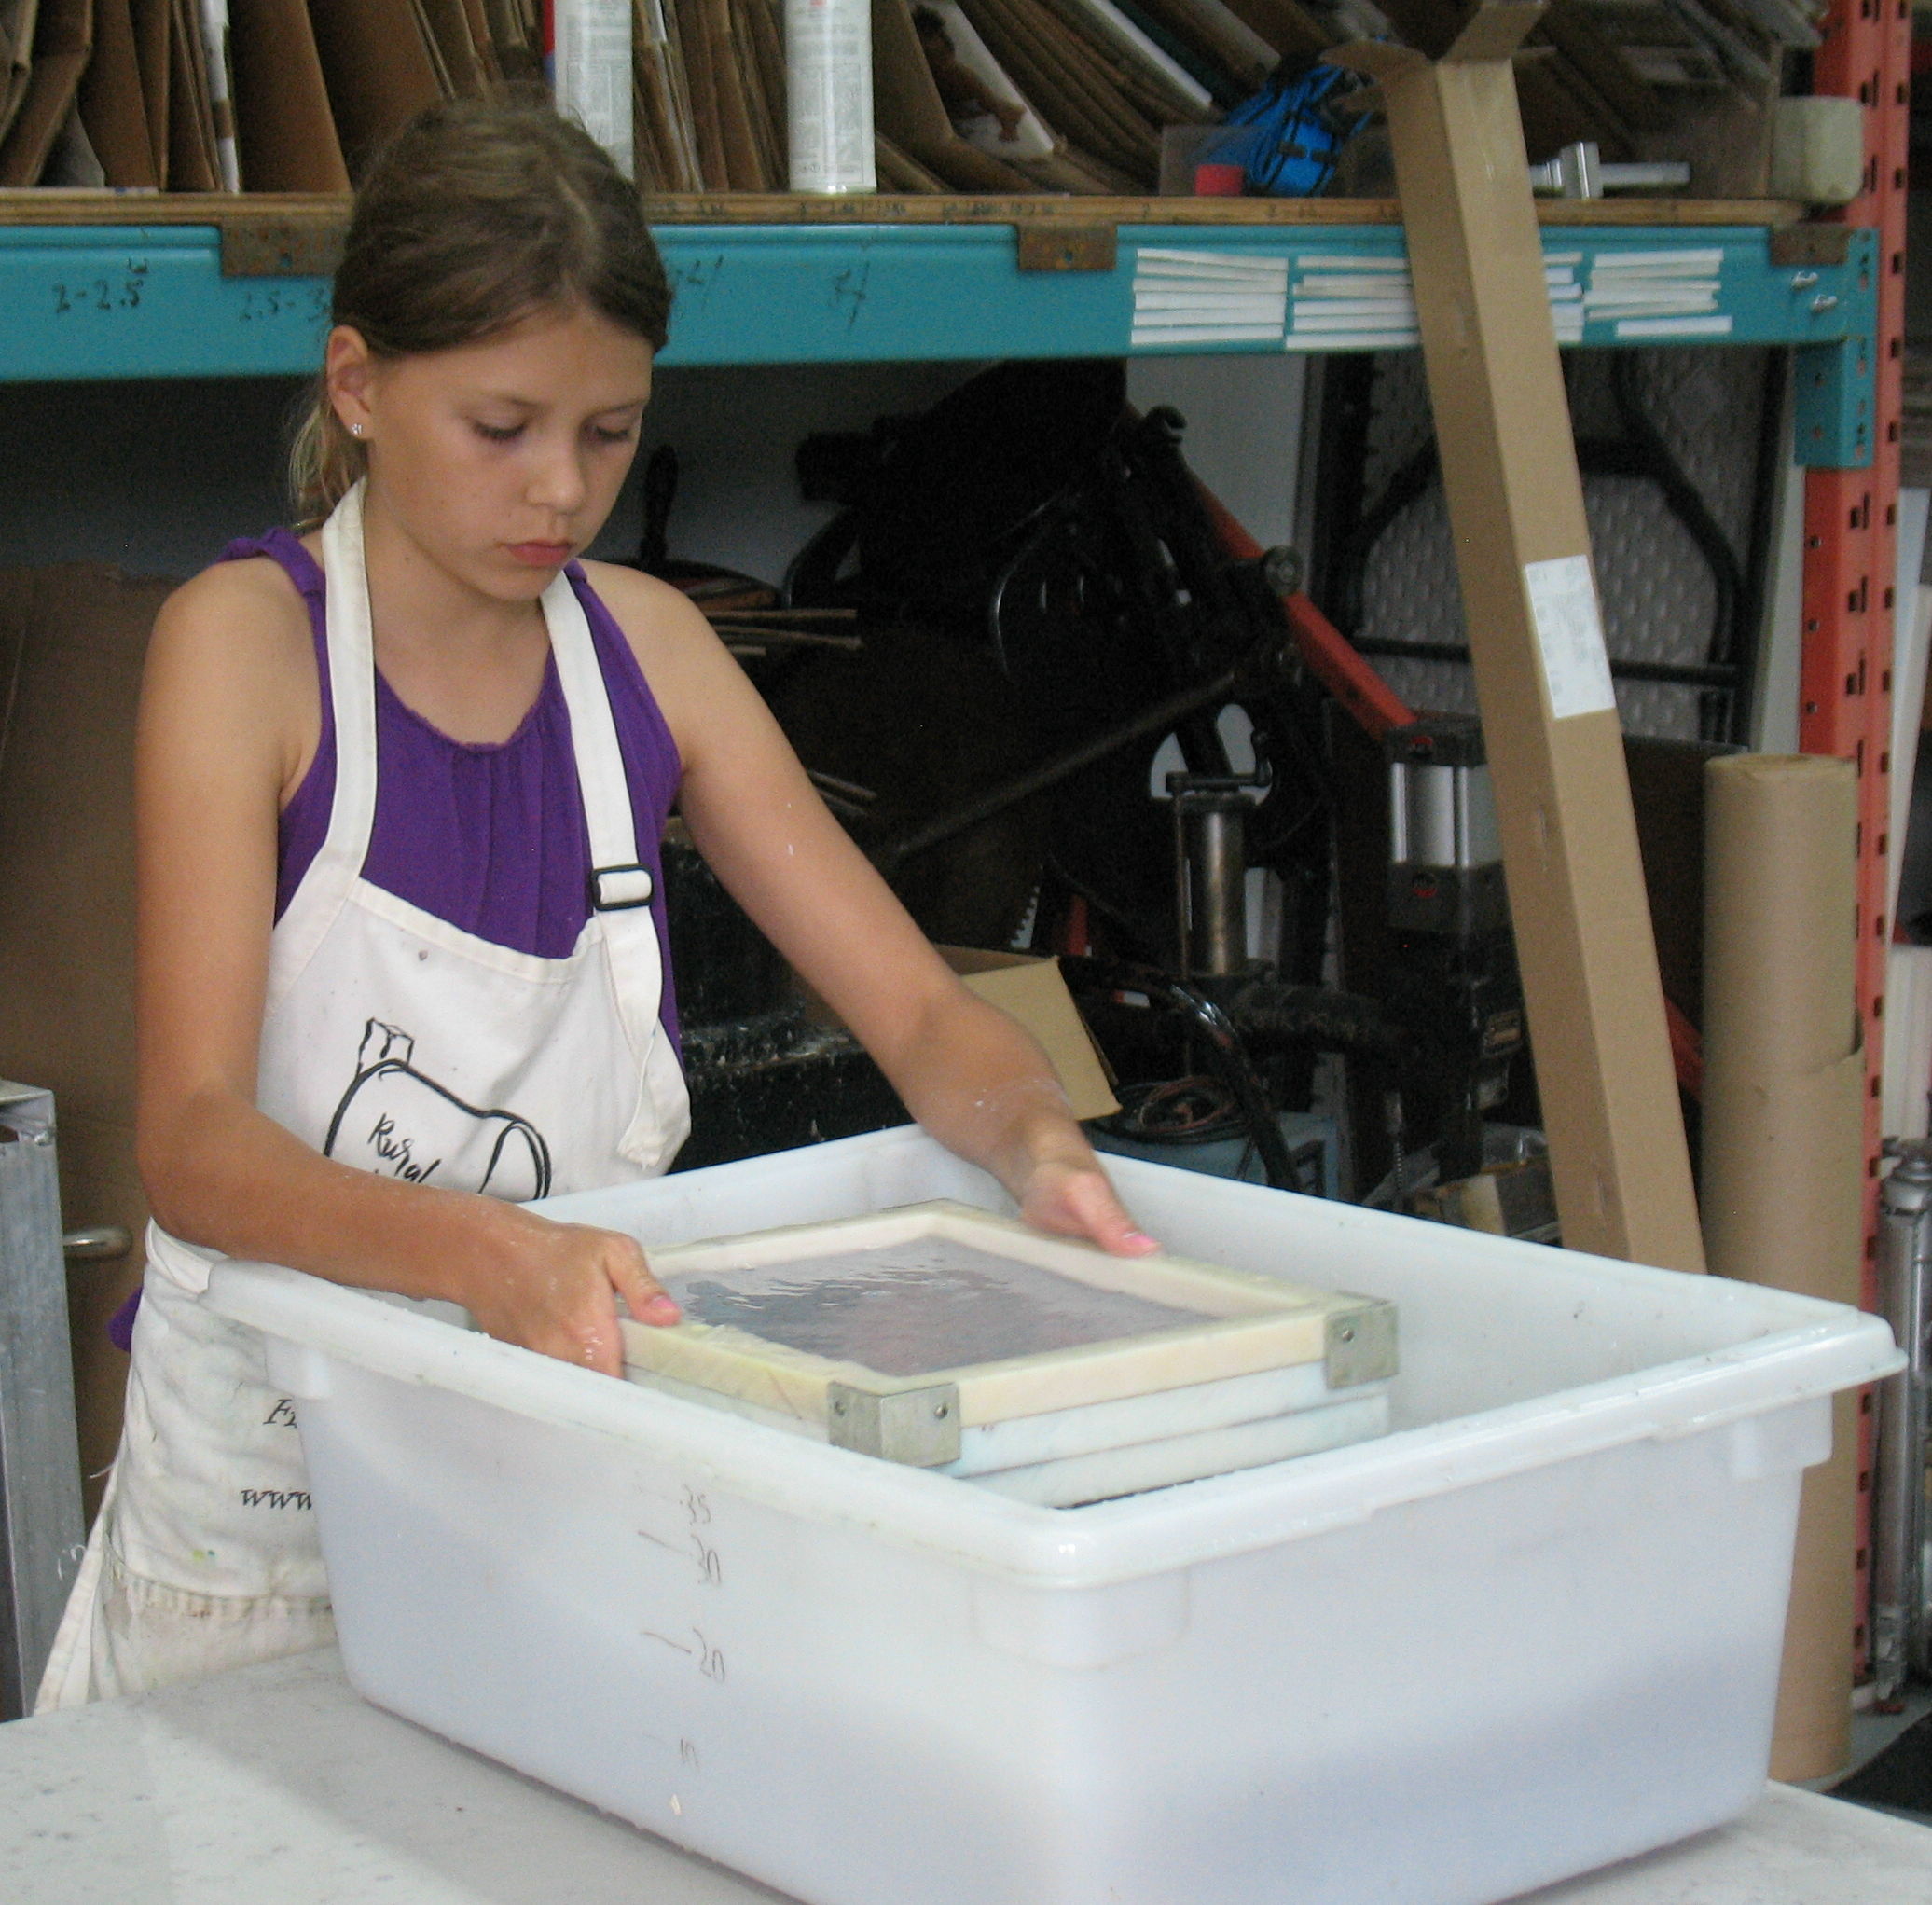
Both daughters took advantage of the change of pace offered by the western sheetforming.
After dinner I spent about 90 minutes making more washi sheets since I seemed to have found my groove. Although we gave the bark cooked that day an initial beating, we never used any of it as the supply from the freezer was enough. The unused tororo-aoi roots were returned to the freezer; I hope the thaw and re-freeze doesn’t weaken their neri too much.
We still have the suspense of seeing how well the sheets separate after pressing. I am still unsure as to how dry the post should be when peeling the sheets off for final drying