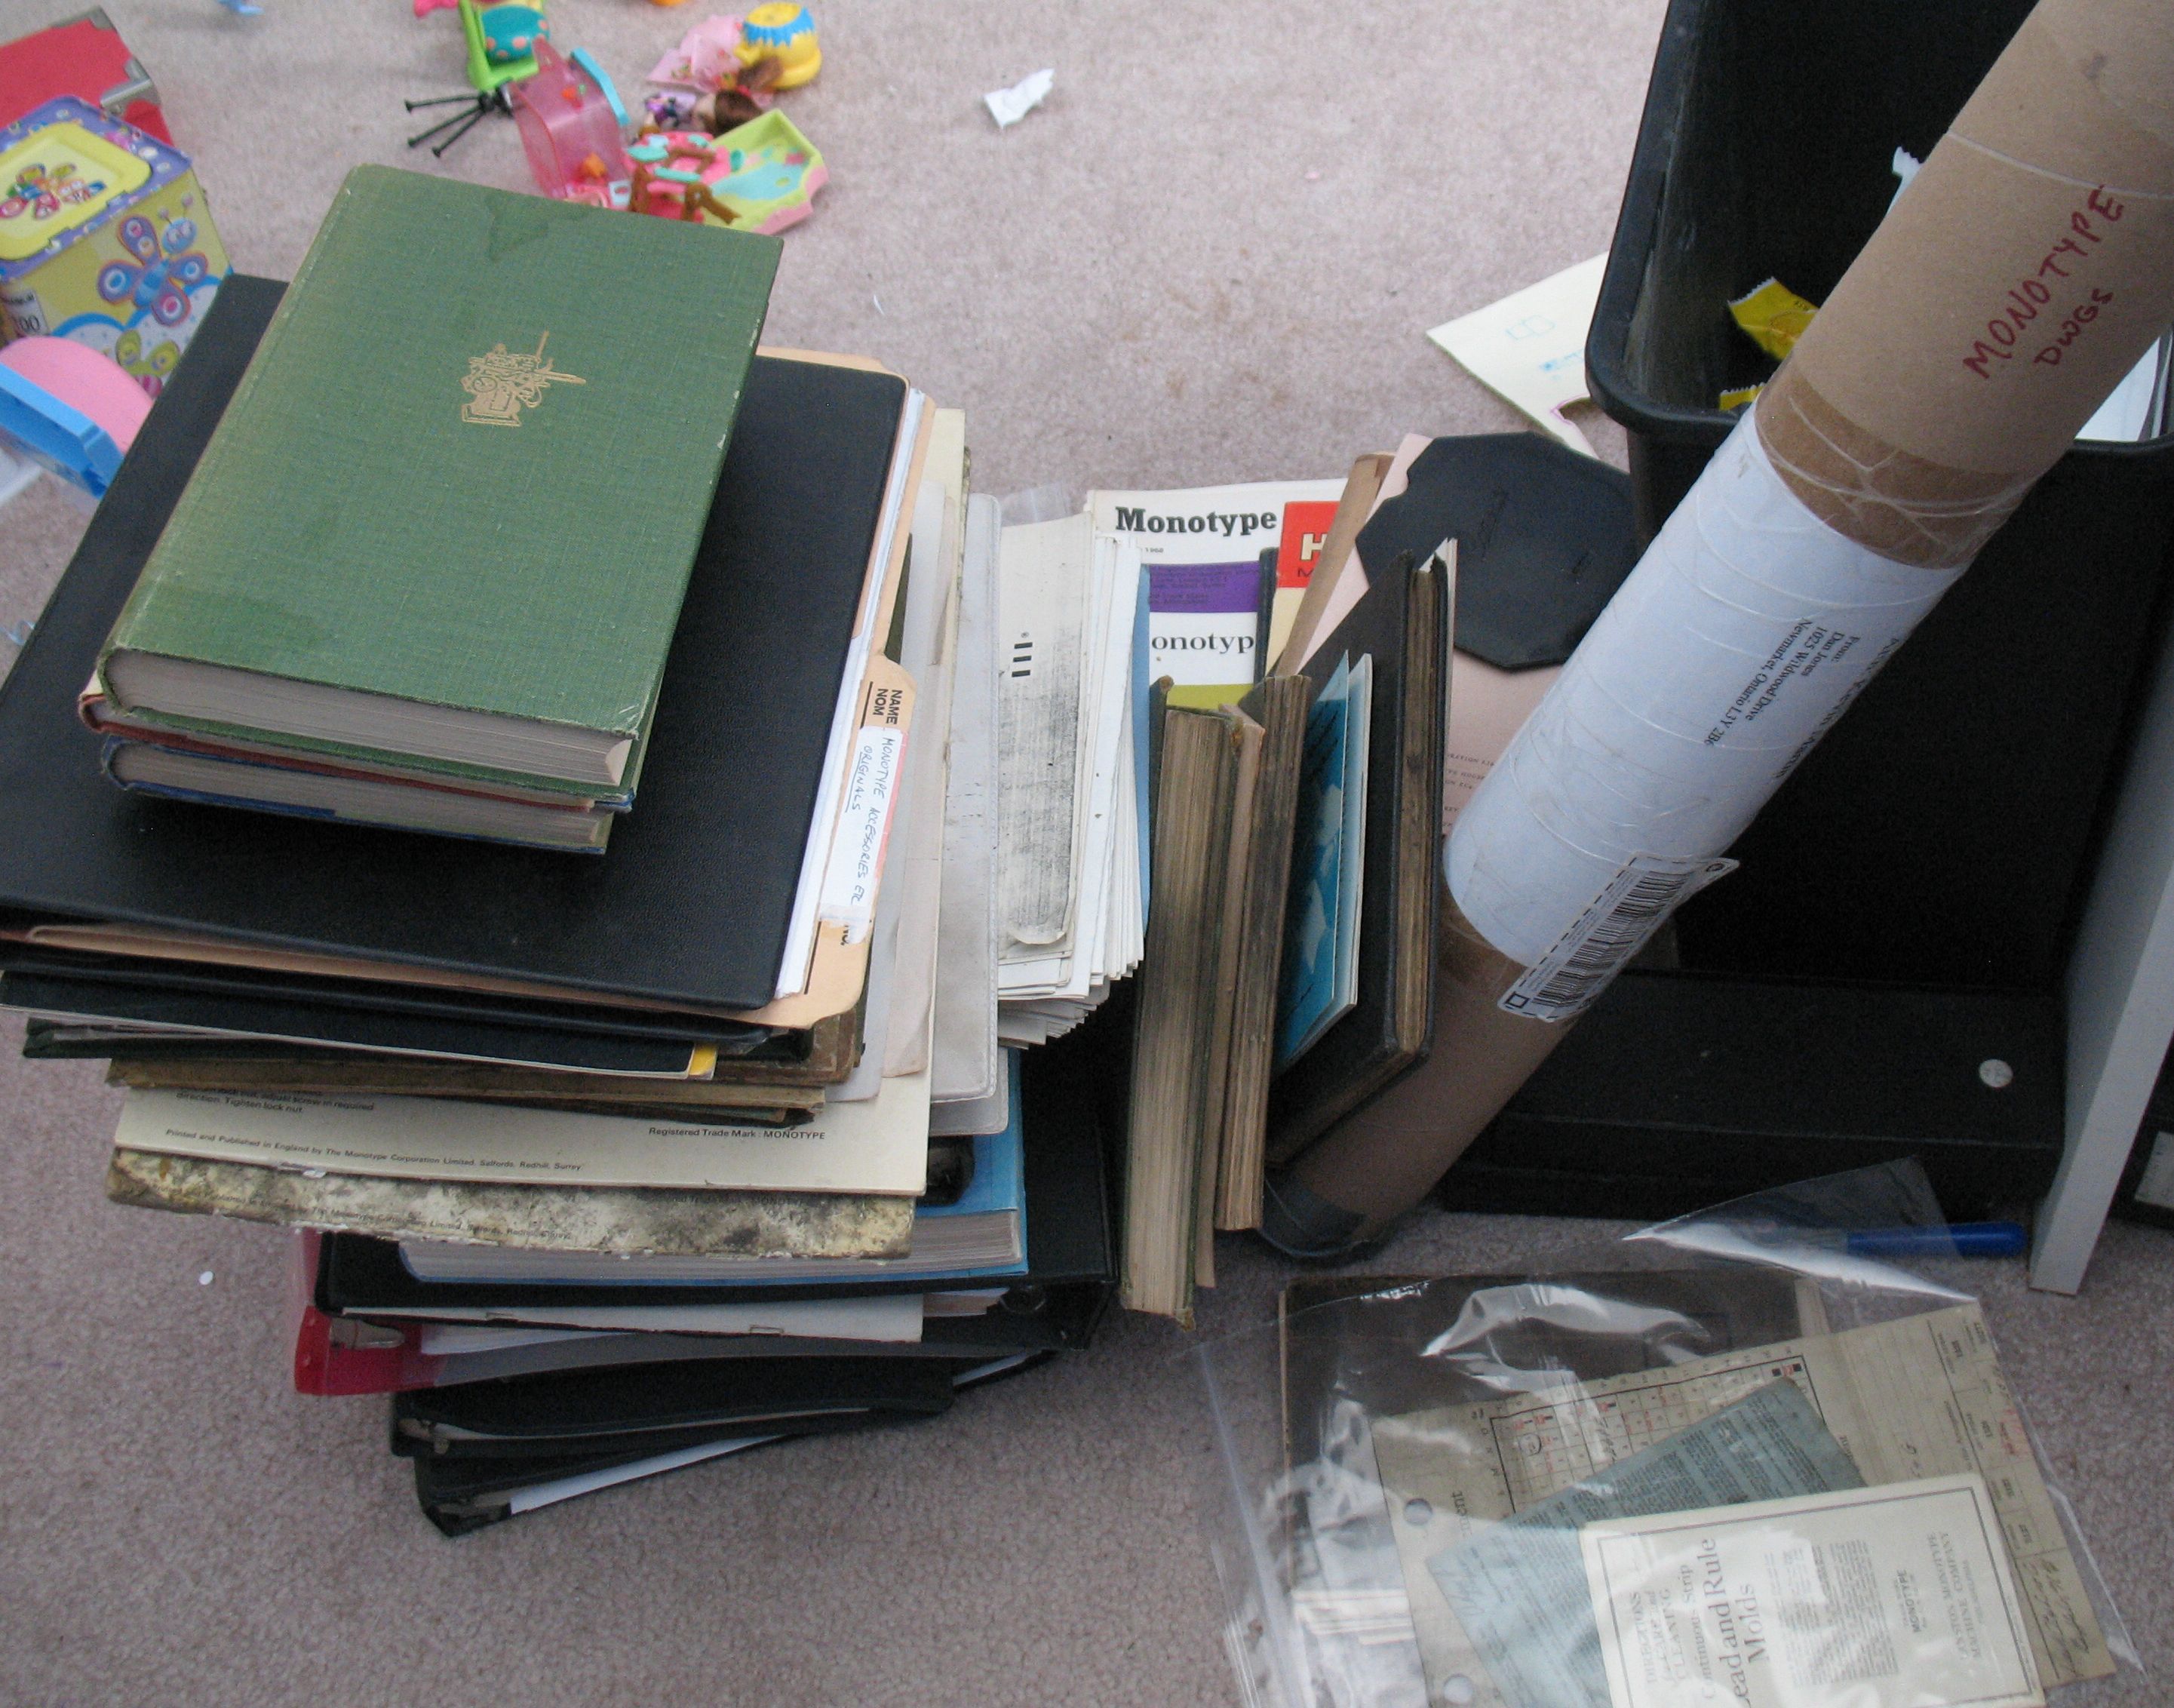
In addition to about 97 books and other documents related to the Monotype machines, we also have a library of over 100 books related to papermaking, bookbinding, paper decorating, origami, typography, and printing. The Monotype books were coming with me the the upcoming Monotype University and I wanted to label them, so I decided it was time to make some bookplates.
I managed to cast some type, set it, print the bookplates, clean the press, and put away the type all in one afternoon (although I fired up the heater on the caster in the morning), which, being the procrastinating sort of person, I find pretty impressive.
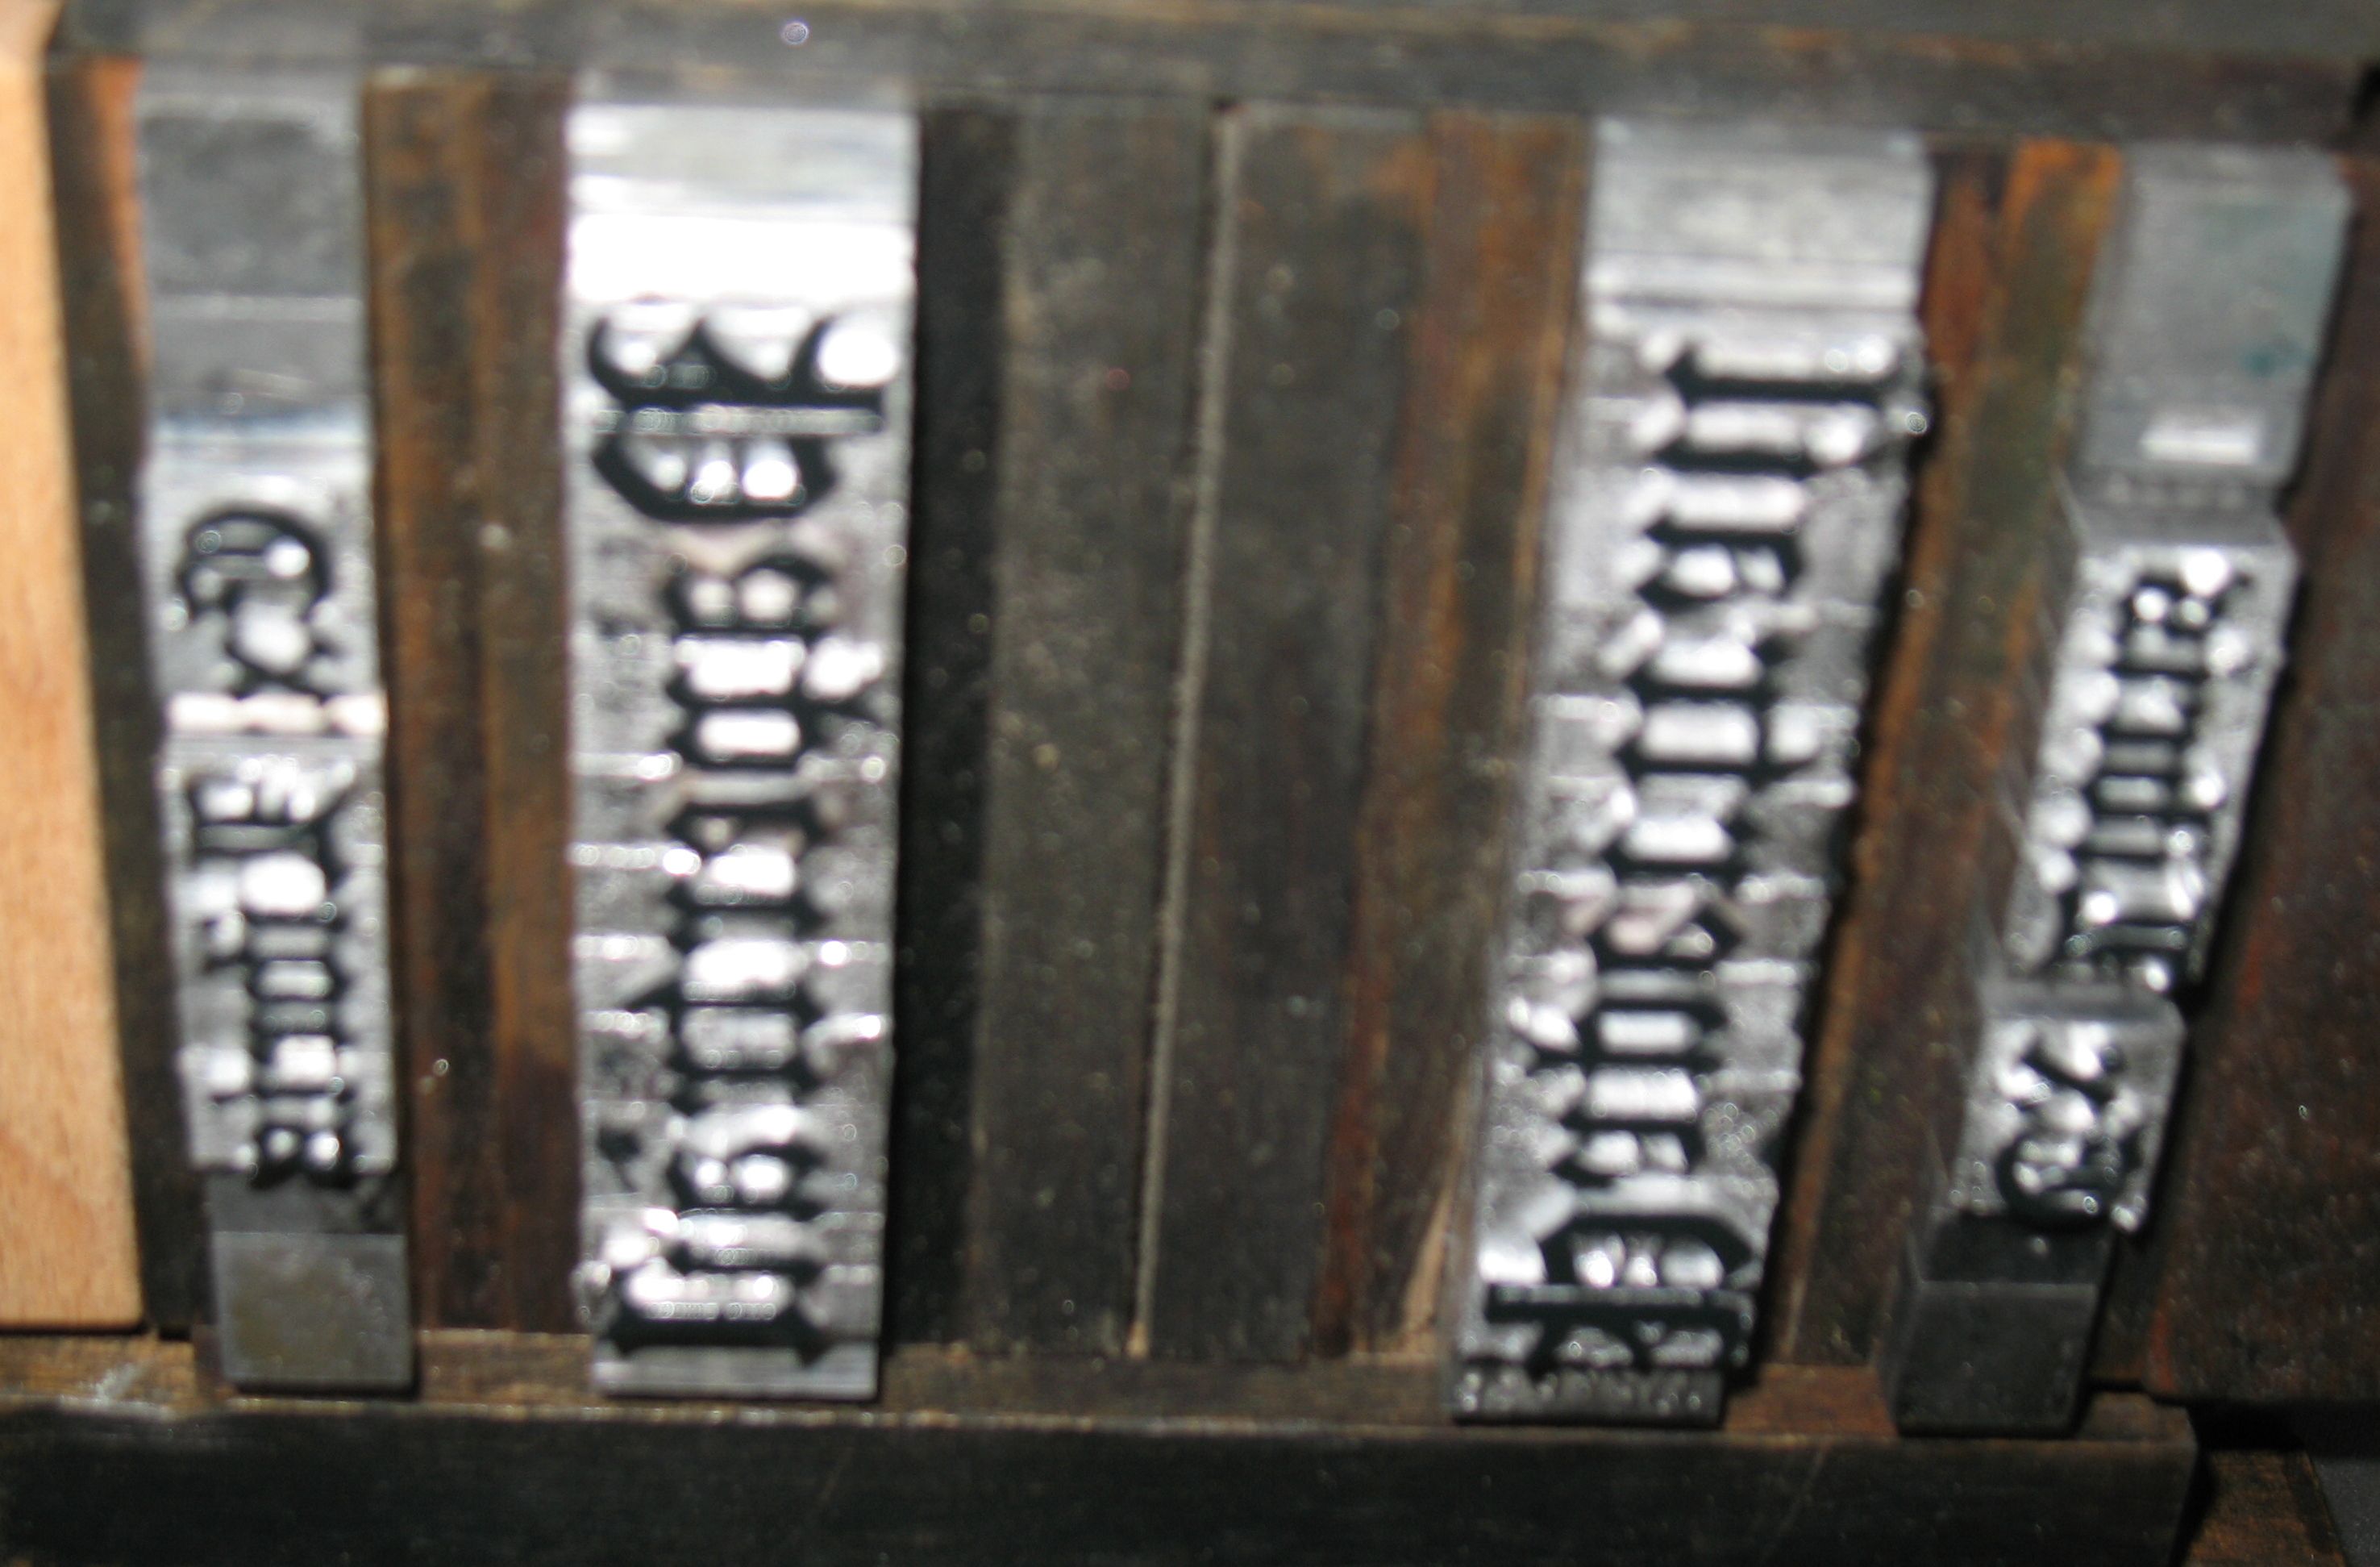
The type locked up in the chase of the Kelsey, all ready to print. The type is Cloister Black in 24 and 36 point.
We had one bundle of handmade paper that was double-business-card size, so I printed two bookplates on each, and we will wet-tear them apart to simulate a deckle edge. The paper is not sized so wet-tearing works quite well. The unfortunate thing is that the paper is made from leftover pulp from a children’s’ papermaking workshop and so contains quite a bit of glitter. That is not of itself a problem, but some of the glitter was still stuck together in stacks as it would come out of the cutting die, thus making quite a thick hard lump in the paper. I had to pick these out not only because these lumps could damage the book the plate was put in, but could also damage the type I was using the print them.
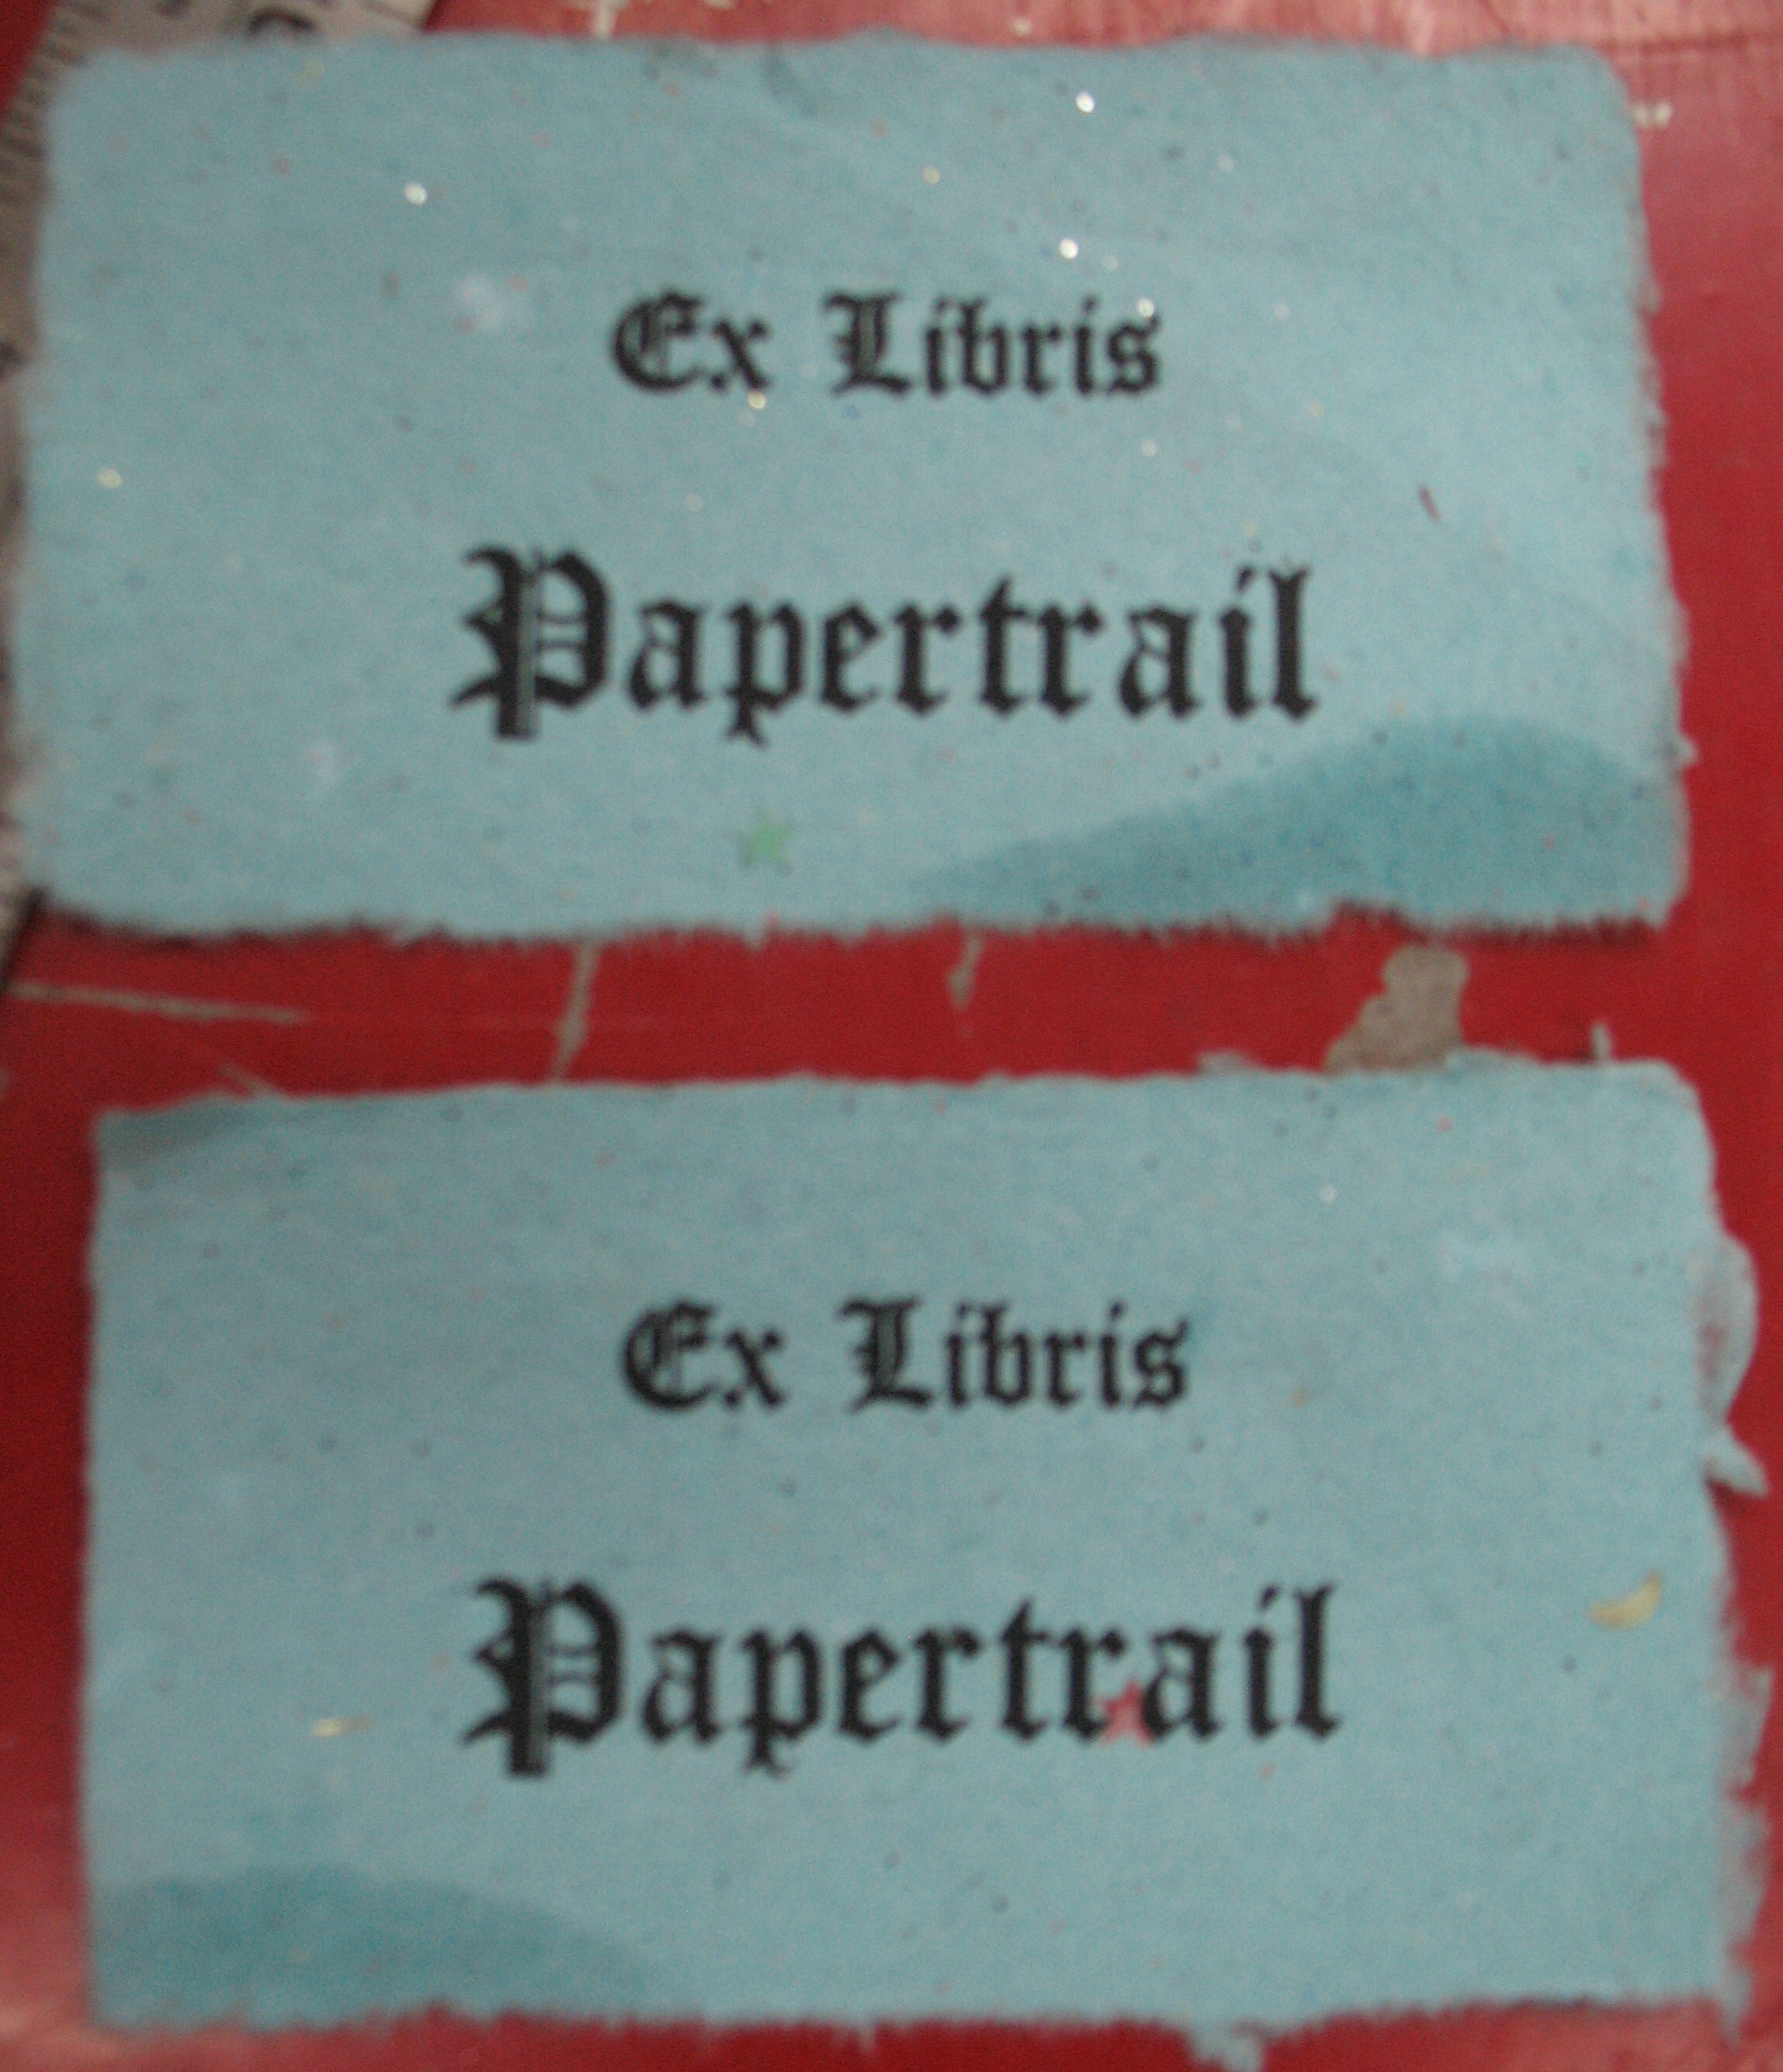
The finished bookplates, still with wet spots from wet-tearing the two halves apart.
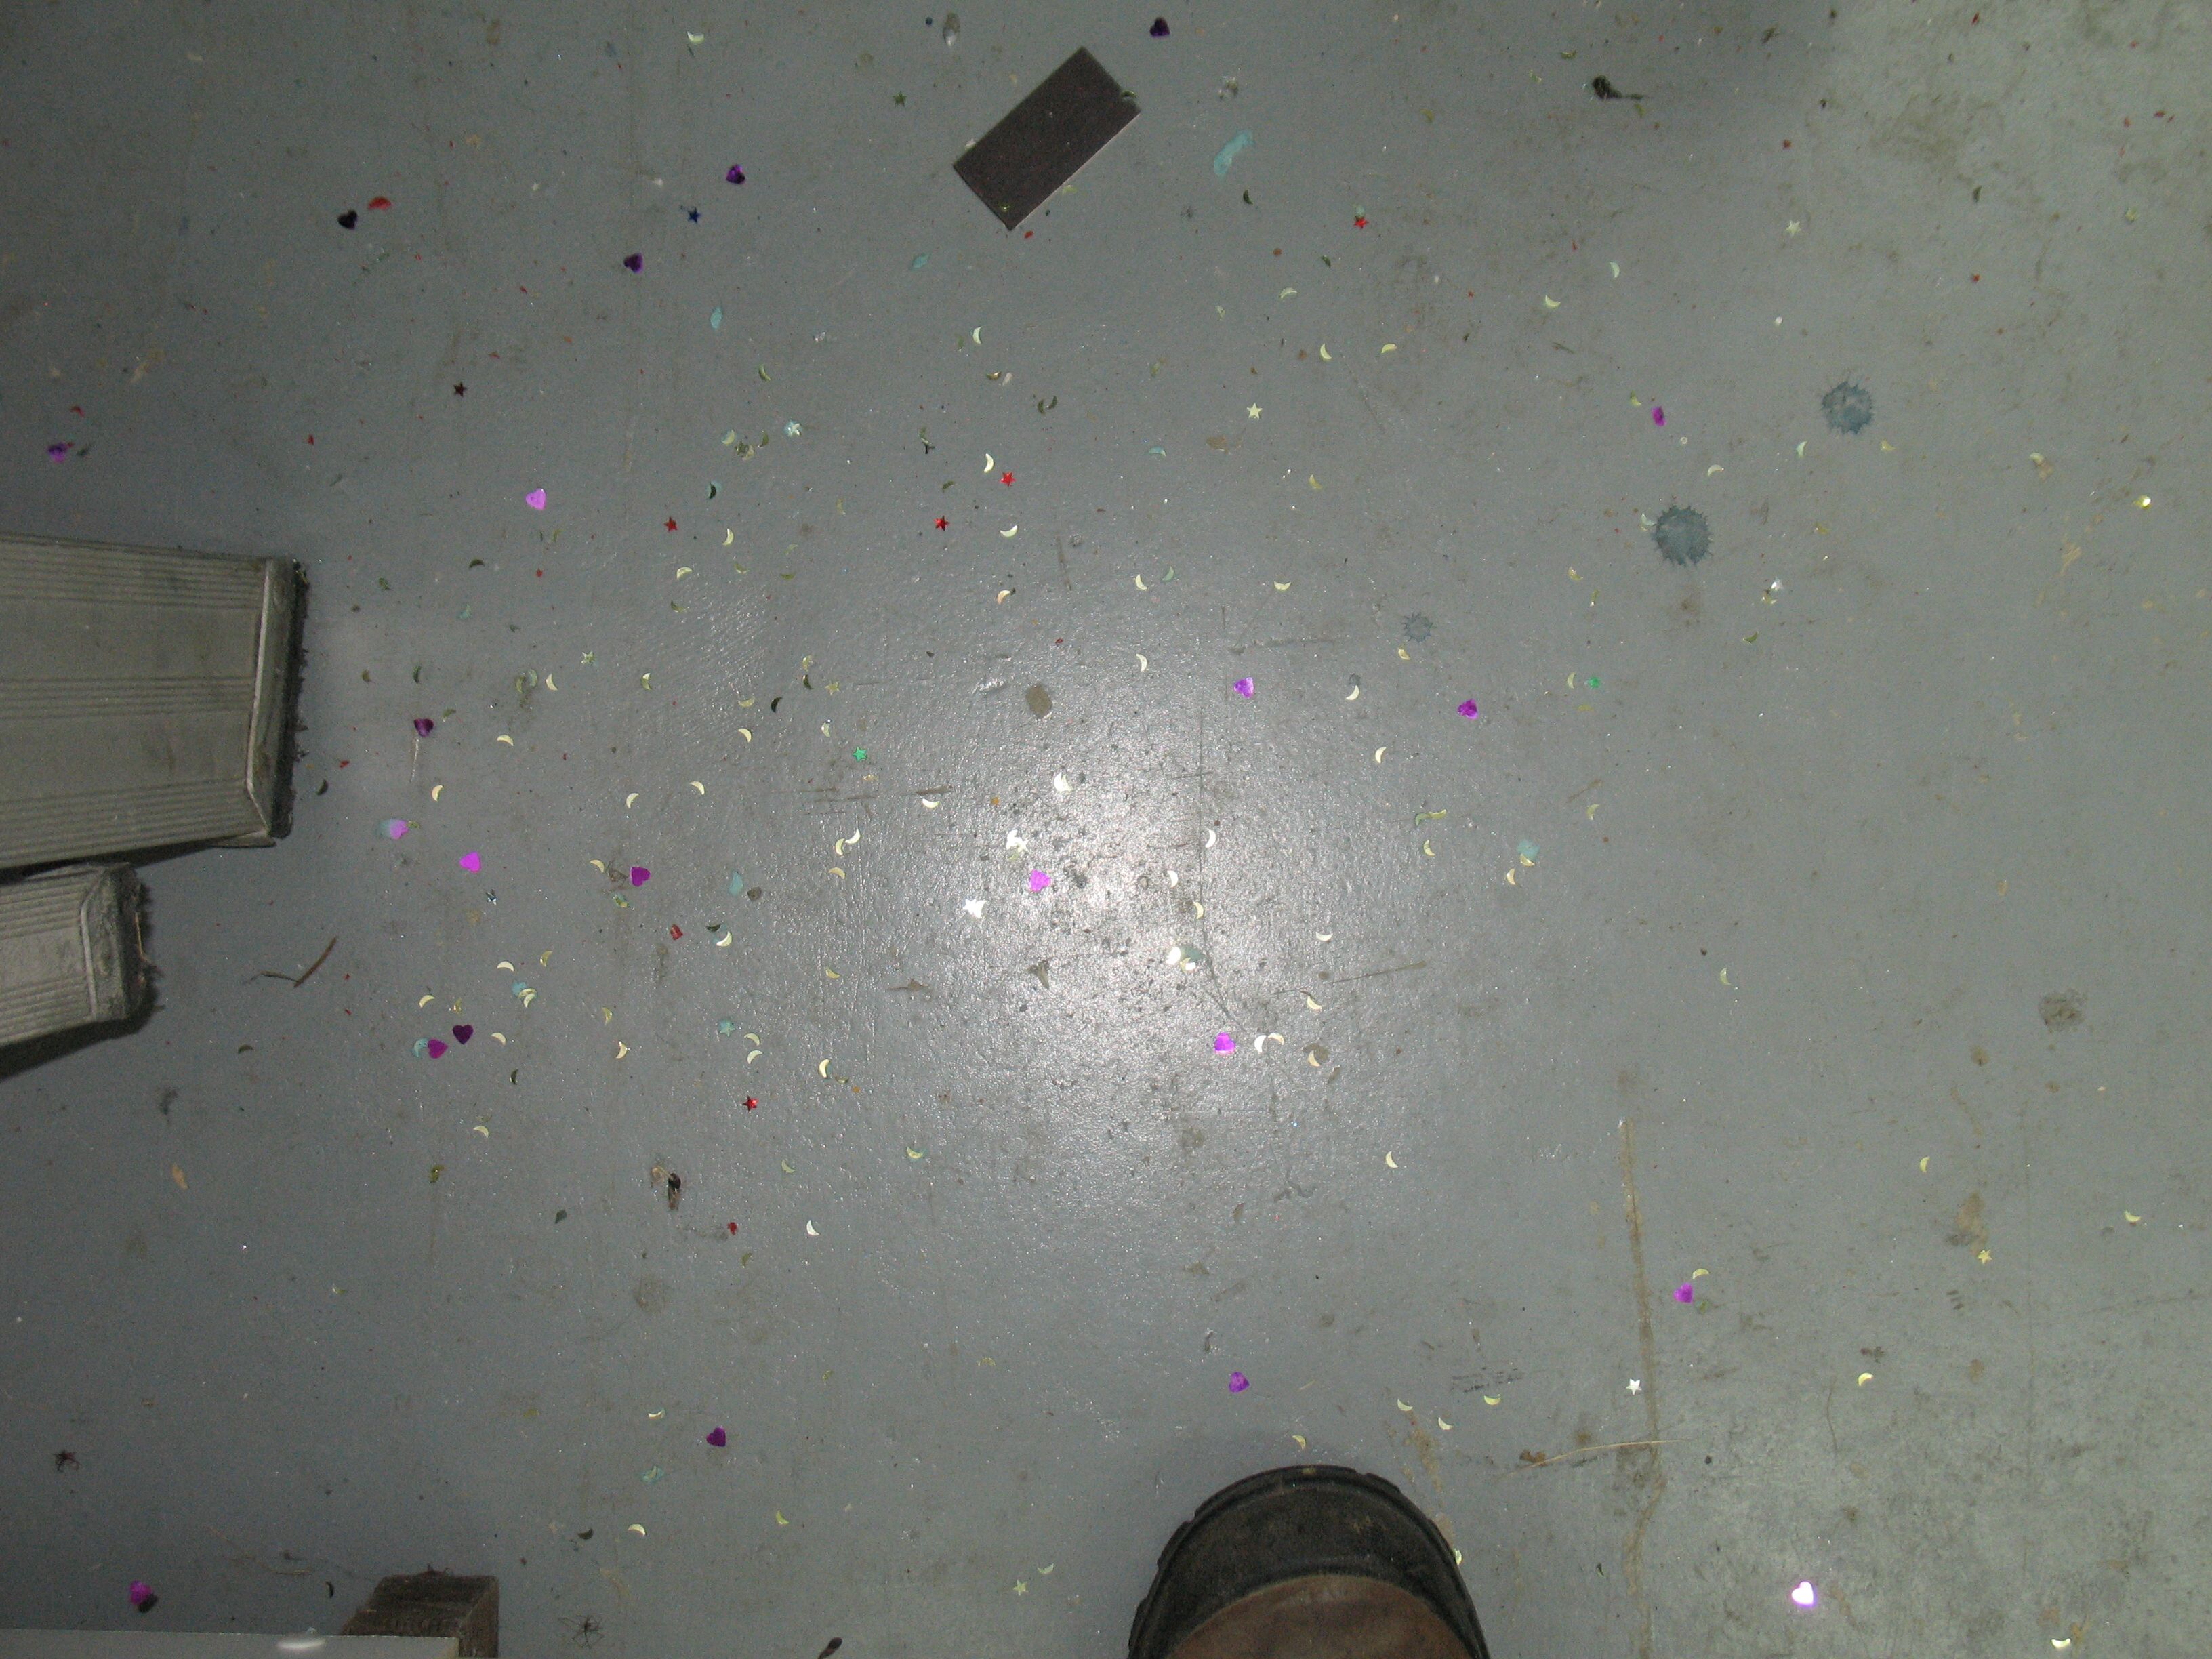
All the glitter on the floor that I had picked out of the paper.
I have a couple of short videos of the printing in progress, but I have do some editing and sound clean-up before putting them on YouTube.