This was a project we did about 12 years ago: a guestbook for a wedding. The overall size was about 10″ wide by 8½” high. The book was finished with a title plate pasted onto the cover (not shown), done on the same paper as the interior pages.

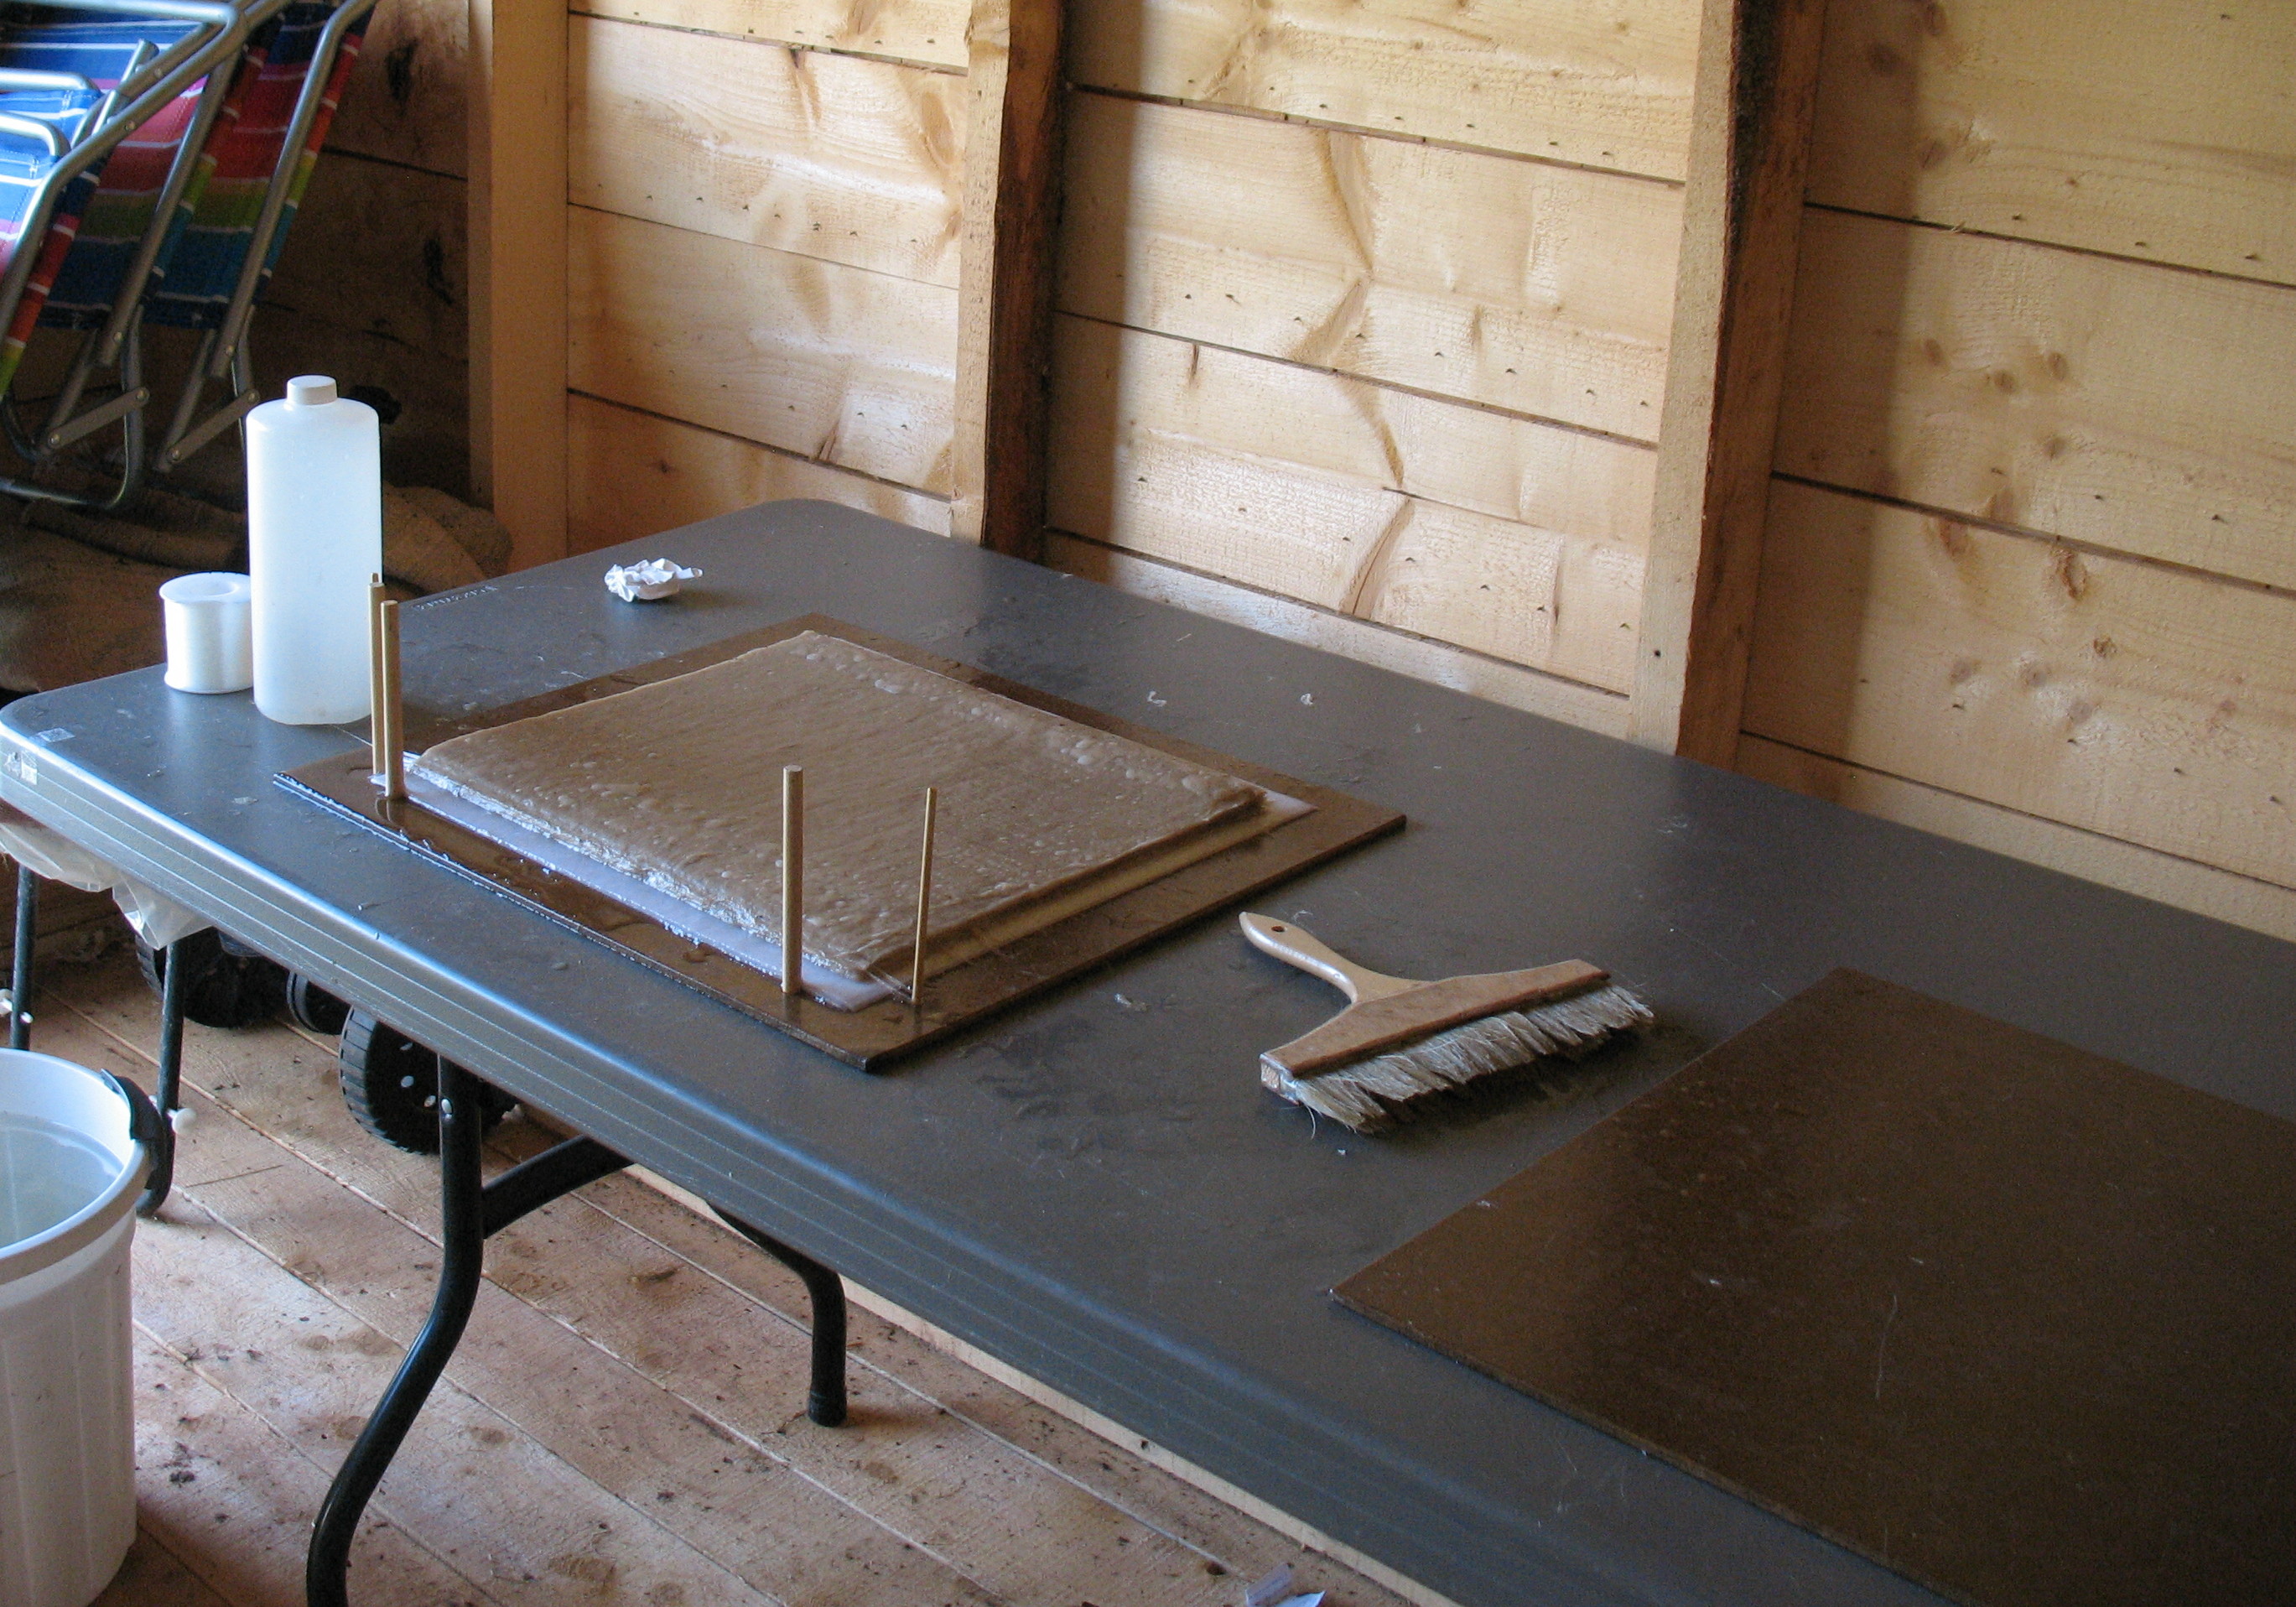
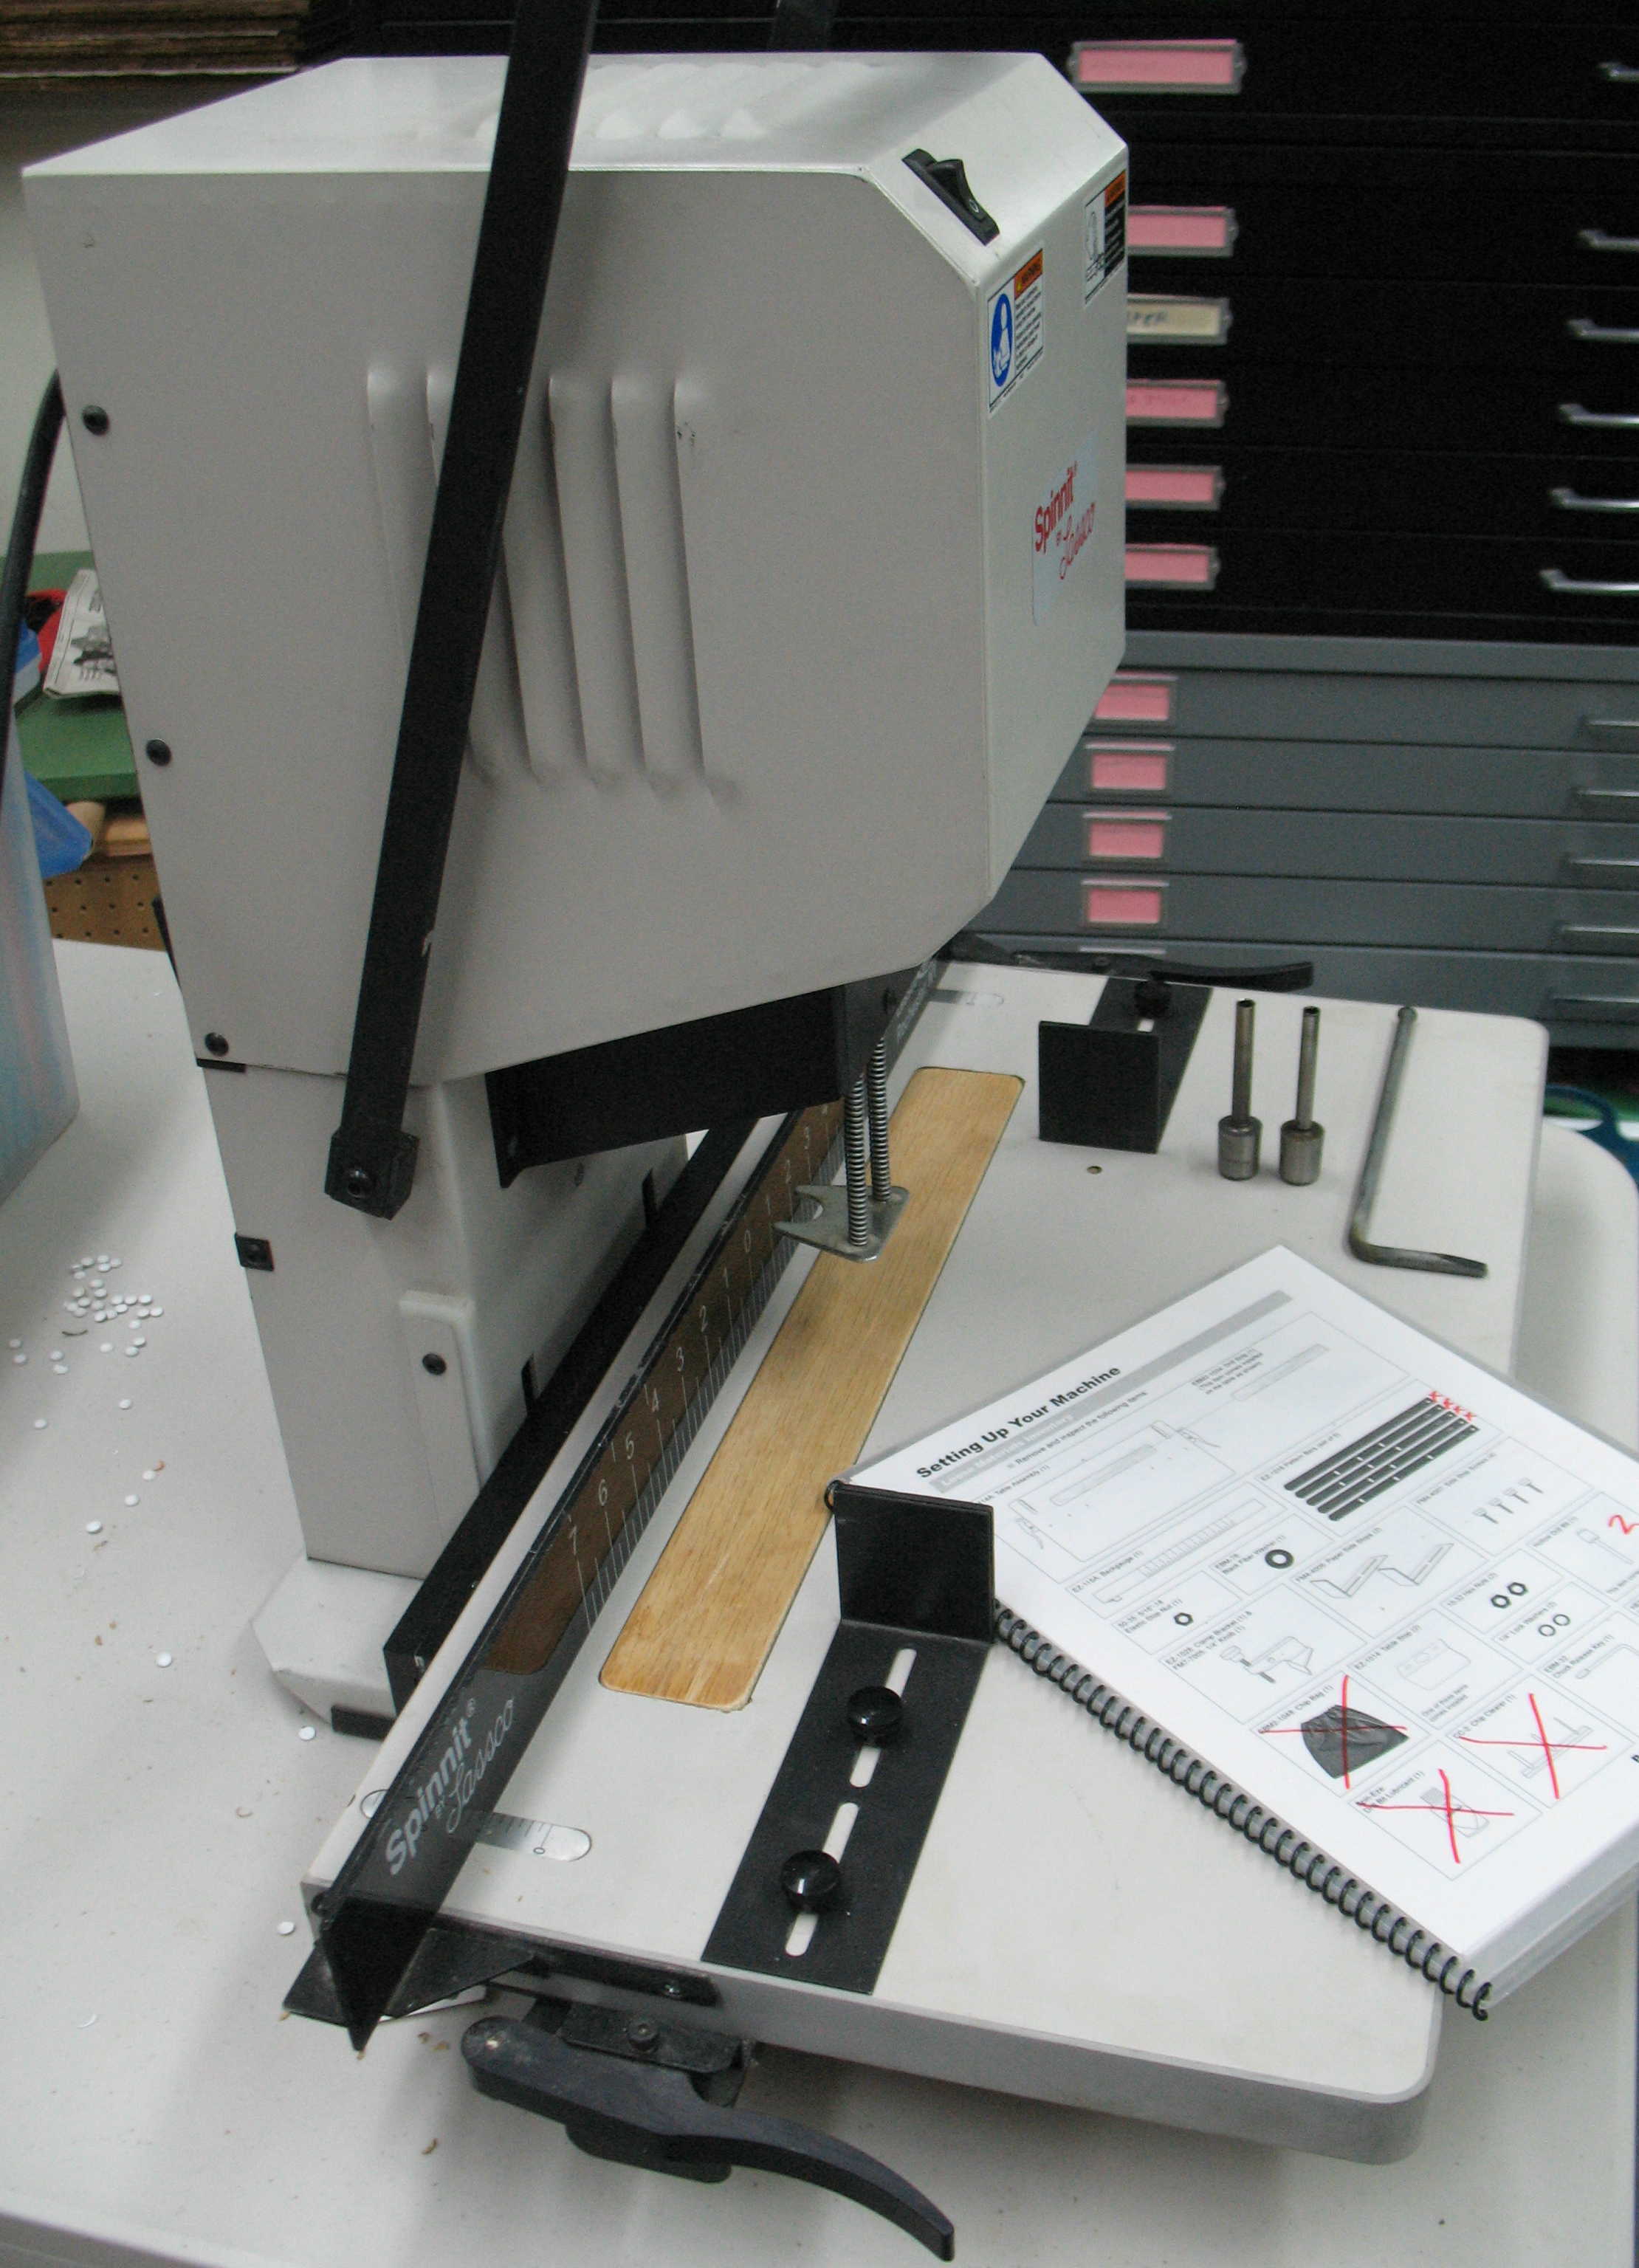
The textblock is 20 sheets of 8½×11” green handmade paper made from 1st cut cotton linters with chive flowers and asparagus needles as inclusions. The sheets were folded near their ends so the resulting book would have 20 leaves (40 pages) with guard strips in the spine area. This would allow items such as photos to be pasted into the book without causing too much bulging. The pages were trimmed at head and foot for easy turning but the raw deckle edge was left on the fore edge and the guard strips.
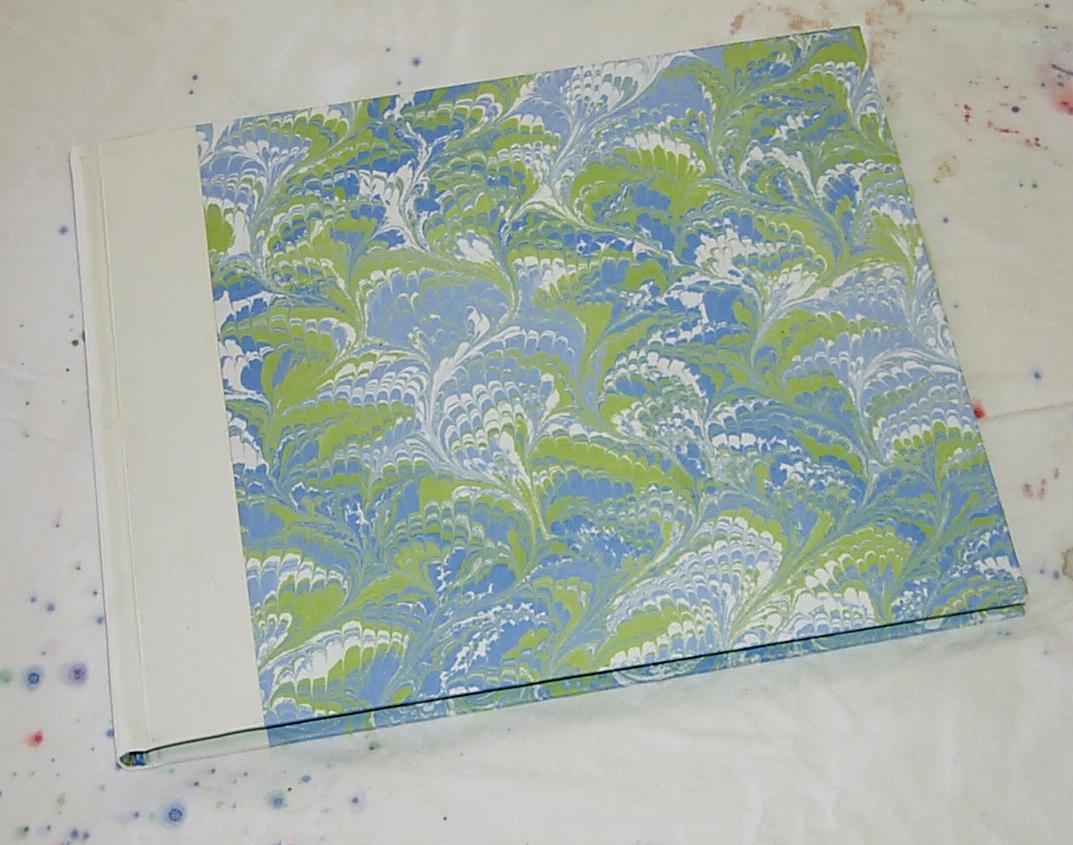
The book was casebound with marbled paper for the cover and white bookcloth on the spine. The marbling includes the colour of the interior pages.
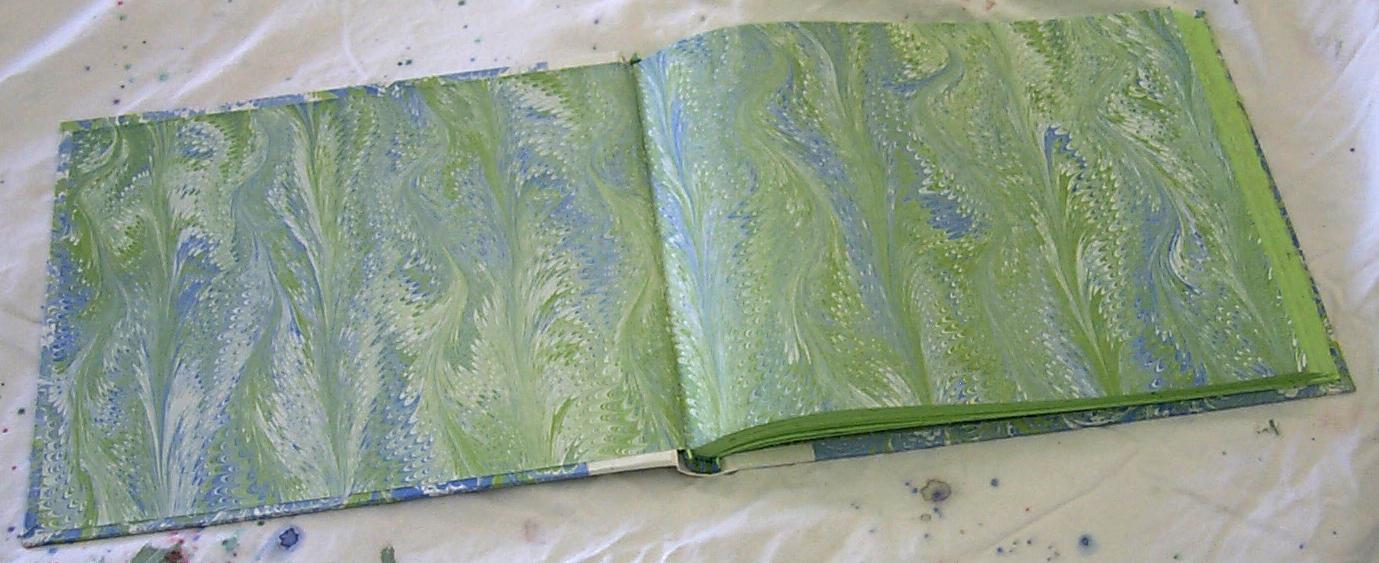
The endpapers were also marbled using a palette that included the textblock paper colour, but in a different pattern than the outside covers.
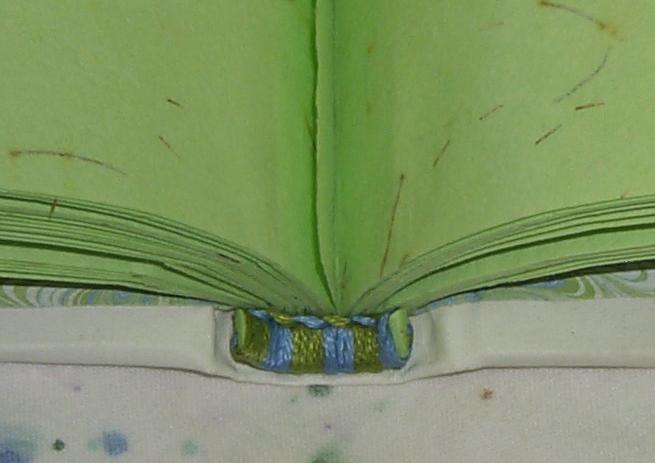
The textblock was finished off with handsewn headbands which pick up on the main colours of the marbling.
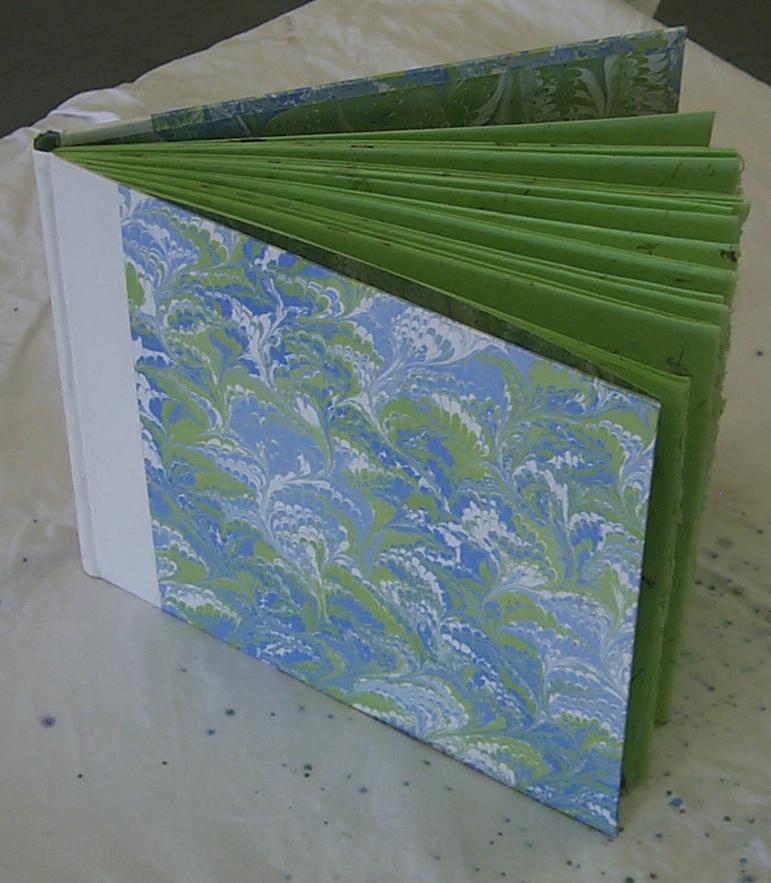
The completed guestbook