
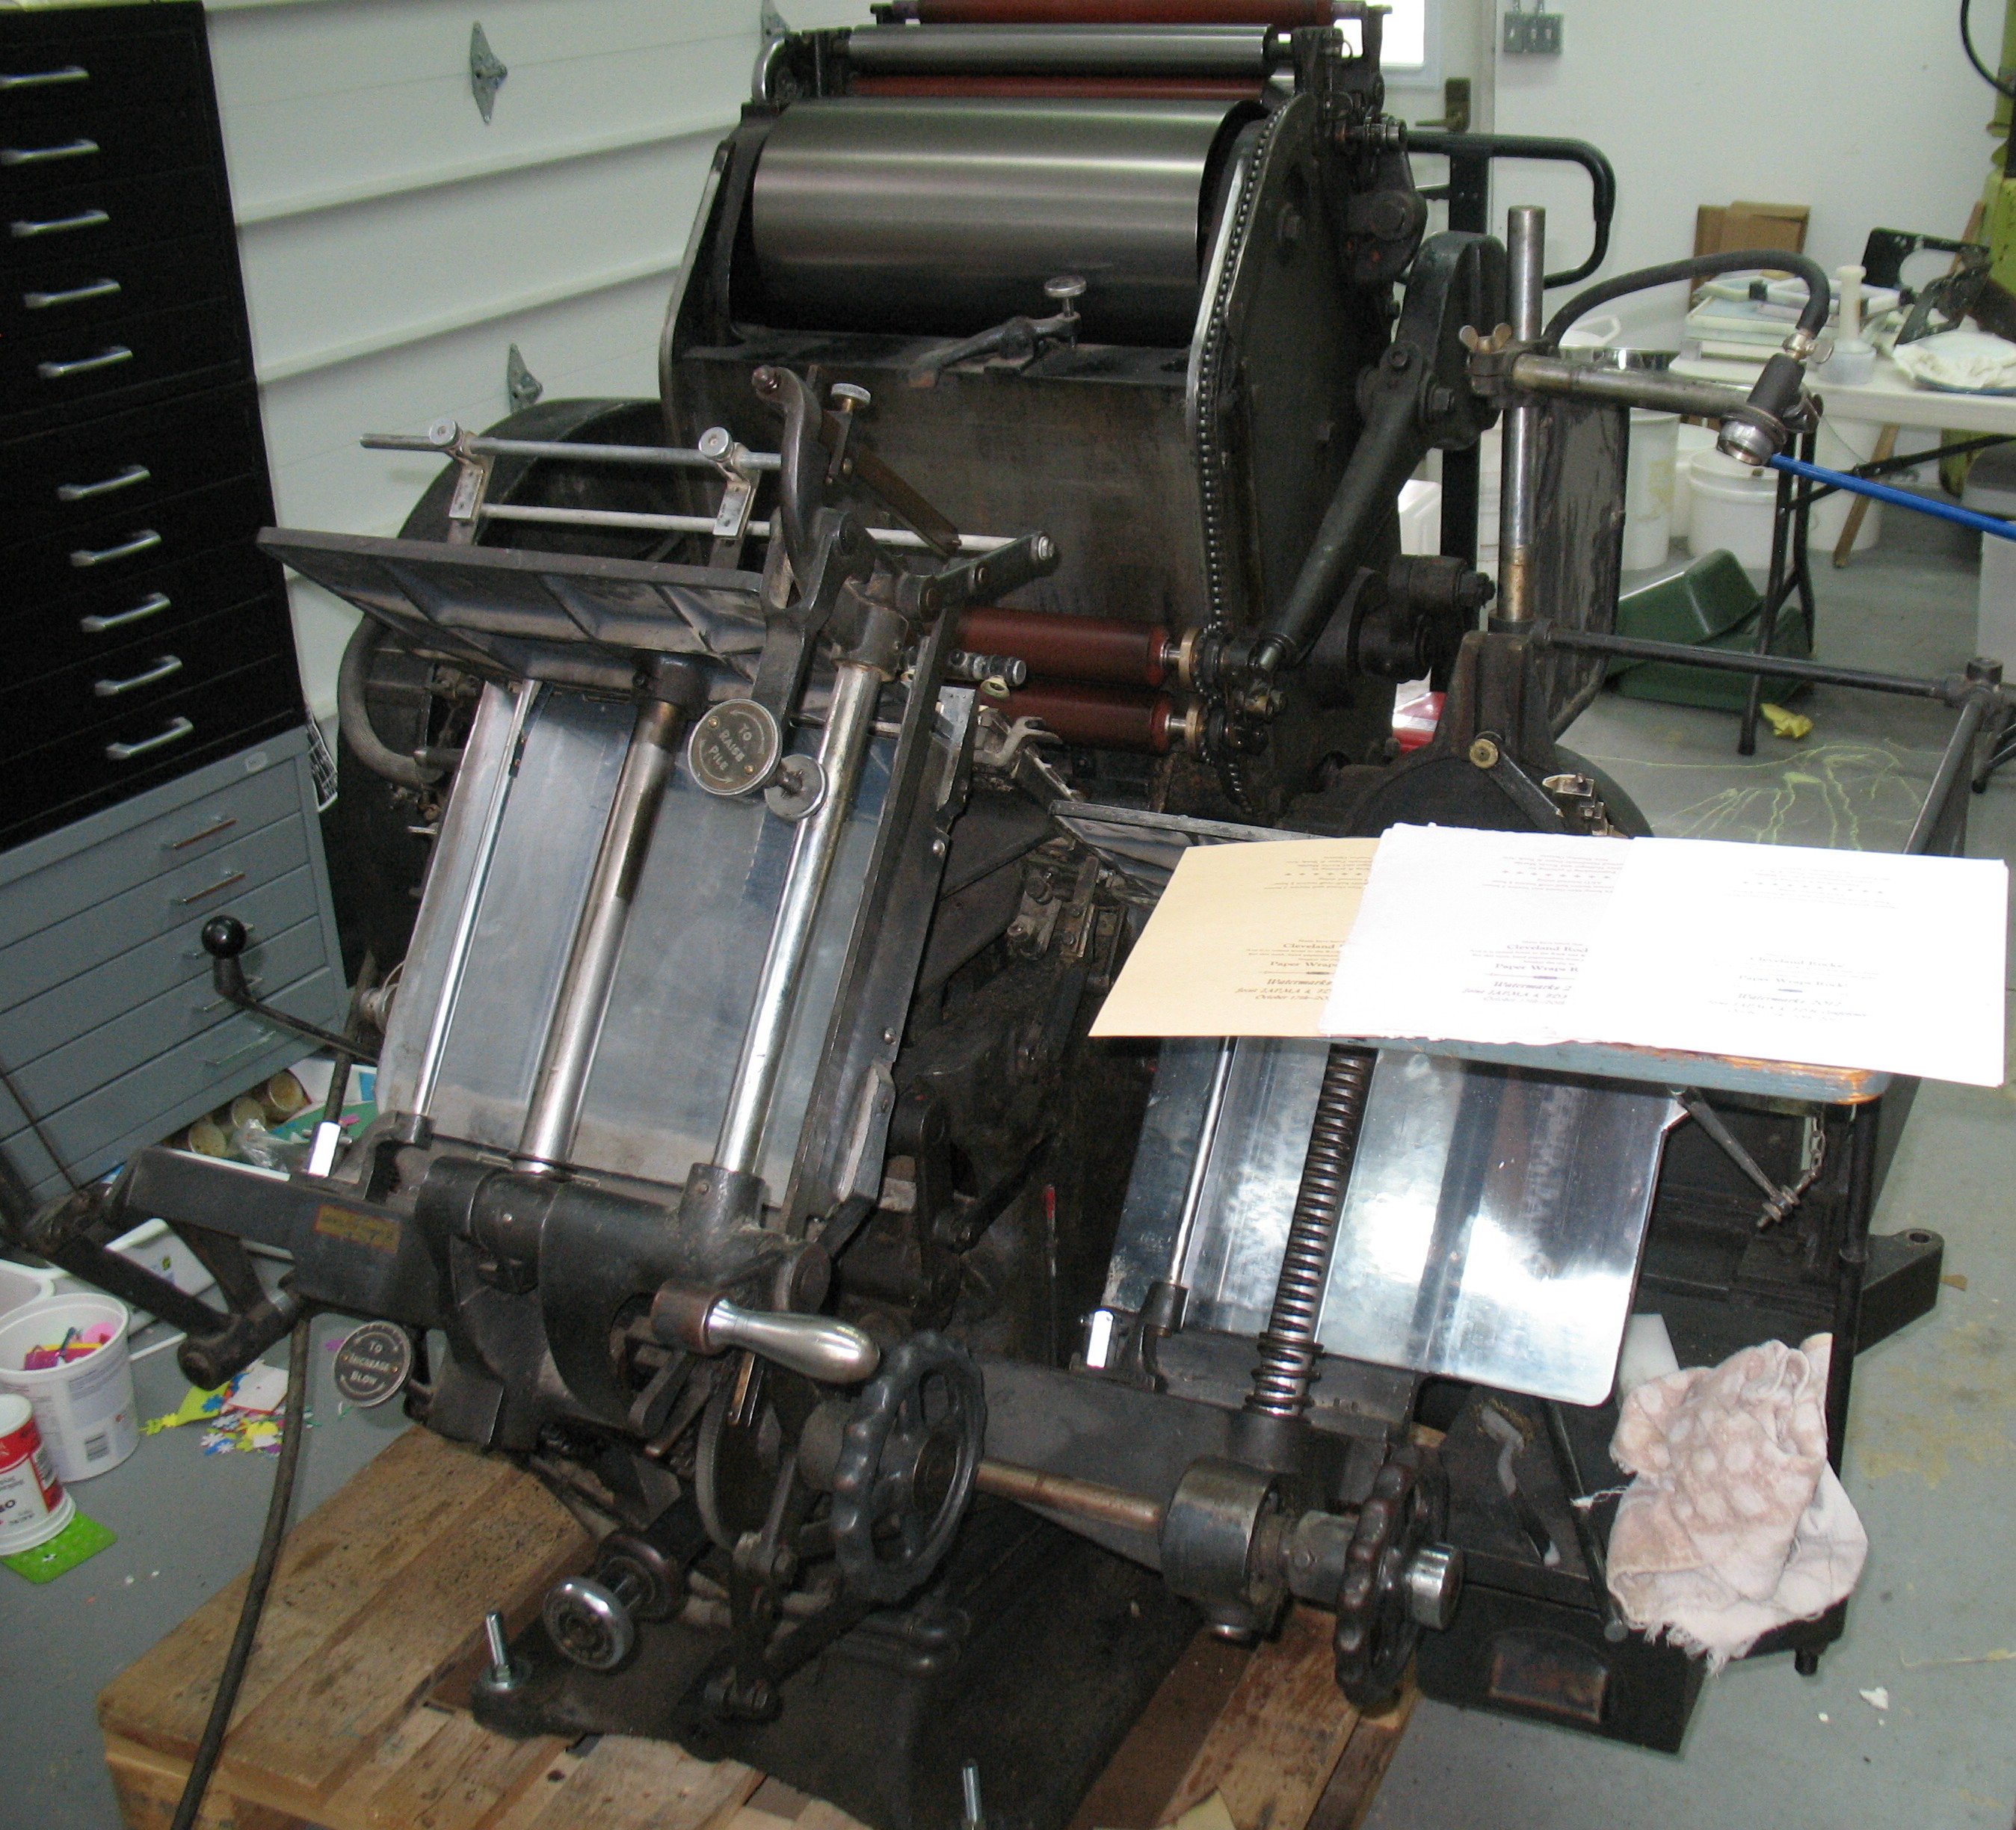
Most of the dirt on our Thompson platen press is a mix of dust, lint, and oil which can be removed with a soft brush and a vacuum cleaner.
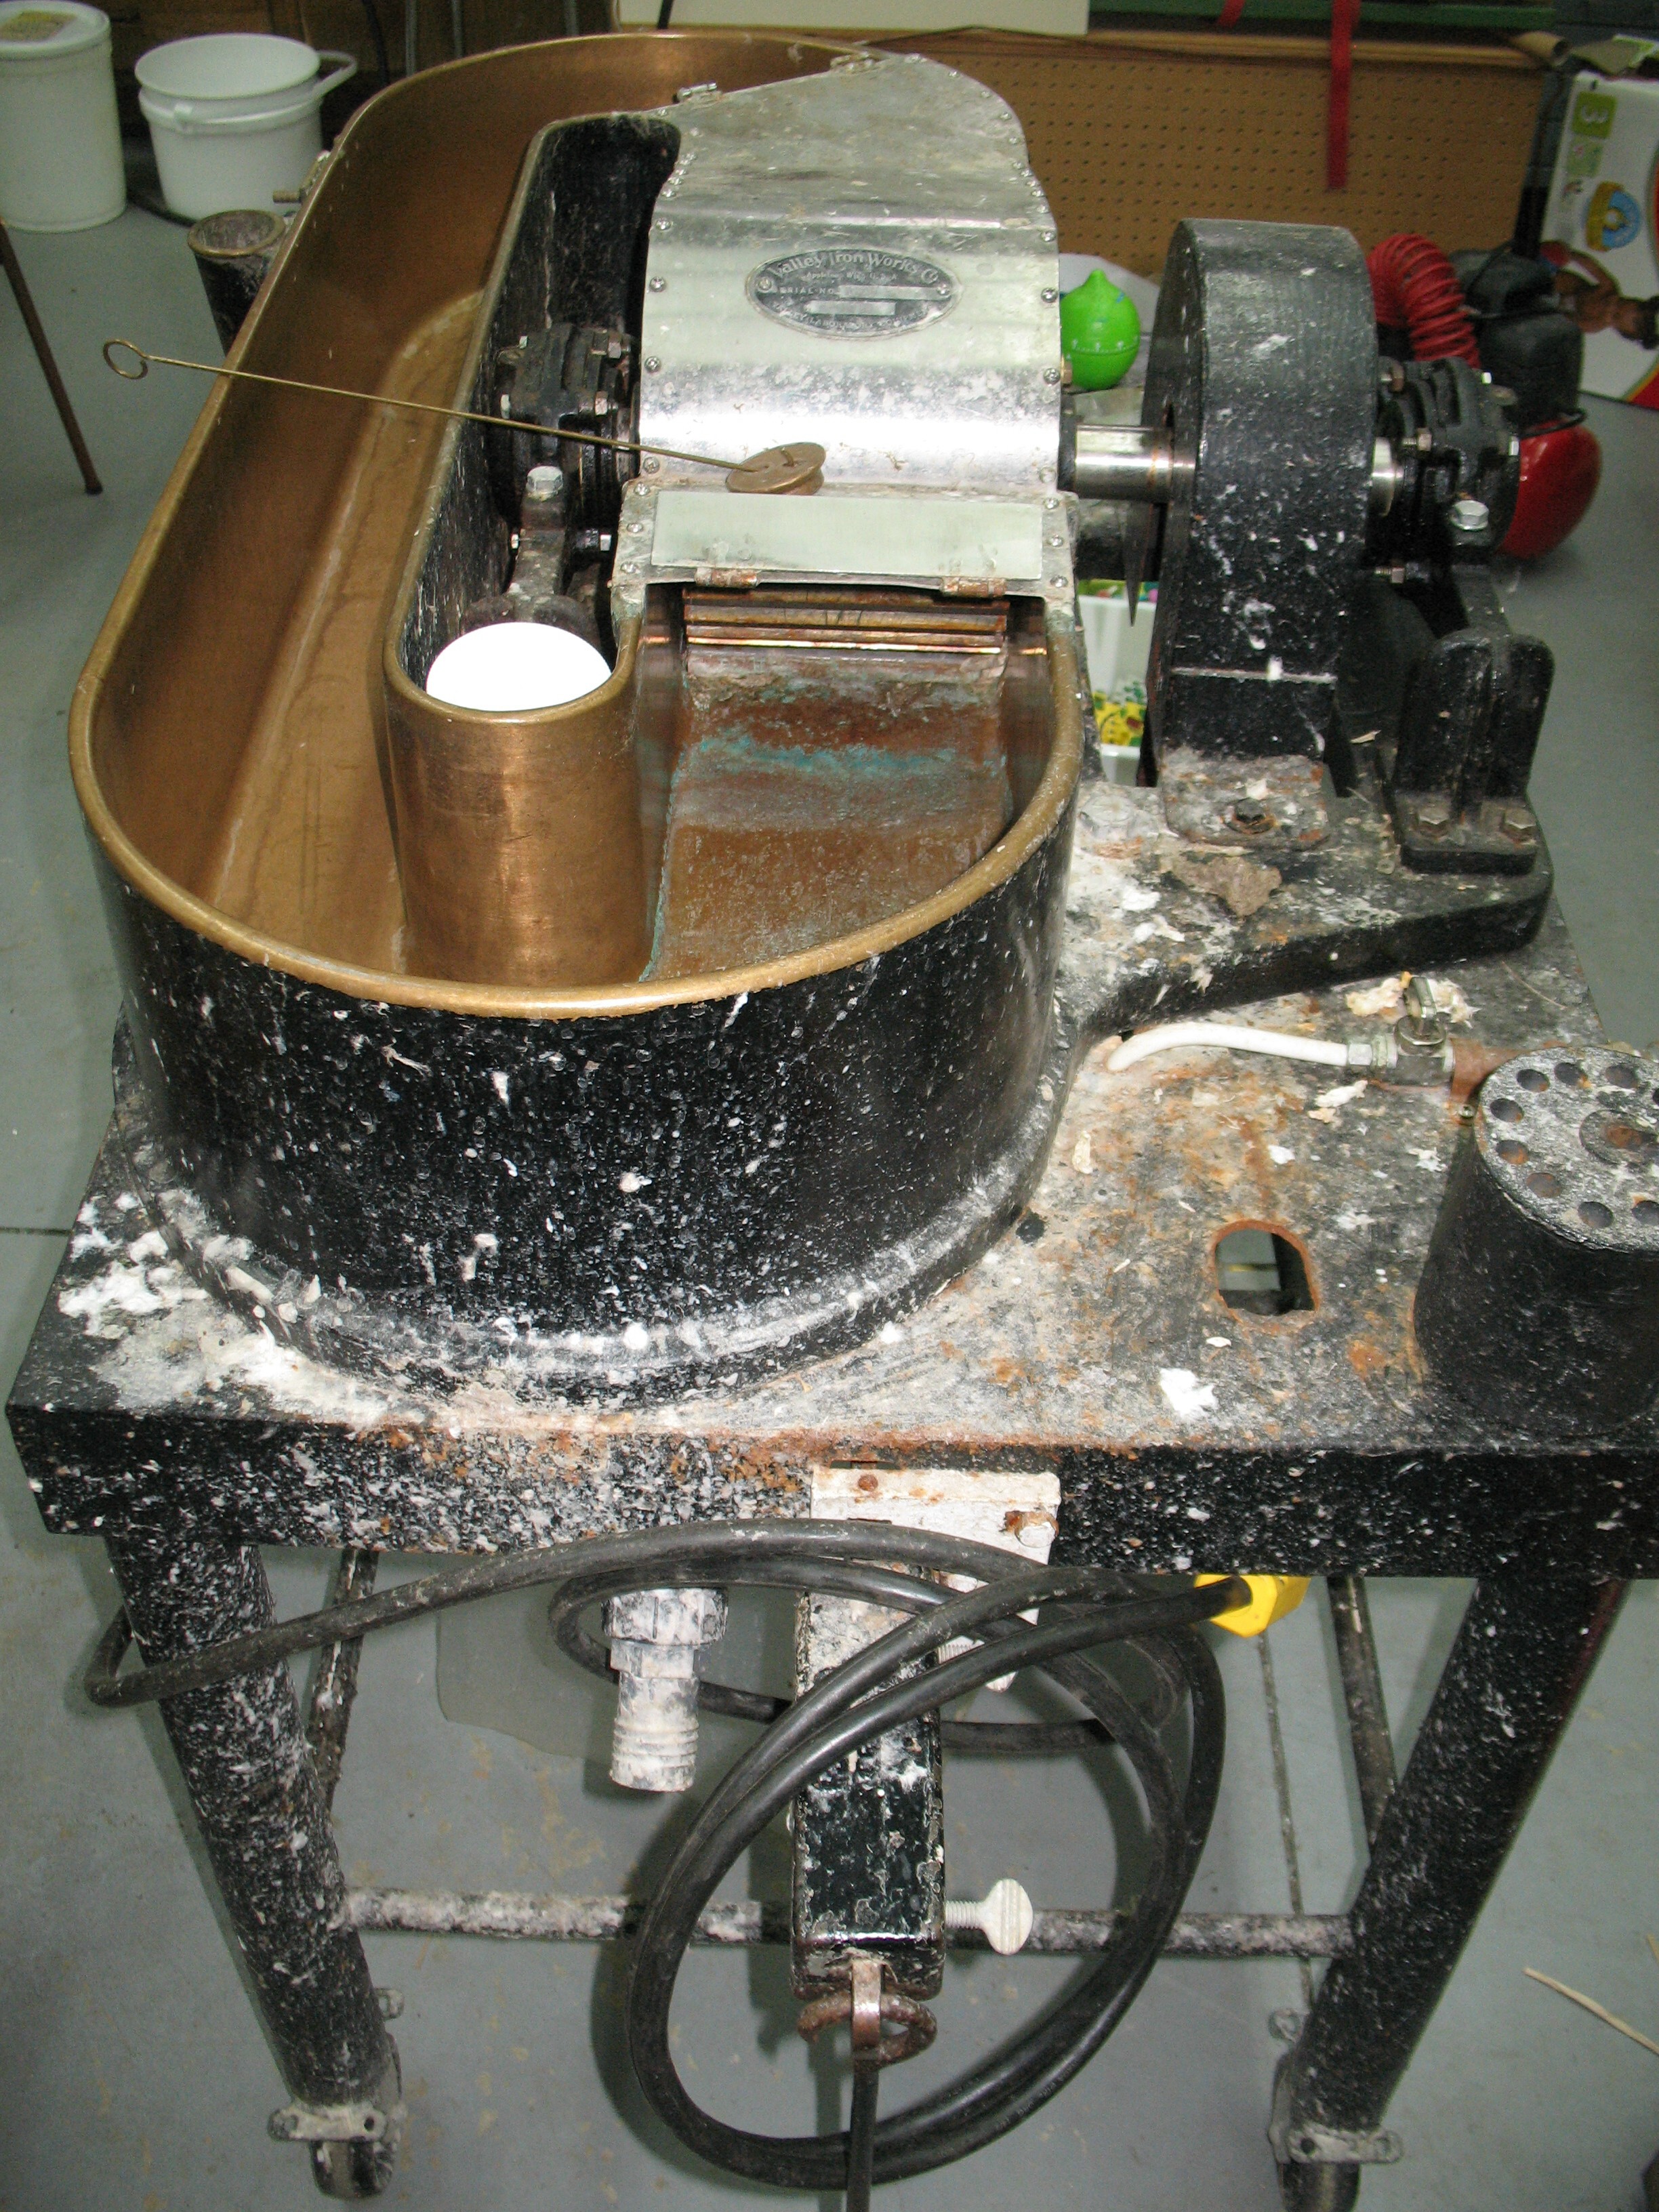
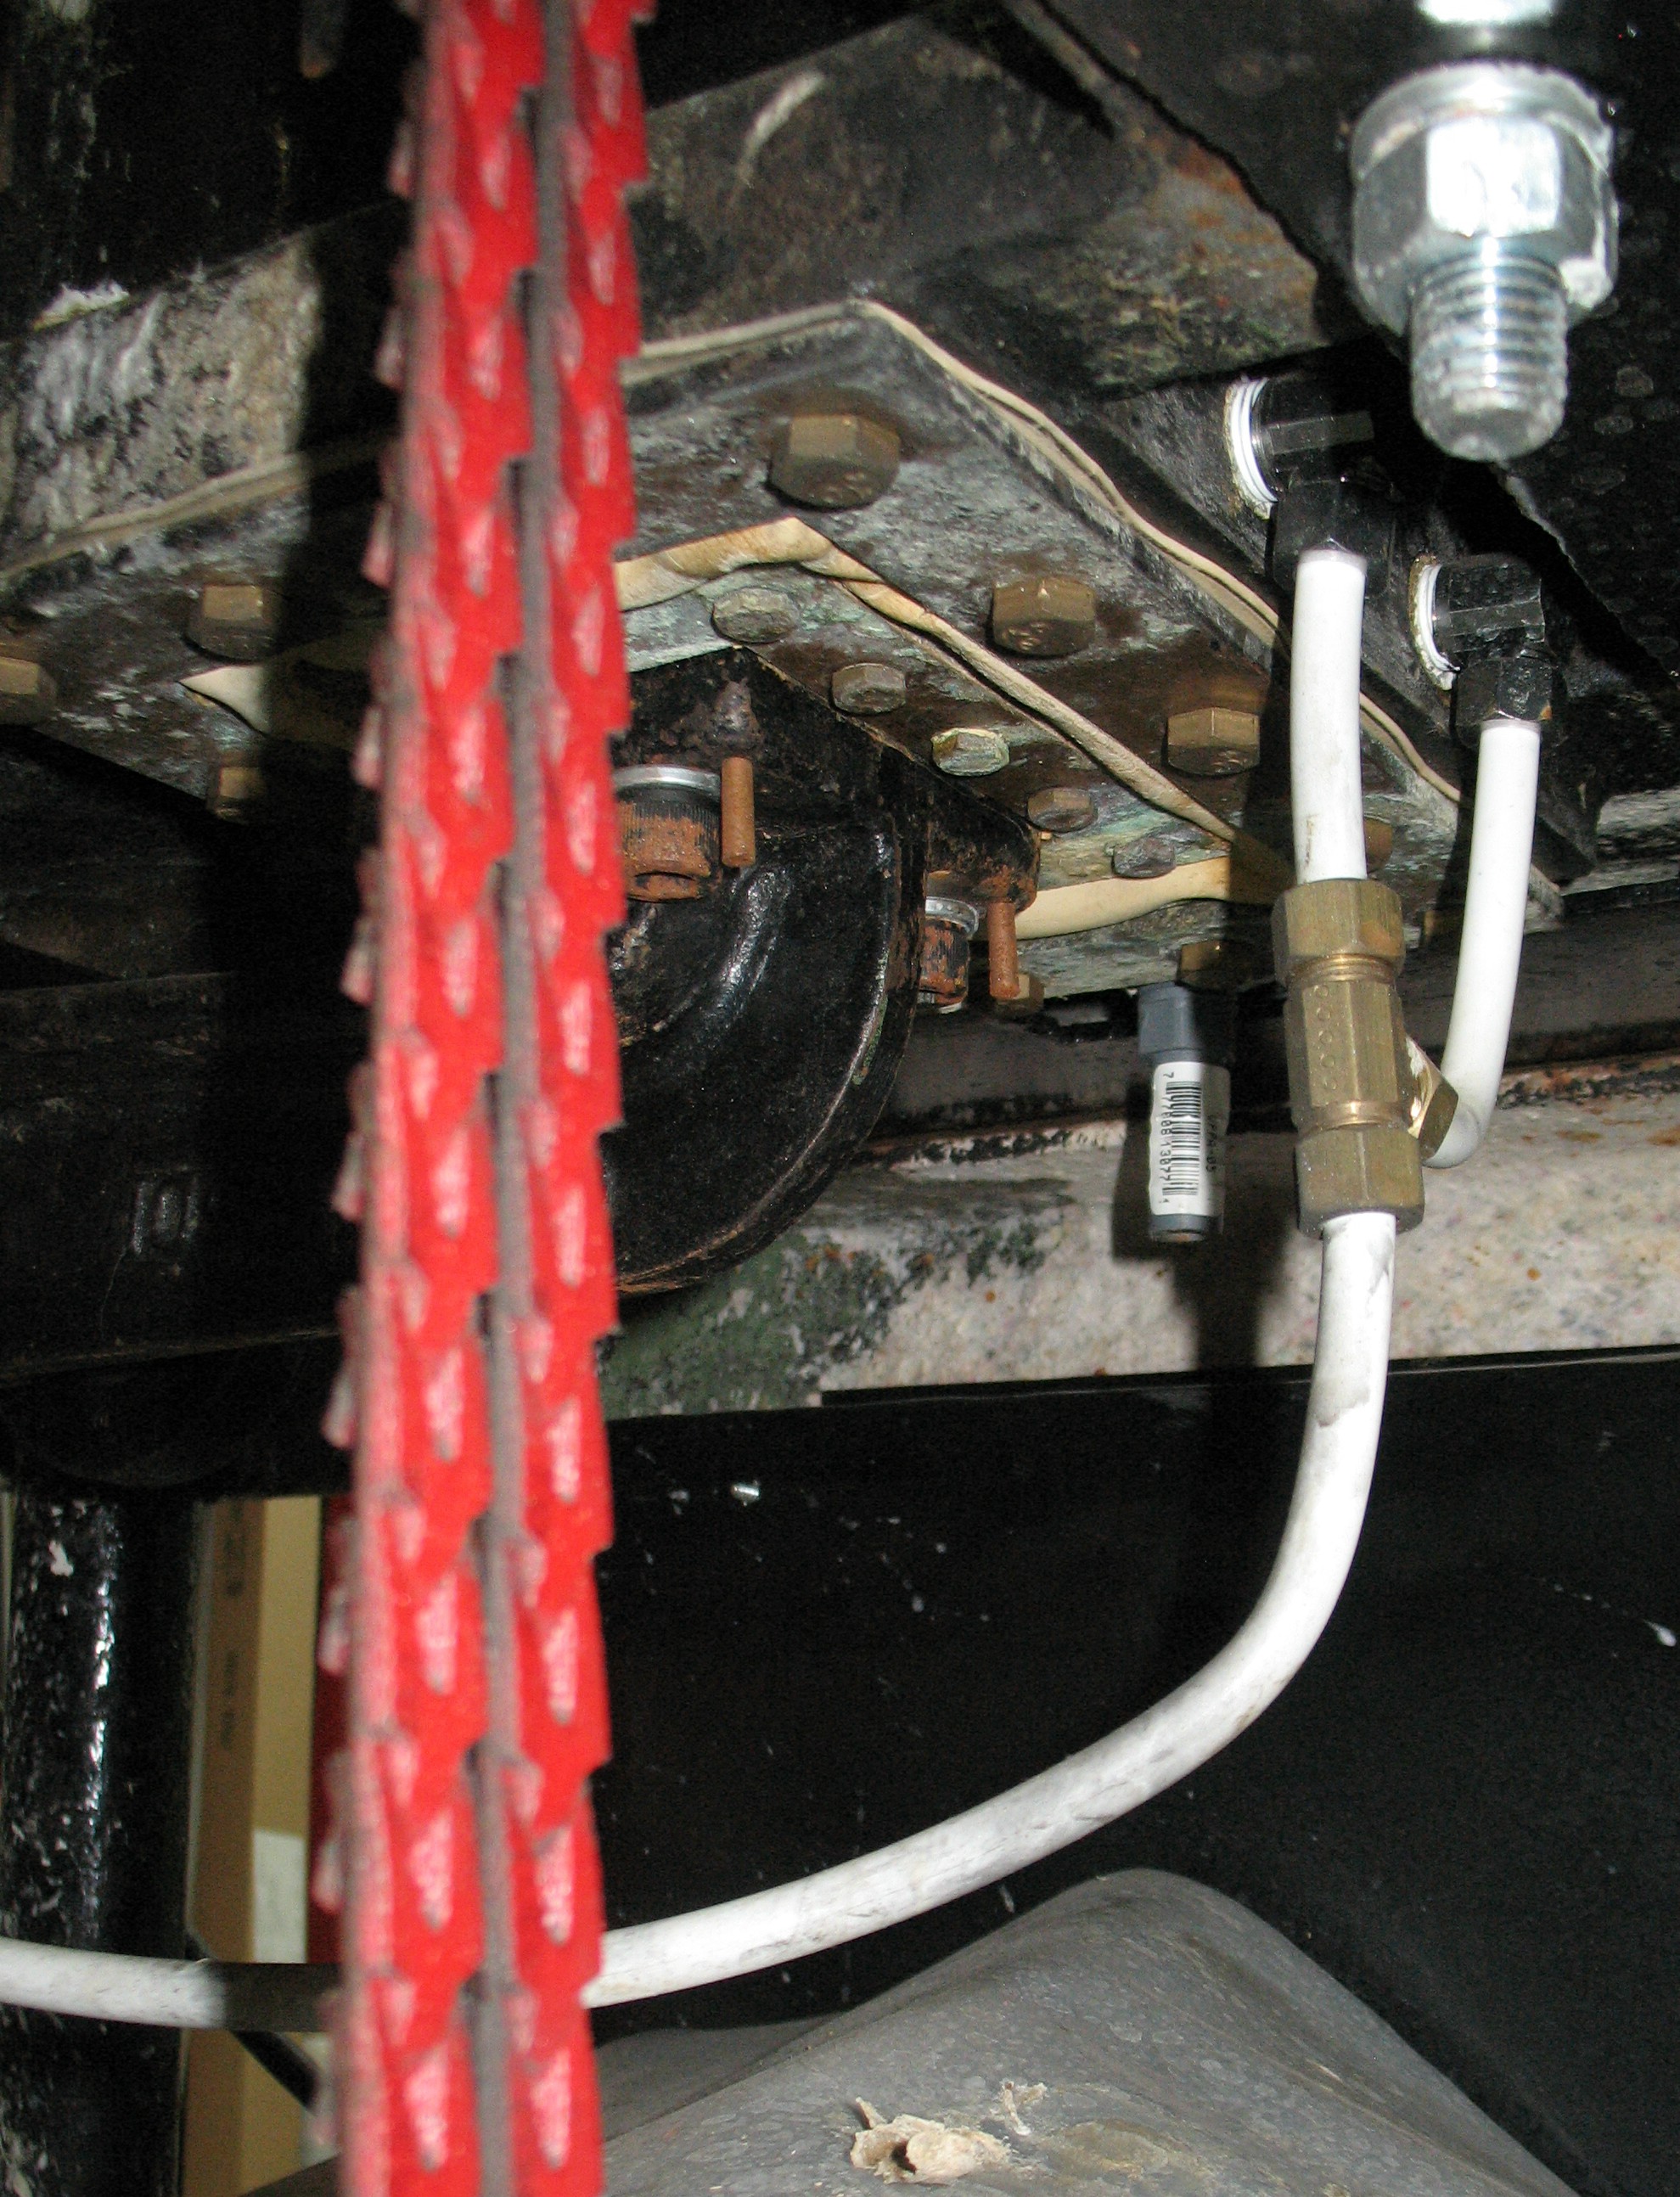
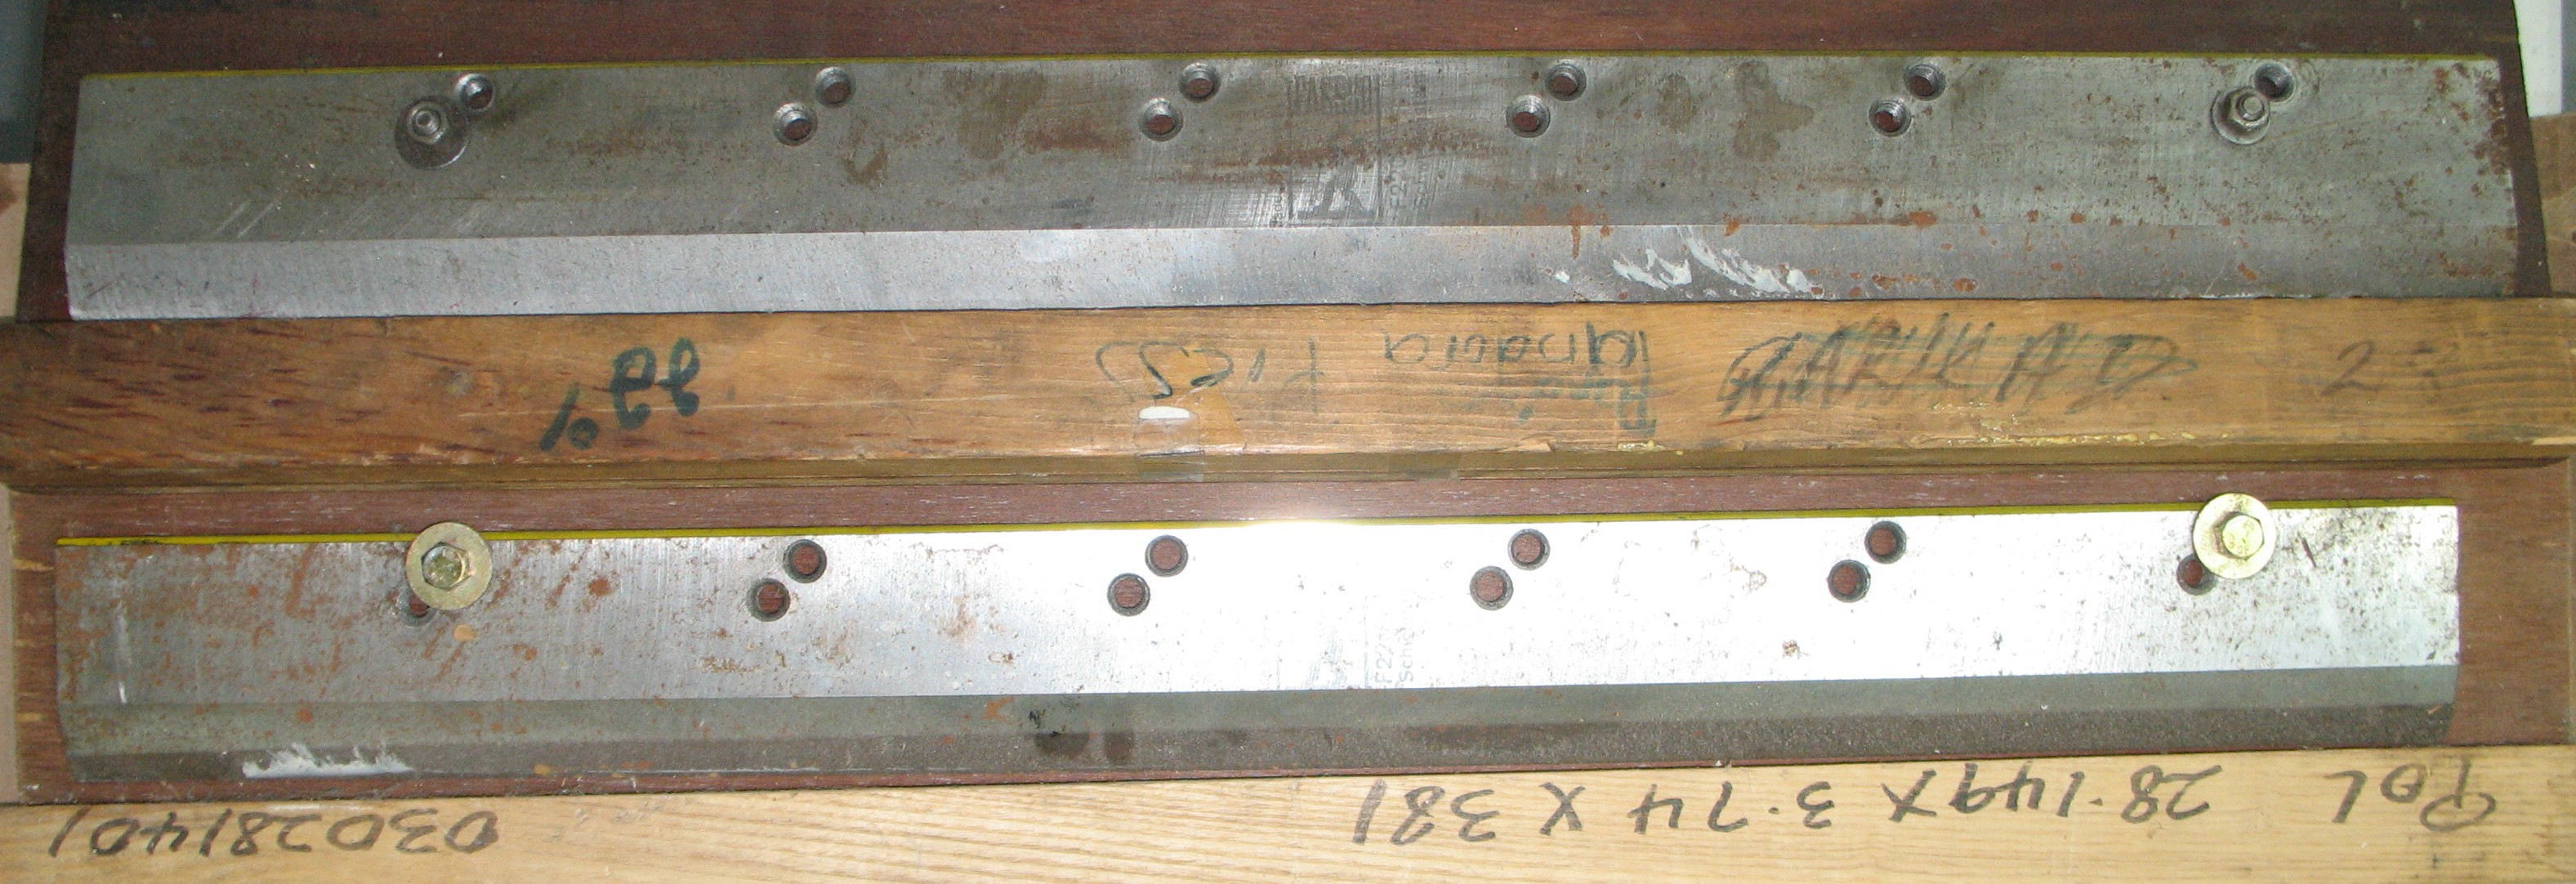
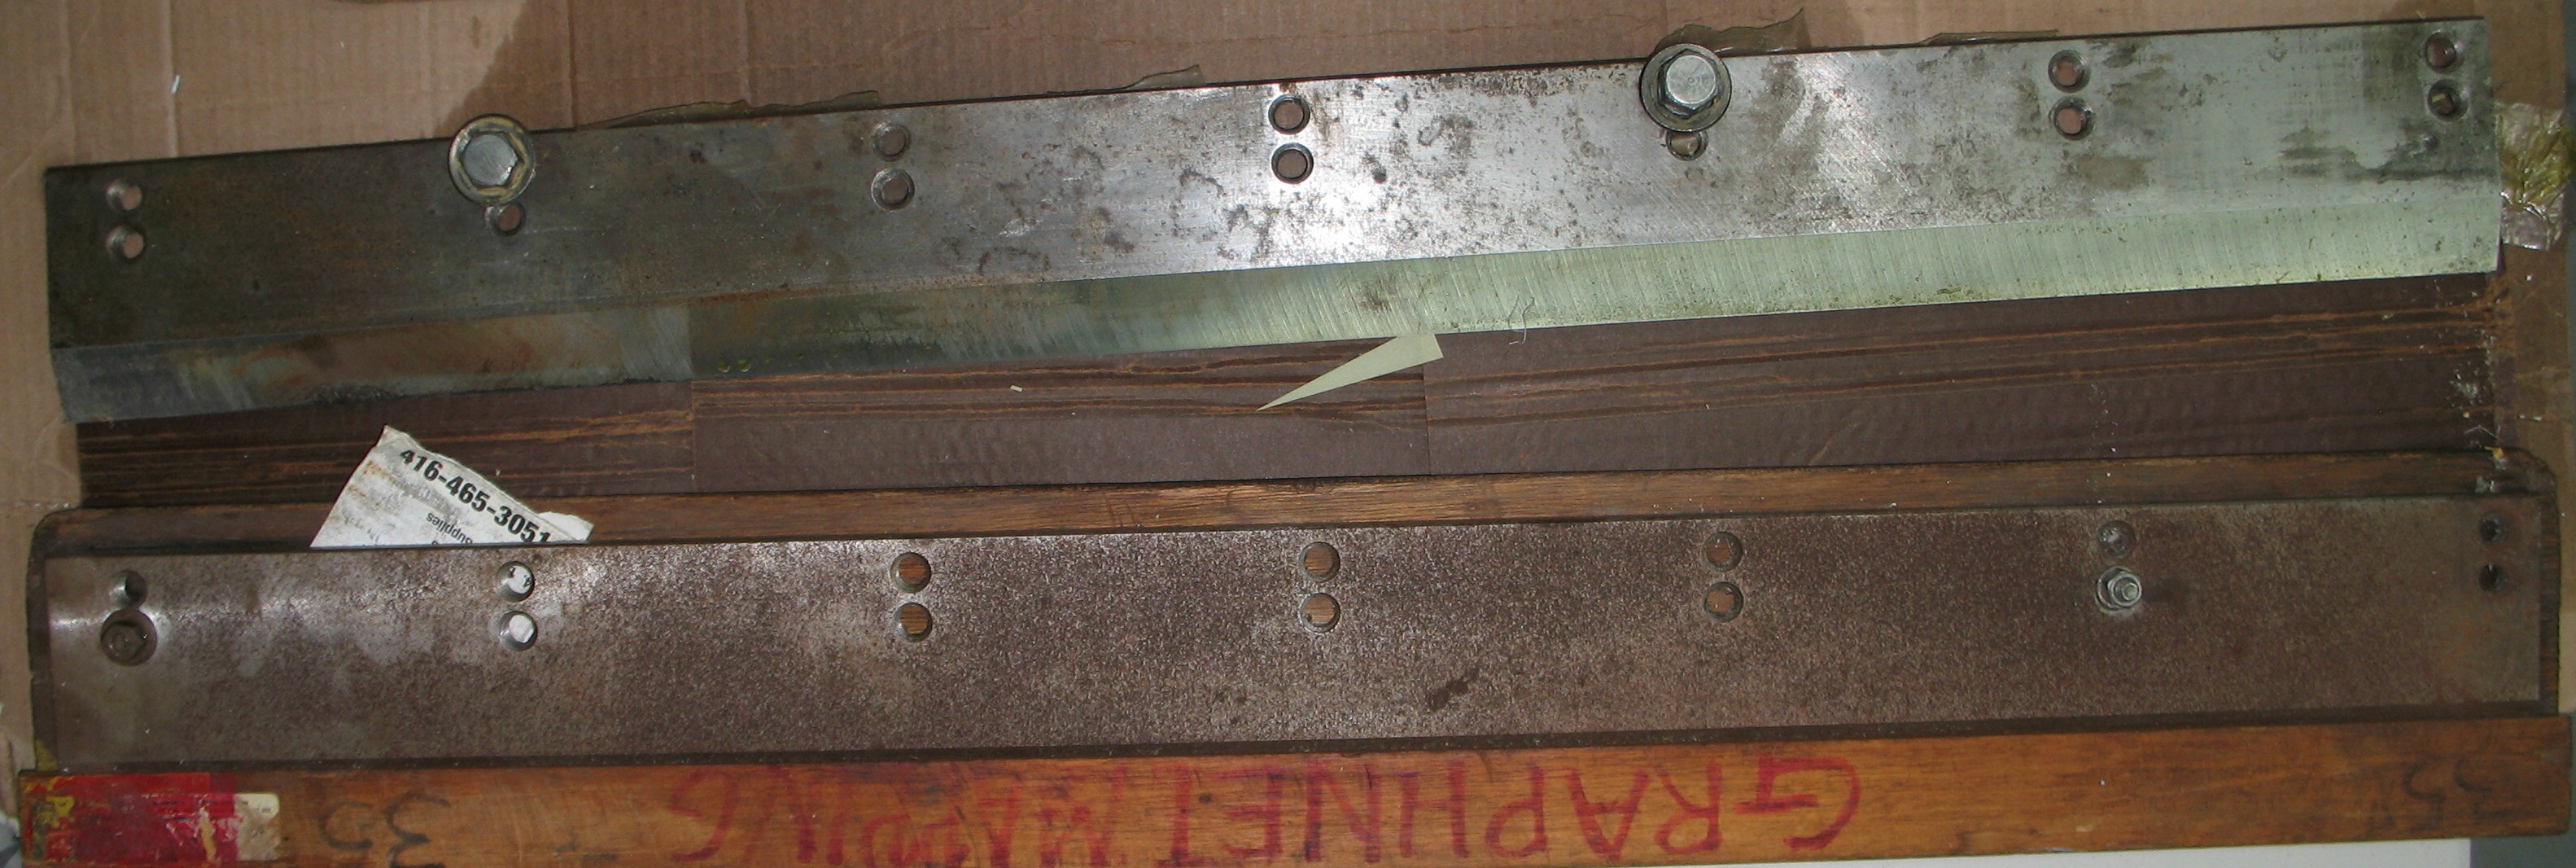
However, the ink fountain suffers from years of encrustation of dried ink. Although in normal operation the ink should stay in its reservoir, sometimes some of it creeps over the edge of the doctor blade and gets on the adjusting screws, where it eventually hardens making it next to impossible to adjust the screws to get the desired ink flow rate. It does not help that they have knurled heads with no provision for using any sort of wrench on them.
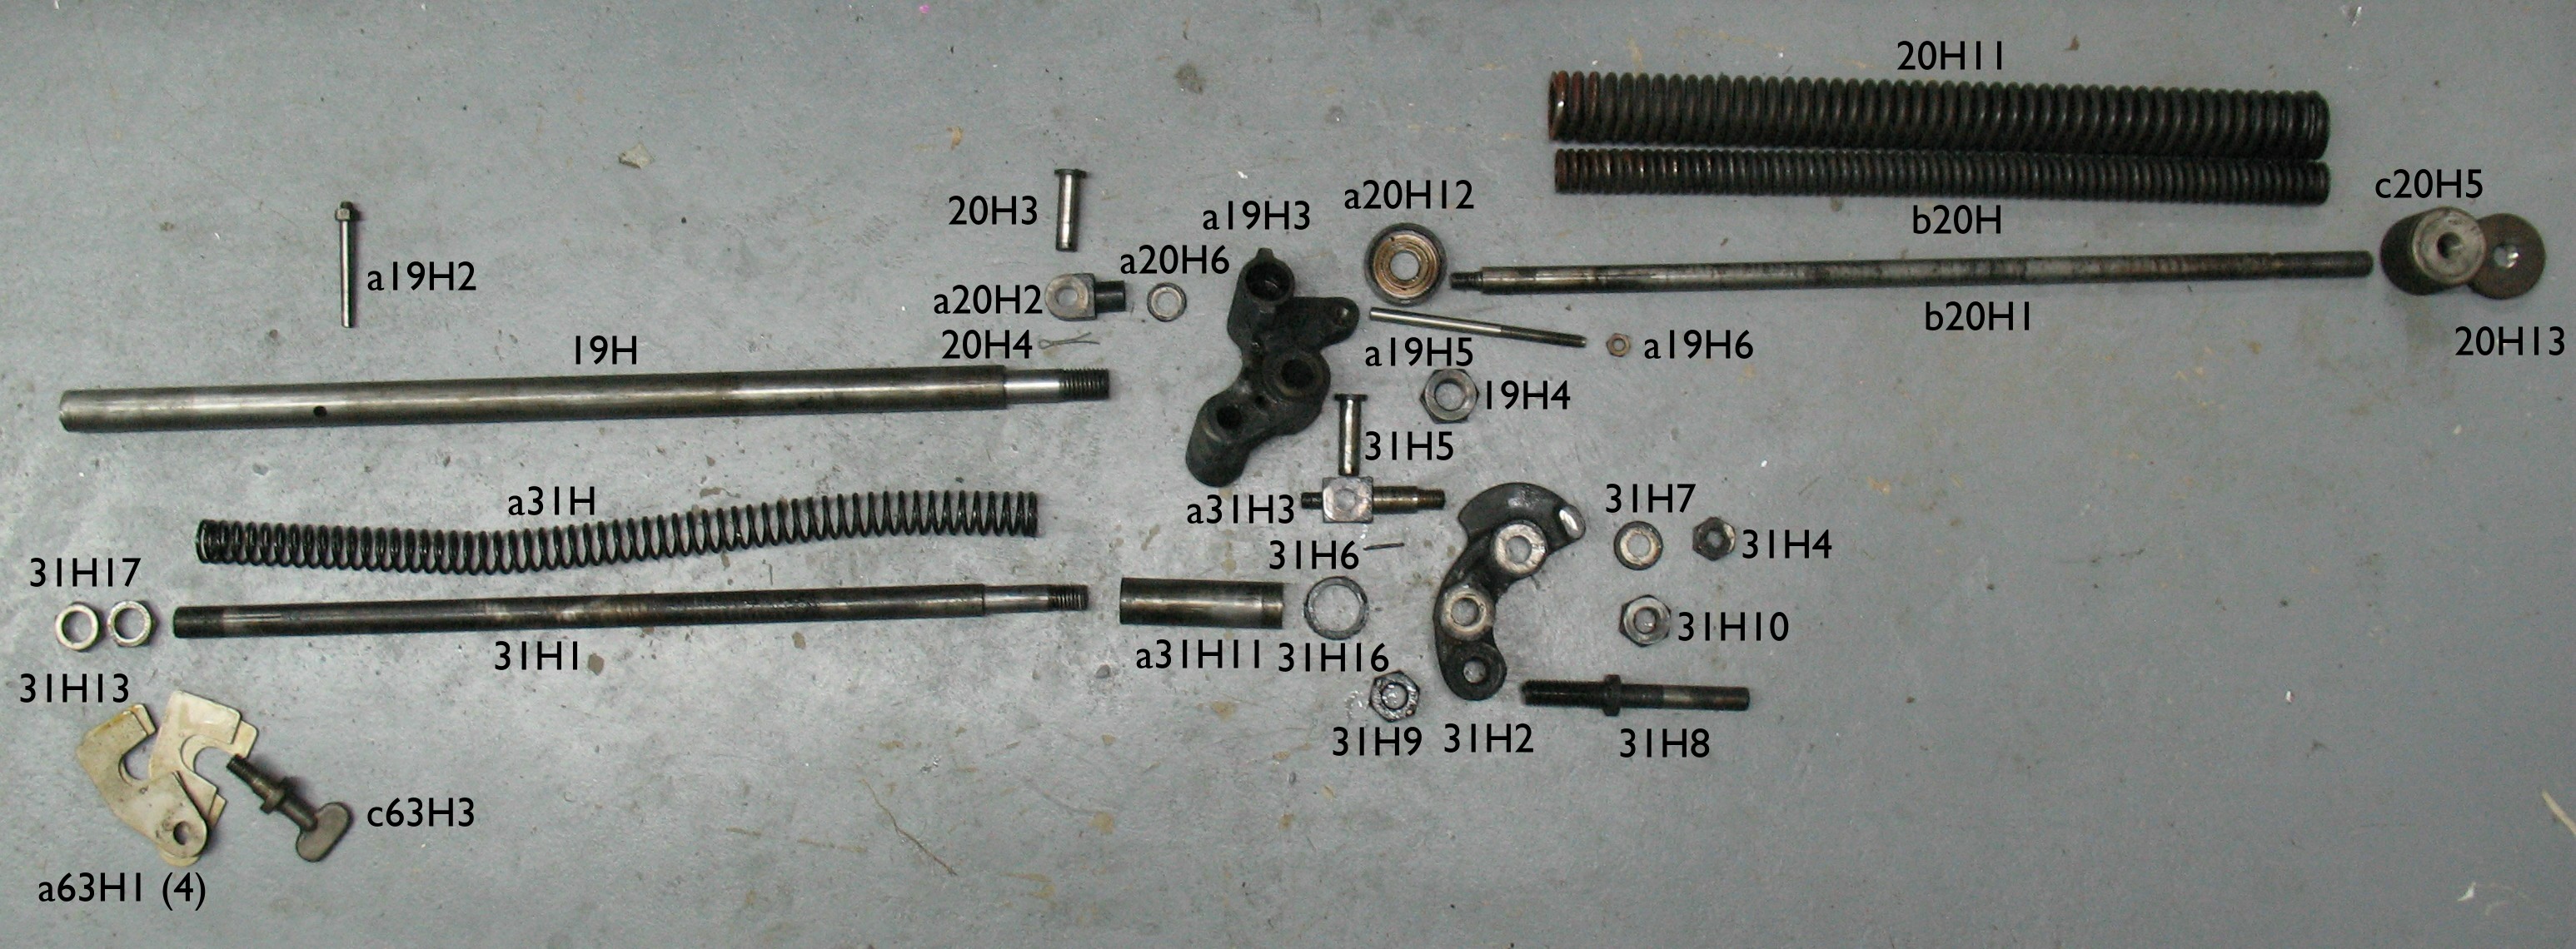
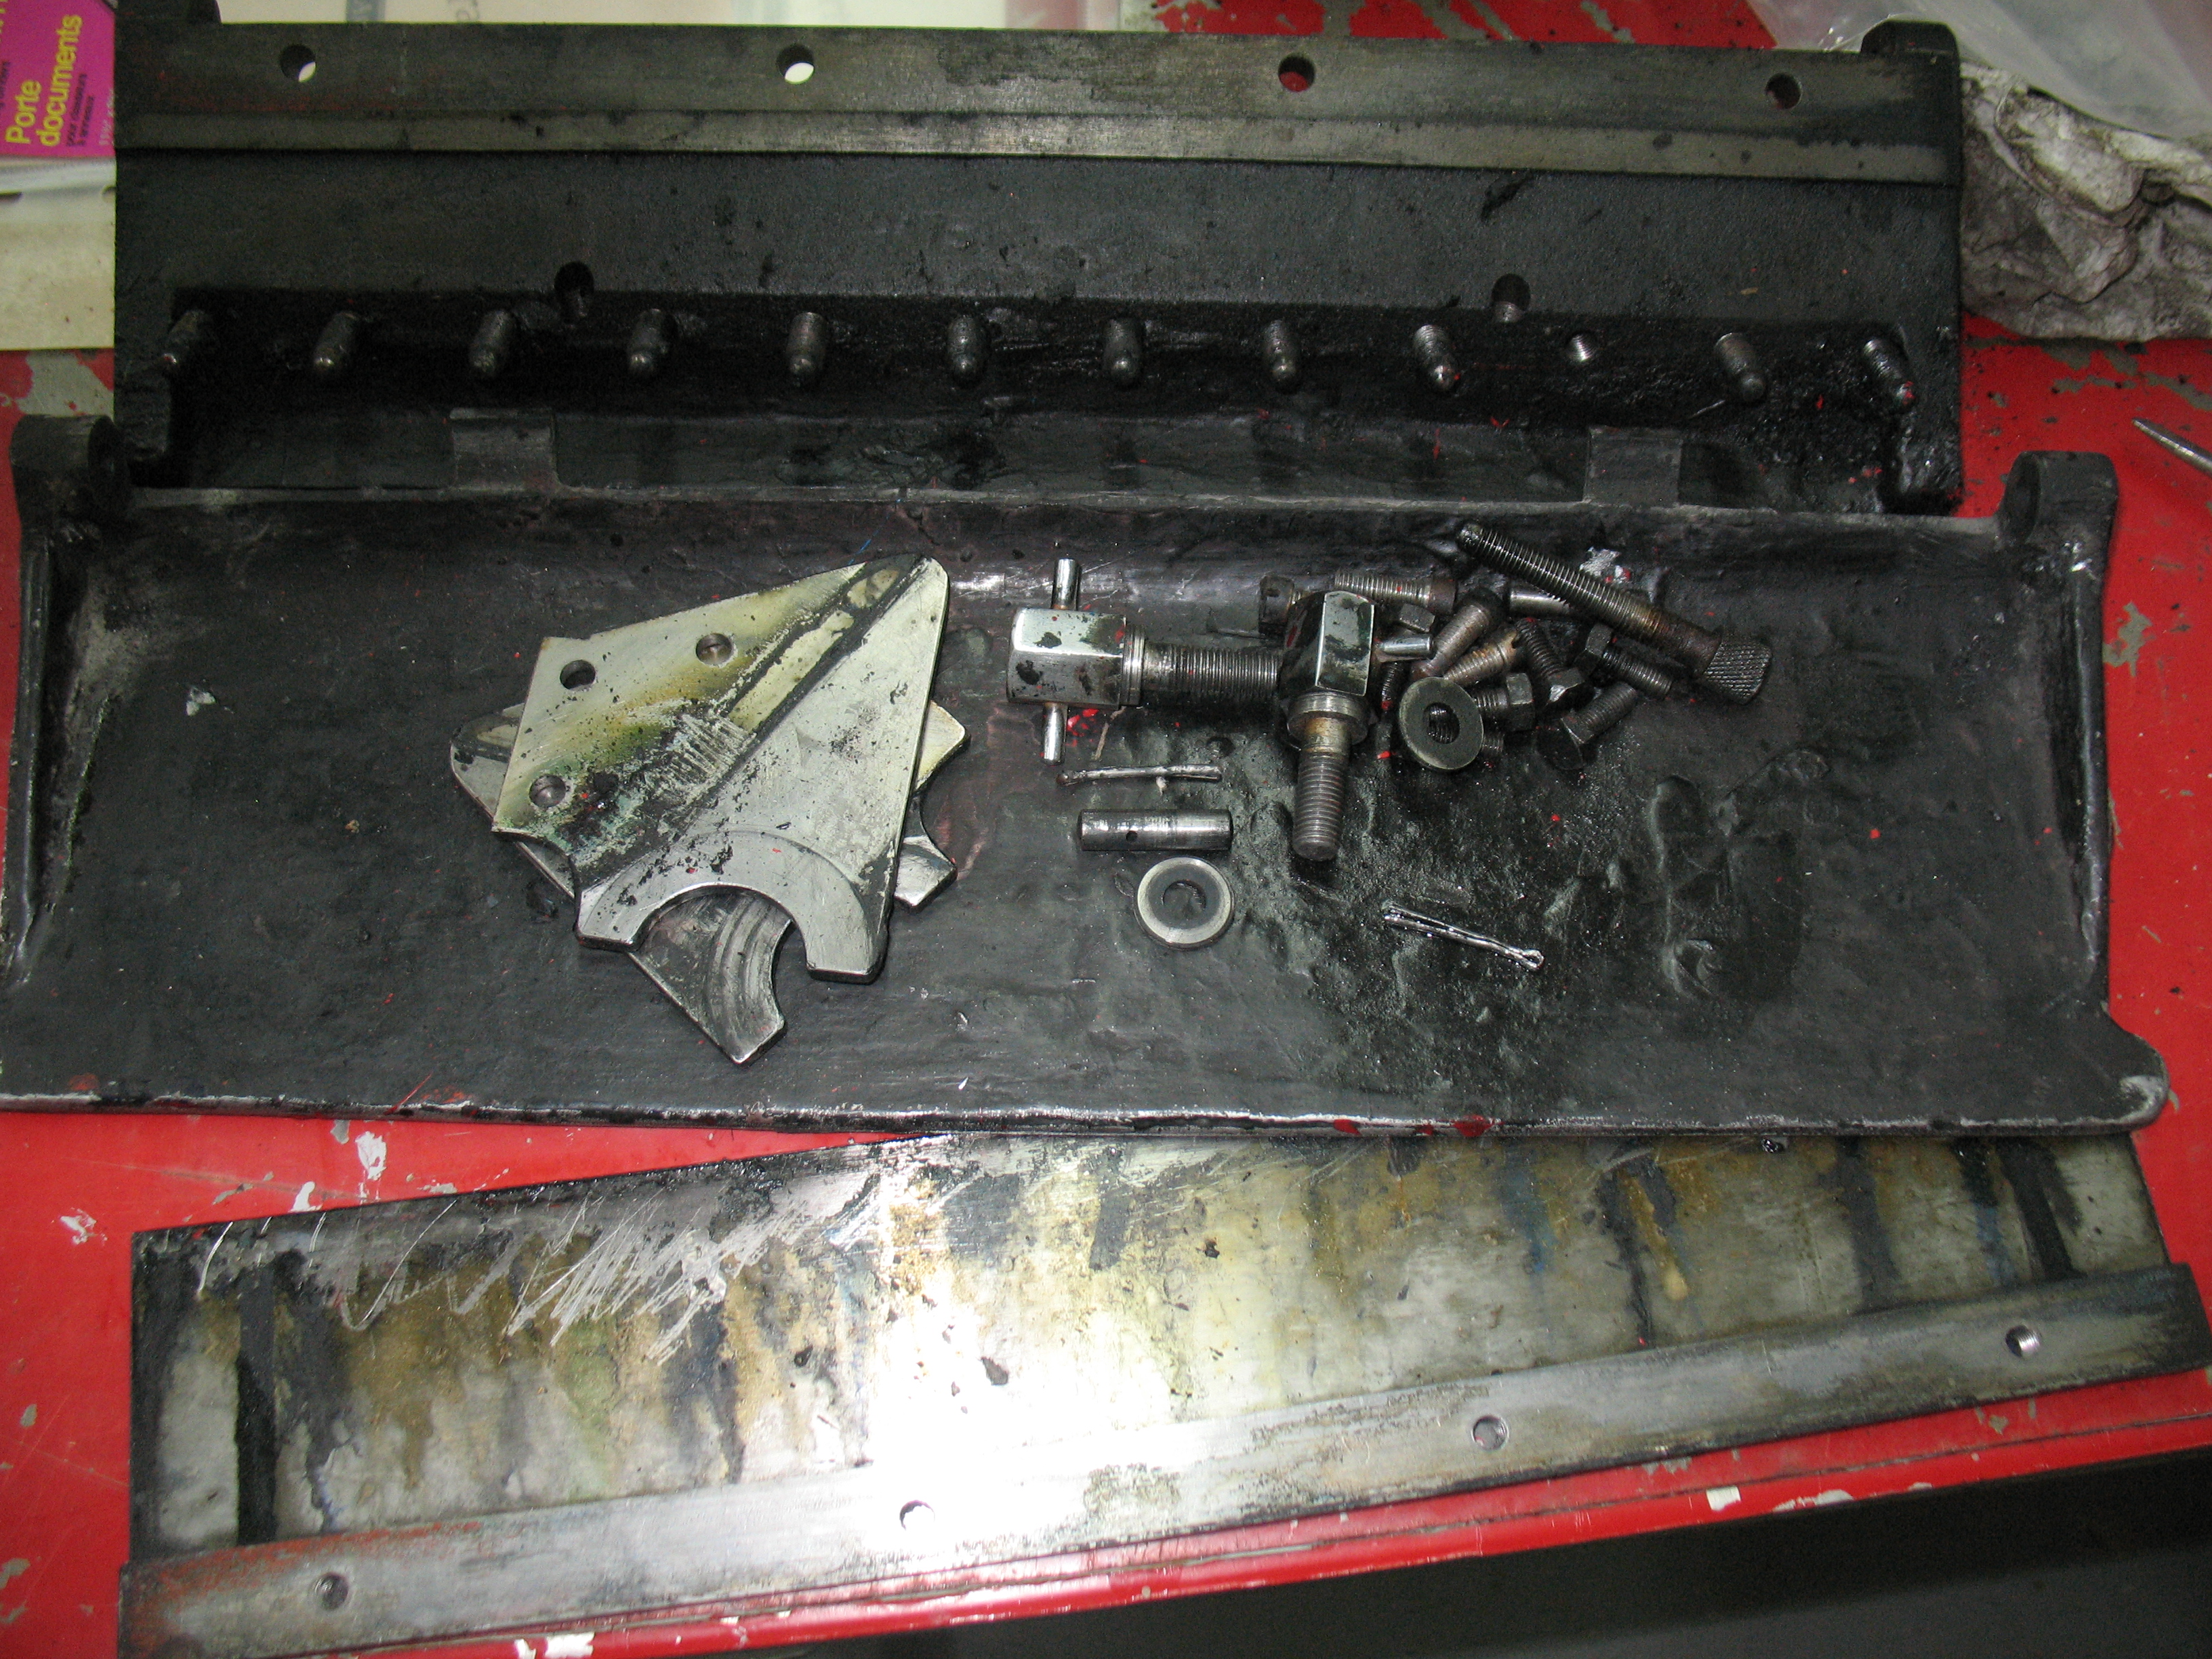 I have disassembled most of the ink fountain as much as I can, but was only able to remove one of the adjusting screws. I will now soak the body and adjusting screws in paint remover, which I have also found to be very effective on dried ink. I will have to repaint the fountain when I am done but it should not be difficult to match the rest of the press, which is pretty much a flat black.
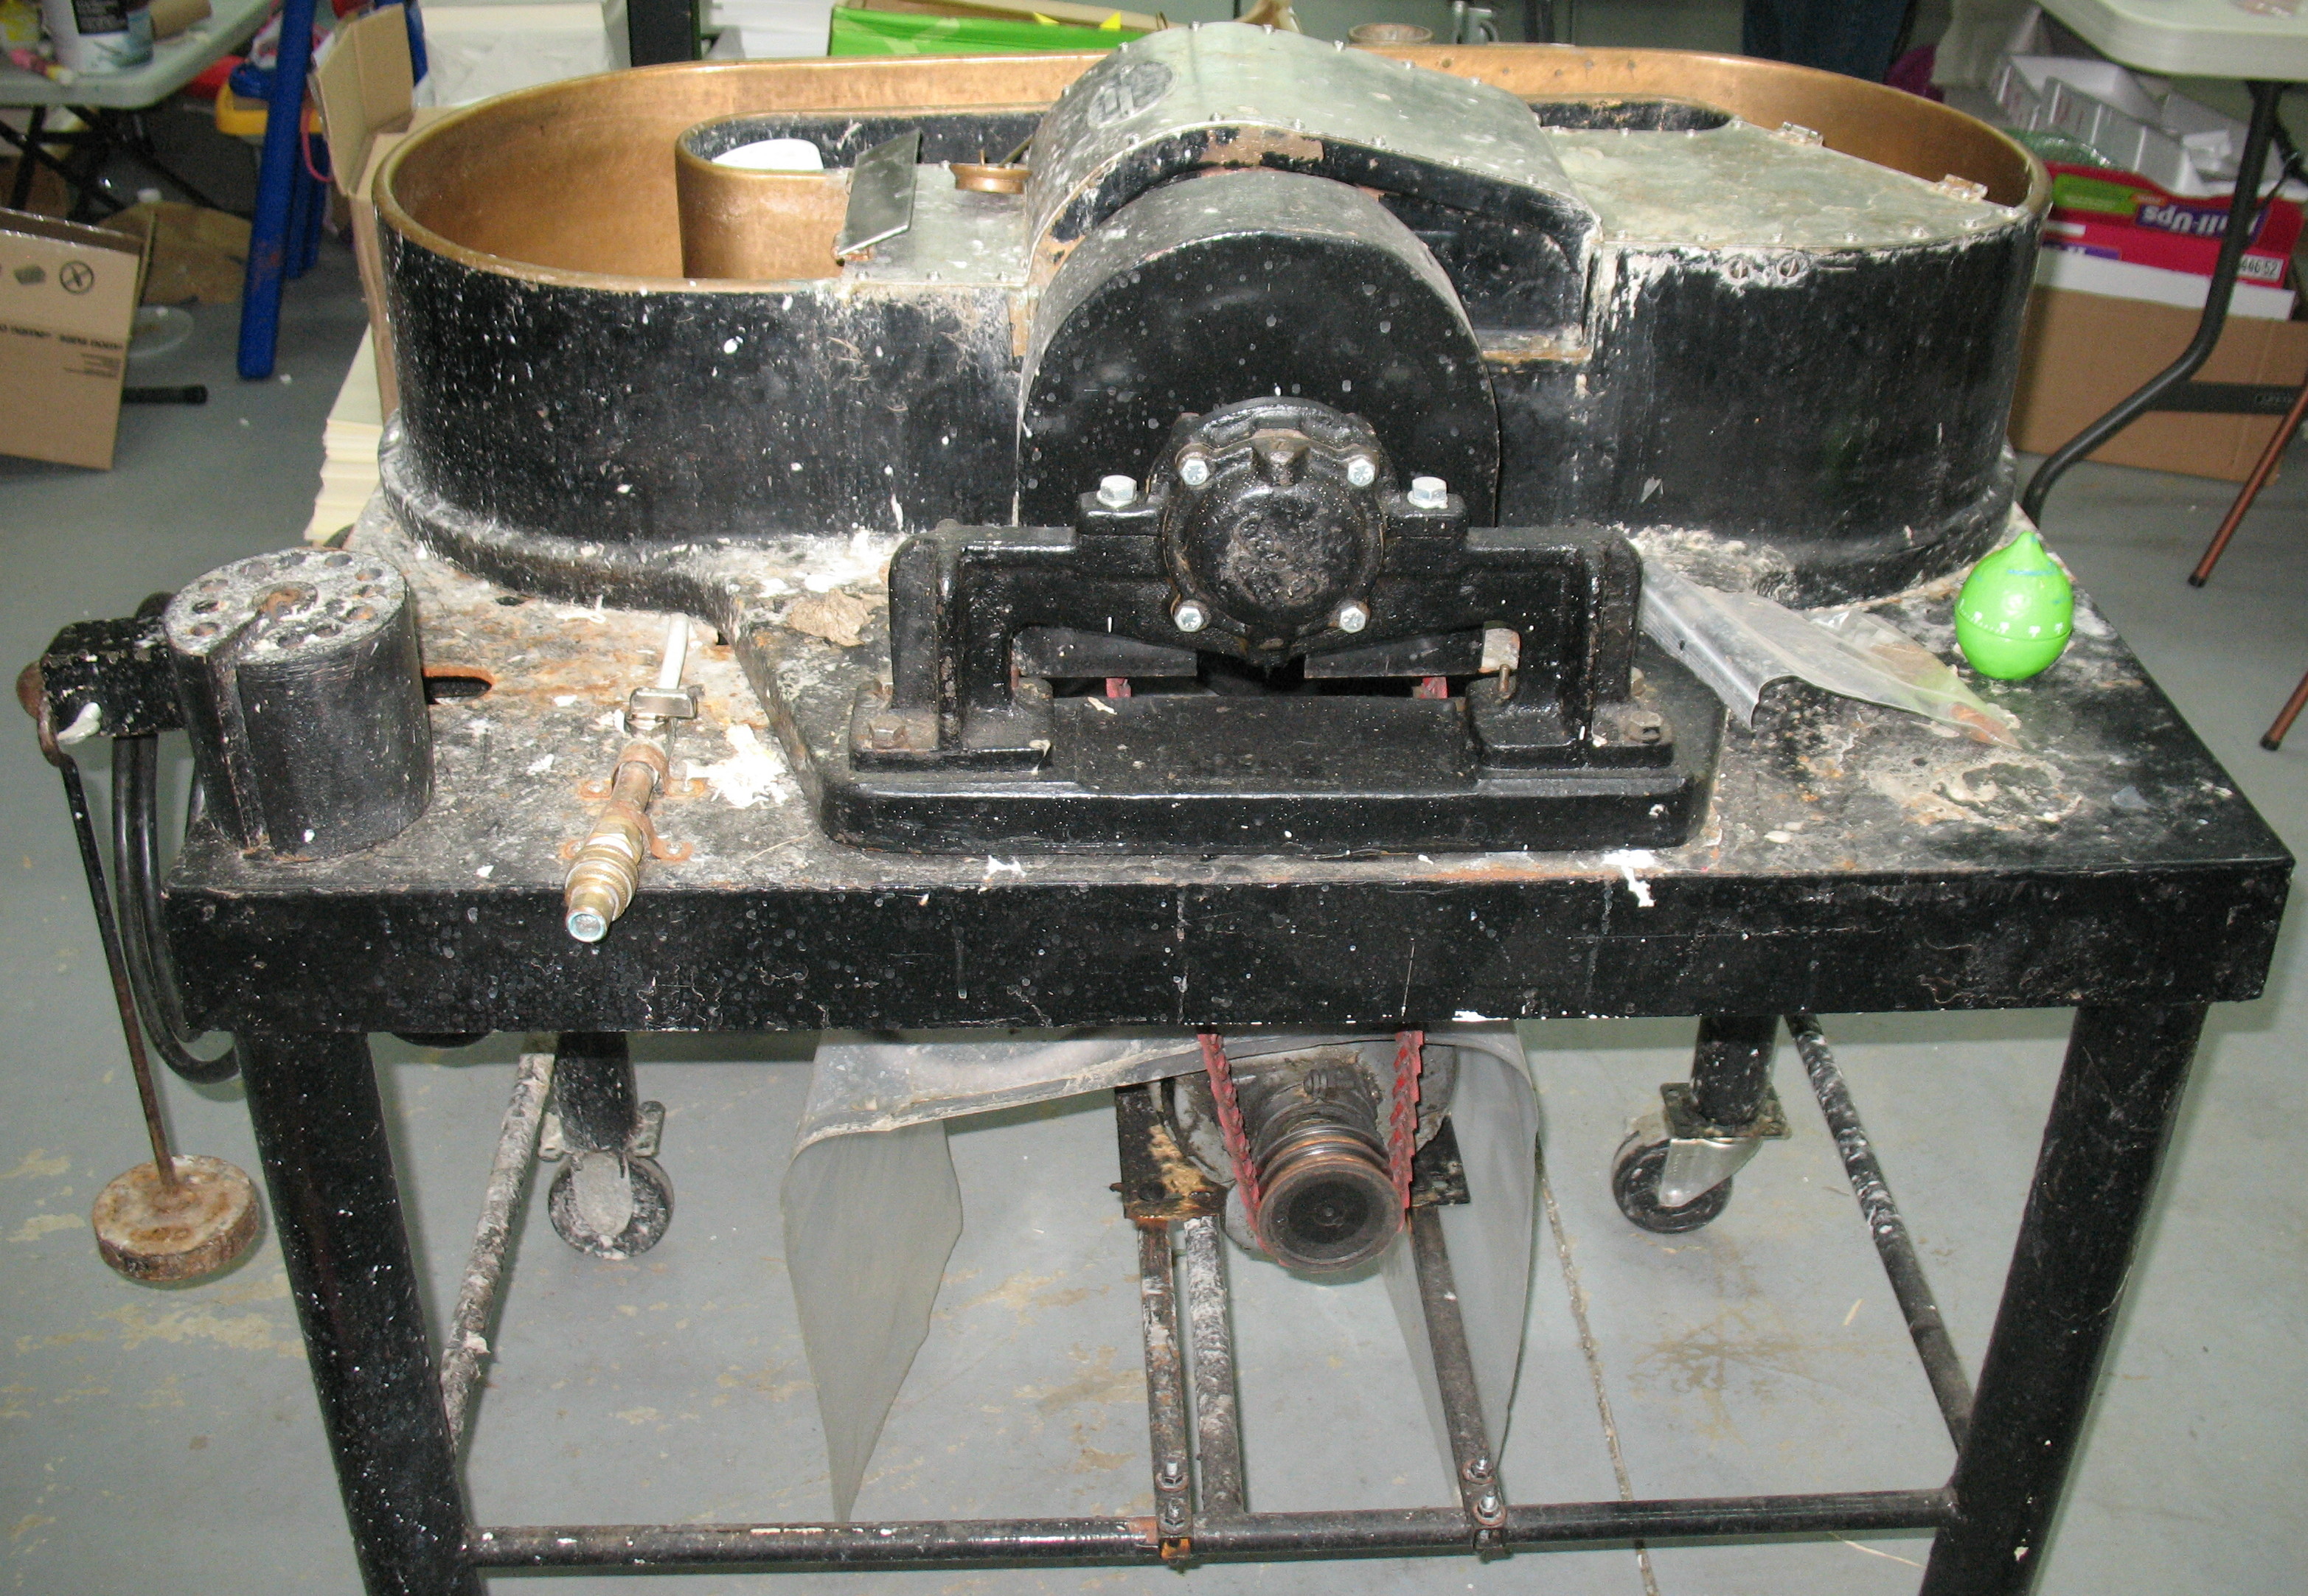
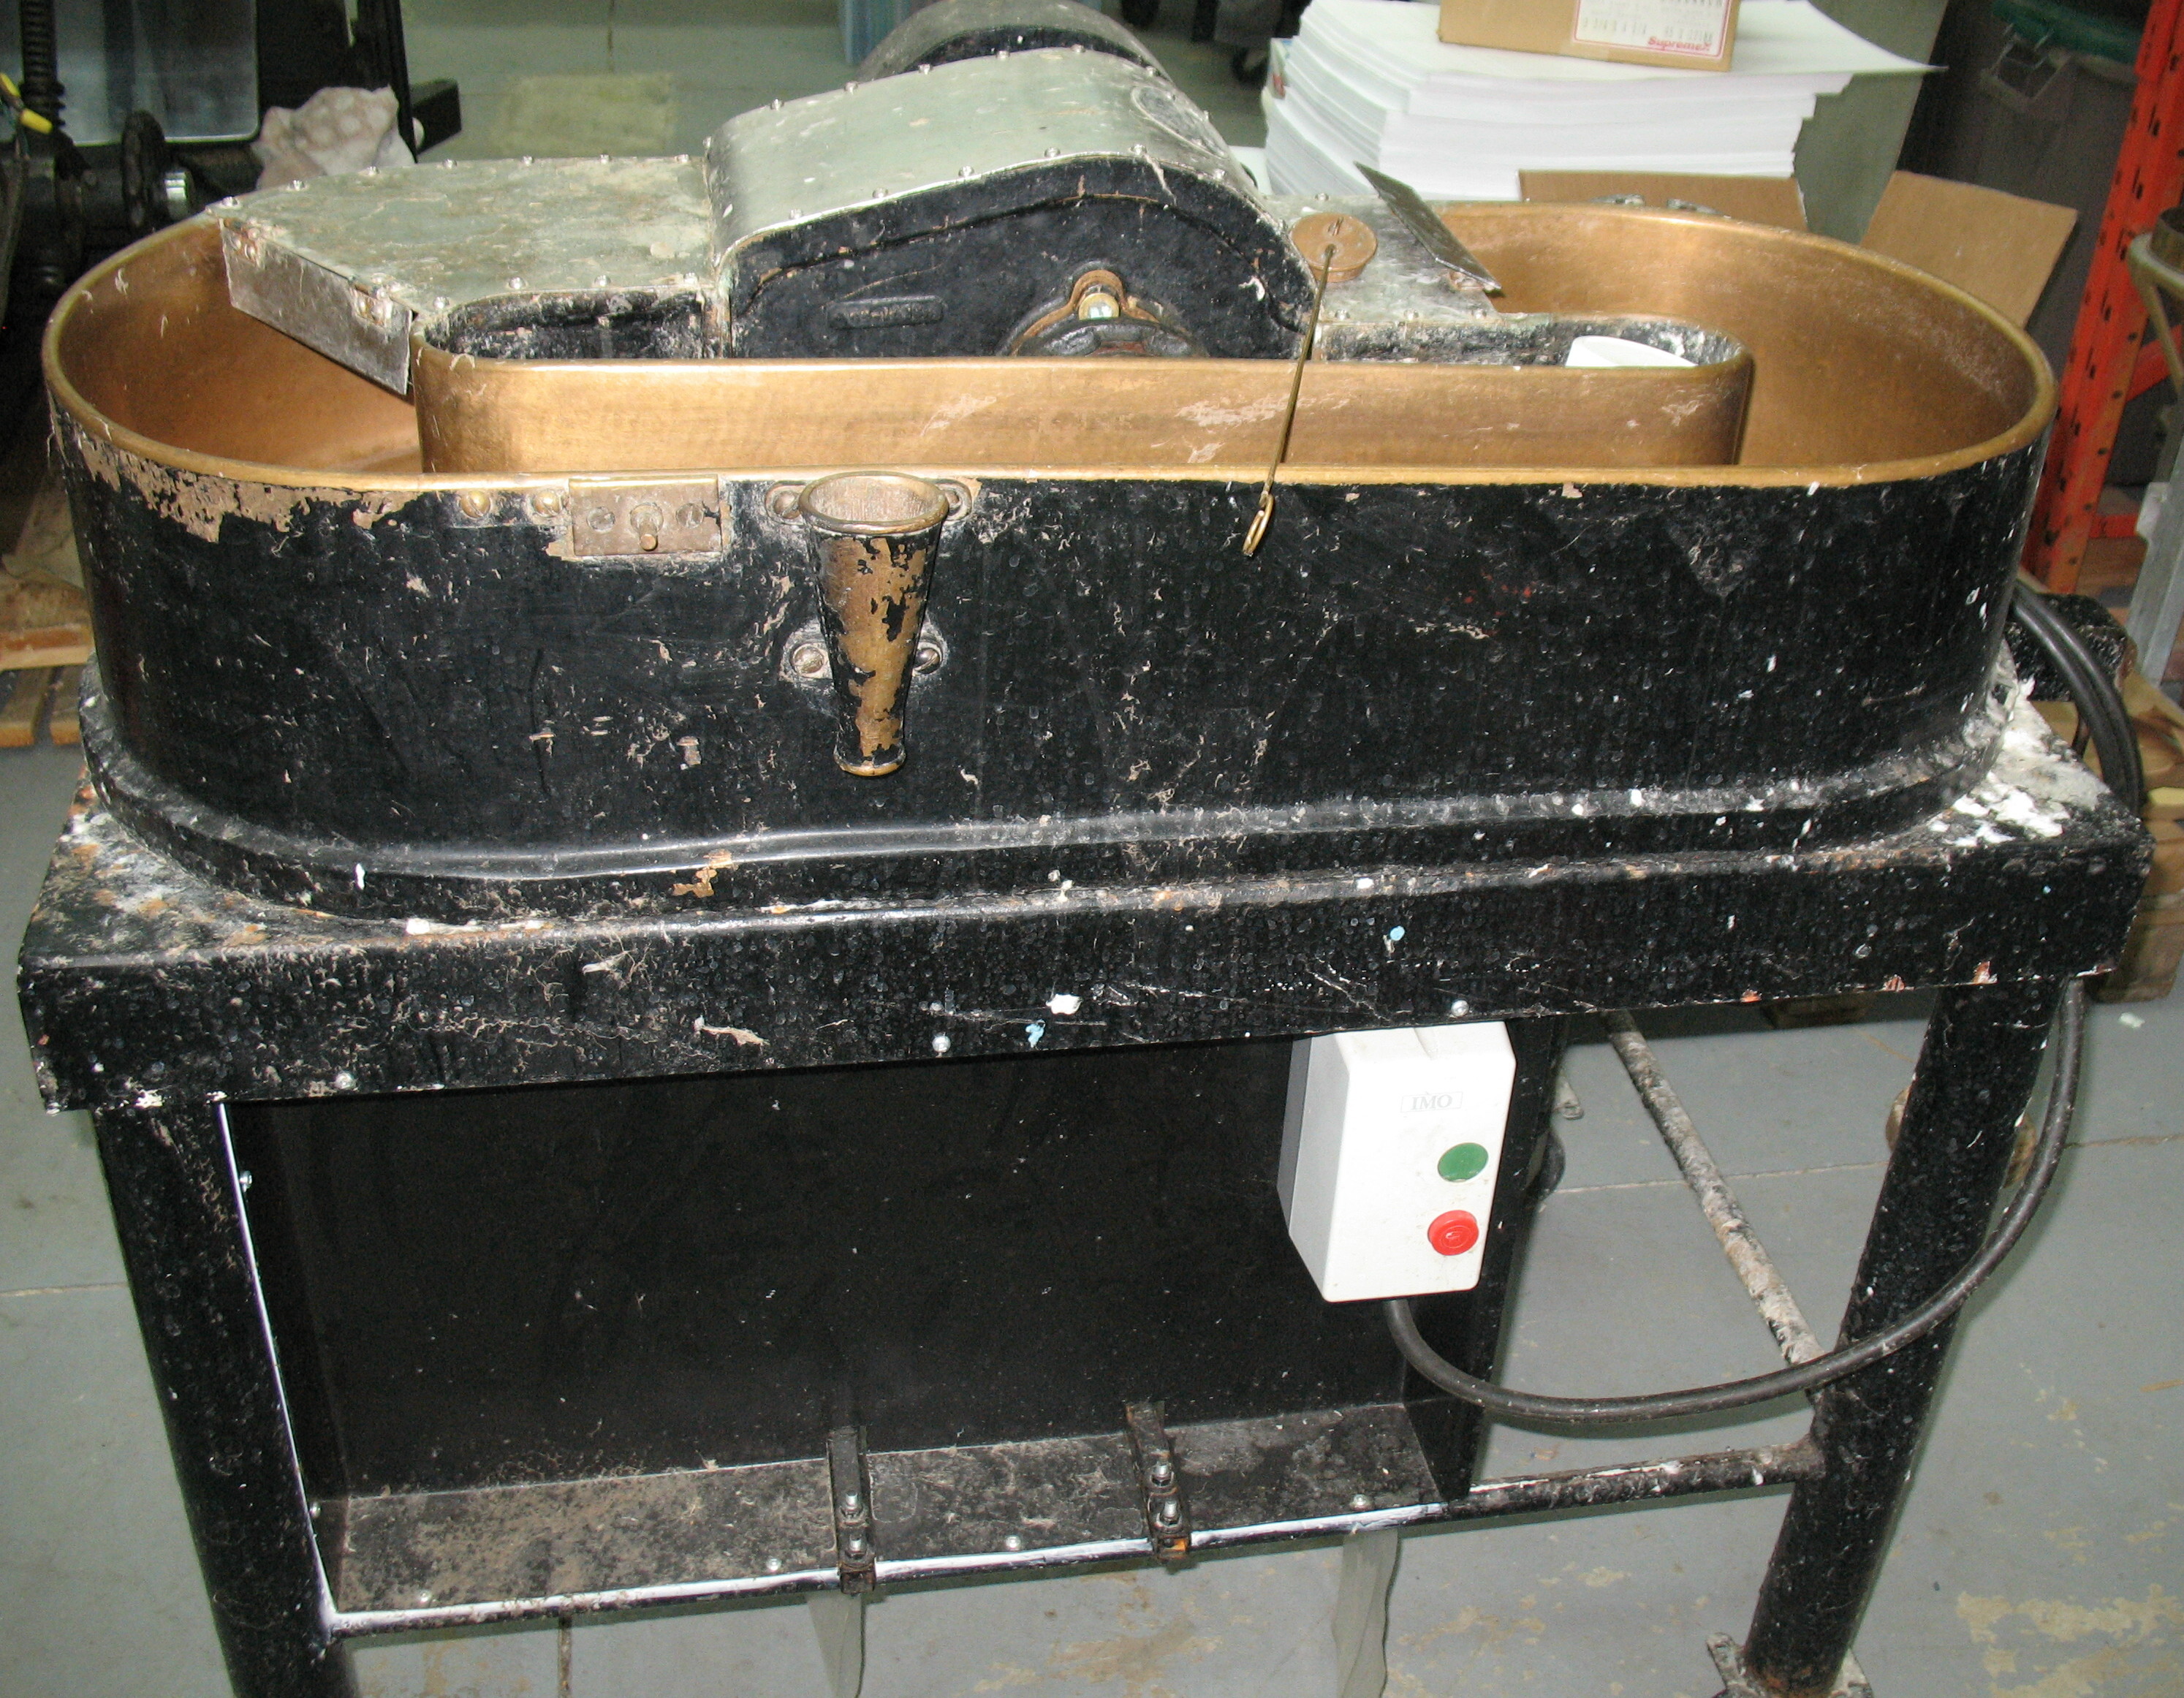
I find it interesting that a press made so soon after WWII should have the occasional aluminum part in it. In particular, the delivery table (but not the feed table) and the cover for the ink fountain are aluminum. I would have expected aluminum to be in short supply compared to cast iron…

