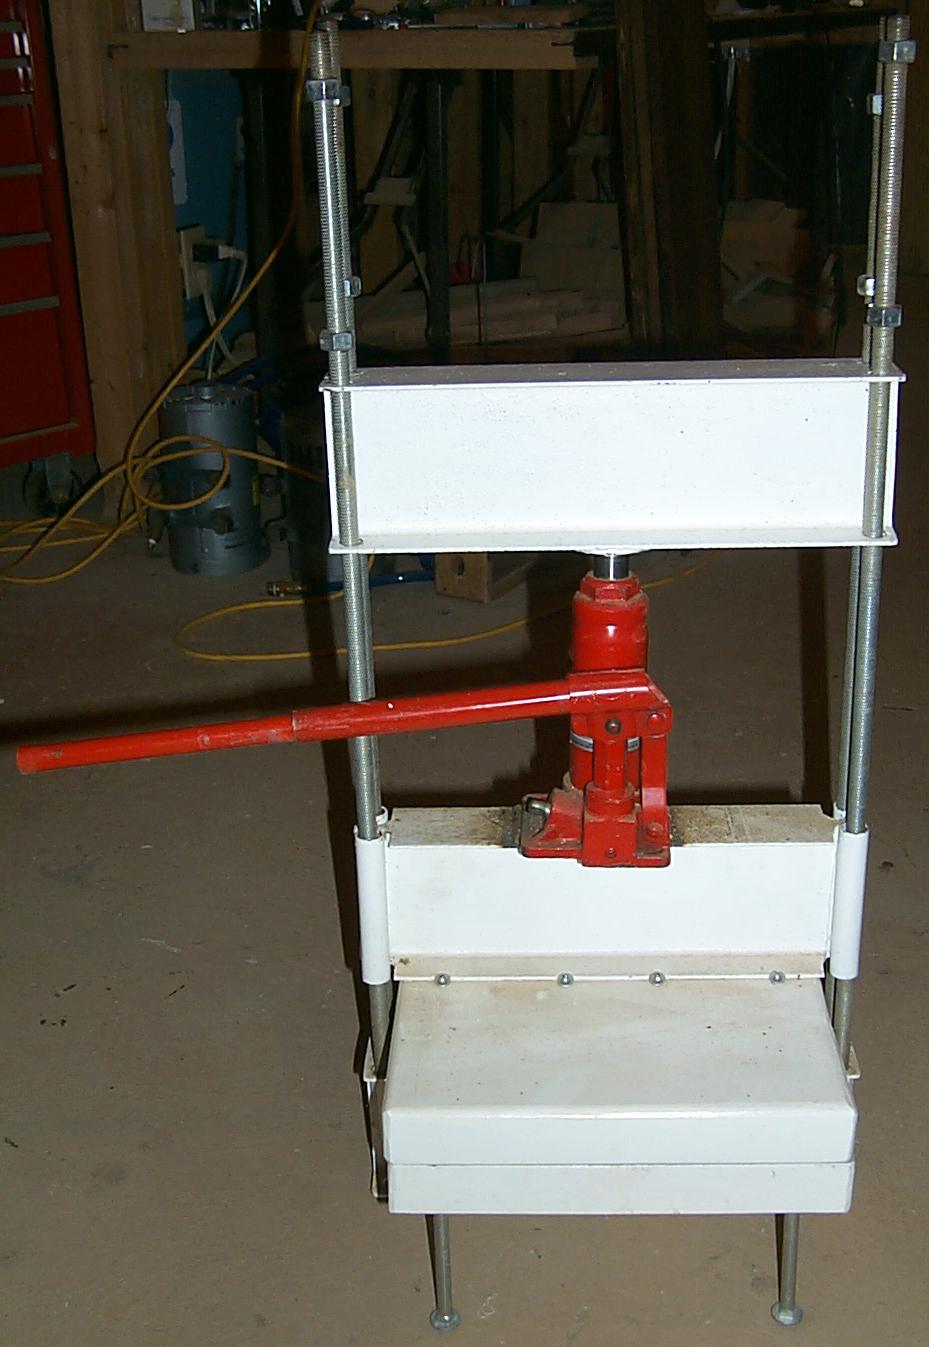
From some of the lessons I learned from our first press, I made a new one out of aluminum. I had the chance to practice my (horrible) skills at welding this metal, but ended up with a press that was our workhorse for many years and it still used as a portable press when we do papermaking on the road.
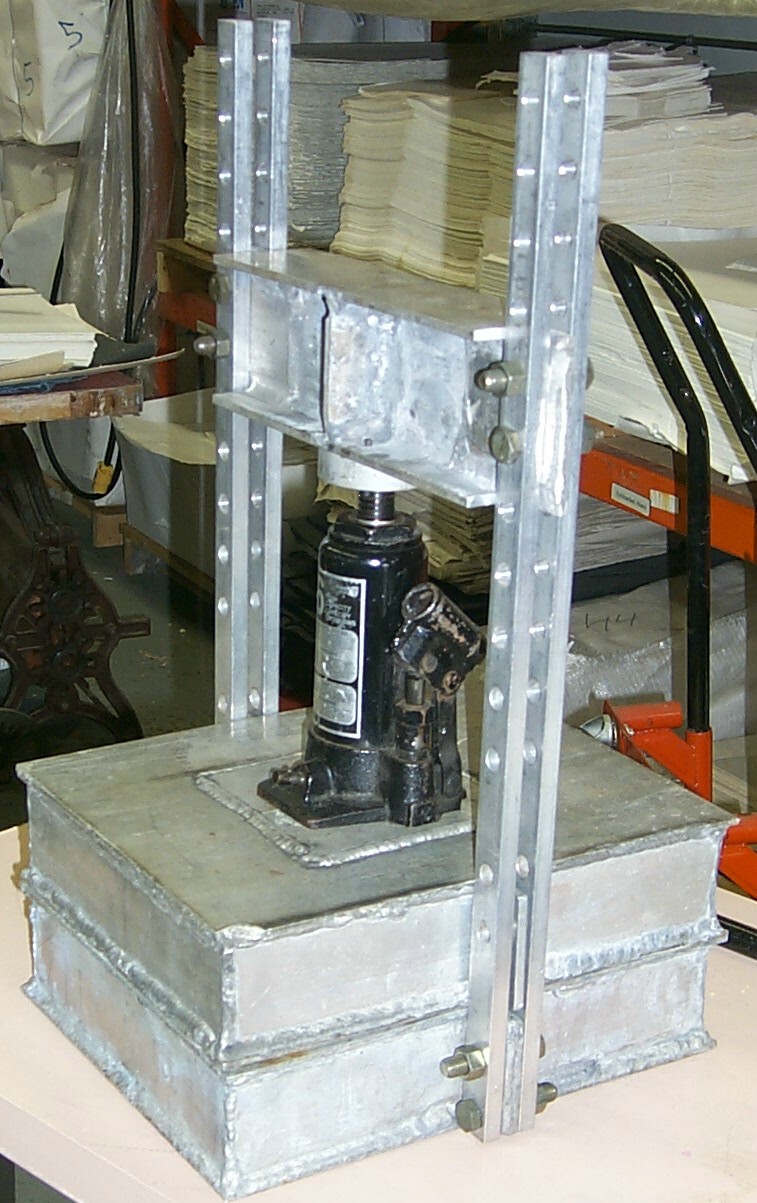
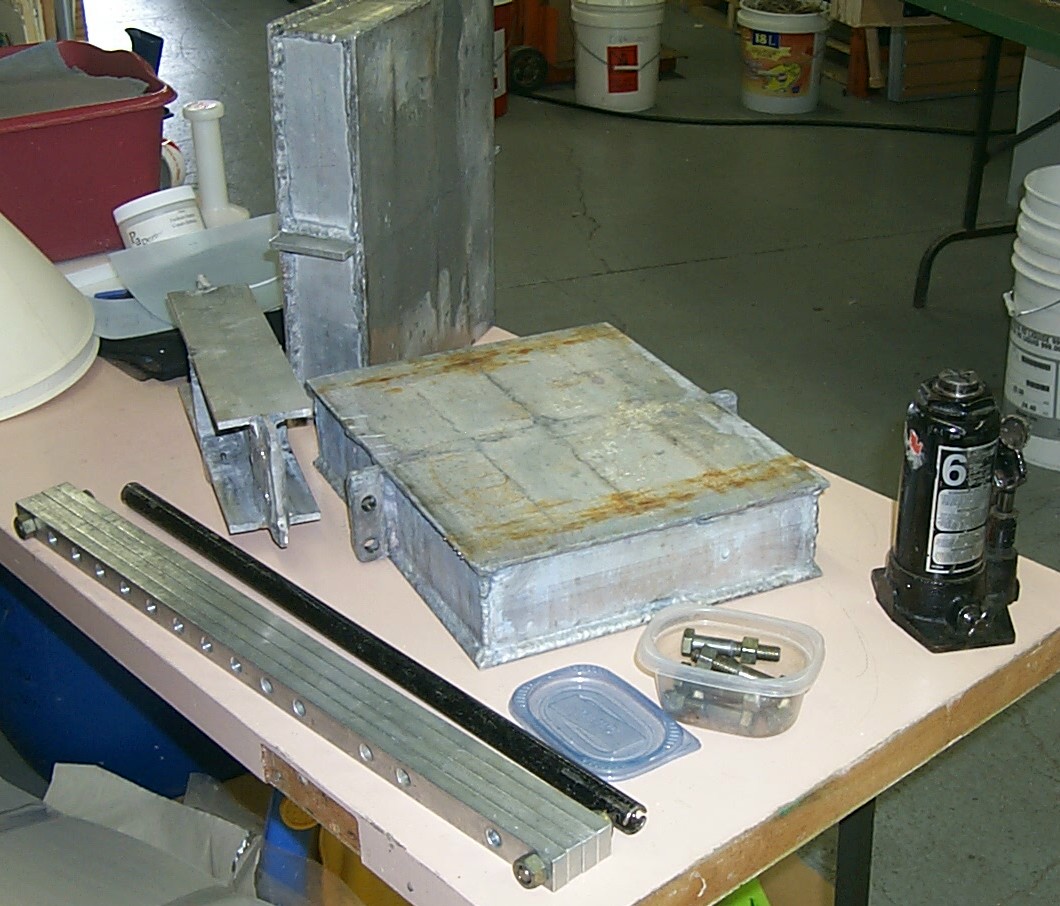
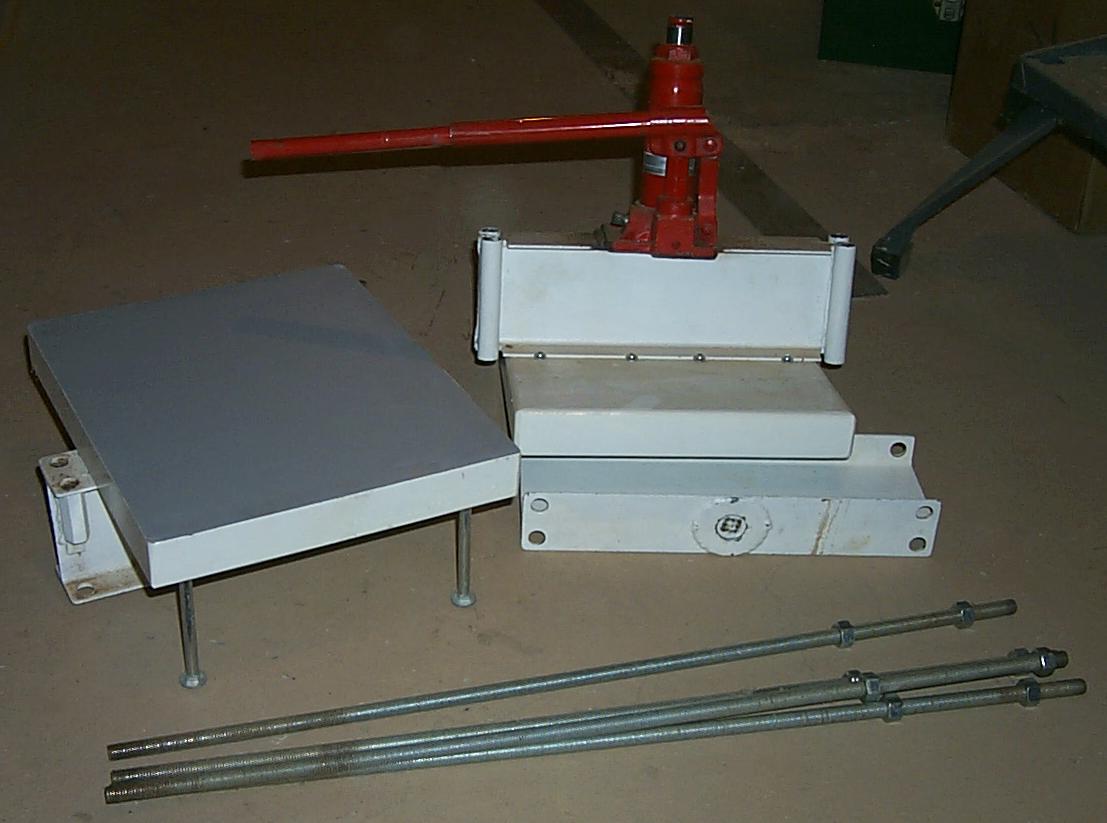
Each 12×15″ platen is a hollow box with internal ribs to provide stiffness without excess weight. The bottle jack (6 tons) sits in a bit of a socket on the upper platen (rather than being welded on as in our first press). A deep socket on the crossbeam ensures that the top of the jack is properly located. The uprights attach to the lower platen and upper beams using bolts, making things much easier to use than the threaded-rod uprights of our first press. With a full-size post, this press can supply a pressure of 67 pounds per square inch, yet the entire unit weighs only 21kg (46 pounds), of which about one quarter is the weight of the jack. When dismantled, the parts are relatively simple shapes and easy to store. If rust ever becomes a problem with the bolts they are easy to replace.
Eventually, though, we wanted to make larger paper, so I built a floor-model press, and this one is now only used when we travel away from our shop.