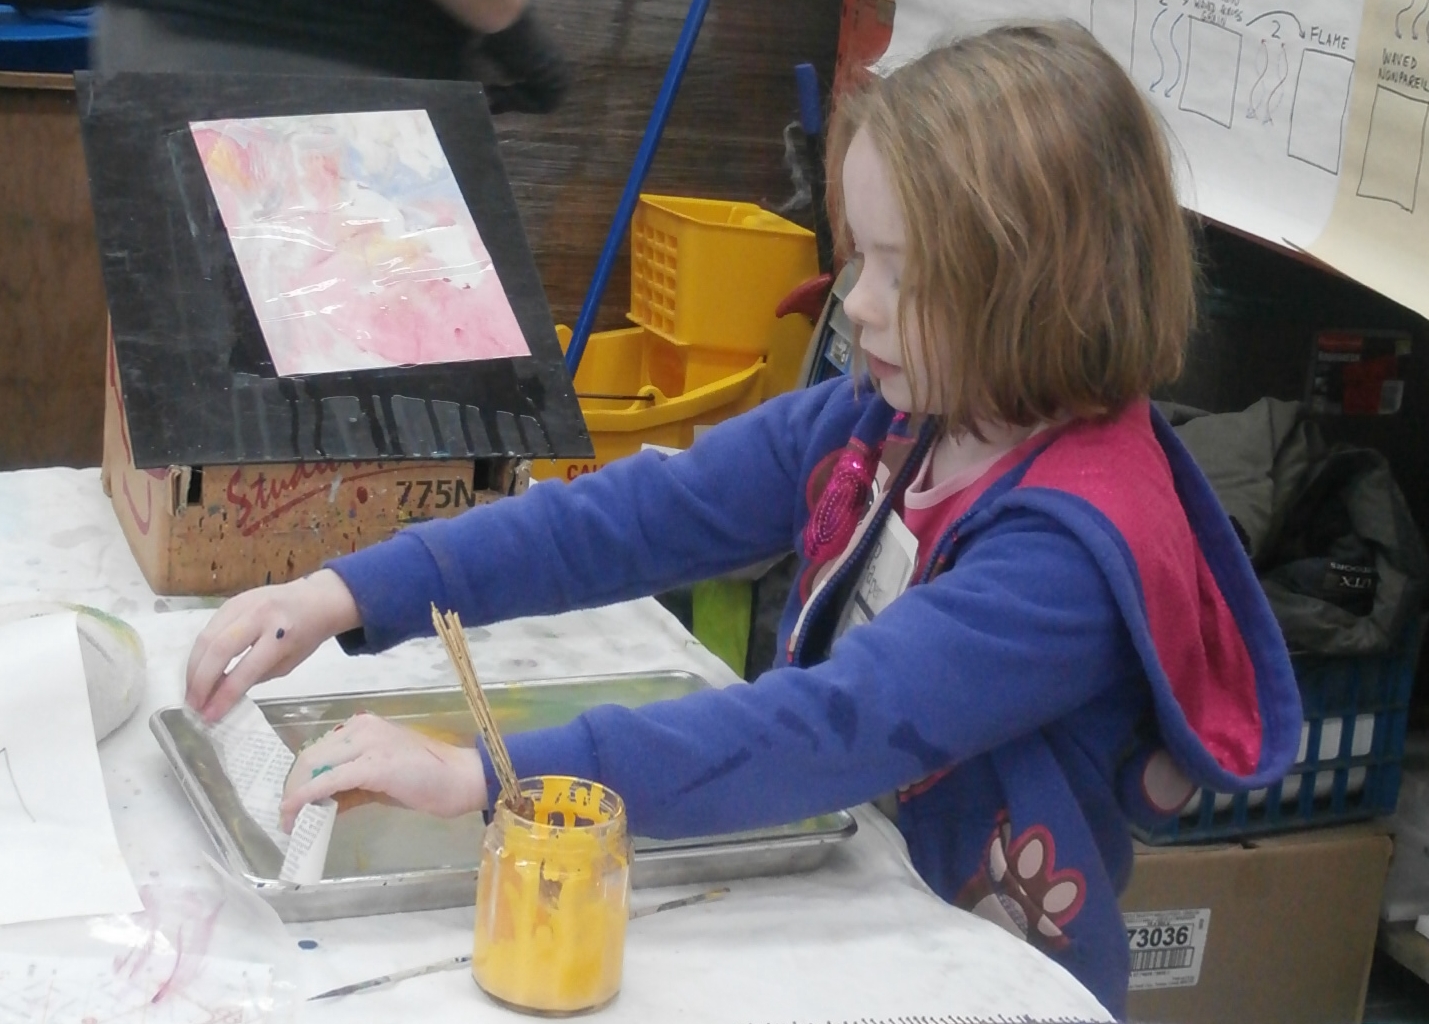
An enjoyable marbling workshop

After seeming like we might have up to six people attending yesterday’s marbling workshop, we actually ended up with only two.

However, we all had a good time, even Lily did some marbling.

Mike running a nonpareil comb through.

Mike running a nonpareil comb through.

One of Staci's designs, ready to print

One of Staci’s designs, ready to print

Lily getting ready to comb her tray.

Lily getting ready to comb her tray.

She still needs some practice laying down her paper.

She still needs some practice laying down her paper.

The trays we were using are 9×12 inch cake pans from a local restaurant supplier. We were using carrageenan size and craft acrylic paints on a variety of papers.

Marbling Workshop, Saturday January 10th 2015

We will be holding an introductory workshop on western marbling using acrylic paints from 9am-4pm on Saturday, January 10th 2015. The fee for this workshop is $65 plus HST. If you would like to attend, please don’t hesitate to contact us to reserve your spot.

Crazy Sharp!

This morning I was setting up some paper to cut on our guillotine. I was positioning the stack of paper under the clamp when I noticed that the edge of the clamp didn’t feel “right” against my knuckle. That’s when I realized that the blade had parked a bit low after the last use, and my knuckle was resting against the knife rather than the clamp!

There seemed to be no injury so my thought at the time was that the knife must be really dull. It was only a few minutes later when I noticed my hand was bleeding a bit that I realized that the knife wasn’t dull, it was in fact so sharp that it had cut me without my even feeling it!

20141230Sharp Knife EffectsIt was indeed a very minor injury, but still enough to remind me how crazy sharp the guillotine knife really is.

An interesting book about pulp & paper science

After a recommendation on the Papermaking Yahoo Group a few months ago, I purchased a copy of Pulp Technology and Treatment for Paper by James d’A. Clark, published in 1978 by Miller Freeman Publications, San Fransisco, California. I purchased my copy through ABE Books, having found a copy there for a not too unreasonable price.

This book takes a scientific approach to pulp processing and paper, to try to provide a more reliable view of the process than many of the empirical methods that had been developed since wood pulp was first used in the mid 1800’s. Some of the author’s theses directly contradict lore that has been passed down in the industry for decades.

There are five major sections. The first discusses the chemistry and physics of wood fibres, pulp, and paper. Section 2 describes processing steps applied to pulp and fundamental tests that are applied to the pulp and paper. More in-depth tests of the pulp and fibres are described in section 3, and the last two sections describe process control and pulp constituents, and practical ways of managing pulp and paper testing in a mill.

The book is primarily concerned with machine-made paper produced from wood pulp. Hand-formed sheets are hardly mentioned, so the reader must infer for themselves how much various principles apply. Other fibre sources typically used in hand papermaking are mentioned to contrast their properties with those of wood fibres. In most such materials, the cellulose molecules are close to parallel to the length of the fibres, whereas the cellulose in wood fibres forms relatively steep spirals around the fibre and also reverses angle several times through the thickness of the fibre.

Some of the author’s claims that contradict conventional wisdom include:

  • Beating causes fibre shortening, external fibrillation, and internal fibrillation, but not fibre “swelling” in the proper sense of the word. A side effect of the first two is the generation of “fines” (fibres too small to be caught by the screen in the paper machine) and “chop” (fibrous material so short and stumpy that it looses its fibrous character).
  • Bonding in paper is almost entirely due to fibrils and microfibrils and the innumerable contact points they form with other fibres, and not due to the presence of hemicellulose (chemicals that are close to cellulose, but not close enough to be included in the crystalline structure that cellulose forms within the fibres). Materials such as hemicellulose do, however, have a secondary effect in that they prevent fibrils loosened by beating from bonding back to their primary fibre, so they remain available for bonding to other fibres in the paper. At several places, the descriptions of ideal fibration made me think of fractals, where the splitting of the fibres would be taken all the way down to having individual cellulose molecules swaying in the water.
  • The action of the laboratory beater (which the author often calls a “toy beater”) is not a good indicator of how the pulp will behave in a production environment. Beaters like the Valley Beater recirculate the pulp and so beat most of the fibres to the same degree. In production, the beating is done by refiners rather than Hollander beaters, and these use a single pass which produces a wider range from untouched fibres to heavily beaten ones.
  • The freeness test (Canadian Standard or Schopper-Riegler) is pretty much meaningless, as all it really measures is fines content. It is not even a good indicator of drainage speed on the paper machine because of the difference in sheet weight, and also the discrepancy between the slow steady drainage in the freeness tester as compared with the somewhat turbulent drainage on the machine. Multiple freeness test results on the same pulp are highly inconsistent, and are not a good predictor of important properties of finished paper. A better test of beating progress is to measure the density of handsheets formed in the standard sheetformer that have been lightly pressed and heat dried.

I found that the information was generally presented very clearly. Section 1 in particular gave a thorough description of the behaviour of pulp fibres starting all the way from the formation of the chemical bonds that hold the cellulose molecules together.

Due to my having only a passing familiarity with some of the various pulp, fibre, and paper tests, and also to not knowing whether a particular test result was better or worse if numerically larger, I encountered some confusion in later parts of the book. A reader might benefit from maintaining a cheat sheet of tests as they are described to avoid such problems.

All in all, this book is a valuable addition to the technical paper making section of our library.

A Musical Connection Between Letterpress and Christmas

Many people already know that music for the familiar Christmas carol Hark! the Herald Angels Sing is credited to Felix Mendelssohn.

Through a series of messages on the LETPRESS mailing list, I found out just recently that the original Mendelssohn work was written to celebrate the 400th anniversary of Johannes Gutenberg’s development of a workable system of printing with moveable type.

This work was played June 24th 1840 in the marketplace in Leipzig as part of a Gutenberg festival, and consisted of four parts, the second of which became the Chritsmas carol. The music was written for four male singers and two small brass orchestras, with the footnote (courtesy of Google Translate):

The second small orchestra must be placed at a great distance from the first to make it the same as an echo replies

Parts of the score have a call-and-response structure and Mendelssohn added this note to ensure the responses would sound distant. Clearly this was designed for the open-air venue in which it was first performed!

In adapting the music in 1855 to hymn lyrics by Charles Wesley, William Hayman Cummings took the main melody from the second part, omitting the central bridge, producing the carol as we now know it.

A MIDI sequencing of the original second part can be heard on YouTube, and there is more information on this music on Wikipedia.


A Minecraft black hole

Lily has taken a liking to playing Minecraft, and I’ve been sucked into it as well. We have 6 computers networked together here at our home and store, so it made sense to set up a network server so we could play the game anywhere and have the same “world” to play in.

Just playing the game can be quite a time suck, but so was setting up the server. Although the game itself is quite well documented, some of the issues relating to setting up the server have poor or incorrect advice. This is often the result of formulaic answers being passed from one person to another with no understanding of how they work.

Fundamentally, Minecraft is a Java program, so when it is running on MS Windows, it shows in the task listings as java.exe or javaw.exe. The server is, however, available as either a Java program or as a native Windows executable. It turns out that the latter just invokes Java with the proper arguments to extract the Java code from the executable file itself.

When the server is first run, it writes several files to contain options, settings, and its world data. This is one place where the documentation I found was wrong. It claimed that on most systems, this information was written to the current directory, but that on Windows, it was written to the directory that contained the .exe file. This is incorrect. Although Windows gives this appearance, it is actually because when you run a .exe file from Window Explorer, the process’s current directory is set to the location of the .exe file. Thus, the program is indeed writing to its current directory (as on most other systems), but that current directory does not necessarily match the one that the program was run from. As a result you can use Shortcut files or batch script files to keep the installation location of the server code clean and store the data elsewhere. On my system (which is Windows 7) I installed the server program at Program Files (x86)\Mojang\Server alongside the client Minecraft.exe file, and the data in ProgramData\Local\Minecraft_Server.

I wanted this to run as a true server, which would be available anytime the computer was up, so I used NSSM to run the server as a proper Windows Service which you can start and stop using the Service Management console. This had the built-in ability to set the process current directory as mentioned above, and the service appears as an instance of javaw.exe running.

Next came the problem of connecting to this server from another computer. Windows Firewall to the (not) rescue. WF is itself has rather limited rules capability: You can set a default (to accept or reject) for network connections not covered by a specific rule, and the specific rules can select by IP address, port, traffic type (UDP or TCP), user, and program to decide whether to accept or reject network traffic. There is a different rule set for outbound and inbound traffic, with the former typically set to allow pretty much anything through.

It seems that when there is no specific rule for new traffic and the default rule rejects it, a “helpful” window appears on the screen asking whether the traffic should be permitted or rejected. This window would be truly helpful if it specified all the connection information (port, IP address, etc) and allowed the rule it makes to be tailored to the need. But instead, it always results in either an “allow all” or “deny all” rule for the particular program.

Problems come in when the program is a general language interpreter like Java, because this means the program identity (if any) in a rule is somewhat useless: it cannot distinguish javaw.exe running Minecraft from javaw.exe running some other (perhaps hostile) software.

You can’t make a rule to allow the Minecraft server to accept connections on port 25565 but deny all other traffic to java.exe because there is only one level of rule override. That override level cannot be used because non-Minecraft traffic will cause the “helper” will leap in and create another blanket accept or reject rule. The latter, being non-specific, would include Minecraft traffic and, were it a Reject rule, would override any Allow rule, even one with more specific criteria.

As a result of this “helper” our various computers already had an assortment of allow-all, deny-all, or no rule at all (and thus default deny) for javaw.exe.

The firewall logging also was no help. It appears that when a program accepting incoming traffic is blocked by the firewall, this happens when it first tries to accept the connections. The program is put in a sort of quarantine, and any later incoming connection attempts are treated as if no one were listening for them. This in turn means they do not appear in the firewall log as denied packets; they are just packets sent to a port no one is listening on. The quarantining of the program is not logged either. The net effect is that there is nothing in the log to explain why the incoming packets aren’t working.

This is one place where repeating of rote information flooded out any attempt I made to find help using Google. Most people who set up a server want to do this so other users (their friends, typically) can connect to their server and play with them. Trying to do this requires a whole other set of fiddling to arrange that traffic coming from the Internet at large is directed to the correct computer within their local network, none of which has anything to do with Windows Firewall.

So for now, my server has a specific rule allowing incoming TCP connections on port 25565 to the javaw.exe program (I could also make it user-specific to the user that the server is running as). Next time I try running some other Java program that wants network access, the “helper” will leap in and, depending on how I answer, put in a rule allowing any Java program to have any network traffic, or denying all such (and overriding my specific rule).

One solution for me to try is to use a feature of the file system to make a hard link to the javaw.exe file called, say, JavaForMinecraft.exe. If the server run using this file name instead of java.exe shows the alternate file name on its process, I could make a specific rule that uses this alternative program name, and rules generated by the “helper” for javaw.exe would not interfere.

Then there is a whirlpool of confusion swirling around Mojang accounts, Minecraft accounts, Windows accounts, Minecraft Profiles, and Worlds, but that might be the subject of another article.

Tagged with:

More bookcloth remnants

My trip to the Niagara area last month included a stop to get more assorted pieces of bookcloth. We finally got the cloth stored in our rack and have some samples for making an updated sample sheet.

IMG_7560Those two that look black (second from left and near centre) are both actually very dark blue. Most are a lightweight linen texture, but a couple have a heavier smooth finish. We have about 3m of each of these, but some of them were the end of the roll and can be as short as ½m.

Marbling from Heart & Hand

It has been a while since Heart & Hand, but I finally took pictures of all the marbling we made that day.

The colour balance is a bit off on this photo. I fixed it for the rest.

The colour balance is a bit off on this photo. I fixed it for the rest.

IMG_7564

A bit of an experimental design on the upper left, and a big bubble flaw lower left.

Lily did the lower two sheets in this photo.

Lily did the lower two sheets in this photo.

IMG_7566

A fiery feather design upper left along with bouquet, get-gel, and stone patterns

IMG_7567

Four bouquet patterns in greens and yellows, and a bit of red in one.

IMG_7568

Another stone pattern and one more green-yellow bouquet.

We had one more sheet that Lily made with the help of one of the show visitors, but that sheet was purchased on the spot by one of the other exhibitors (and delivered later, once dry). All these 18×24″ sheets have been added to our stock of marbled paper for sale.

Steamed Stems Results

Yesterday, we held our Steaming Stems session with mixed results.

The weather was great: It was right around the freezing point, and the morning was bright and sunny. Later it clouded over but there were still a few sunny breaks. Light winds meant working outside would not be bone-chilling. This contrasts with Cleveland, where the Morgan Conservatory had to postpone their kozo harvest because of heavy snow over the past few days.

The first disappointment was that no one dropped in to visit. I guess there aren’t many paper makers close enough to us to make the trip. The fact that we’re terrible at publicity doesn’t help either…

IMG_7570Our first (small) problem was that our propane tanks both had a lump of sod frozen to their bases and would not stand upright.

I found this out early enough that by laying them on their sides in the sun, the sod was thawed and could be knocked off by the time I needed the propane.


IMG_7569Our cooking pot was made up of a large stainless steel stock pot with lid, a grille on legs to keep the stems out of the water, and an extension pipe to make the pot tall enough for the stems.

I had made the grille the same morning by welding together some scraps of expanded steel mesh and round steel rod.

The extension pipe is made from two sections of 6″ round heating duct joined lengthwise to make a 12″ tube. Because of the geometry of the locking seams I had to add a few pop rivets to hold it together. This turned out to be a perfect fit in the pot.

The harvesting and stem preparation was pretty straightforward:

I used long-handle pruners to cut the stems off the plants. The stem that has leaves on it had died in the fall because an animal had eaten all the bark around its base.

I used long-handle pruners to cut the stems off the plants. The stem that has leaves on it had died in the fall because an animal had eaten all the bark around its base.

The   cut stems from both plants, ready for cooking prep.

The cut stems from both plants, ready for cooking prep.

I'm using a smaller pair of pruners to trim all the side branches off the main stems. This will allow the stems to be bundles up to fit them in the steamer. Some of the larger side branches were also cooked. Normally, I try to reduce the number of side branches by removing suckers through the growing season, but this year they got away from me.

I’m using a smaller pair of pruners to trim all the side branches off the main stems. This will allow the stems to be bundled up to fit them in the steamer. Some of the larger side branches were also cooked.
Normally, I try to reduce the number of side branches by removing suckers through the growing season, but this year they got away from me.

Here's all of this year's harvest, including both the stems just cut and also the stems that died early in the year.

Here’s all of this year’s harvest, including both the stems just cut and also the stems that died earlier in the year.

We moved inside to cut the stems to a length that would fit the steaming pot.

We moved inside to cut the stems to a length that would fit the steaming pot.

The stems to steam, from four different years (L-R): 2014 (4.9kg green), 2013 (2.45kg dry), 2012 (1.25kg dry) and unknown previous year (1kg dry). As it turned out the last bundle was not used because it did not fit into the pot.

The stems to steam, from four different years (L-R): 2014 (4.9kg green), 2013 (2.45kg dry), 2012 (1.25kg dry) and unknown previous year (1kg dry). As it turned out the last bundle was not used because it did not fit into the pot.

The cooking setup included a propane cooking ring with a shield to keep the wind away. The pot was filled with tap water up to the level of the grille.

IMG_7621 IMG_7623

IMG_7625IMG_7624I should have cut the stems a bit shorter. The extension pipe slid further into the cooking pot than I had expected, so the overall height of the pot was shorter than I had planned for. A bit of aluminum foil came to the rescue, though, making a cover that sealed well to keep the steam in.

We let the stems cook for a few hours, checking them occasionally to ensure the flame had not blown out and that there was enough water in the pot.

In the meantime we had lunch and did some yard work.

This is where things started to get a bit worrisome. Although the pot seemed to be cooking fine, with a steady stream of steam coming out from the edges of the foil lid, there did not seem to be much change in the appearance of the stems. After four hours of cooking the top ends of the stems did not appear substantially different than when they went in. Nevertheless I turned off the burner and took the bundles of stems into the workshop.

Once I had them in the shop and cut open the bundle, I tried peeling a few stems. They really didn’t seem to peel any easier than they did before cooking. You could start peeling a strip of bark, but the strip would become narrower and shallower (leaving the deeper bark layers on the stem) until it broke off.

The only places that seemed affected by the cooking were the very bottoms of the stems, where they might have been in, or at least splashed by, the boiling water.

Altogether, the whole effort appears to be an unqualified failure. I’m left to consider what might have gone wrong:

  • Mulberry and kozo are not the same plant; the chemicals that bind the bark to the stem are different enough that steaming loosens the bark on one and not the other.
  • Four hours is not enough steaming time.
  • Despite appearances, the steamer was not developing full heat inside. All the applied heat was being lost with steam condensing on the walls of the pot and the steam never displaced all the air out of the pot.
  • I need to cut the stems shorter, or modify the pot extension so it does not slide so far into the pot.

There isn’t much I could do about the first problem, except to replace my mulberry plants with true kozo. The observation about the bases of the stems being cooked suggests that I should try boiling the stems rather than steaming them. I will probably try cutting some of the stems shorter to fit the pot and boiling them in the next few weeks.

If the third issue is the problem, I could add some sort of insulation blanket to the sides of the pot. It would have to be a fireproof material because of exposure to the burner flames near the bottom. A welding blanket might do the trick. It retrospect, I have an infrared thermometer that I could have used to measure the side temperature of the pot to see if heat loss is a problem.

The 30th Annual OCADU Book Arts Fair

book-arts-fair-poster-2014On Saturday, November 29th 2014, OCAD University’s Printmaking Department will hold its 30th annual Book Arts Fair in the Great Hall at 100 McCaul Street in downtown Toronto. The show is open from 10am to 5pm and the folks there will be showing and selling their wares, which include handmade books, paper, prints and small press publications. Admission is by pay-what-you-can donation ($5 is suggested).

As in the past 15 years or so, the Papertrail will have a table or two selling some of our bookbinding supplies, handmade paper, and marbled paper.

More photos and additional information are available at the Fair’s Facebook page.

Top