Inflation once again rears its ugly head, forcing us to increase some of our product prices. I think many of our suppliers’ prices were set by the supply chain before the price of oil fell through the floor, so the price increases represent shipping costs and the fact that many of the affected products are derived from petroleum as a primary ingredient. There also seems to be a continuing trend of corporate consolidation and increased costs for processing small orders like ours.
The new prices are effective immediately, and are in our recently updated catalogue and New Products List (and their French counterparts).
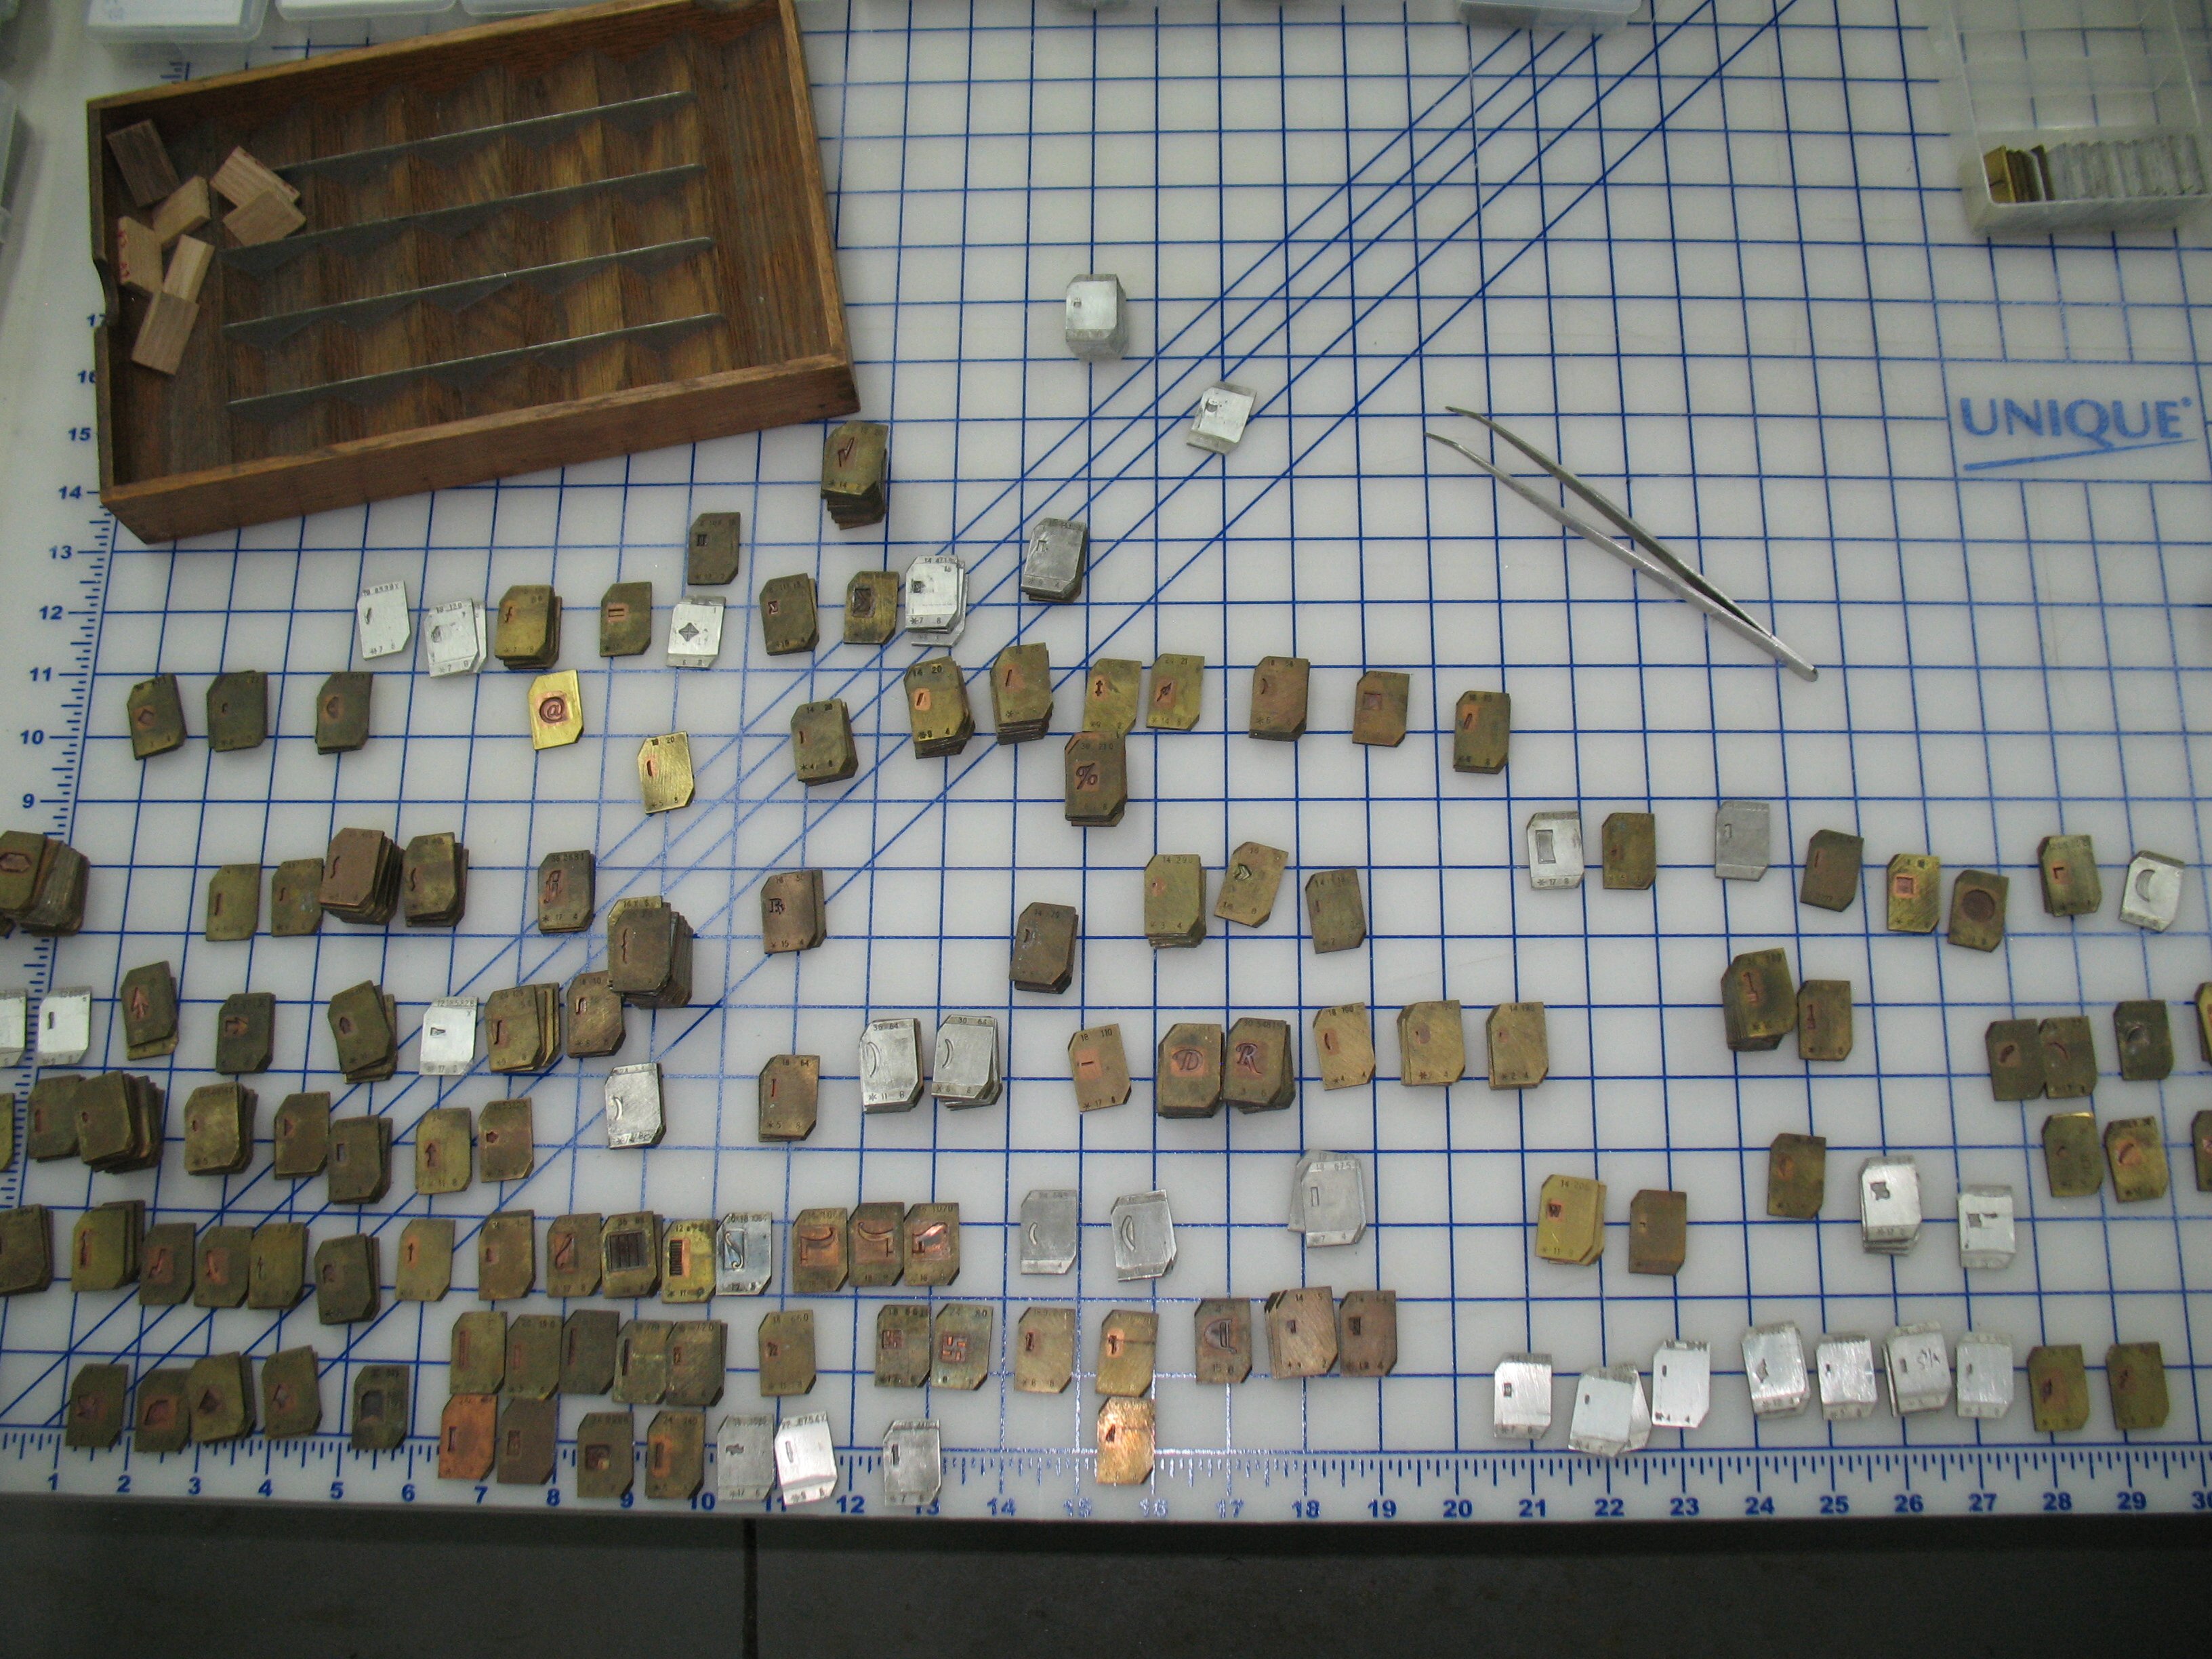
The products affected are: Unbleached Abaca Pulp, Formation Aid, Coagulant (see below), Sizing, and Bone Folders.
We are also phasing out our liquid Coagulant, replacing it with a granular product that has similar properties. The new product is easier to store, has a longer storage life, and is cleaner to handle. We will continue to sell our remaining liquid Coagulant until we run out, and it will remain priced based on what it cost us, so it looks like a real bargain compared to its replacement, but we can assure you that if we continued to sell the liquid Coagulant, its new price would be comparable to that of the new powder product.
We are also planning on selling a granular retention agent to replace the Retention Agent and Scavenger products that we’ve been out of stock on for so long, but we expect that once we get these they will have substantially increased prices similar to those for the products mentioned above.