[Note: Please read the comments below regarding the struck-out text]
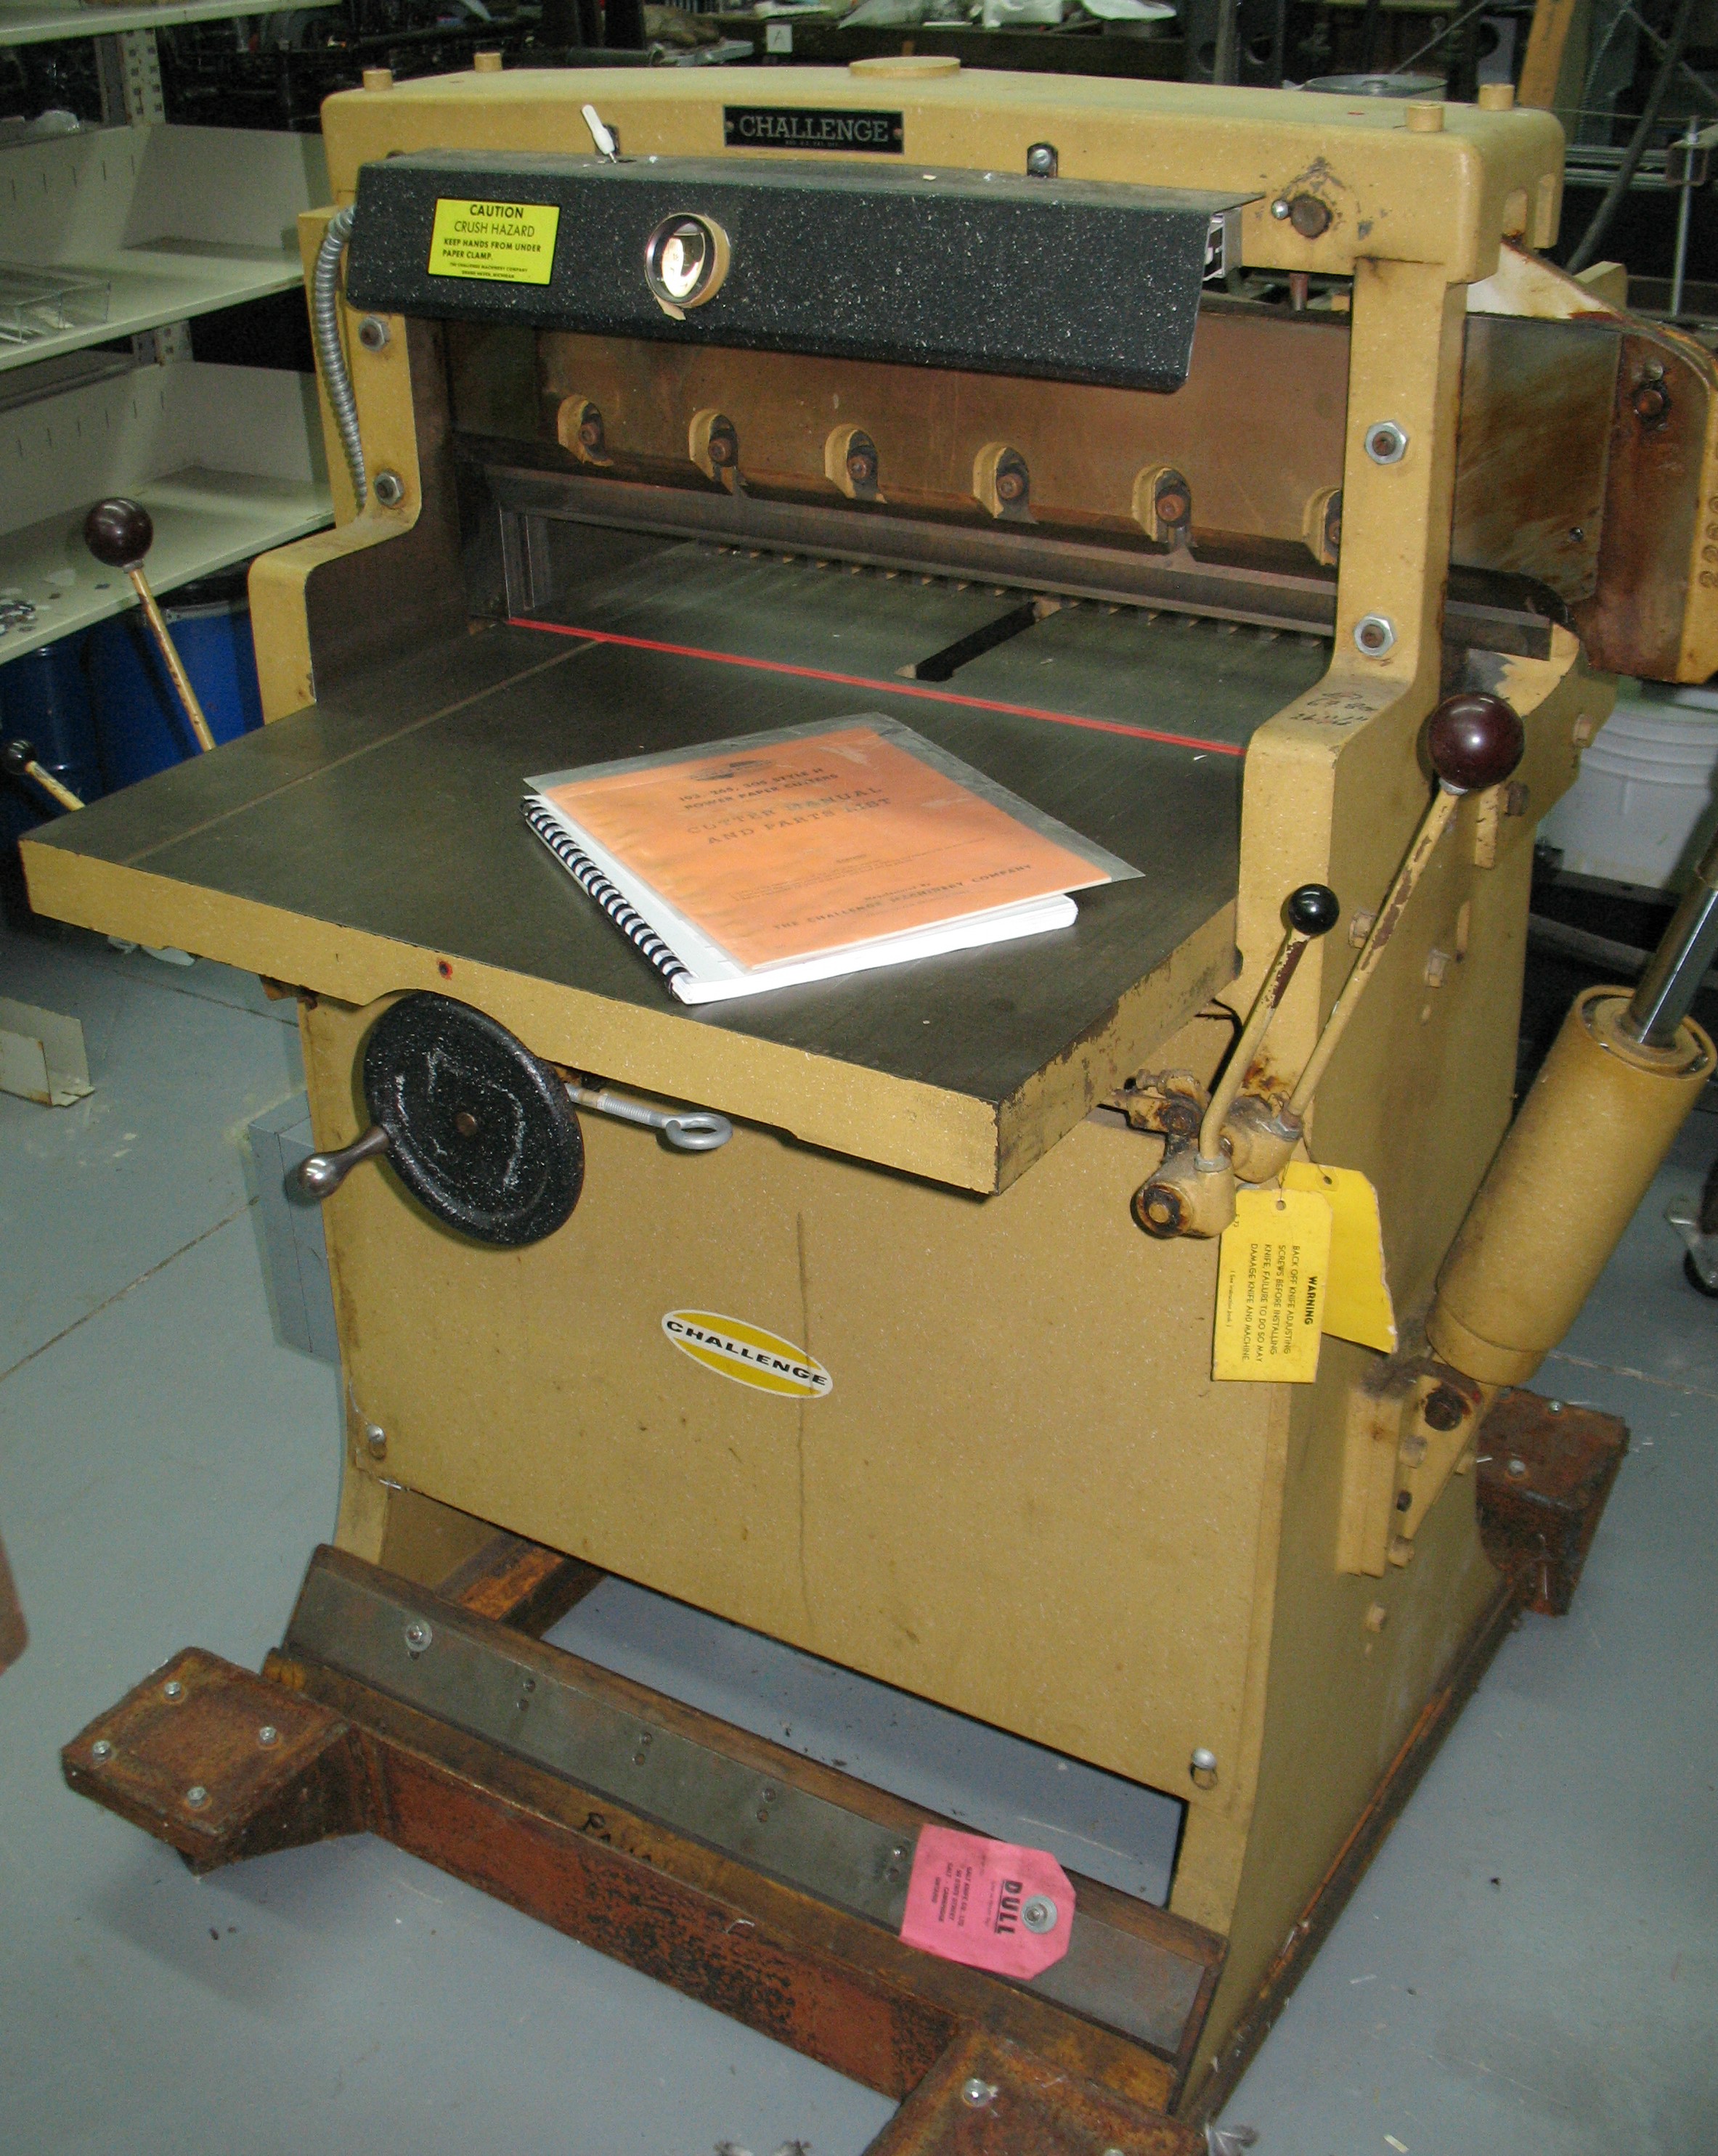
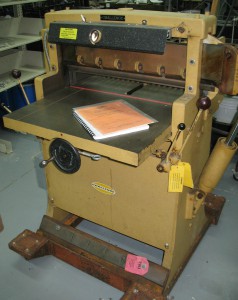
We have recently upgraded from our Challenge model 265 26” guillotine to a 32” one of even older vintage. We use it to cut up pulp sheets to make them easier to ship, and the 26” one was not wide enough to accommodate all the pulp sheets we stocked.
So the 26” one is now up for sale. It has power cut and power clamp, both driven hydraulically by an electric motor. The motor requires a 3-phase 208-volt supply and draws 11 Amps at 3HP load. Since we moved to our new location, which does not have 3-phase power I have been using a VFD (variable frequency drive) also known as an “inverter drive” to run it. Performance using the VFD has been less than ideal for two reasons: One is that this is an old second-hand VFD which has a current-sensing circuit that gives excessively high readings until the VFD (not the motor) has been powered up for several hours. The other is that the motor size of 3HP is somewhat marginal: when the cutter is at idle, the motor draws about 9 Amps, but during a cut it can draw up to 24Amps. Because the cuts are so short in duration, the average motor load remains under 3HP. For normal motor supply wiring and circuit protection this is not a problem because this high load only lasts a fraction of a second and only occurs perhaps once or twice a minute. Unfortunately the VFD is more sensitive and this leads to occasional overload trips. These are easy to reset as you just have to switch the motor switch off and on again, but they are still a bit of a nuisance.
As a result I am offering to sell this wired as is with the VFD running on 240V single-phase 30Amp, or re-wired to convert it back to 3-phase leaving the buyer the option of replacing the motor with a single-phase one (cost: about $400), or using a static or rotary phase converter. The manual for the machine lists a single-phase 5HP motor as an alternative to the 3-phase 3HP motor,
In any case here are some photos of the machine:
Both the clamp and the knife have dual controls which require both hands to operate, and releasing the knife controls immediately causes the knife to rise back to its idle position.
The machine is sitting on a dolly that I made which allows it to be moved on a smooth hard level floor. A spare knife is included along with the original manual.
Comes with the original manual, spare knife, and manual for the VFD.
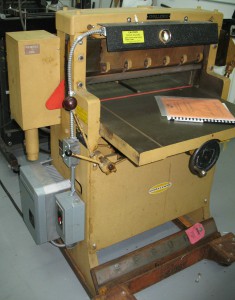
The large grey box is the VFD
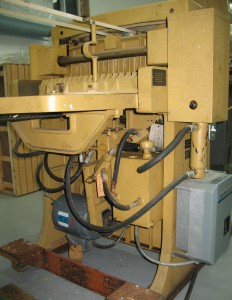
Rear view below the table showing motor and hydraulic controls.

Guillotine nameplate
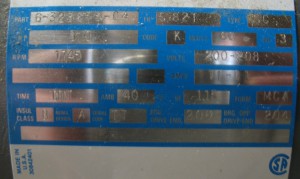
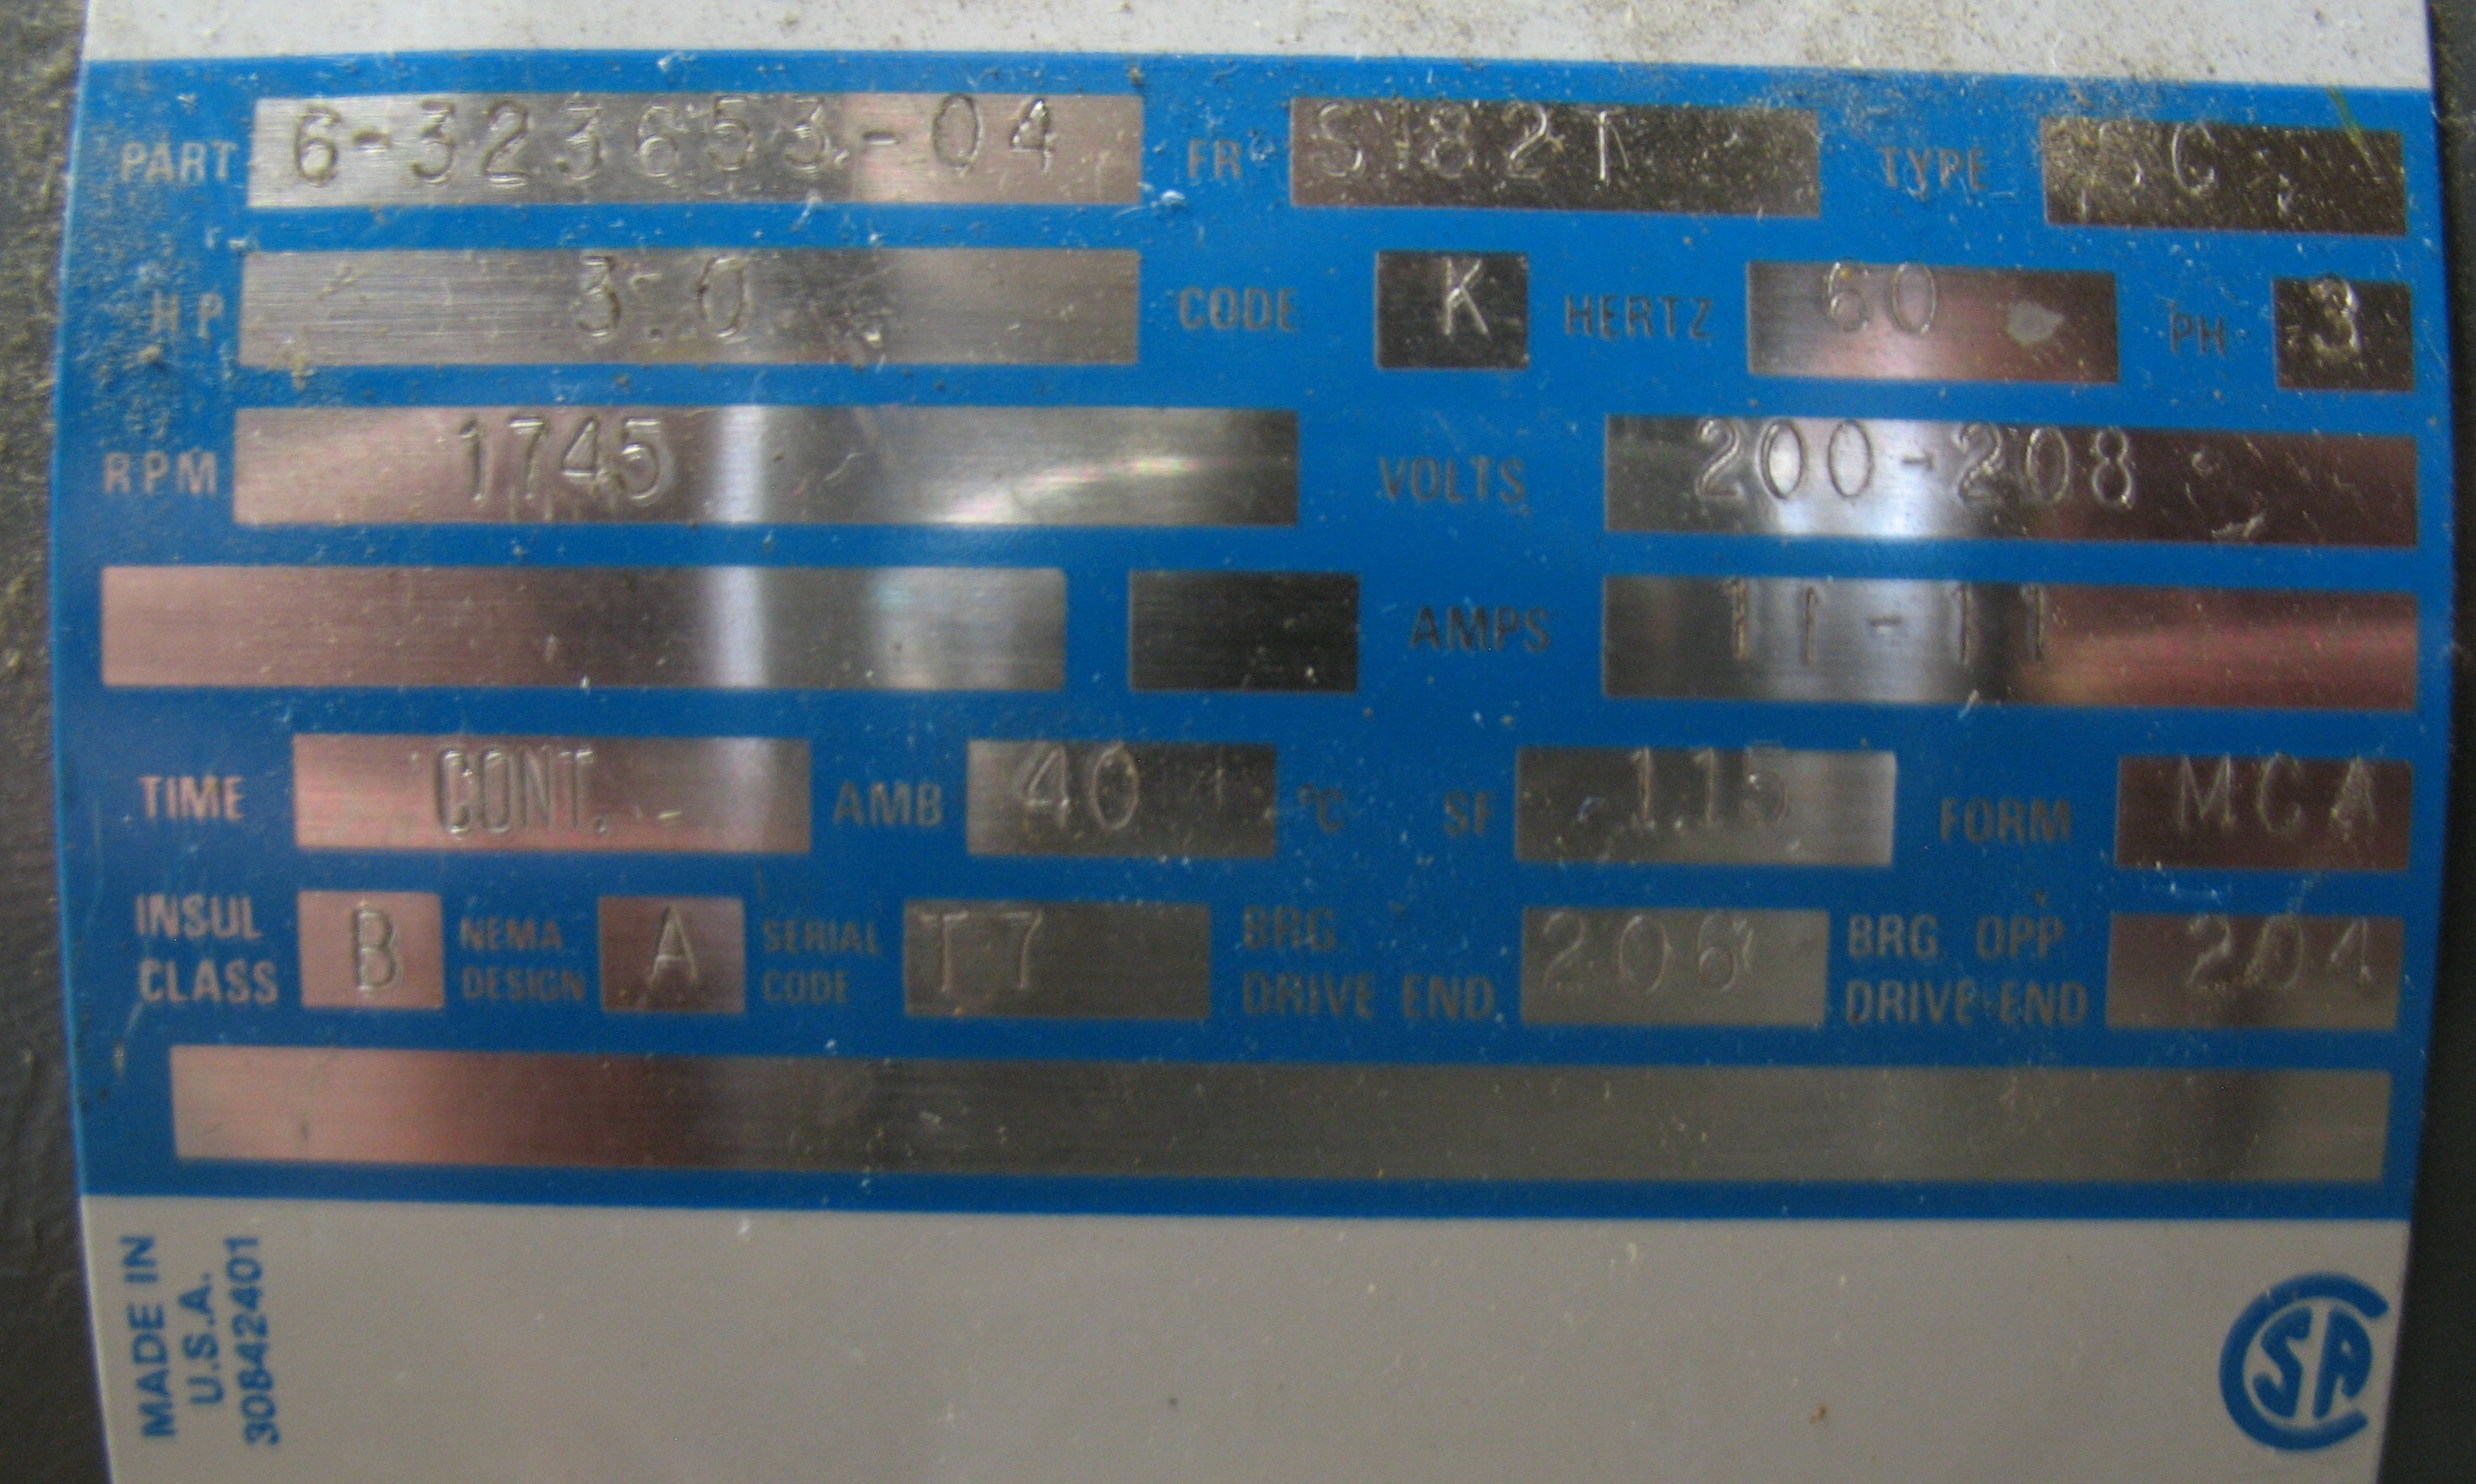
Motor nameplate
Just yesterday at auction in Goshen Indiana another Challenge 265 sold for US$1350 plus 8% buyer’s premium—that’s $1458 even before taxes. This was a newer model with a deeper and wider table on the operator side and grey paint instead of yellow, and apparently more modern controls.
We are asking $975 for the machine as it is (with the VFD to run on 240V single-phase), or $825 with the VFD removed and the machine converted back to run on 208V 3-phase power. For now I am leaving the VFD on the machine in case anyone wants to see it demonstrated in person.
We have facilities to load this into a truck or trailer and can also mount it on a pallet. If you want it shipped we would hire a professional company to crate it at your expense.