
 I have my Monotype composition caster converted to produce strip material—leading and rule—and this is my first try at running this setup. You can see the inauspicious results in my accompanying YouTube video.
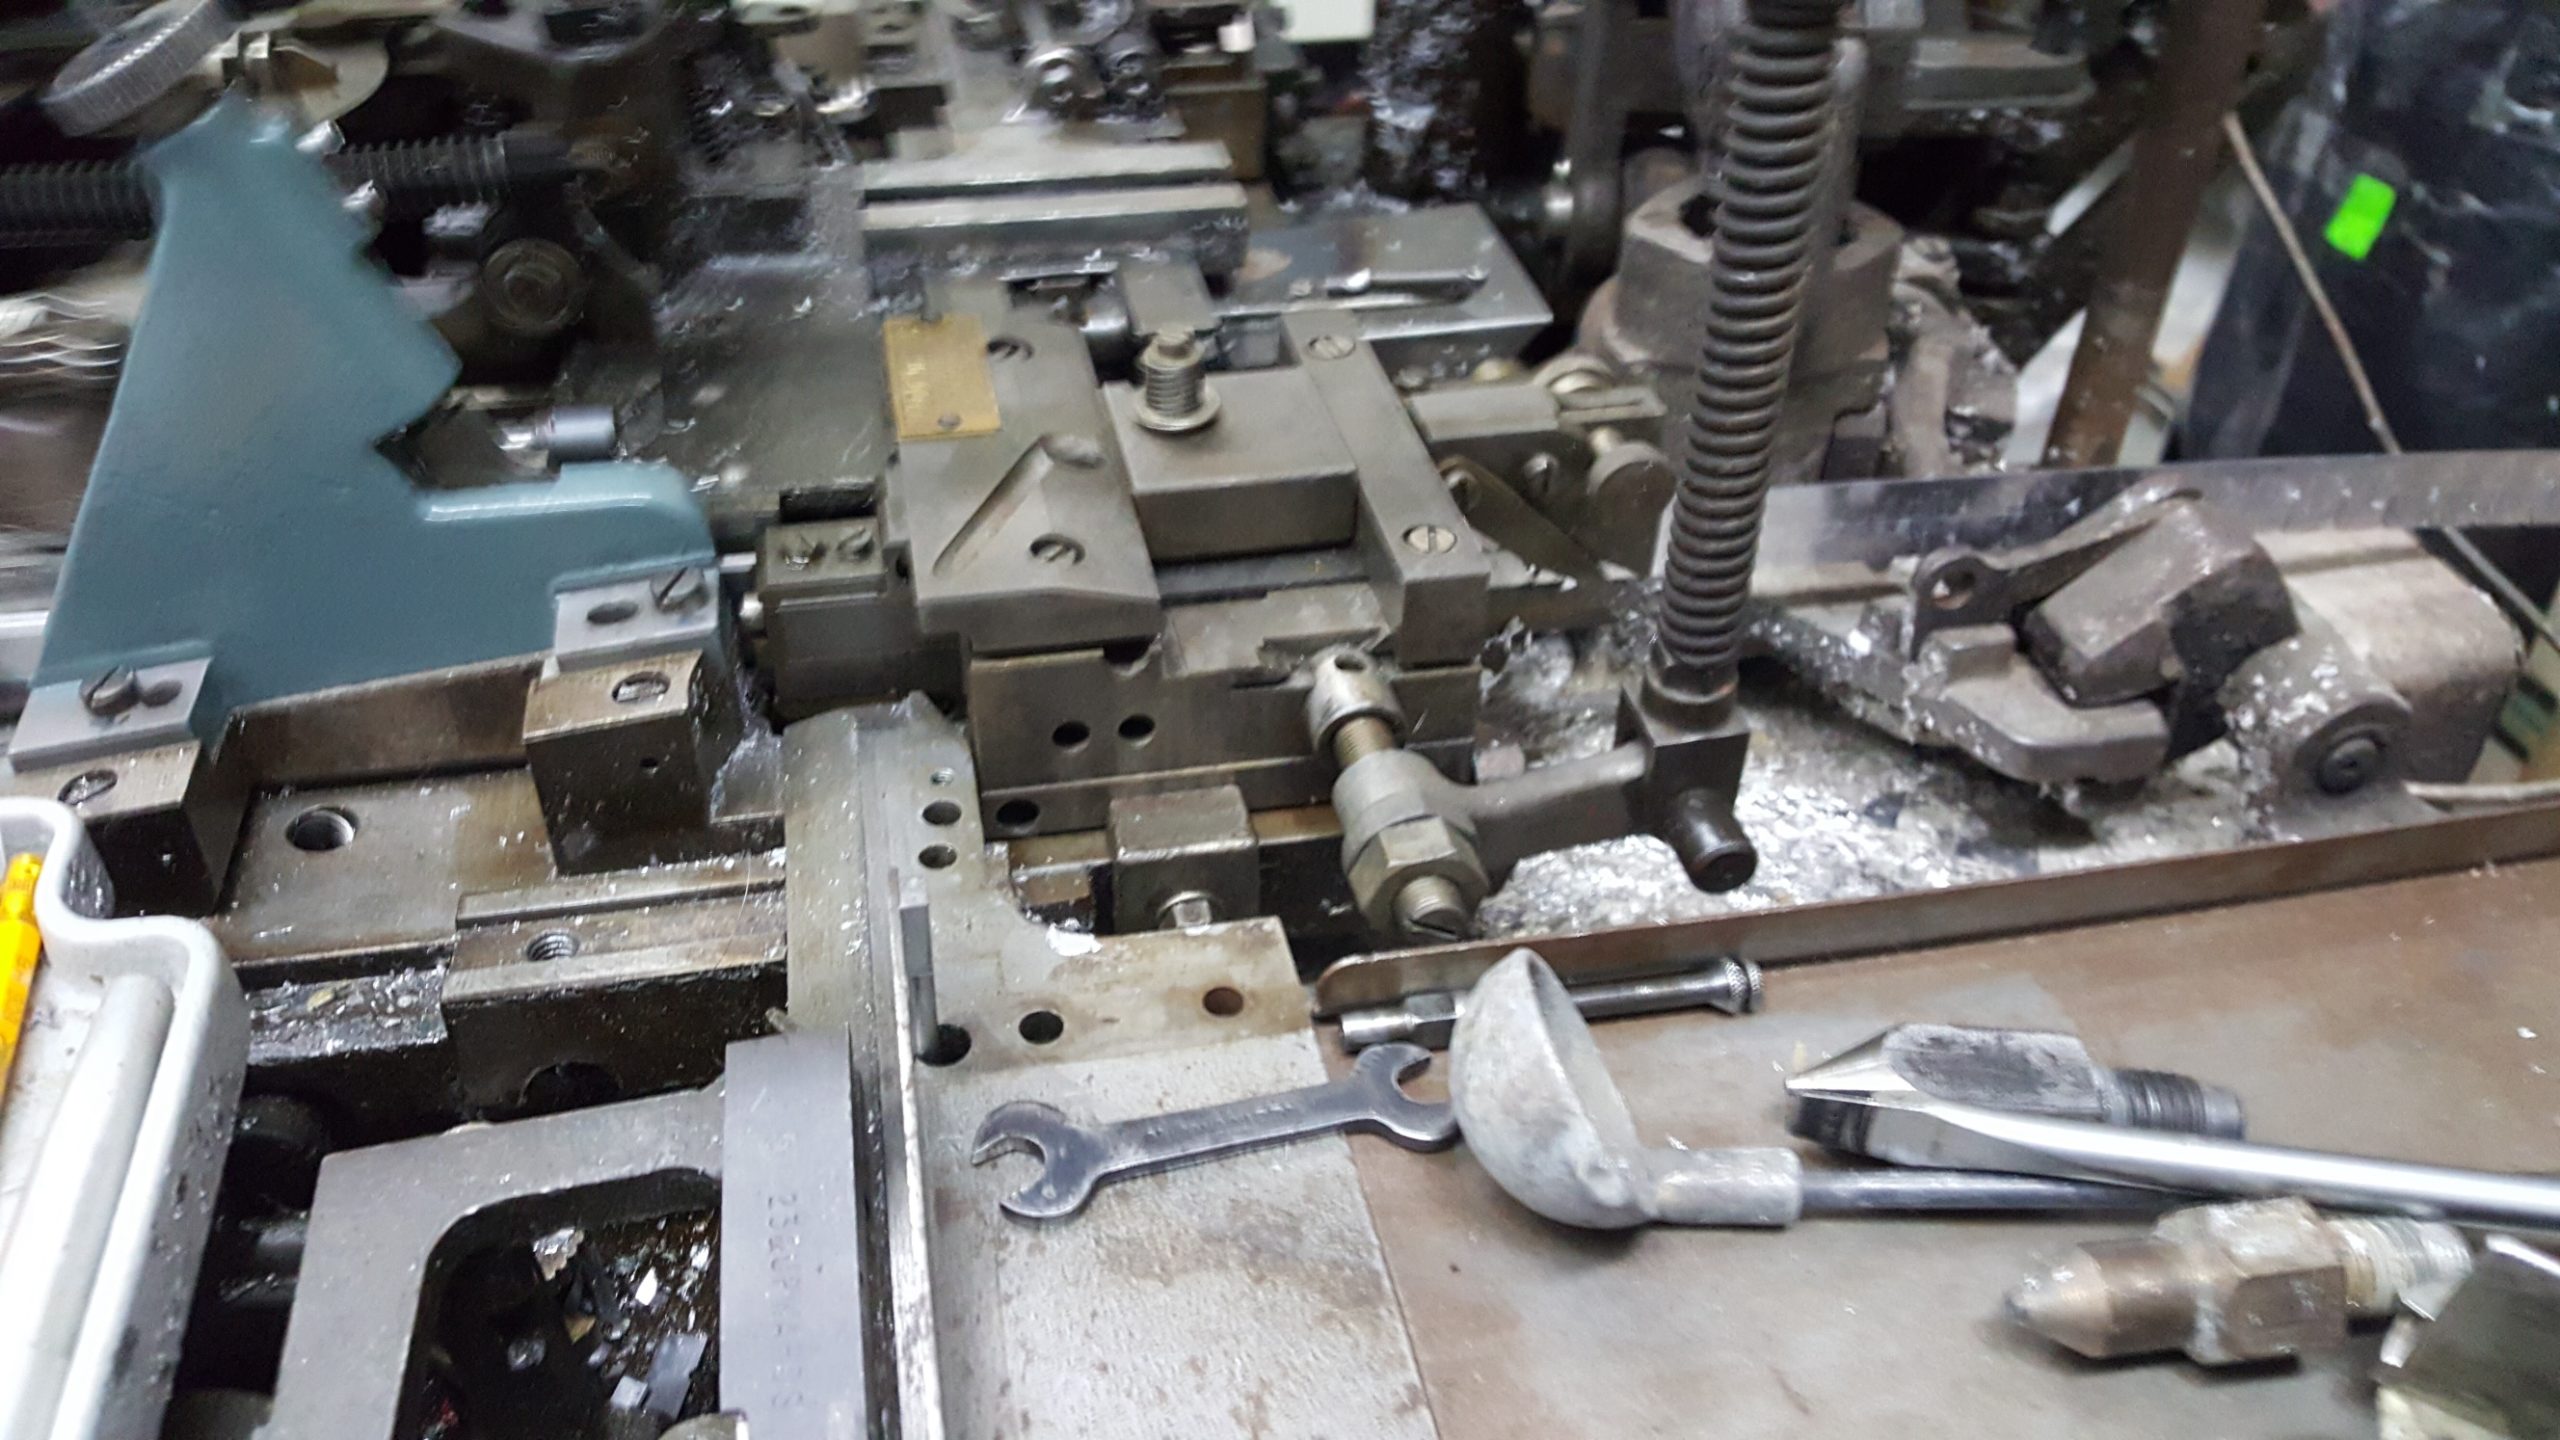
I am using a pump body which I got from Rich Hopkins, with its nozzle specially positioned to mate with the strip material moulds. The piston was from my own parts stock, and I had to make the special nozzle for use with the strip material mould. The levers which operate the pump were given to me by Ed Rayher from Swamp Press. I needed these because the pump body dimensions are different for Lanston (American-made) and English-made pumps and the only levers I has were for English pumps (as my caster is an English one).
I had a few other odds and ends from my parts stock: The stroke adjustment mechanism, one of the levers that operates the mould blade, and the adapter that connects the centering pin arm to the clamp lever on the side of the mould. The rest I had to make: various push-rods, levers, linkages, a spring box, and a base to provide mounting points for everything.
In this video I have everything put together and trying to cast some 3-point low leading. It sort of works, but it is not filling the mould properly, the casts are not fusing to each other properly, and the casting keeps jamming where the trimmer blade is removing the side jet from the strip.
My mould has a two-part trimmer setup. One knife cuts close to the side of the strip to remove all traces of the jet. Another curved piece before this knife seems to be intended to break off most of the jet but I’m finding that it just jams on the cut-off jet material. At that point the strip stops advancing and the spring box compresses since the mould blade can’t advance. My copy of The Monotype Casting Machine Manual doesn’t show this second cutter so I’m not sure what to do with it.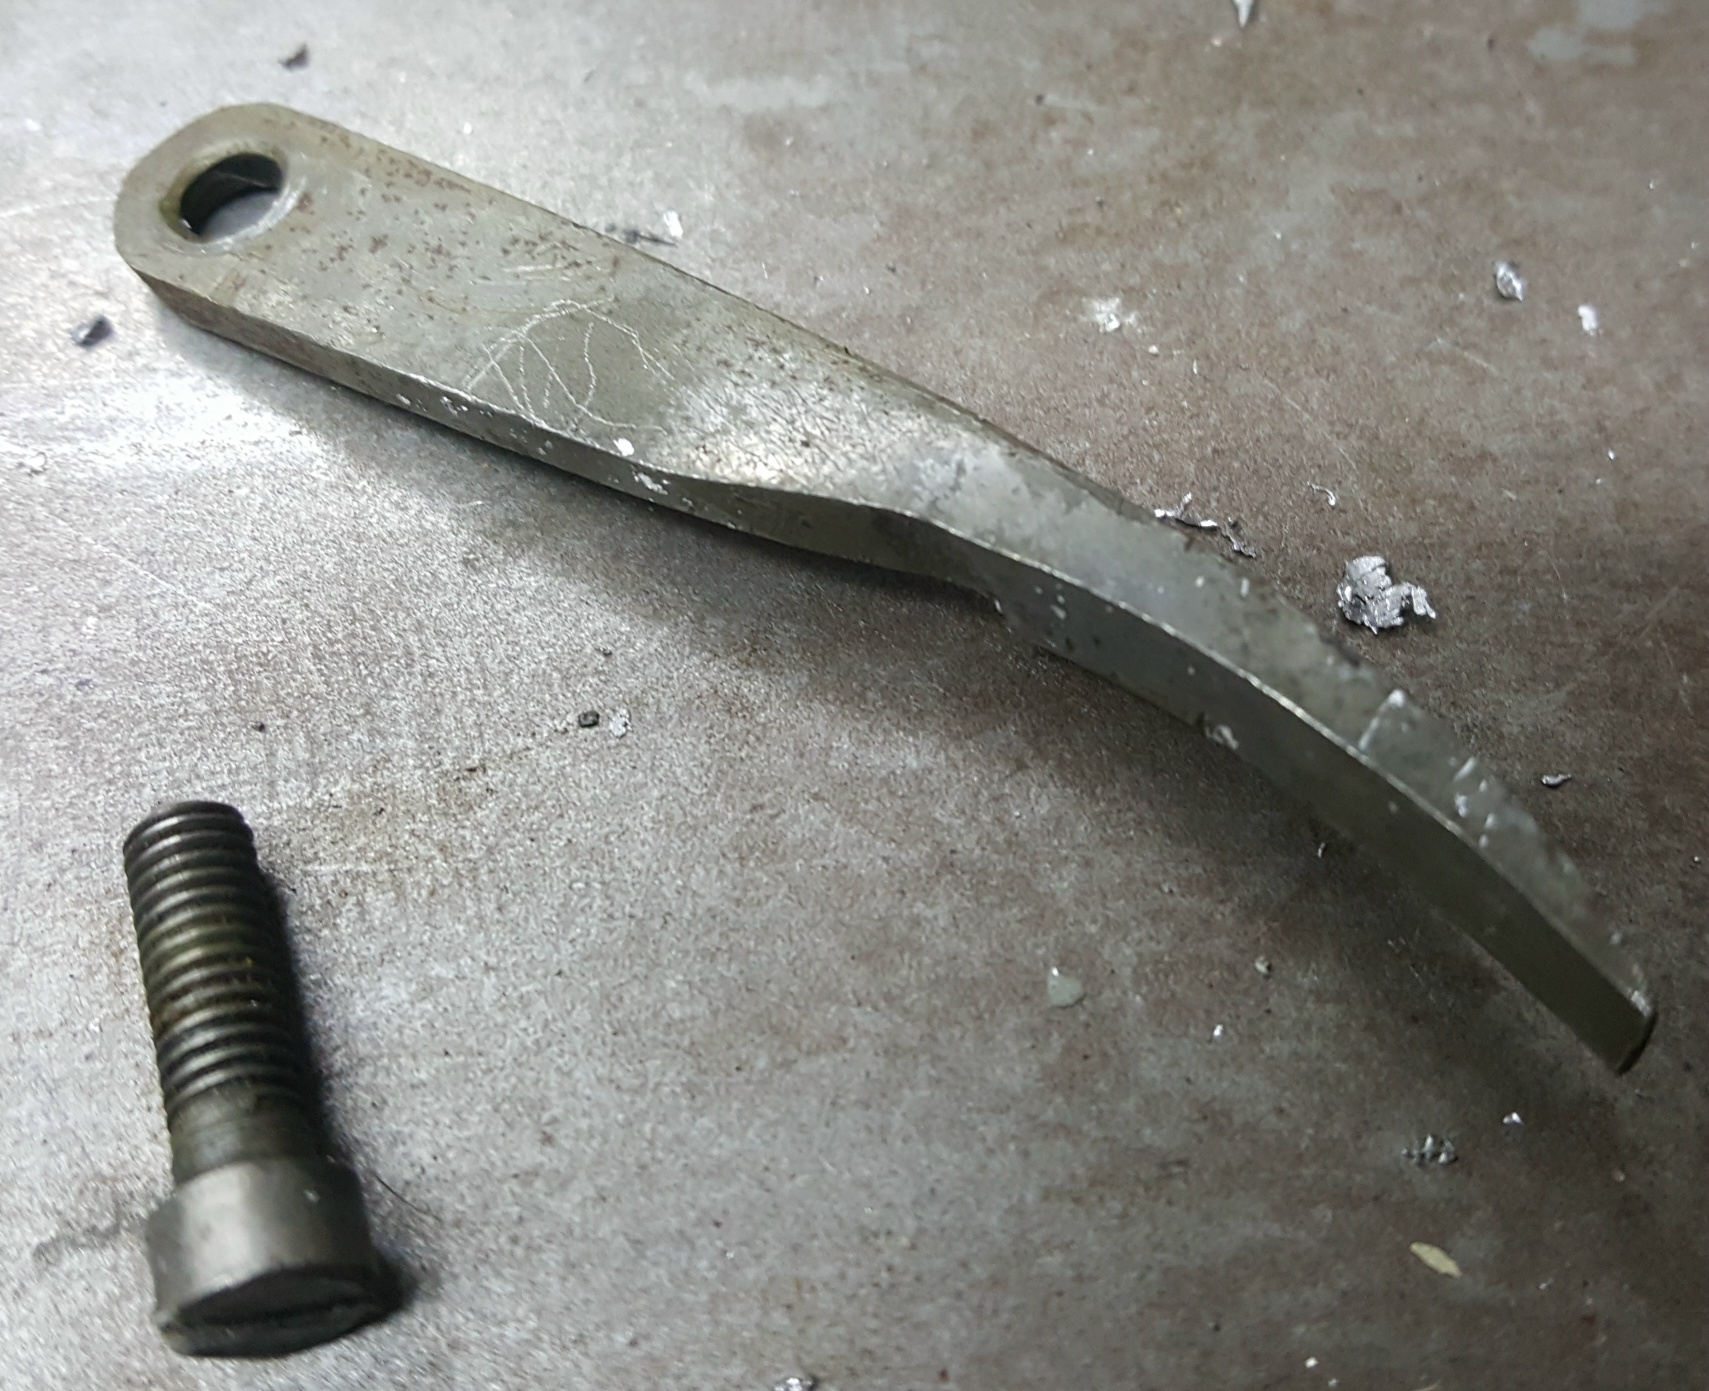
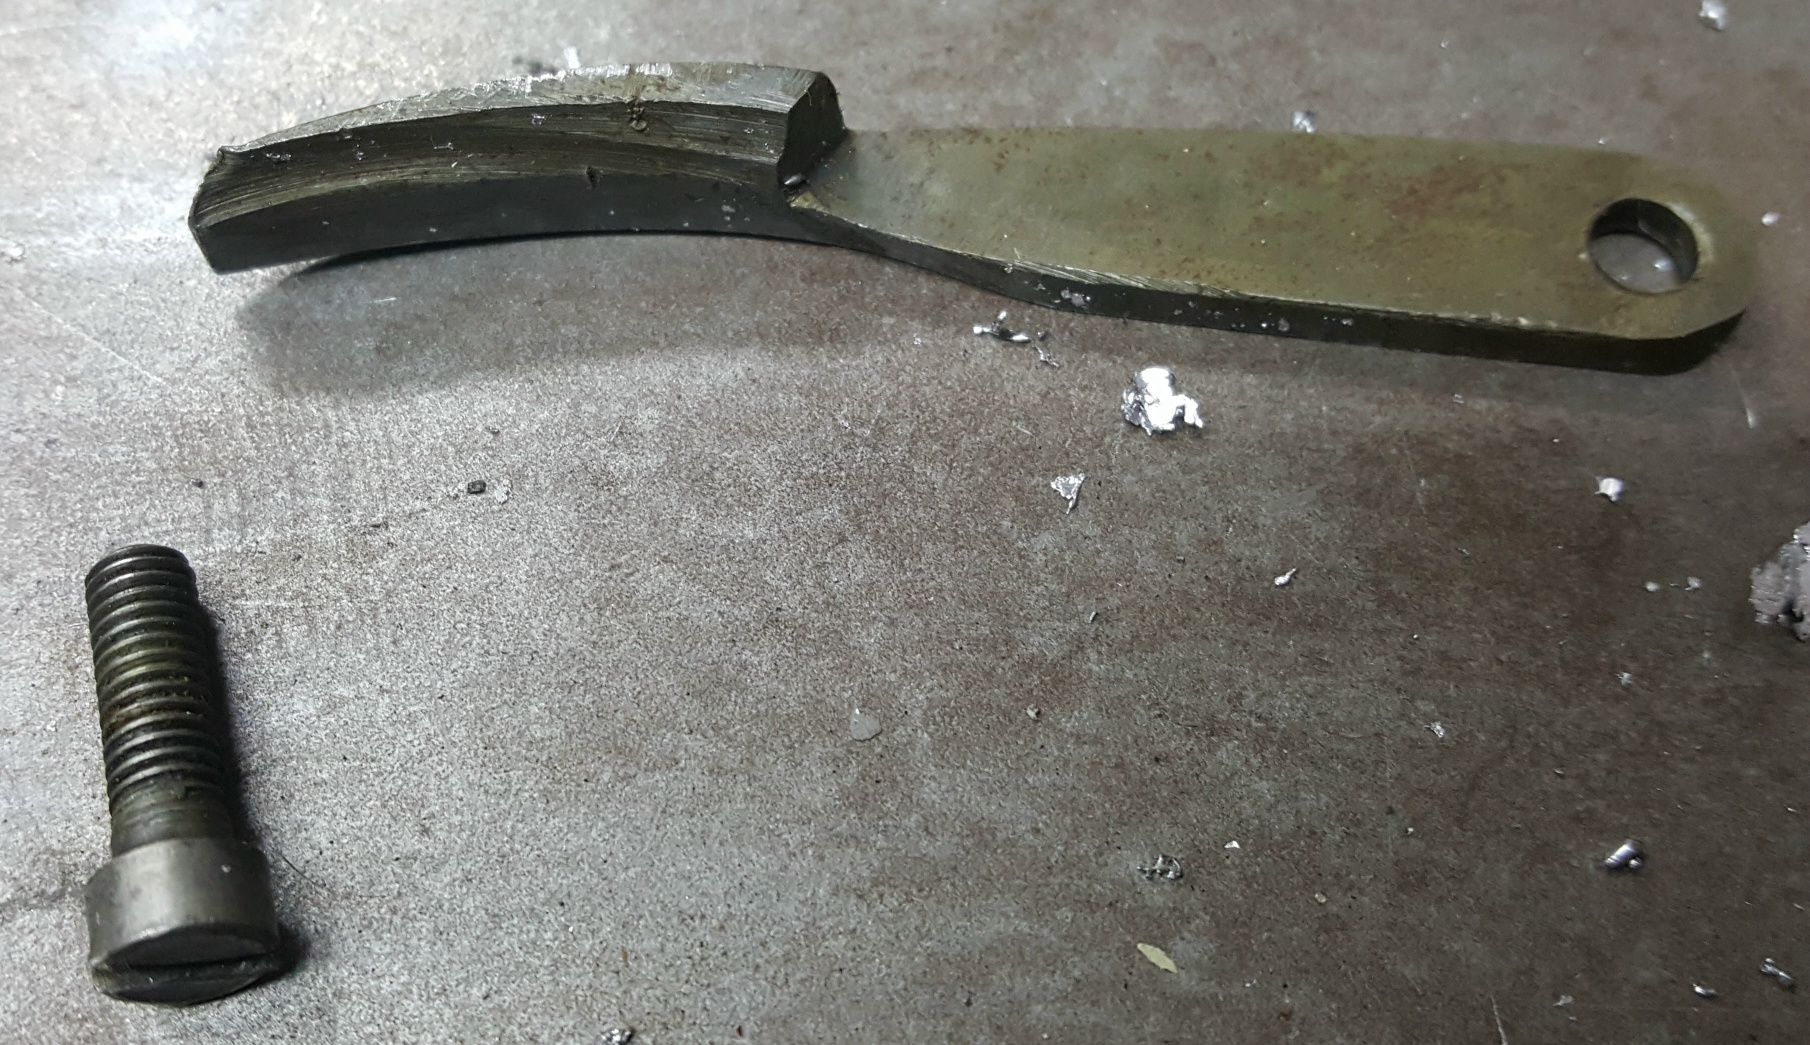
Well, it turned out that I had this installed on the wrong screw. There are two screws holding the trimming knife in place, and this should be mounted on the screw to the right. Once mounted here this part becomes a smooth extension to the knife, ensuring that any cut-off jet gets pushed down back into the pot to be remelted.
The jet deflector, properly installed.
This deflector may not serve much purpose. I don’t see it mentioned in the manual, and I only have one on my 3-point mould, not the other two moulds. This is probably used when you are also using the guide tube which supports the cast strip as it crosses above the pot on its way to the stacker. When there is no guide tube the regular trimmer blade should deflect the jet down enough to not cause problems, but with the guide tube in place this extra deflector might be needed to force the jet quickly into the pot so it doesn’t butt up against the end of the guide tube.
I’m hoping a bit more tuning will get me casting solid and properly-fused strip material. Then I’ll try out the other two strip moulds I have (2-point and 6-point) and maybe play with casting some rule. I have several rule matrices but I can’t use them with the 3-point mould because I don’t have the “high” mould blade for it.
For my test I had the blade stroke stop set for its short-stroke position, used for ½″ stroke when casting rule. When I repositioned it for a ¾″ stroke (which can only be used for casting leading, not rule) I found that my spring box wasn’t compressing at both ends of its stroke. It would appear that I’ll have to alter my linkage a bit to change its lever arm ratio to provide a tiny bit more stroke. I’m hoping I can do this just by drilling a new hole in one end of the first lever; this is fine if the hole moves far enough (more than its own diameter) but for a smaller shift, I’d have to either weld the old holes closed or make a brand new lever.
I just found yet another parts manual for the caster, and this one shows an excellent square-on view of the first linkage lever allowing me to measure the lengths of its lever arms. I had made my lever with a 2:1 reduction ratio, but it turns out that the genuine item has about a 1.77:1 reduction ratio. This turns out to be pretty much what I intended to modify my lever to, and it involves moving the lower hole about ¾″ closer to the pivot.
That means I can drill a new hole without plugging the old one, though for cosmetic reasons I might plug it anyway. It will probably depend on whether I have my welder set up for anything else.