Our papermaking demonstration at the Waterloo Mini Maker Faire was a great success!
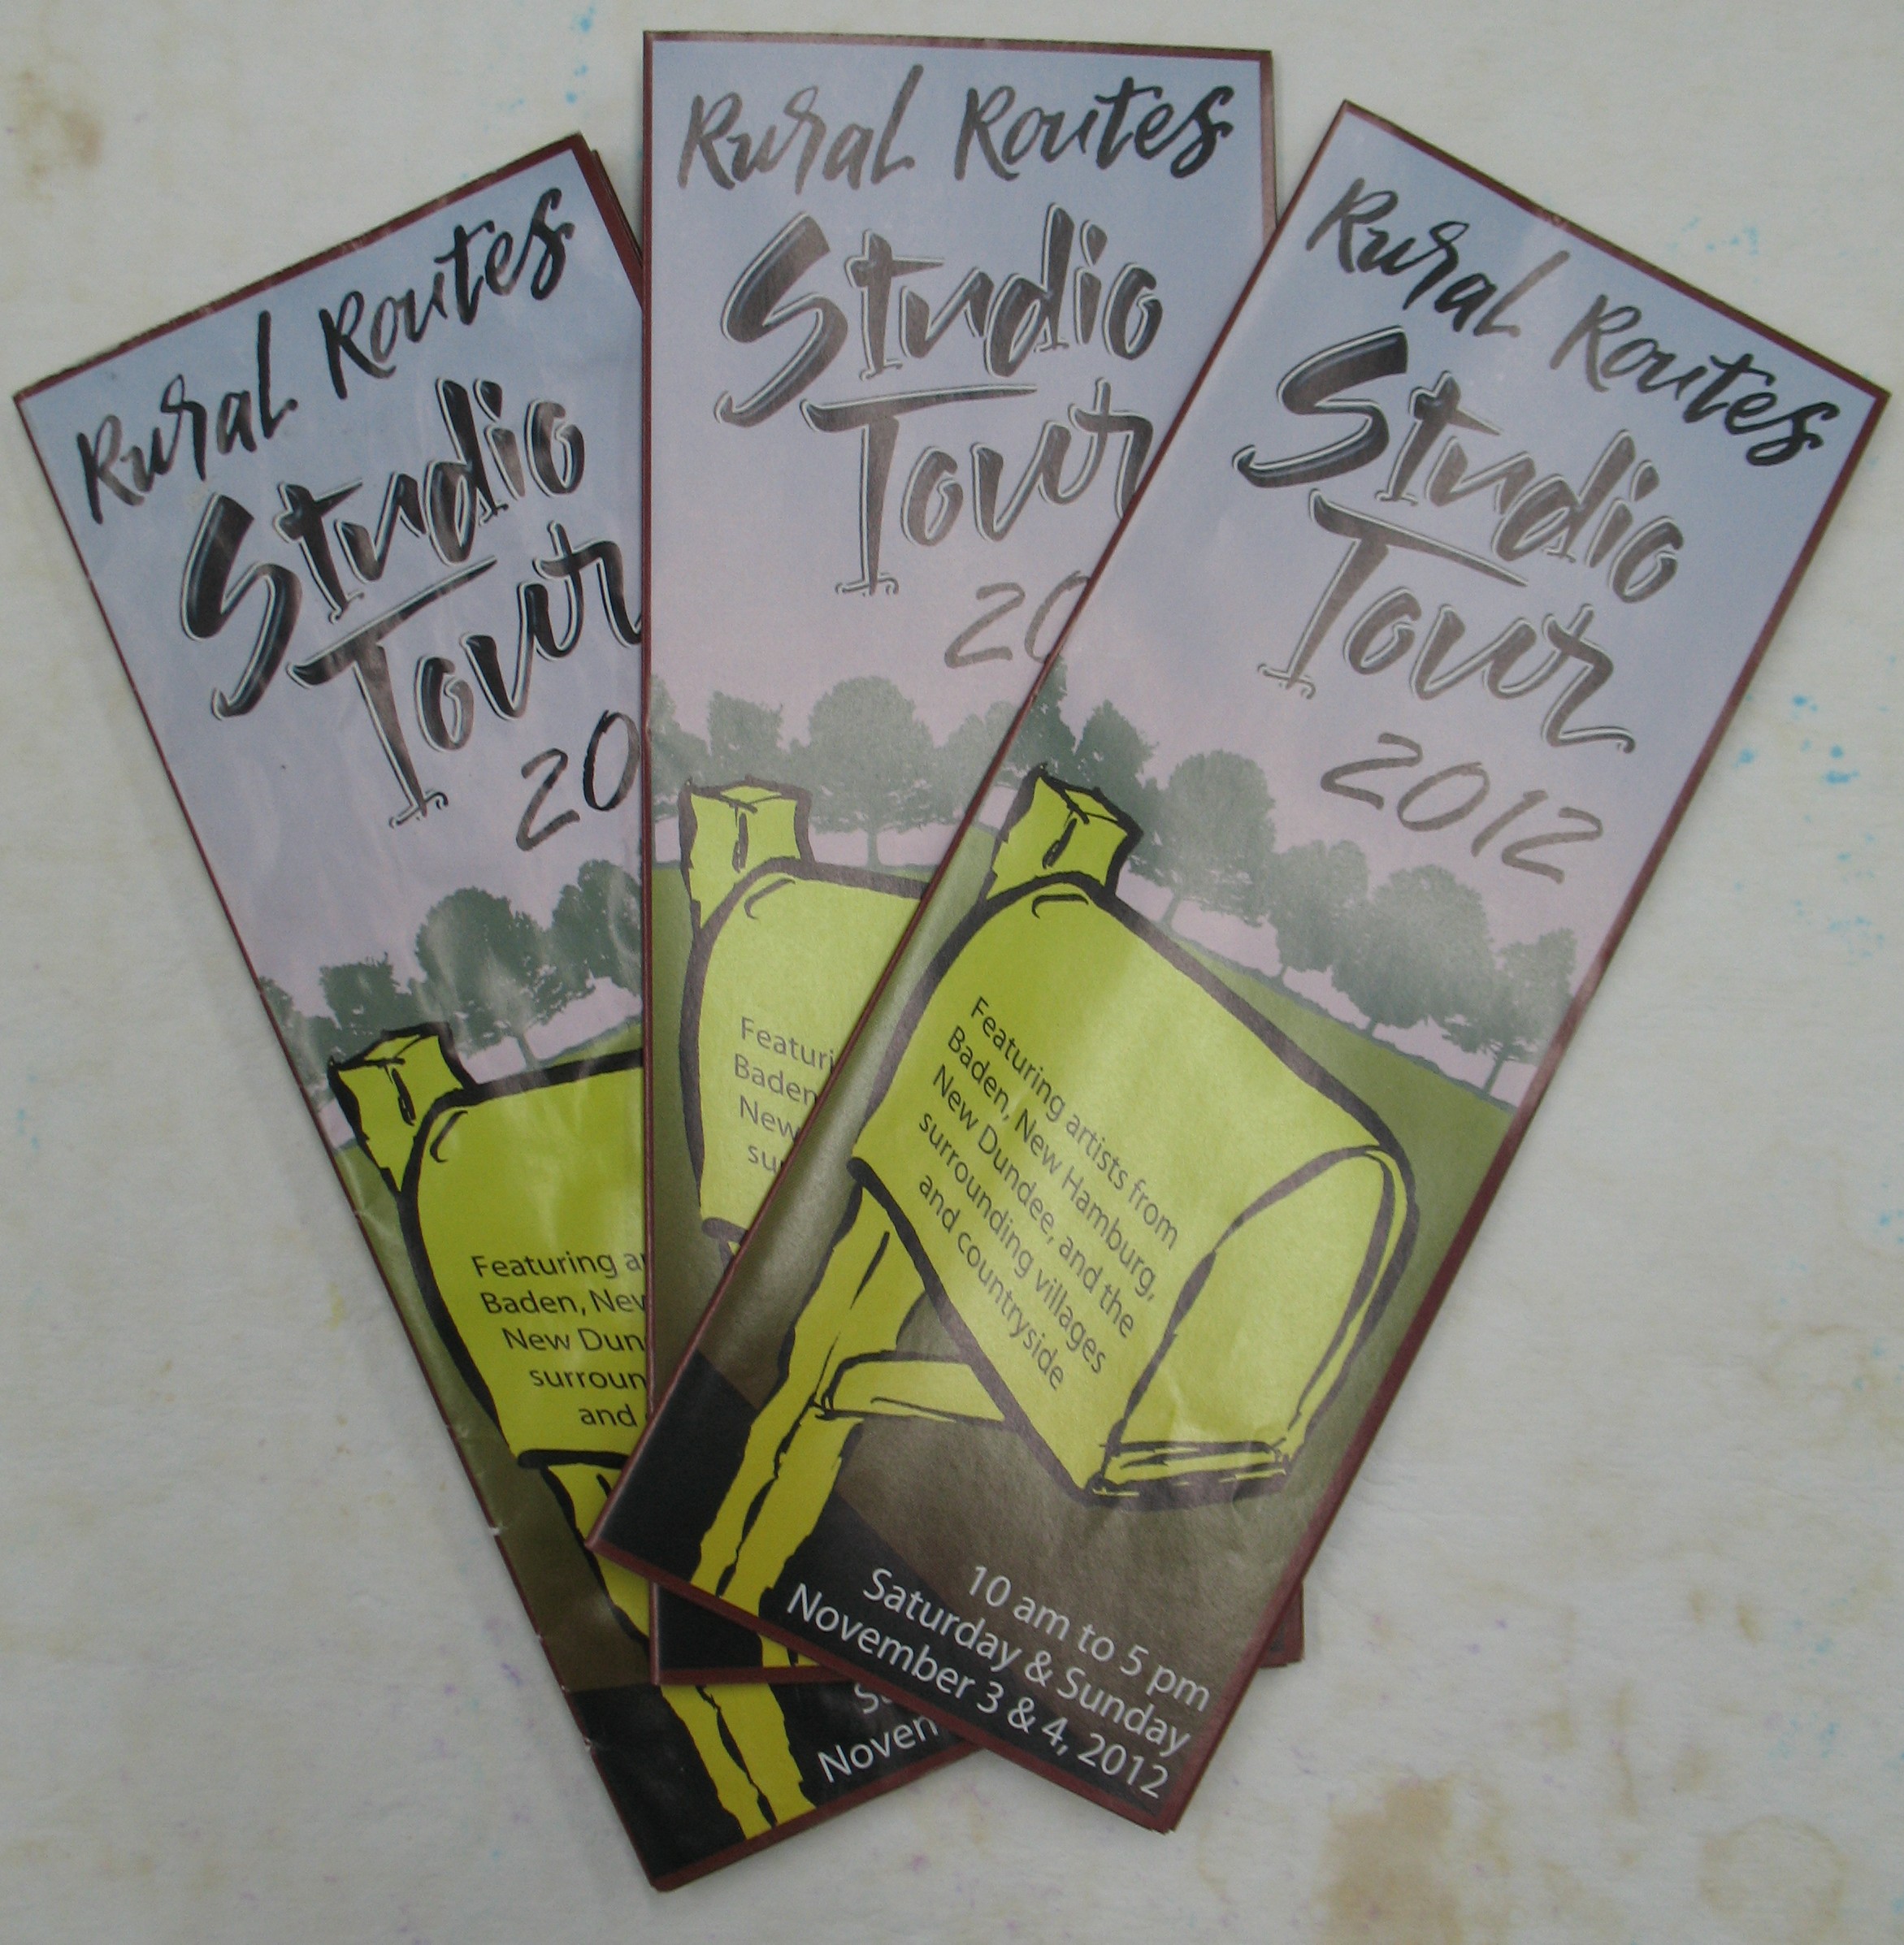
We set up inside the Kitchener City Hall Rotunda to be ready for the opening at 10 am on Saturday, but members of the public were already streaming in and eagerly touring the booths. We brought our portable papermaking set-up, which (in part) consists of smaller vats inside bigger vats to catch the water, and our portable paper press. The pulp we were using was made from recycled glossy flyers, and the finished paper was surprisingly smooth and beautiful.

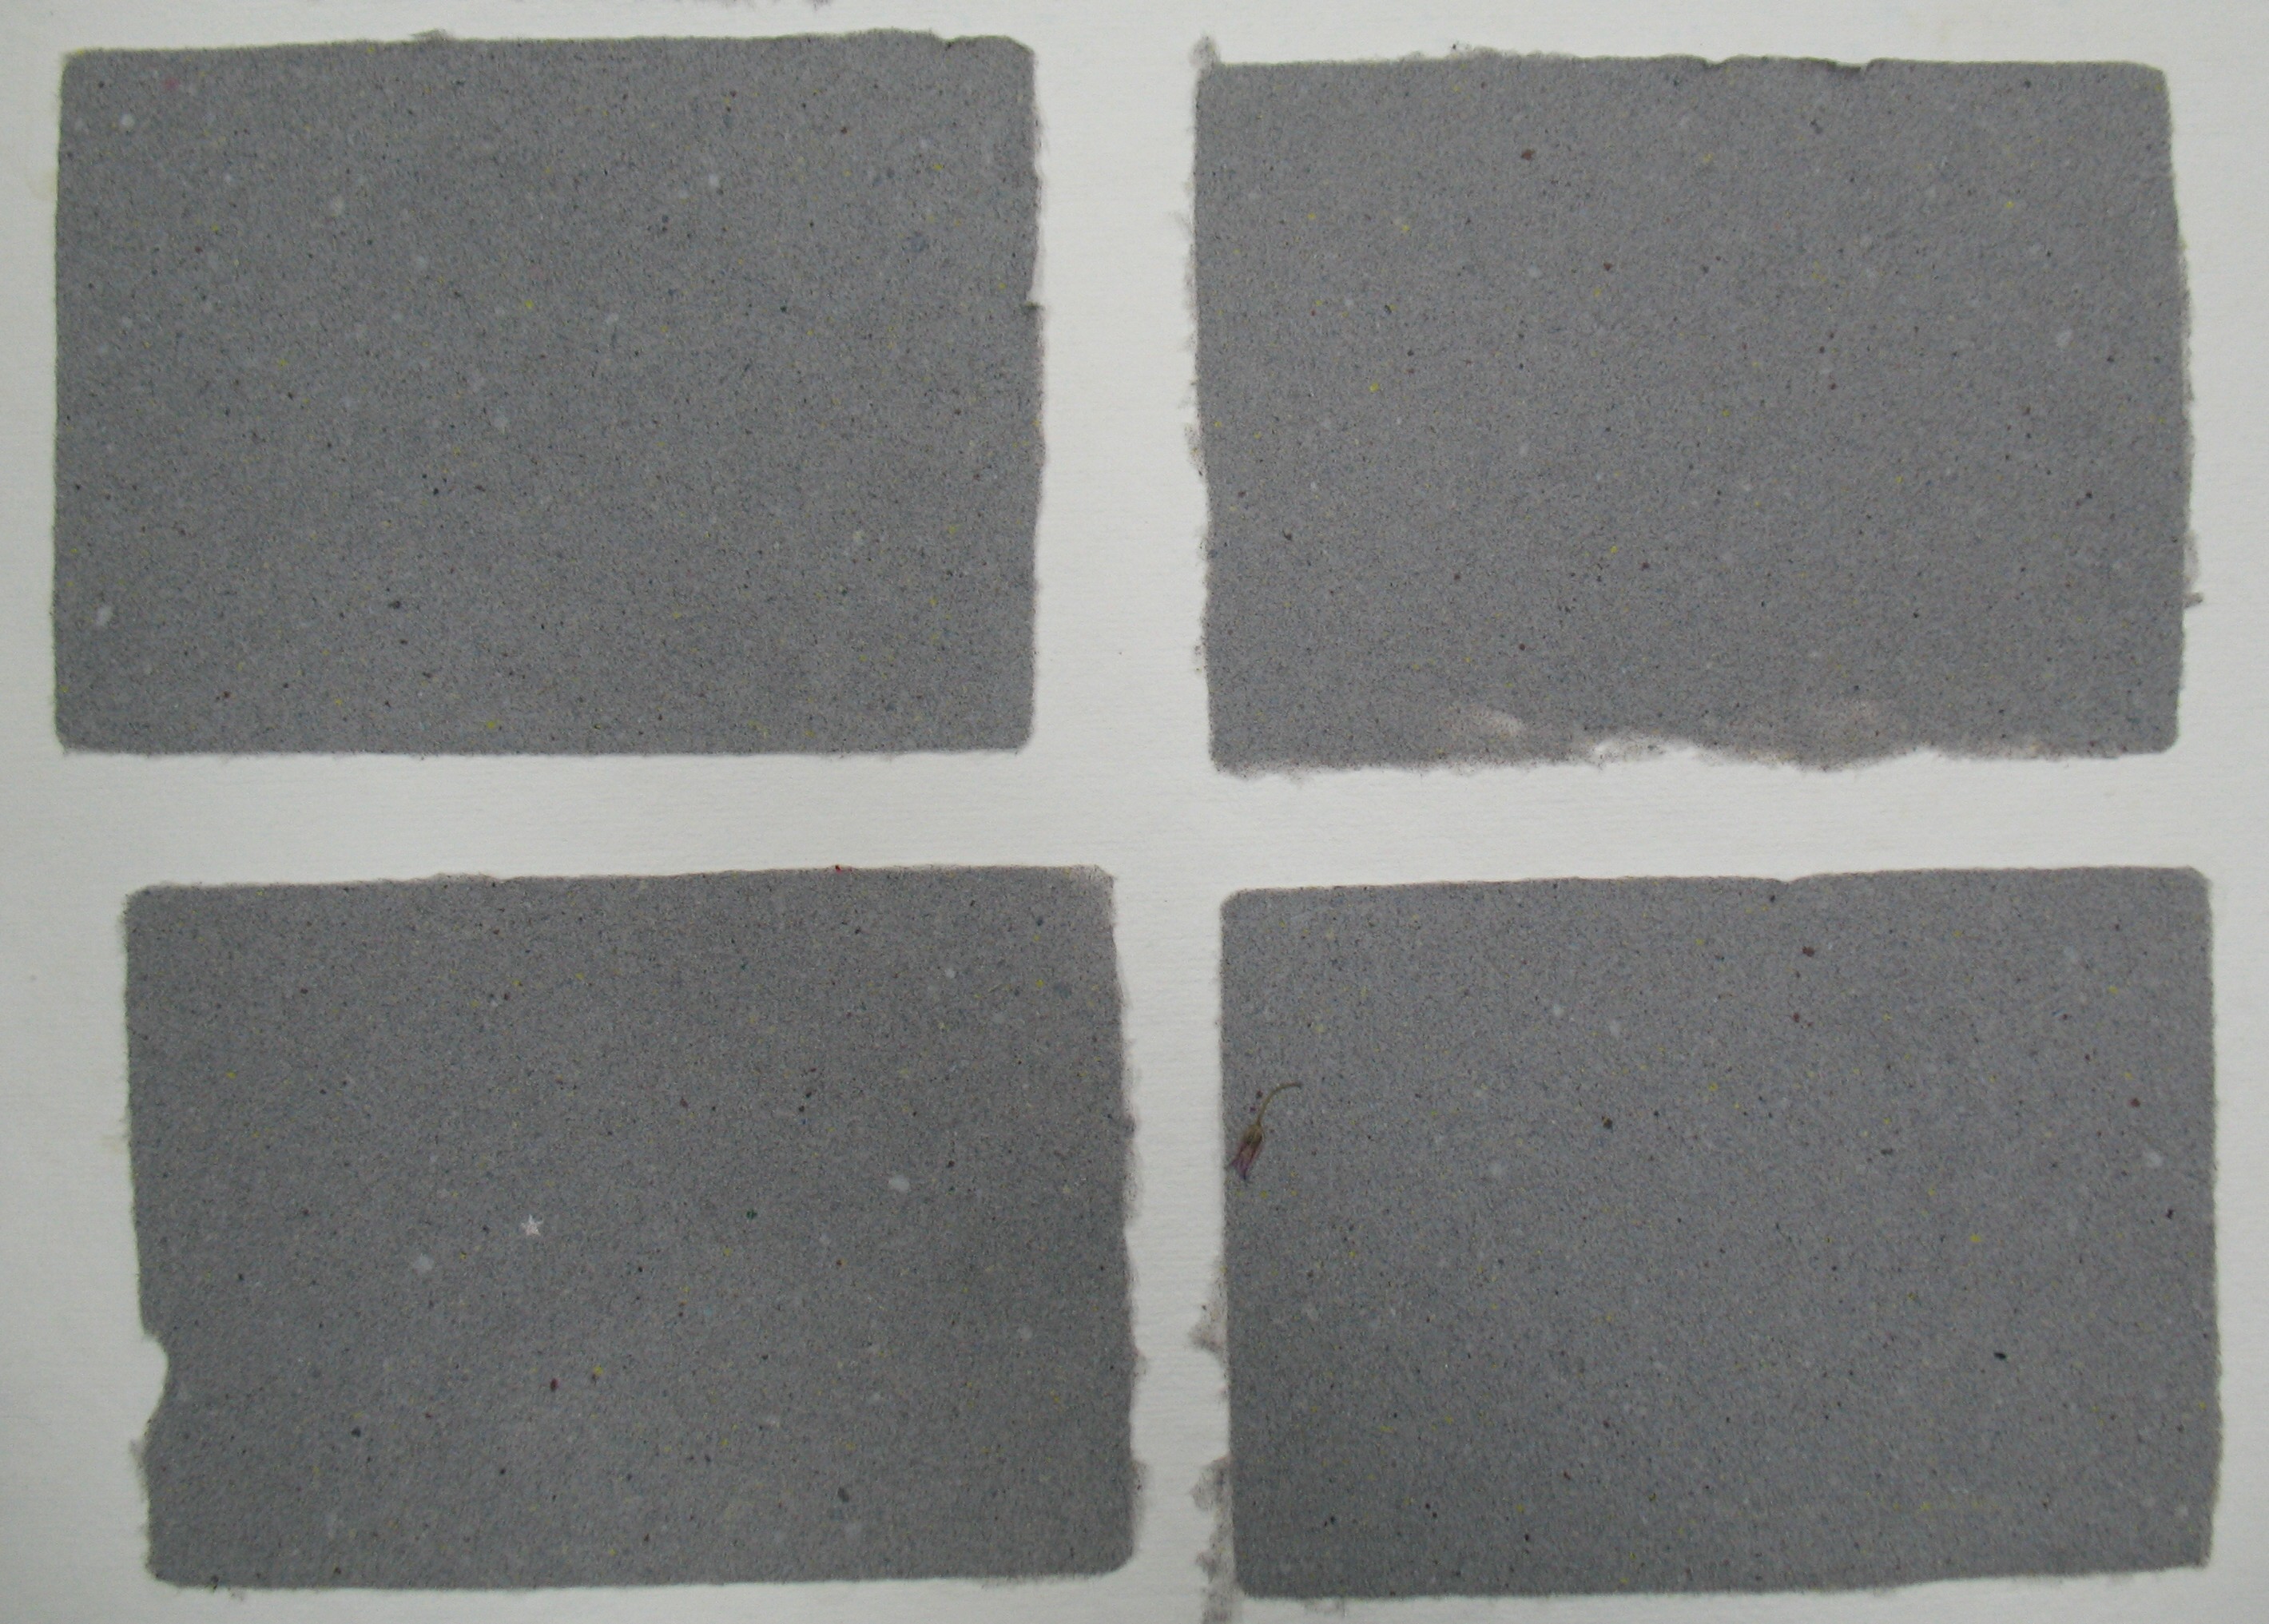
Here are some 5×7″ sheets, pressed, but still wet.
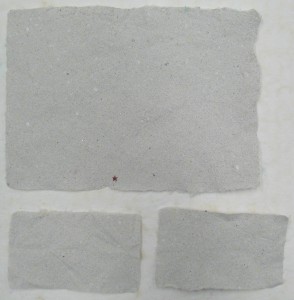
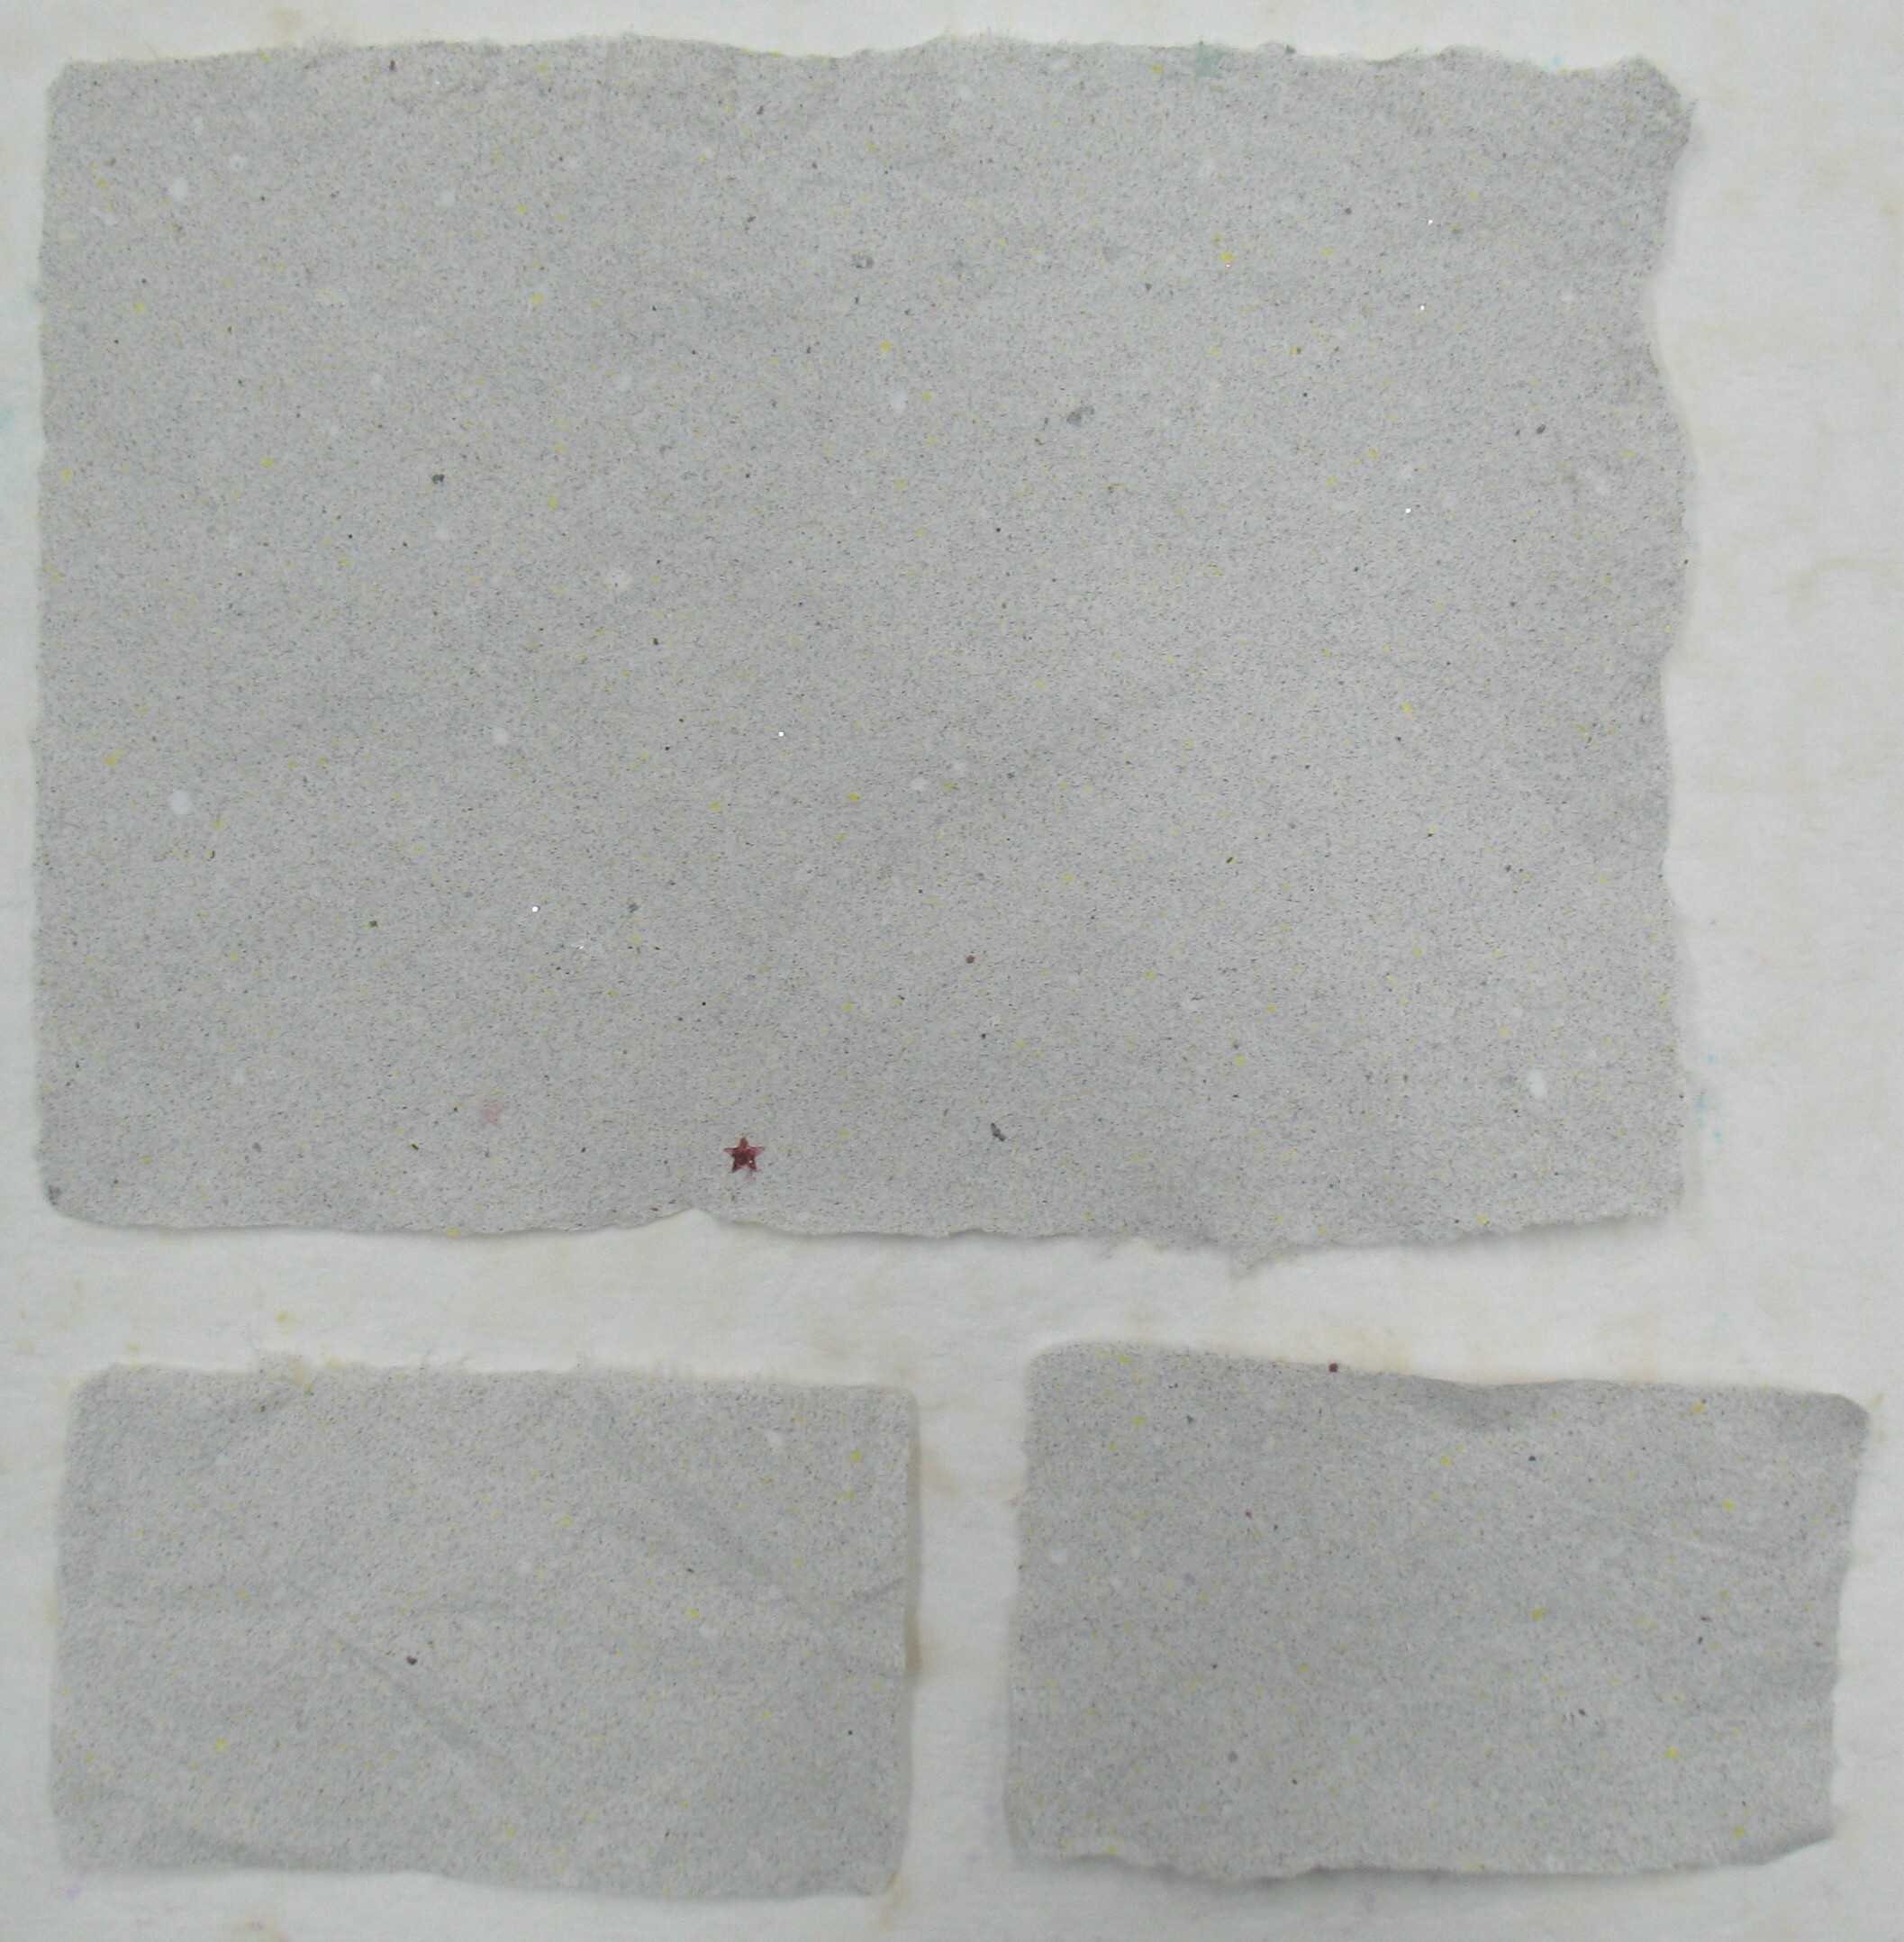
Here is one 5×7″ sheet and two business card sized sheets (made by Lily), now dry. To the eye it appears light gray with dark flecks in it, but under a microscope you can see multicoloured bits from the original brochure printing.
As soon as I was set up, I started making paper using a 5×7″ mould and deckle. Once I had about ten sheets made, I set up my press in one of the big vats, and pressed the excess water out of the post, making the sheets dry enough to handle. I set that post aside, and started making paper again. When people came to our table, I would pull a sheet to show them how it was done, then ask them if they would like to make a sheet. If they were willing, I would hand them the mould and deckle to let them try it themselves. Once their sheet was couched off, I would give them a sheet from the earlier post in trade for the one they just made, placed in a folded legal size sheet of regular paper for protection. People seemed thrilled, especially children. I had set up a little step stool by my table so that smaller kids could give it a try. Most kids love doing things that are wet and messy, and while papermaking is wet and seems messy, it’s actually quite easy to clean up after. I saw the same looks of delight on the faces of the grown-ups as on the children.
I had to do several pressings during the day to keep up the supply of sheets to hand out. In all, I think I gave away at least 70 or 80 sheets of paper. It was fun to be able to give so many people a chance to dip their hands in pulp for the first time. There was also a great deal of interest in the examples of marbling and letterpress printing I had brought with me.
My daughter, Lily, was a great help to me throughout the day. She would take a turn demonstrating the papermaking with her little mould and deckle, which makes paper the size of a business card. Kevin also took his turn demonstrating, and this allowed me to take a look around at the other exhibitors at the Faire.

Lily demonstrating papermaking at the Waterloo Mini Maker Faire
By the time we packed up at 6 pm we were completely out of pulp; next year I’ll have to bring more. I’m really looking forward to participating in this event again.
Thank you for reading my first-ever blog post.

