
After getting all the parts cleaned on the ink fountain for my Thompson press, I painted the cover and the main casting. I was going to use semi-gloss black, but the flat black I tried seemed to have enough of a sheen to match the rest of the press, especially once it starts to get oily from handling. Then came time for reassembly, where I ran into a couple of glitches.
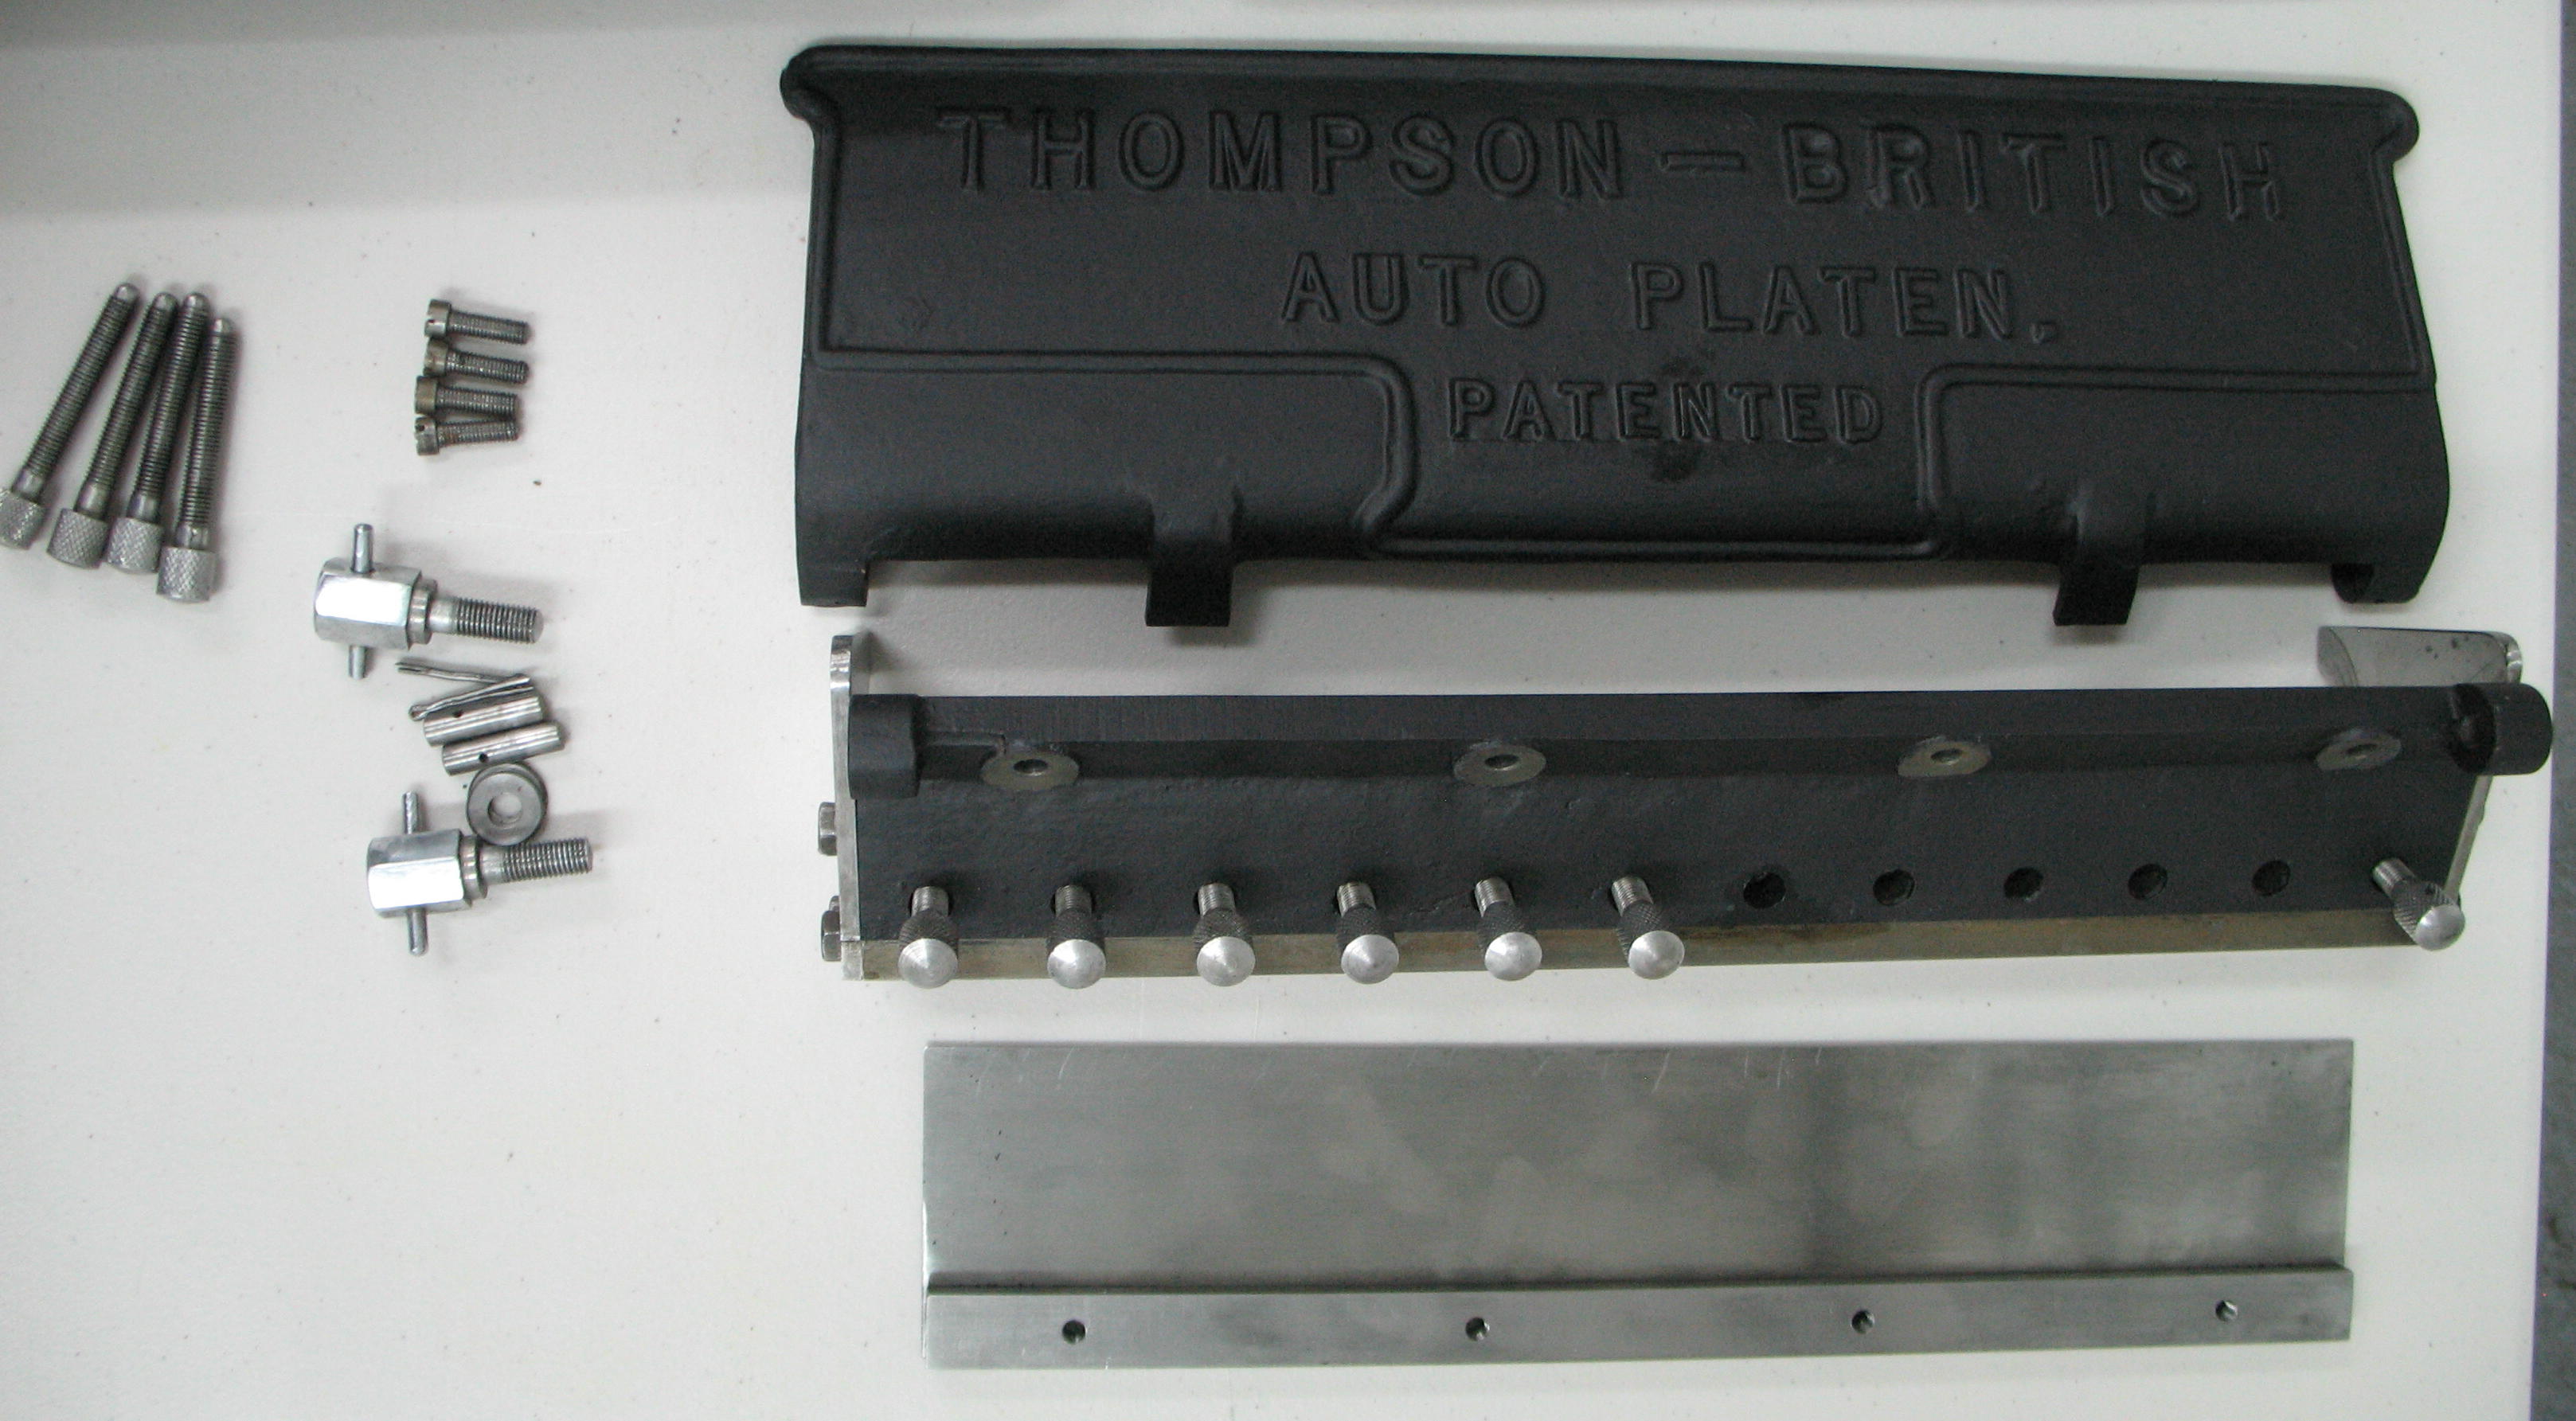
The fountain painted and partly assembled: the end plates are installed along with about half the ink adjusting screws.
At this point I found that the ink adjusting screws were still not easy to turn. Evidently their holes were still clogged with a combination of dried ink and new paint. A tap could be used to clean the threads, but the thread was a 5/16BSF22, and old British thread size that you hardly ever see any more, especially outside of Britain! I spent a while on the web looking for such a tap at a reasonable price with no luck. Then I decided to try a possibly simpler task: find a 5/16BSF22 bolt and gash the end with my Dremel to form a crude tap that might not cut metal but would clean the threads. I went to the local hardware supplier’s catalog, found the page for BSF bolts, and right at the bottom they also listed BSF taps (I had already checked the tap & die section of their catalog and found nothing). So Spaenaur to the rescue: they had it in stock and it was only about $15.
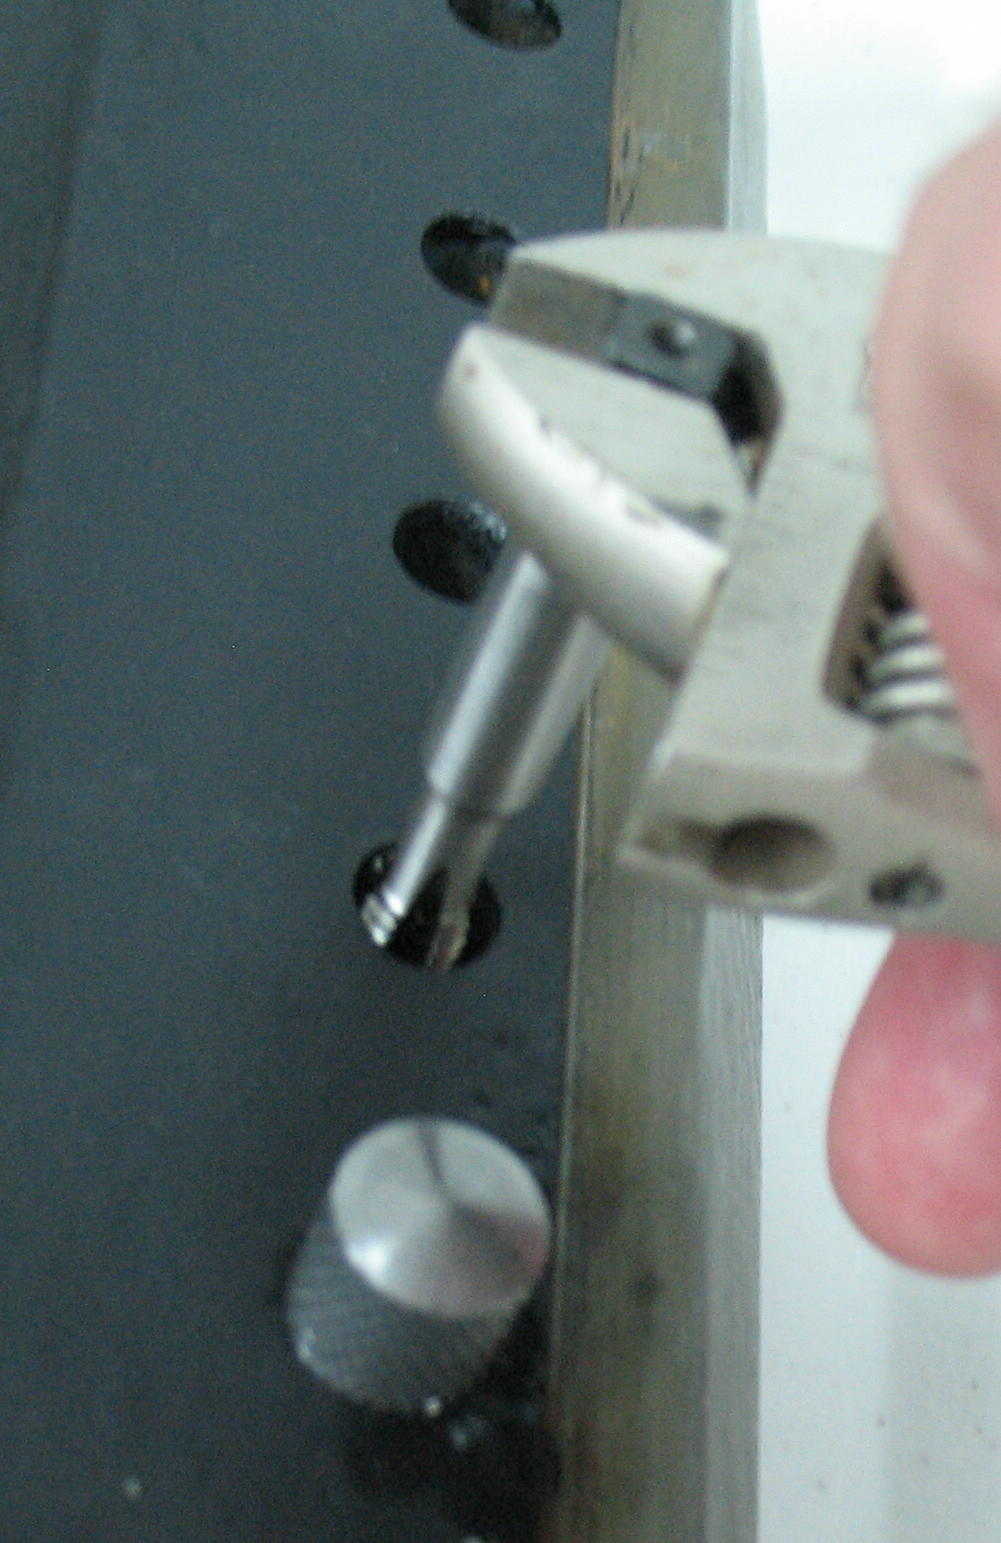
Cleaning out the threaded holes with a tap. I was too lazy to get my proper tap wrench but there was little torque required so the wrench worked fine.
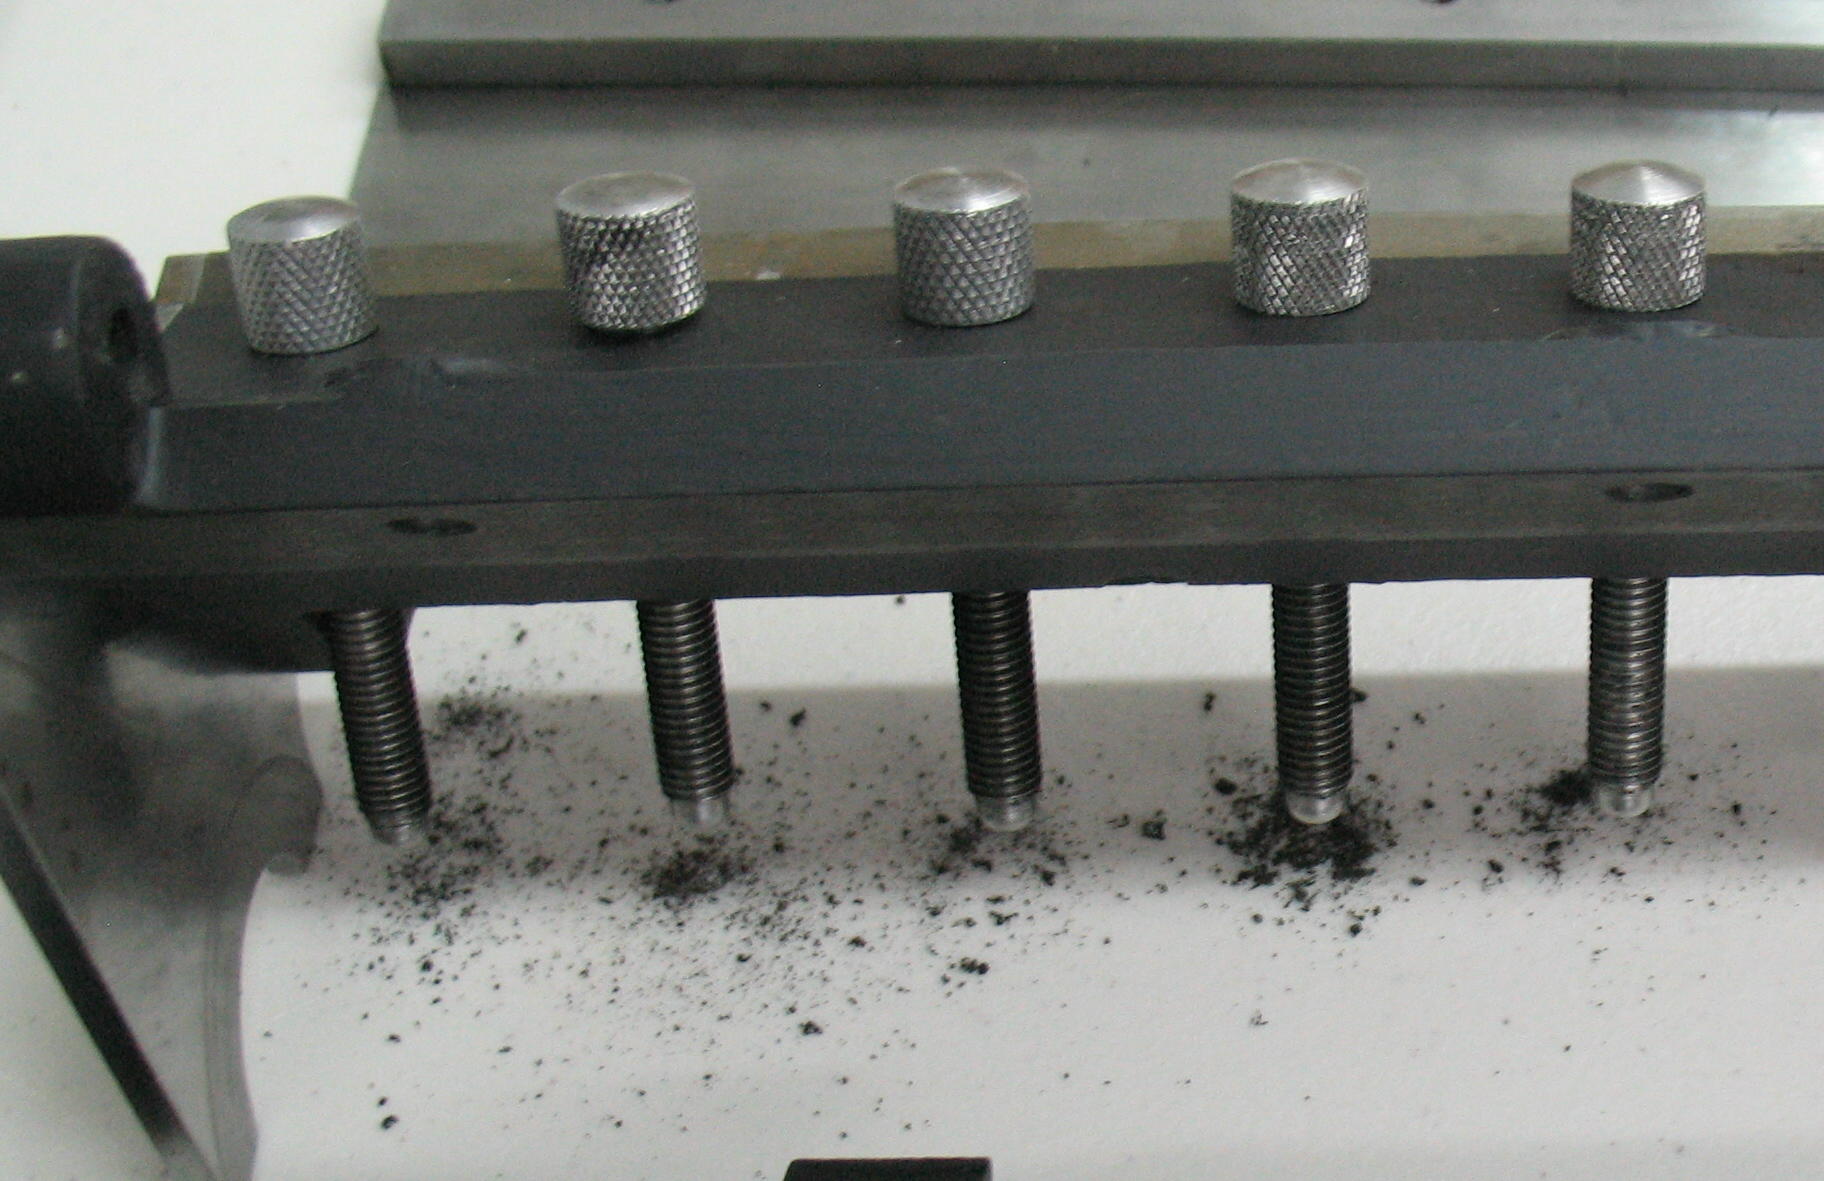
After cleaning the holes with the tap and putting in the adjusting screws, the gunk cleaned from the holes shows on the table.
Now that the adjusting screws were running freely, I re-installed the doctor blade. That left the cover to reinstall. It is held on by a short pivot pin on each end which is held to the cover by a cotter pin, and rotates freely in a matching hole in the main casting. But again the holes were slightly clogged with paint, and after fighting to put the pin in I had scratched it up enough with the pliers that it would not go in fully. Furthermore I determined that the holes for the cotter pin had been drilled a bit off-center and different on the two ends of the cover, so each pivot pin had to be re-installed in the same end of the cover it came from, and had to be rotated to the correct orientation to be able to insert the cotter pins. I filed down the burrs I had made on one pivot pin, finished assembling everything, and re-installed the fountain on the press.
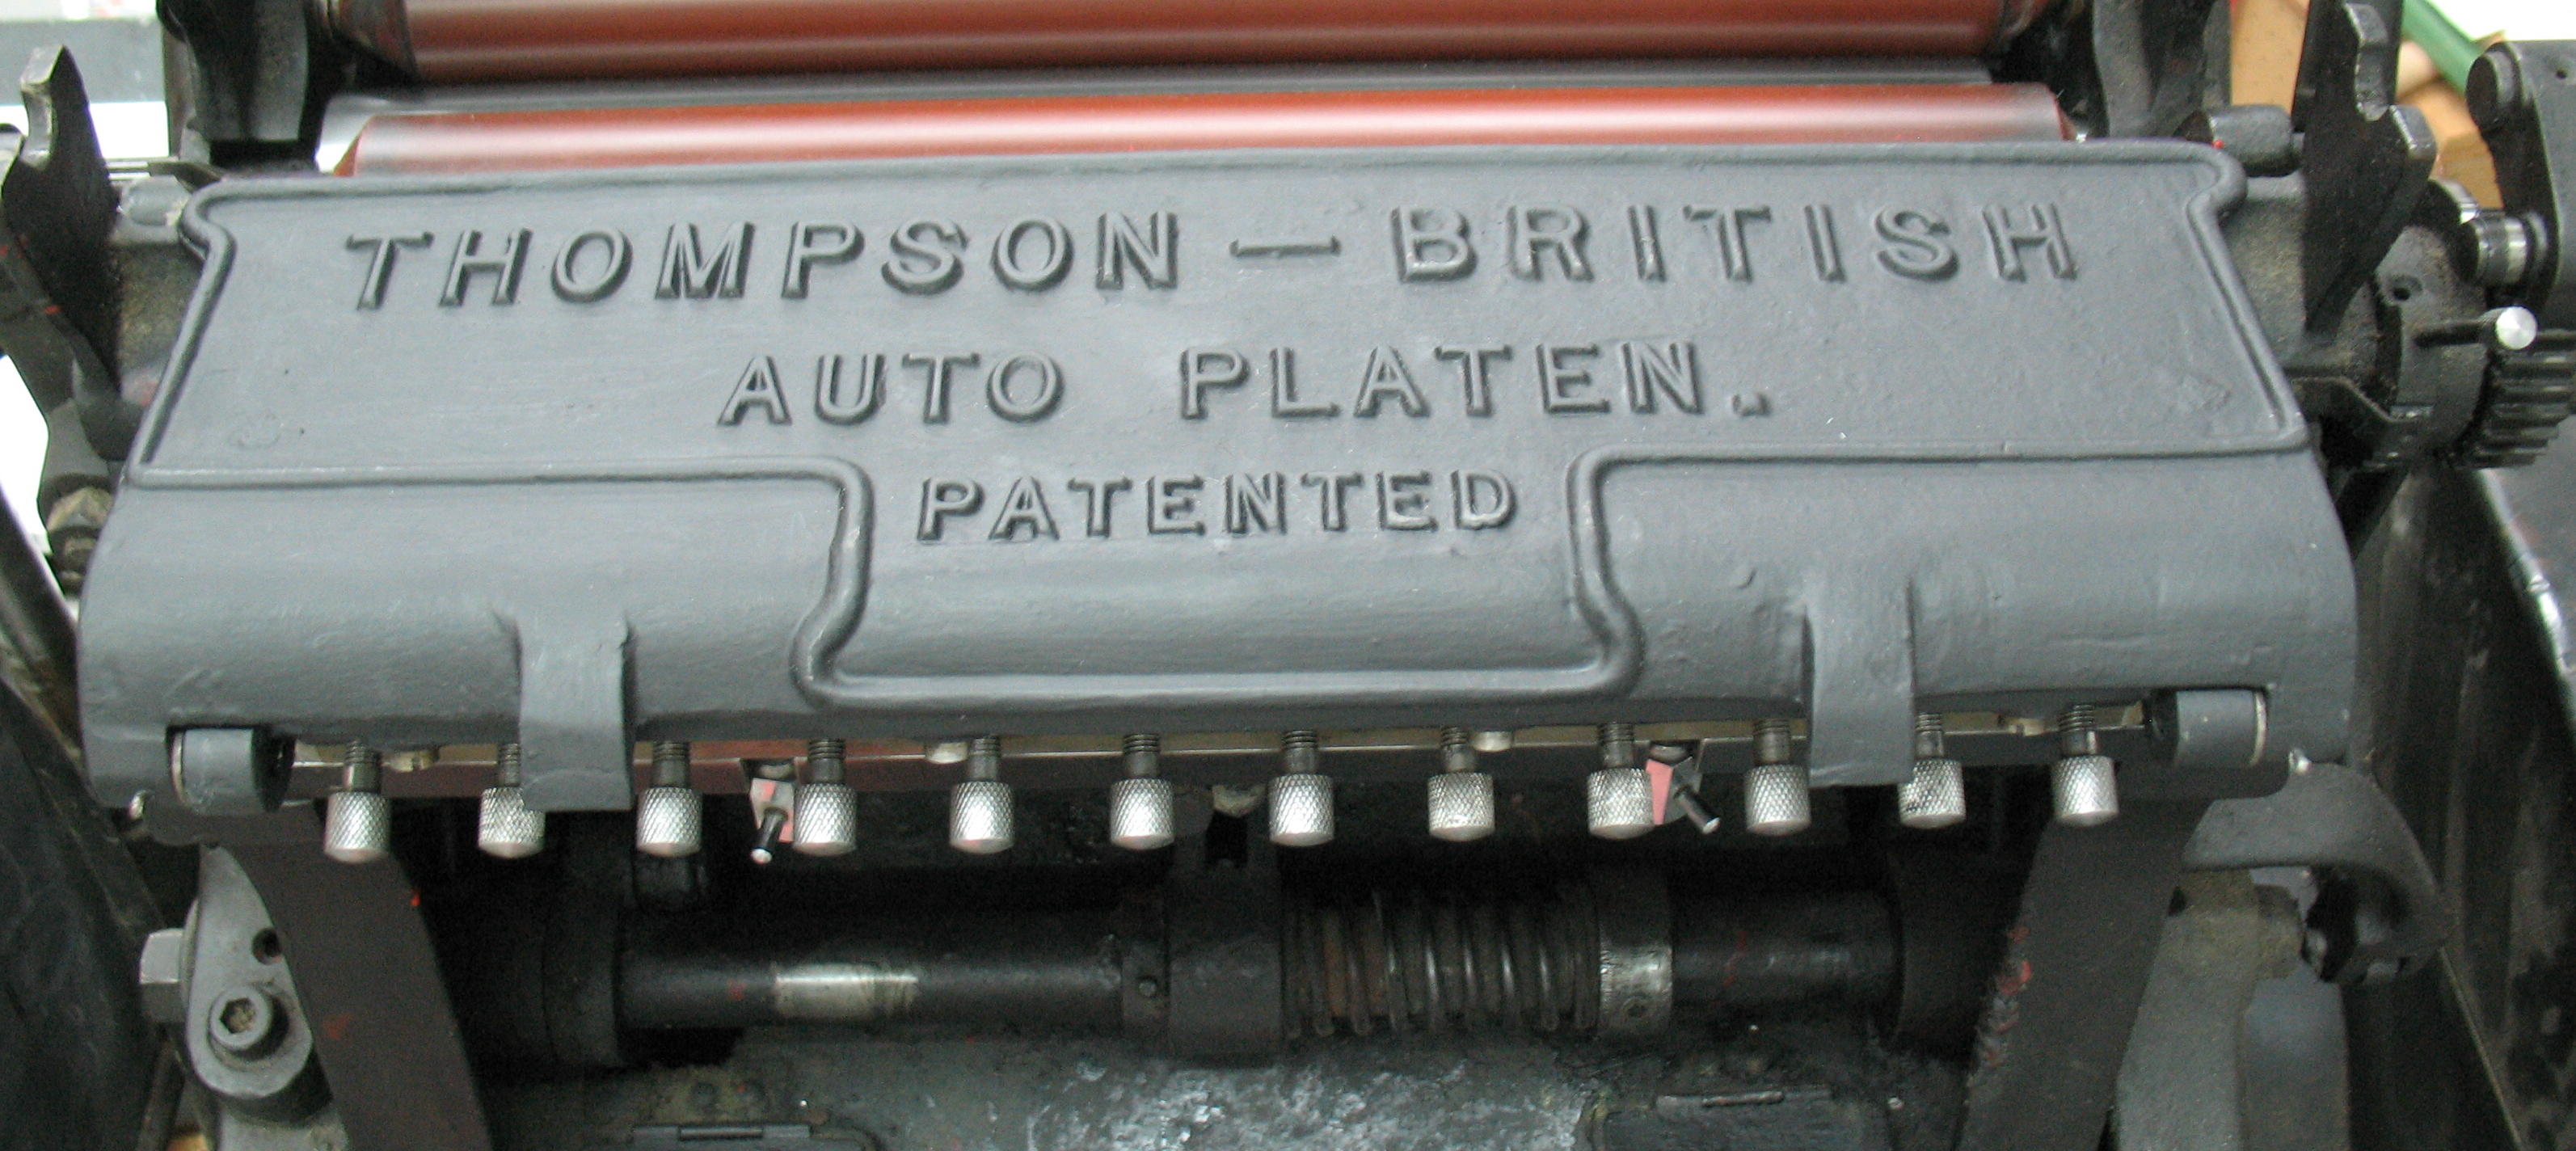
The cleaned fountain back in place on the press.

The red roller rocks back and forth in time with the press action. Each time it moves to the right it picks up a strip of ink from the fountain roller. The thickness of the ink layer is determined by the adjusting screws on the fountain, and the width is determined by an adjusting lever at the far end of the fountain.
Leave a Reply