
The Mackenzie Printery and Newspaper Museum in Queenston, Ontario has a small Albion press which needs a bit of work to get it into top form. The pull handle does not retract all the way when released, so it interferes with opening the frisket frame. Over the years this has chewed up the pull handle a bit.
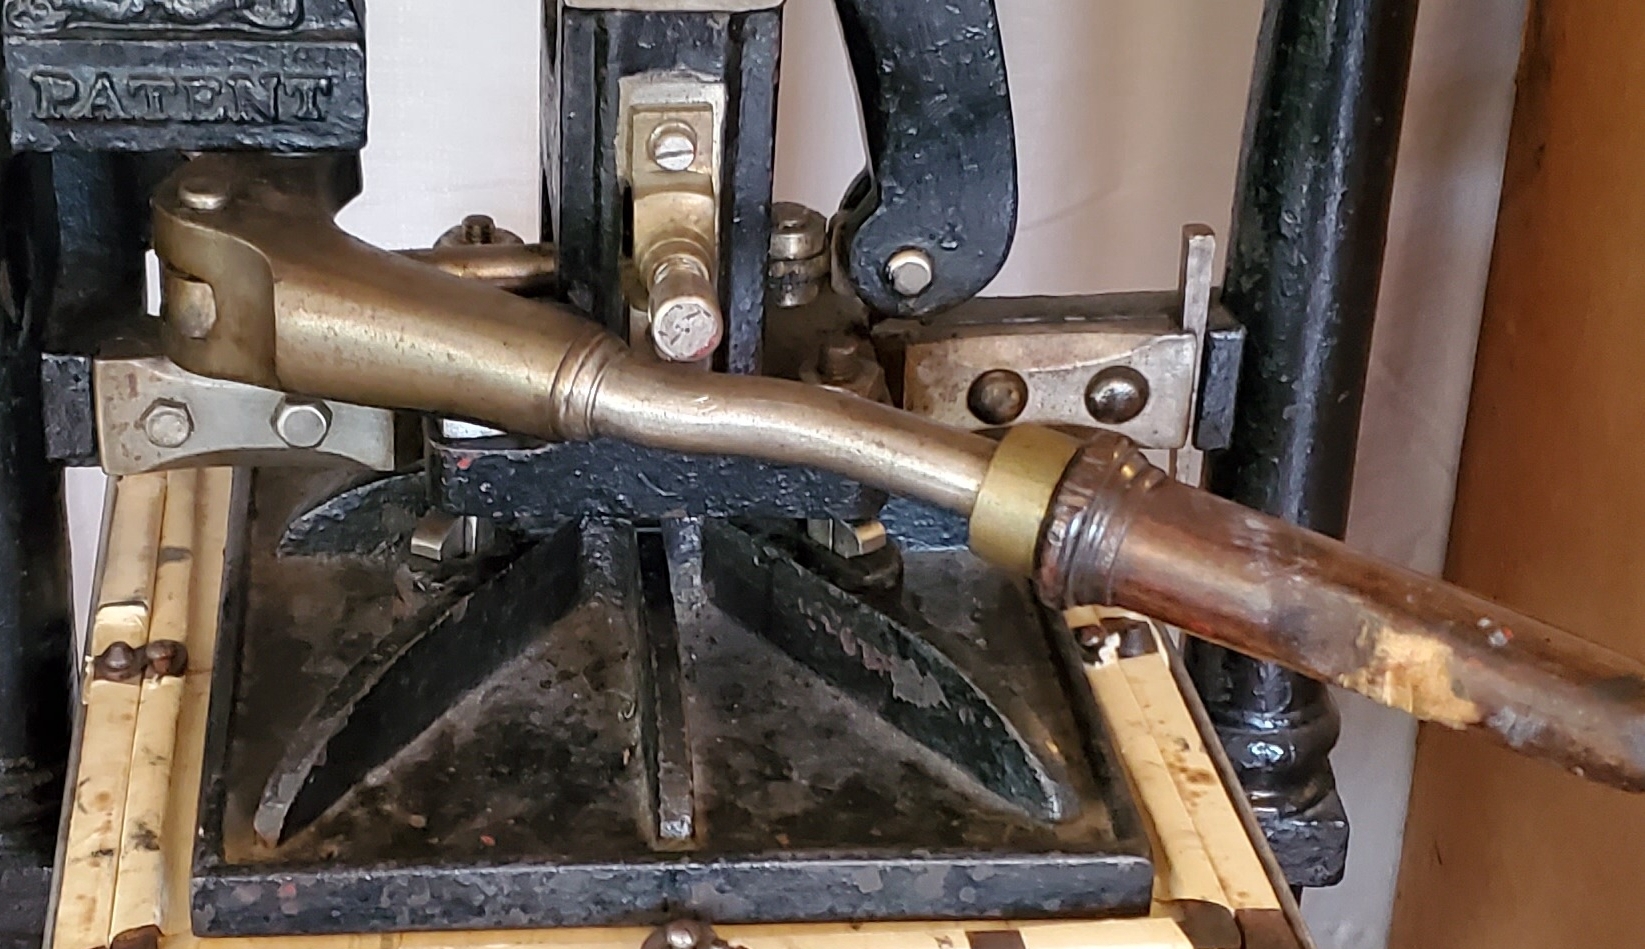
Pull handle damage from frisket frame. Bare wood is modern damage, but you can see older damage a bit to the left, though the latter might be due to not cranking the bed all the way out before opening the frisket
The handle is not retracting all the way because the pivot end is striking one of the bolts that hold the platen to the column. The bottom of the column actually has a land cut into it to place the nut a bit lower so the handle clears it, but the pull handle is hitting the bolt that extends above the nut. I think that ultimately this bolt will have to be shortened so it is flush with the top of the nut.
In the process of working on this problem I found that the spring mechanism that is supposed to hold the column and platen up (when the handle is released) was not up to the task.
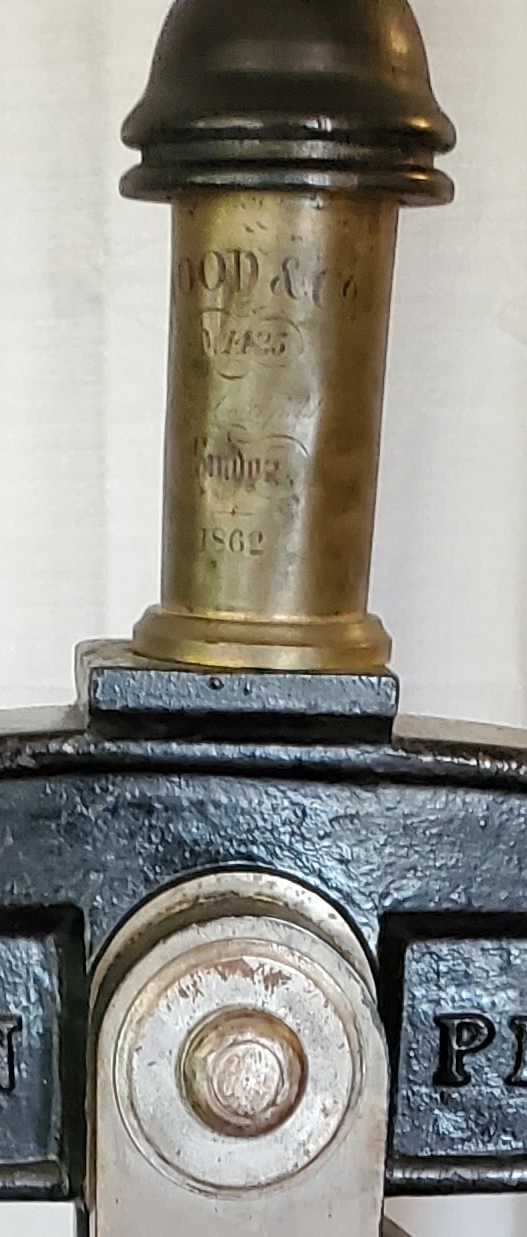
A spring and eye bolt in this brass tube pull up on the column
At the top of the press there is a long eye bolt with a heavy spring and adjusting nut, all enclosed in a decorative brass tube, which pulls up on the column via the large pin seen in the lower part of the above photo. For reasons unknown (wear, lax original manufacturing tolerances?) the adjusting nut was no longer able to hold against the eye bolt. Disassembling things, I found that I could pretty much just slide the nut along the threaded shaft of the eye bolt.
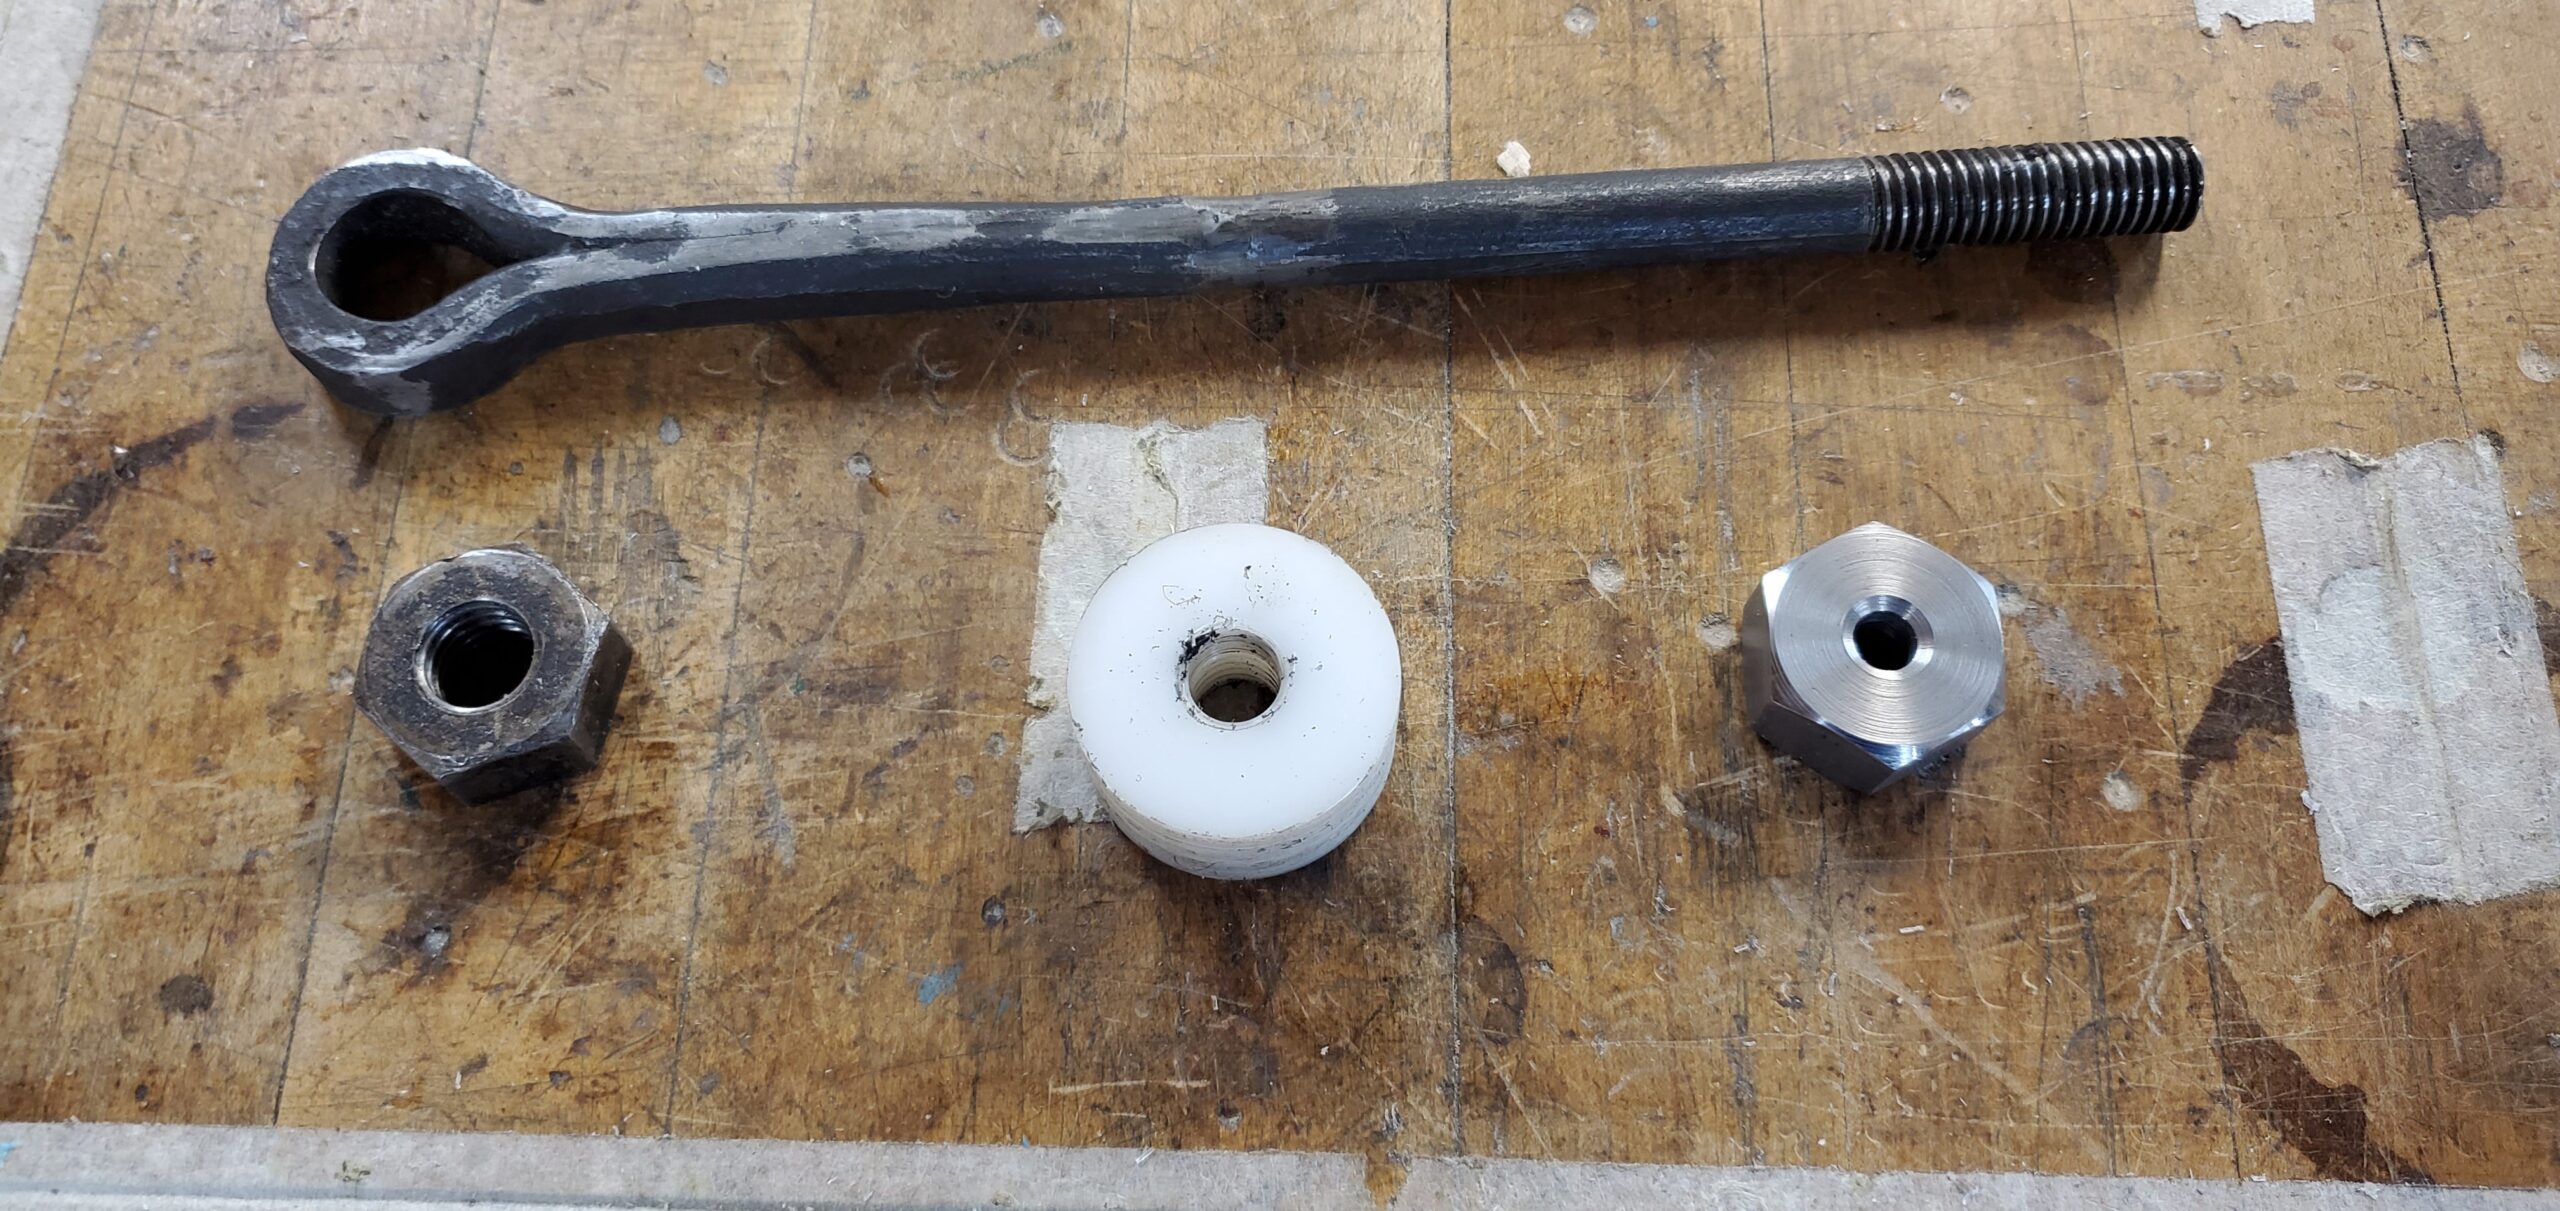
The eye bolt and (L-R) the original nut, a test nut cut in HDPE, and a steel blank for the replacement nut
The eye bolt is clearly forged. You can see how a bar was wrapped around a mandrel and forge-welded to itself to form the shank of the bolt. The forge-weld seam is visible extending partway down the shank from the eye. About half the length of the shank was then forged round, and a thread cut into it, probably using a threading die. Because of wear, and this predating modern standardized thread sizes, determining the actual thread size, especially its nominal diameter, was difficult. It has 11½ threads per inch, so the closest designation I could guess was 9/16-11½.
Taps for this size just don’t exist. I considered making a new eye bolt to a modern size, but this is a historic artifact in a museum, so I wanted to use as many original parts as possible, which meant making a new nut to match this oddball thread.
I had to cut the internal thread on the replacement nut using single-point threading on my lathe. At some point I mistakenly thought this was 12½ threads per inch, so I was working out how to set up special change gears on my lathe to get this, when a test measurement on the lathe revealed my confusion and that, amazingly, the lathe could actually do 11½TPI with the standard change gears!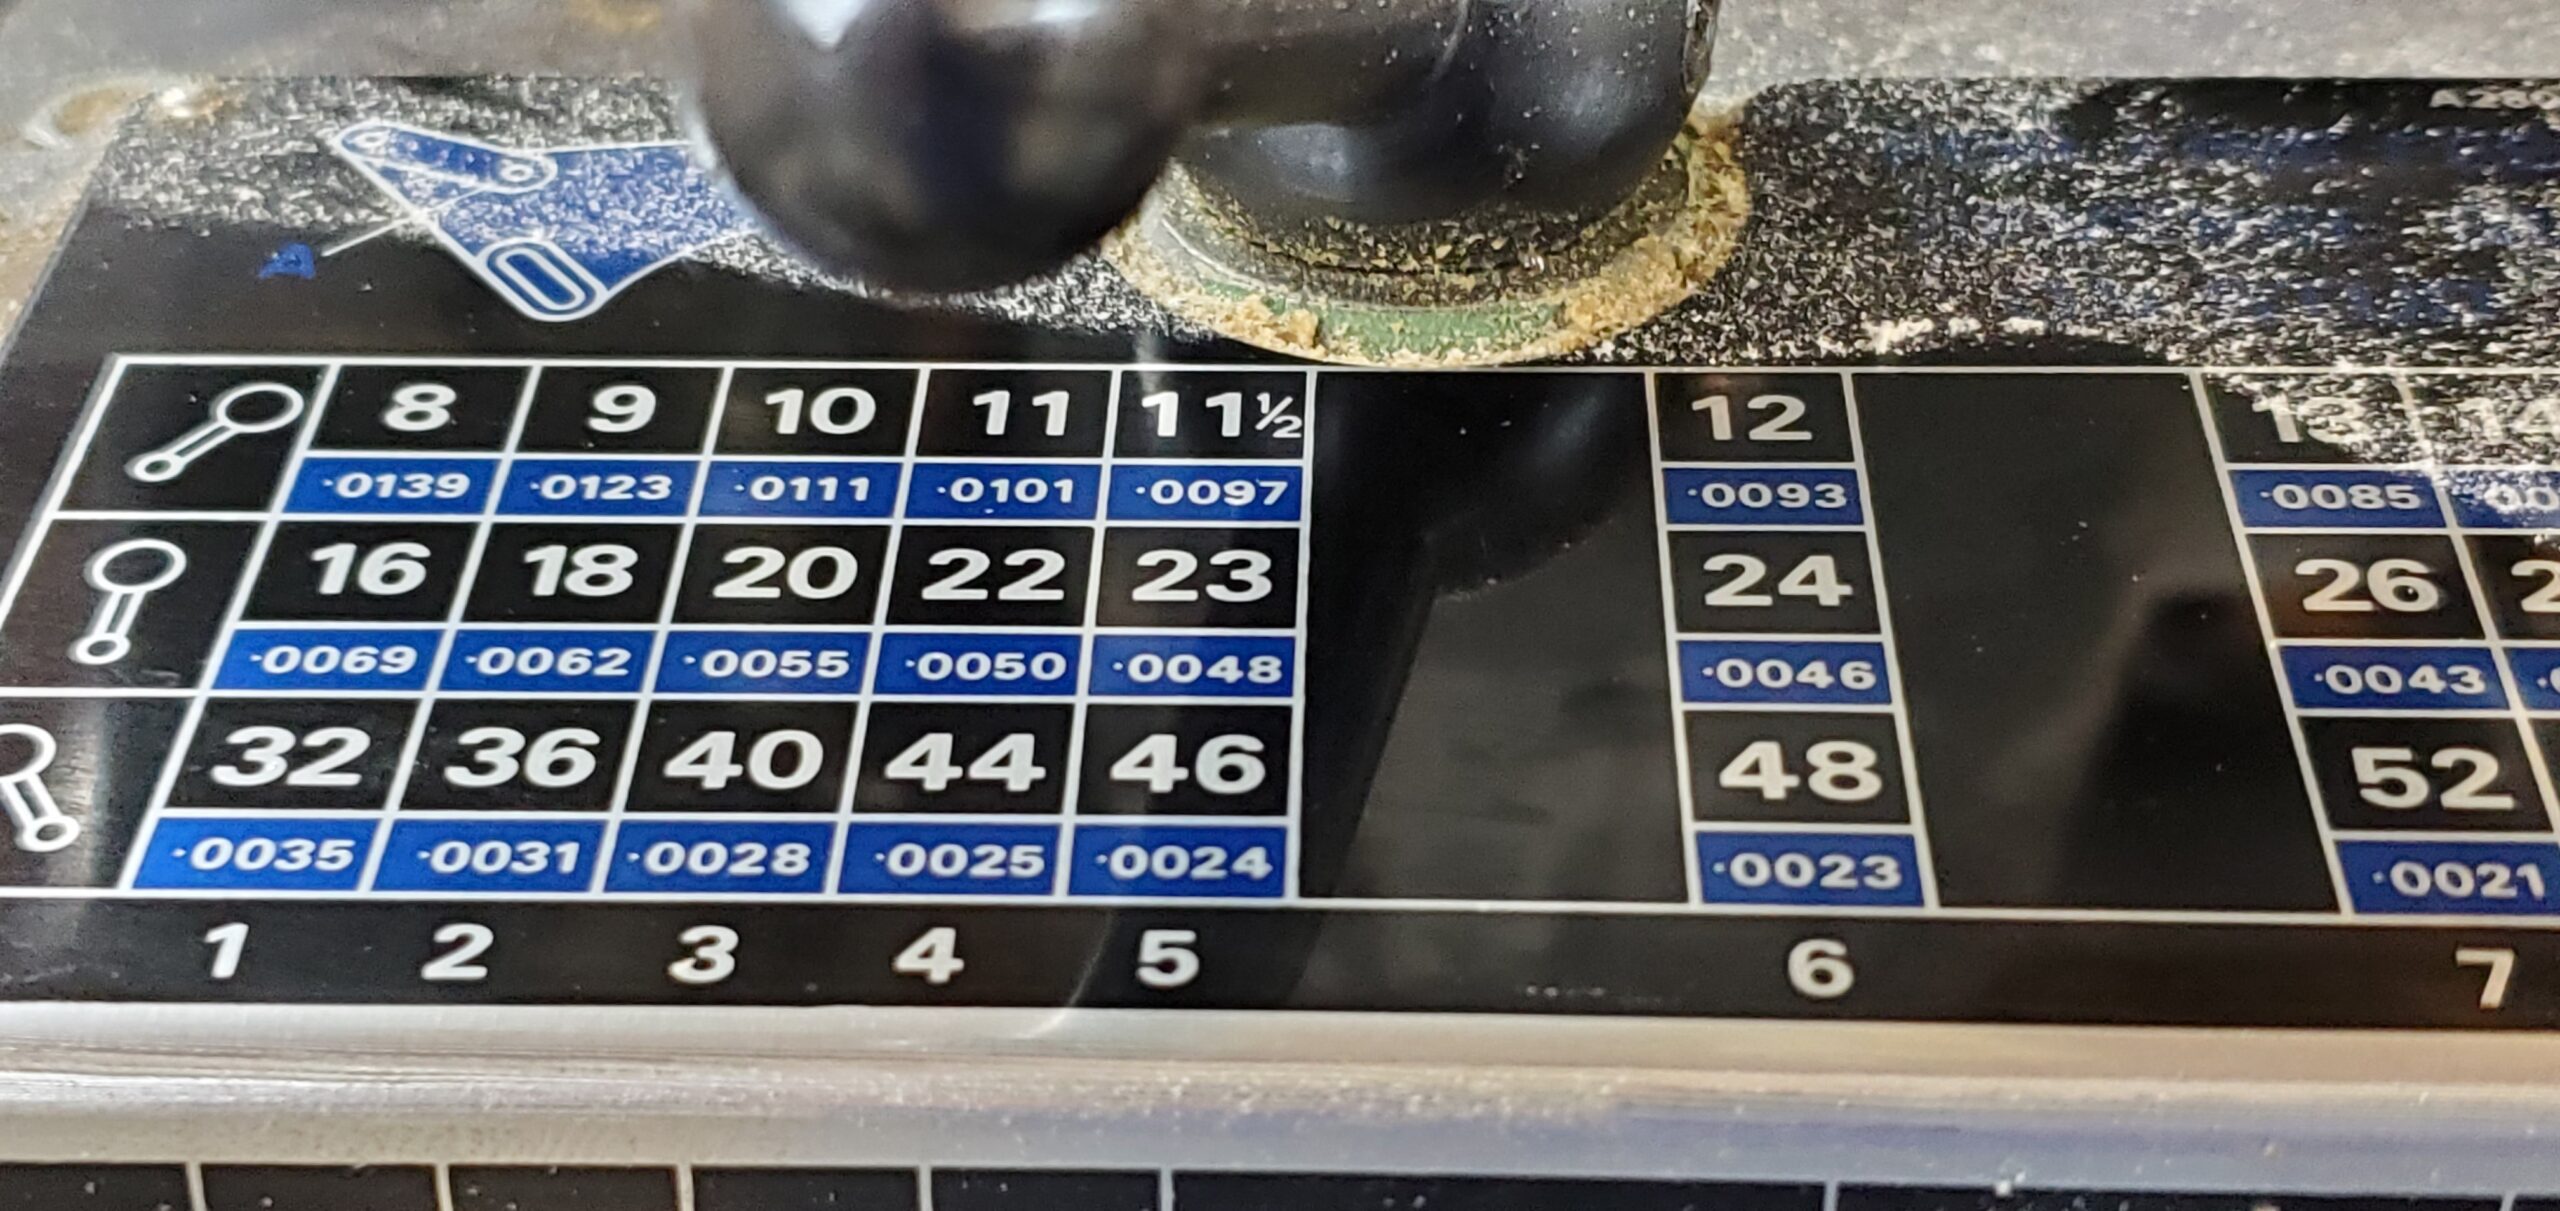 For the lathe cutting tool, I started with a tap for ½NC13 (a modern standard thread) and ground off all but one tooth. I also ground down on either side of the remaining tooth because the thread I was cutting was a bit coarser than 13TPI so the tooth needed to be wider and cut deeper.
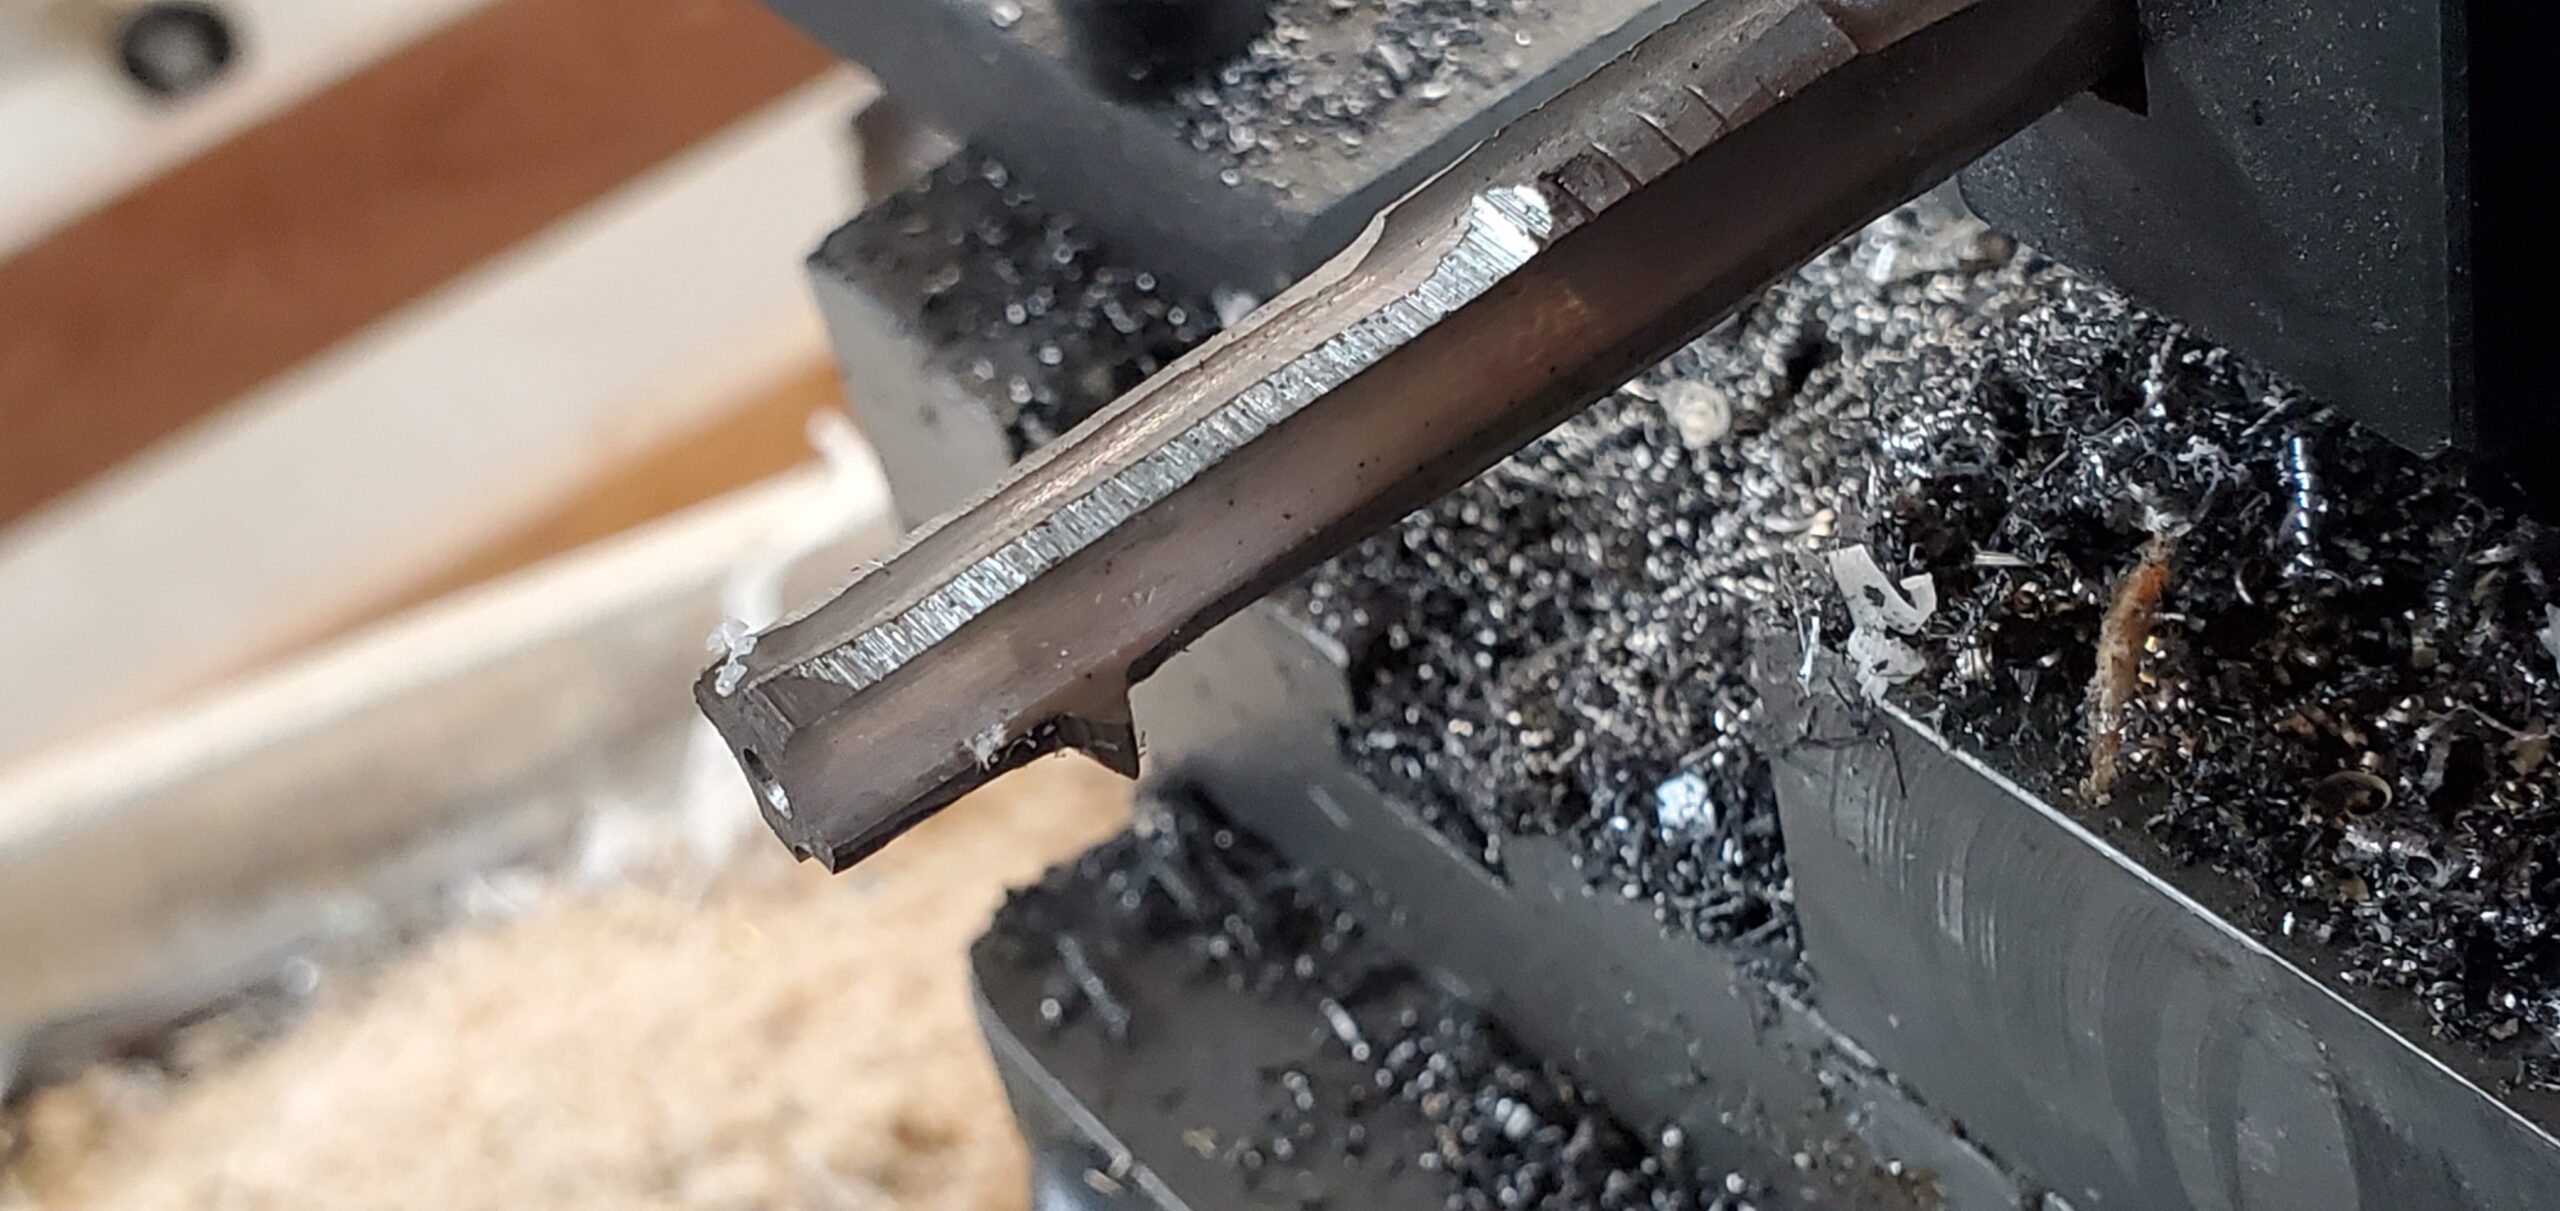
The modified tap mounted as an internal threading tool on my lathe
I did two test nuts, the first in HDPE, which is butter soft and easy to cut, and the second in aluminum, before tackling the final steel nut. I had already made the blank on the lathe, and used a rotary table on my mill to cut the hexagonal shape on the outside.
The final cutting process involved successive passes, cutting a couple of thousandths of an inch deeper each time, until the eye bolt would thread into the nut. Normally when threading on the lathe one uses an angled compound feed so only one side of the V groove is being cut, but on my lathe this introduces more play and more opportunities for mistakes so I opted for straight feed. After each pass, I had to retract the carriage two inches (the least common multiple of the 11½ thread pitch and the 8TPI pitch of the lathe feed screw), so I spent a lot of time “cutting air”. I also took light cuts because I did not want to risk breaking my cutting tool, so overall the process was quite time-consuming.
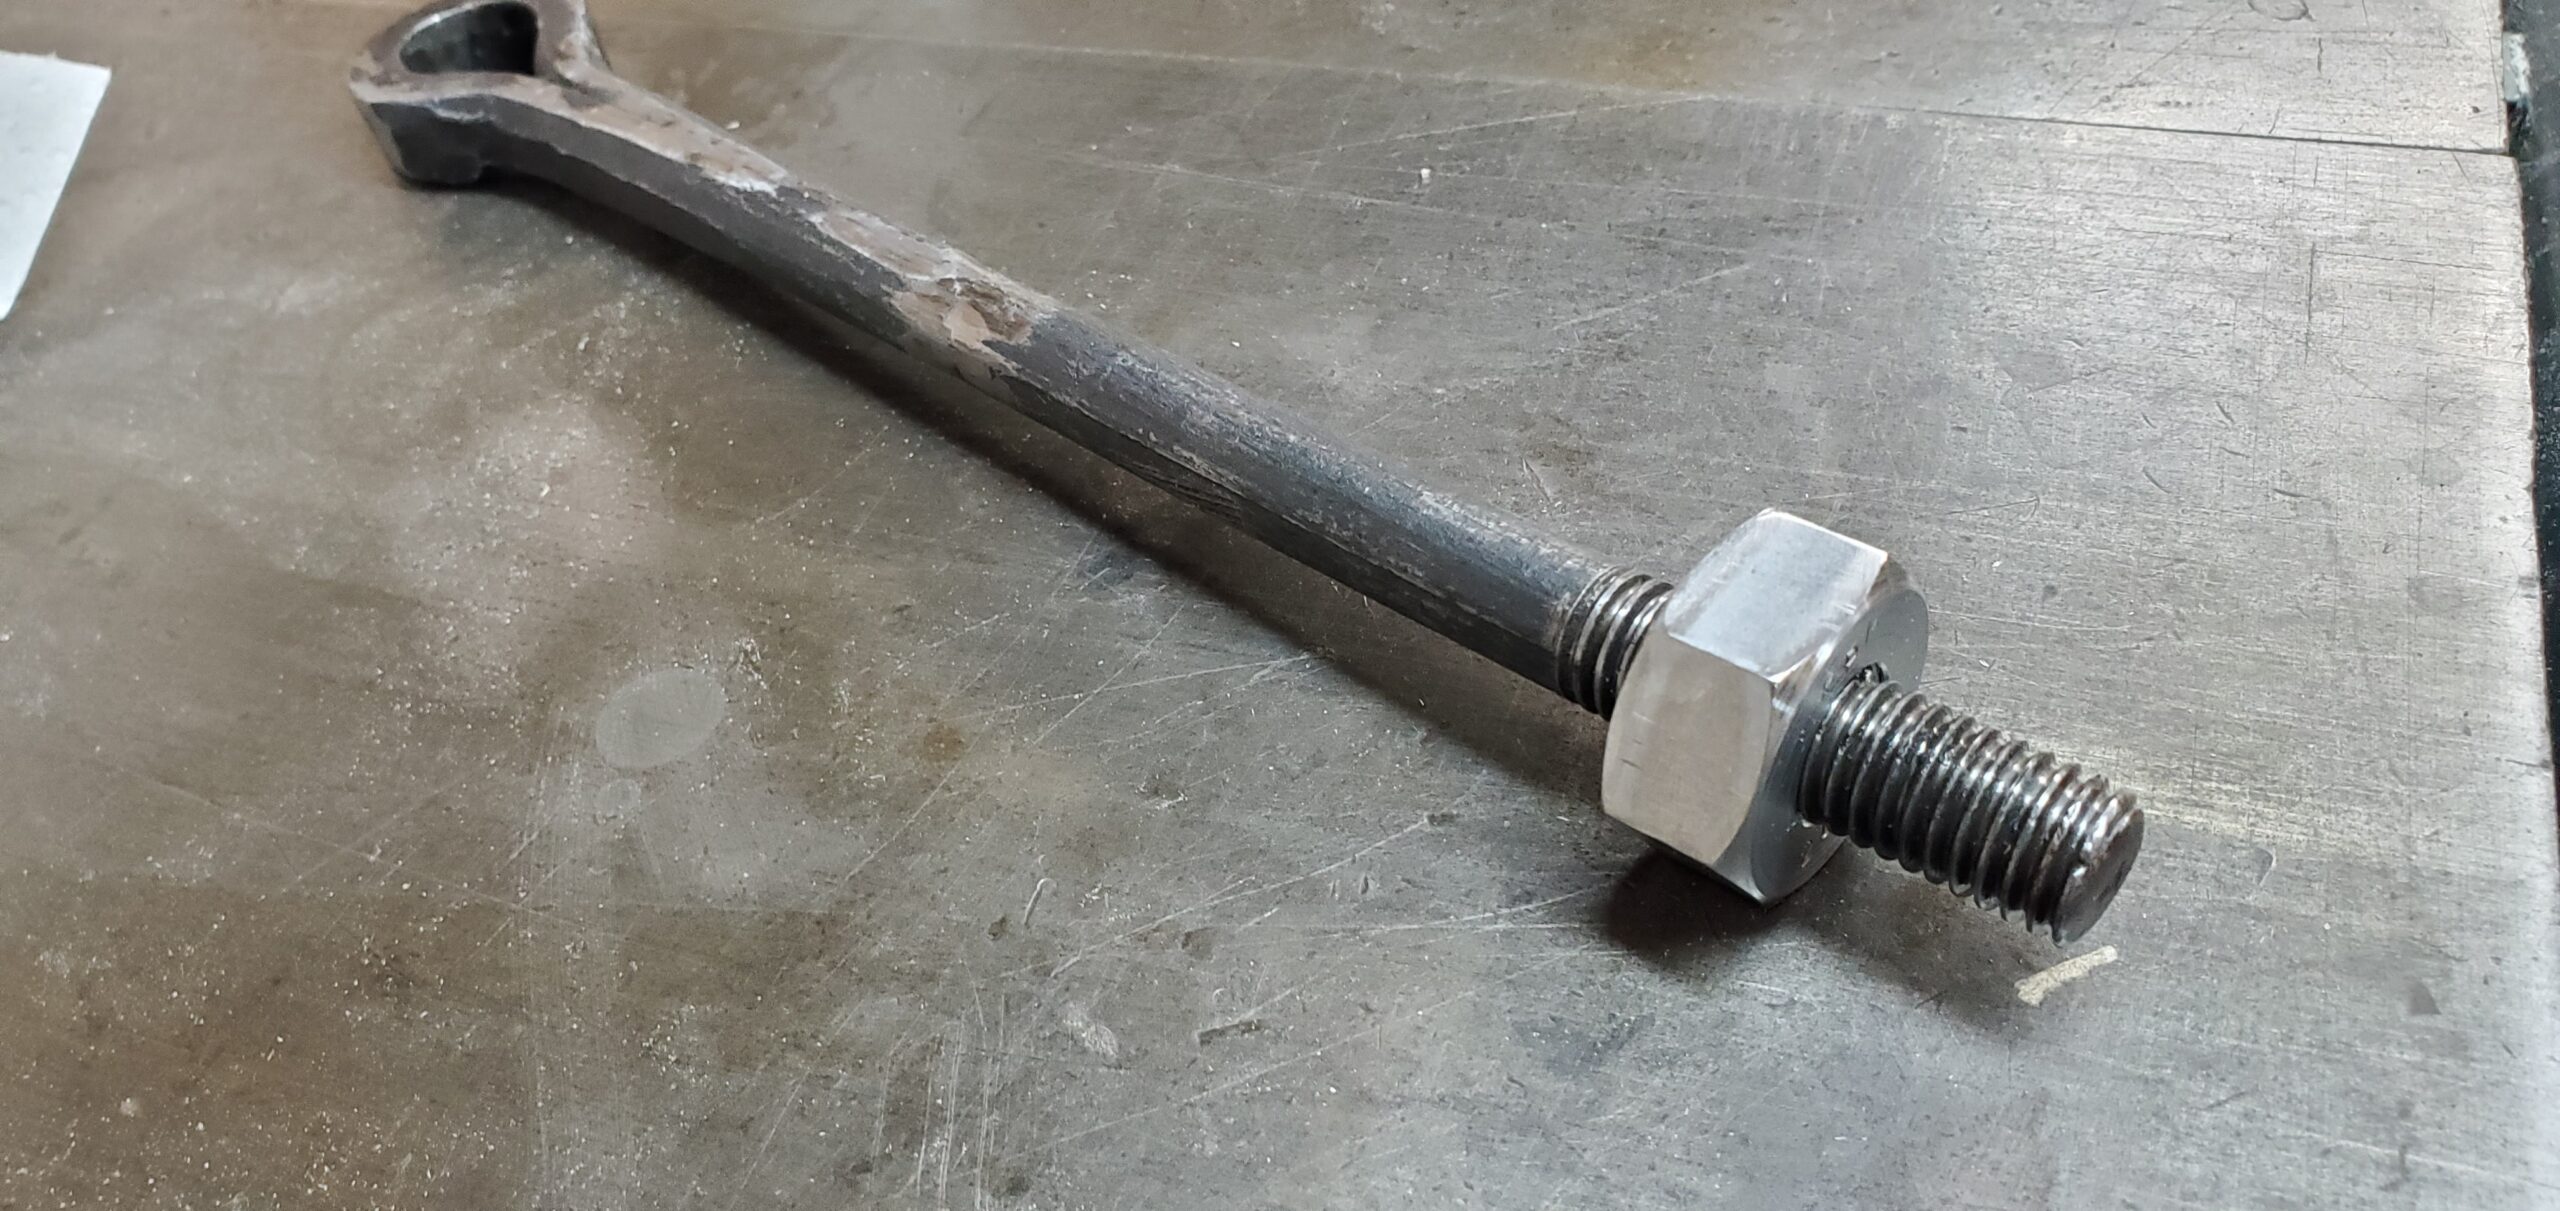
The new nut threaded onto the eye bolt
The finished nut still had tight spots on the eye bolt (though not so tight as to need a wrench), and was probably a really sloppy fit in terms of normal machining tolerances, but it fit well enough to do the job.
I also made a replacement for the plain washer that was between the nut and spring. The replacement has a shoulder to hold the spring centered, and a slight boss so the nut can be adjusted without scraping the top of the washer.
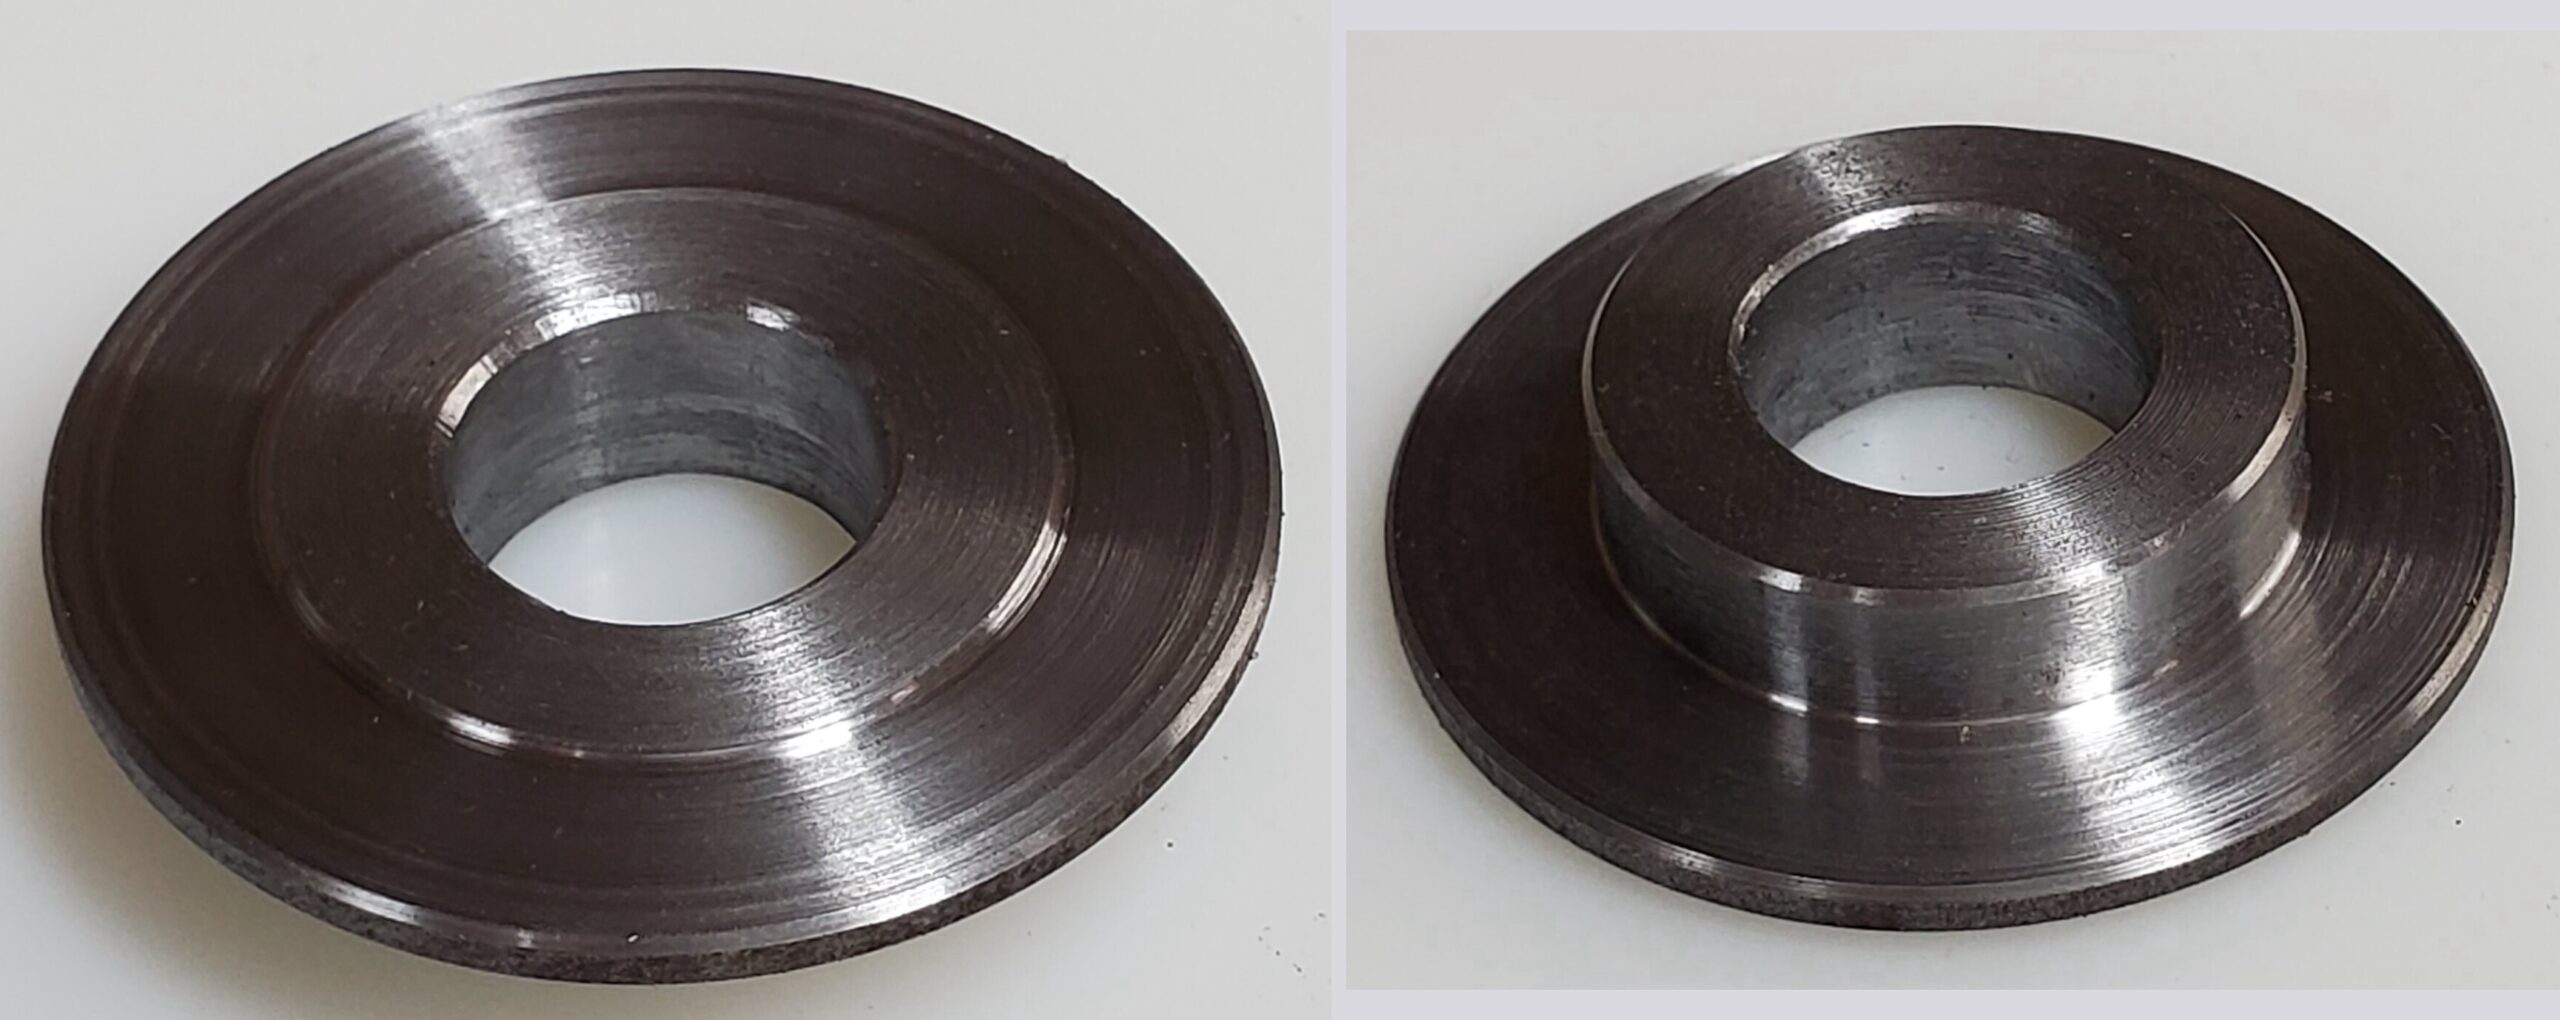
Combined washer/spring seat (top and bottom views)
I now have the column, pull handle, toggle mechanism, and platen all assembled on the press again. The original nut and washer have just been placed loosely on the top of the eye bolt to preserve them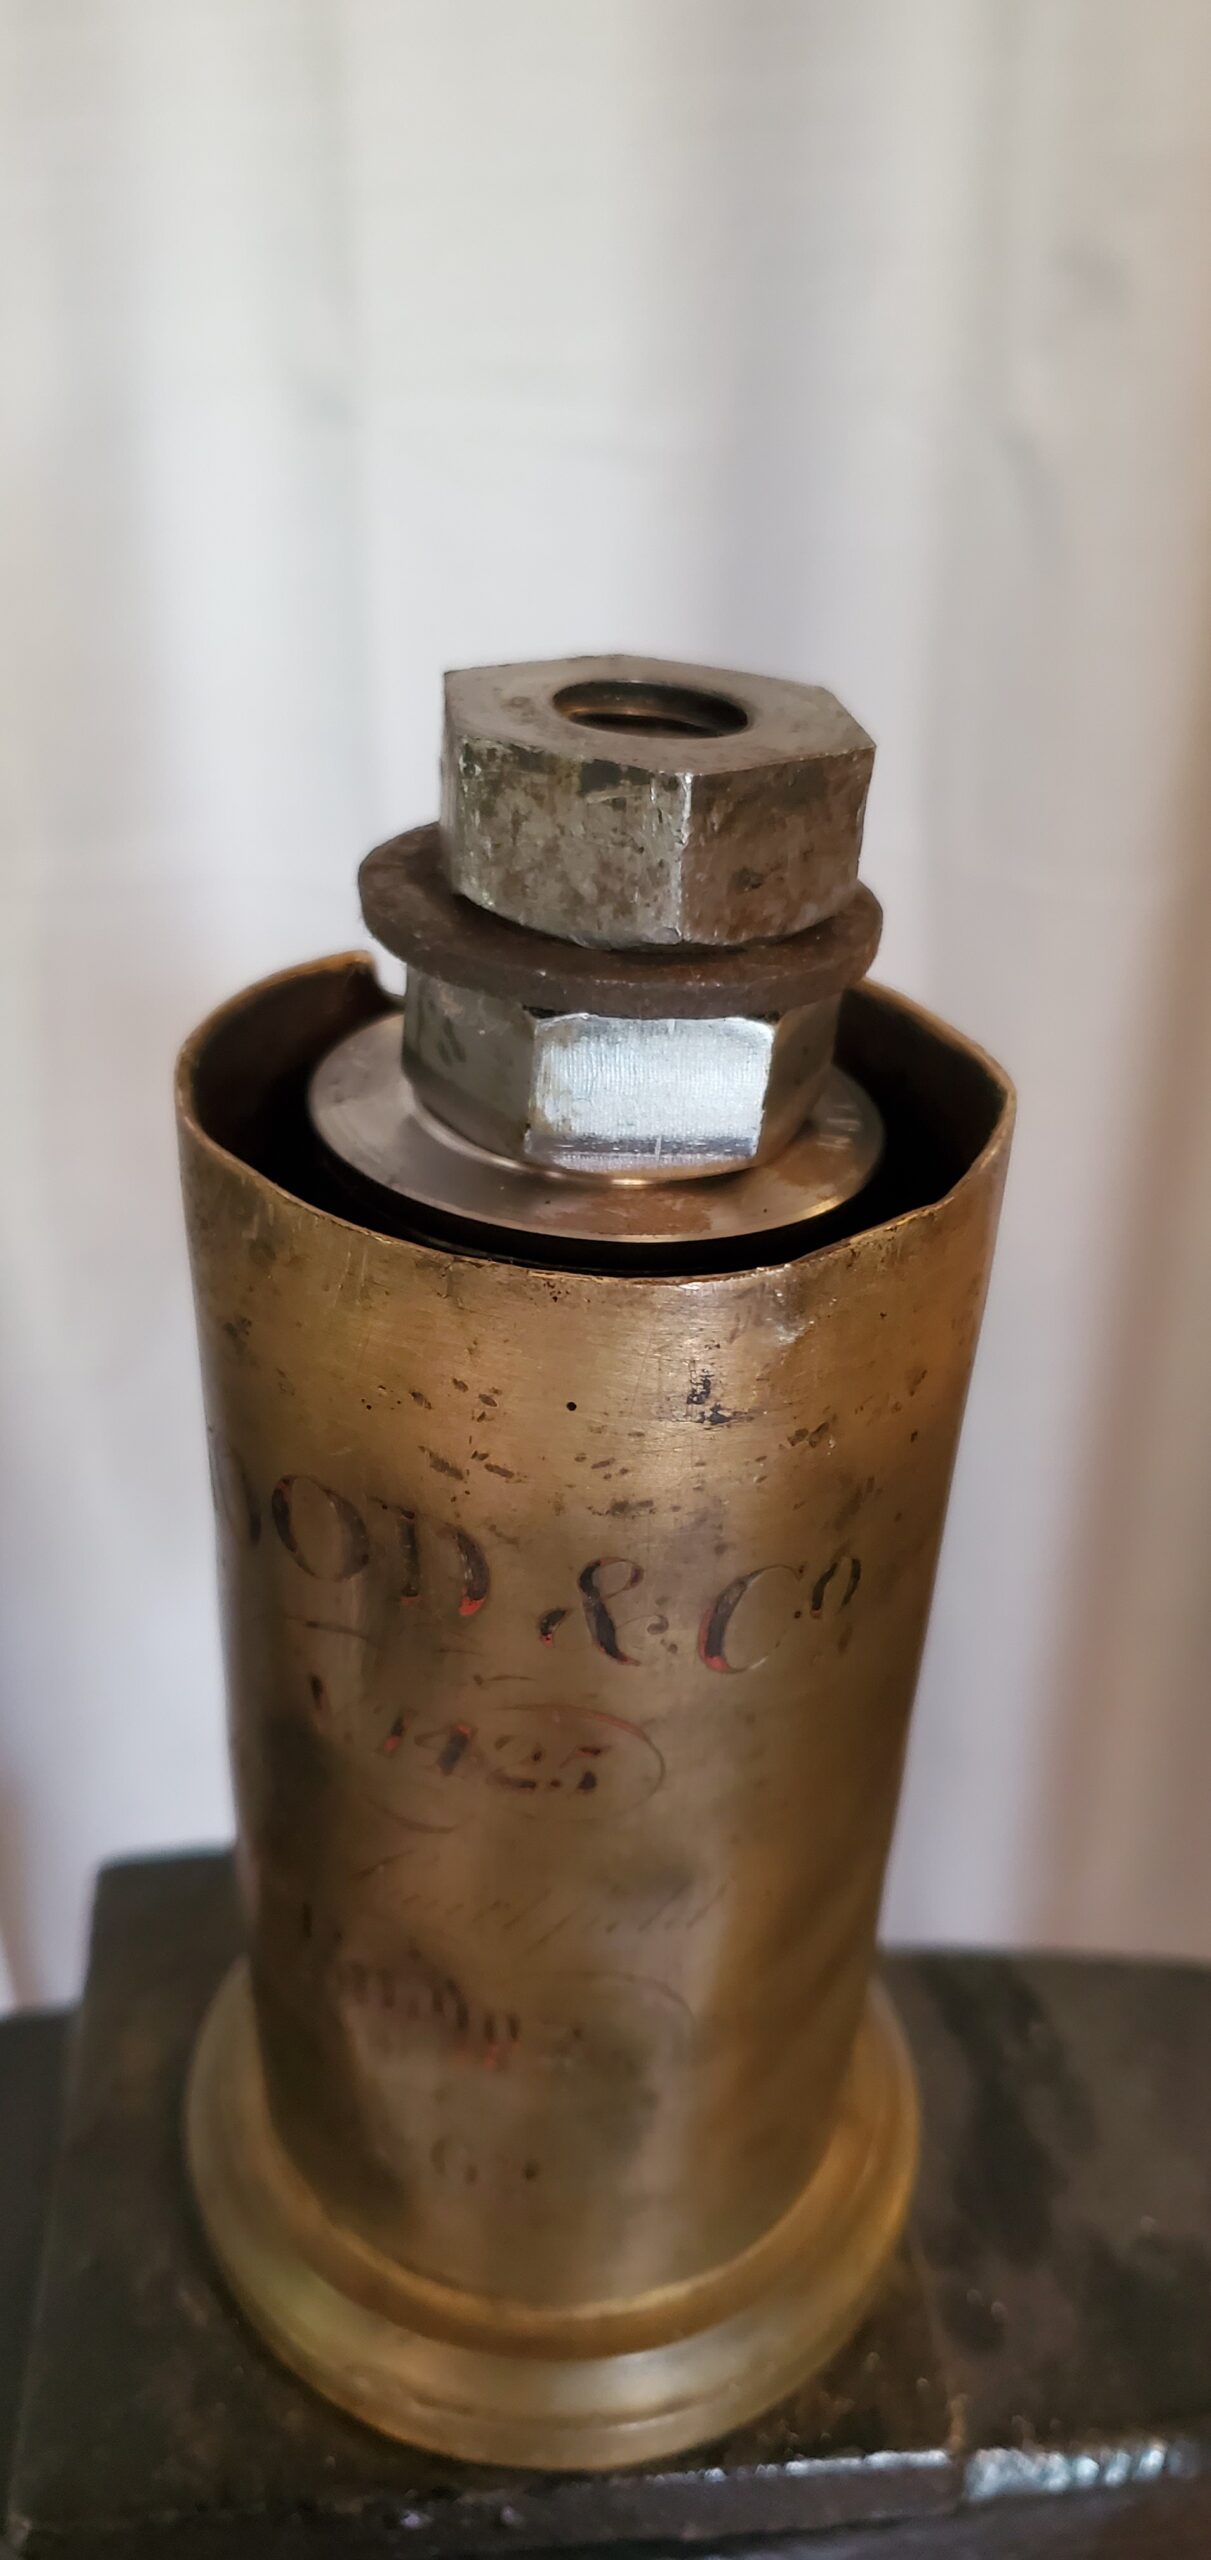
The pull handle now retracts properly again, though it still strikes the platen bolt. There is still something uneven between the platen, bed, and frisket frame, and I want to take some careful measurement here before I actually shorten the one platen bolt to its final length.
Leave a Reply