
As I mentioned in an earlier post, I have found that the air pins on my caster are somewhat sluggish, and in some cases stuck completely.
To diagnose this and get the pins on the rear pin block moving freely, I disassembled the block, cleaned and lubricated everything, and reassembled it.

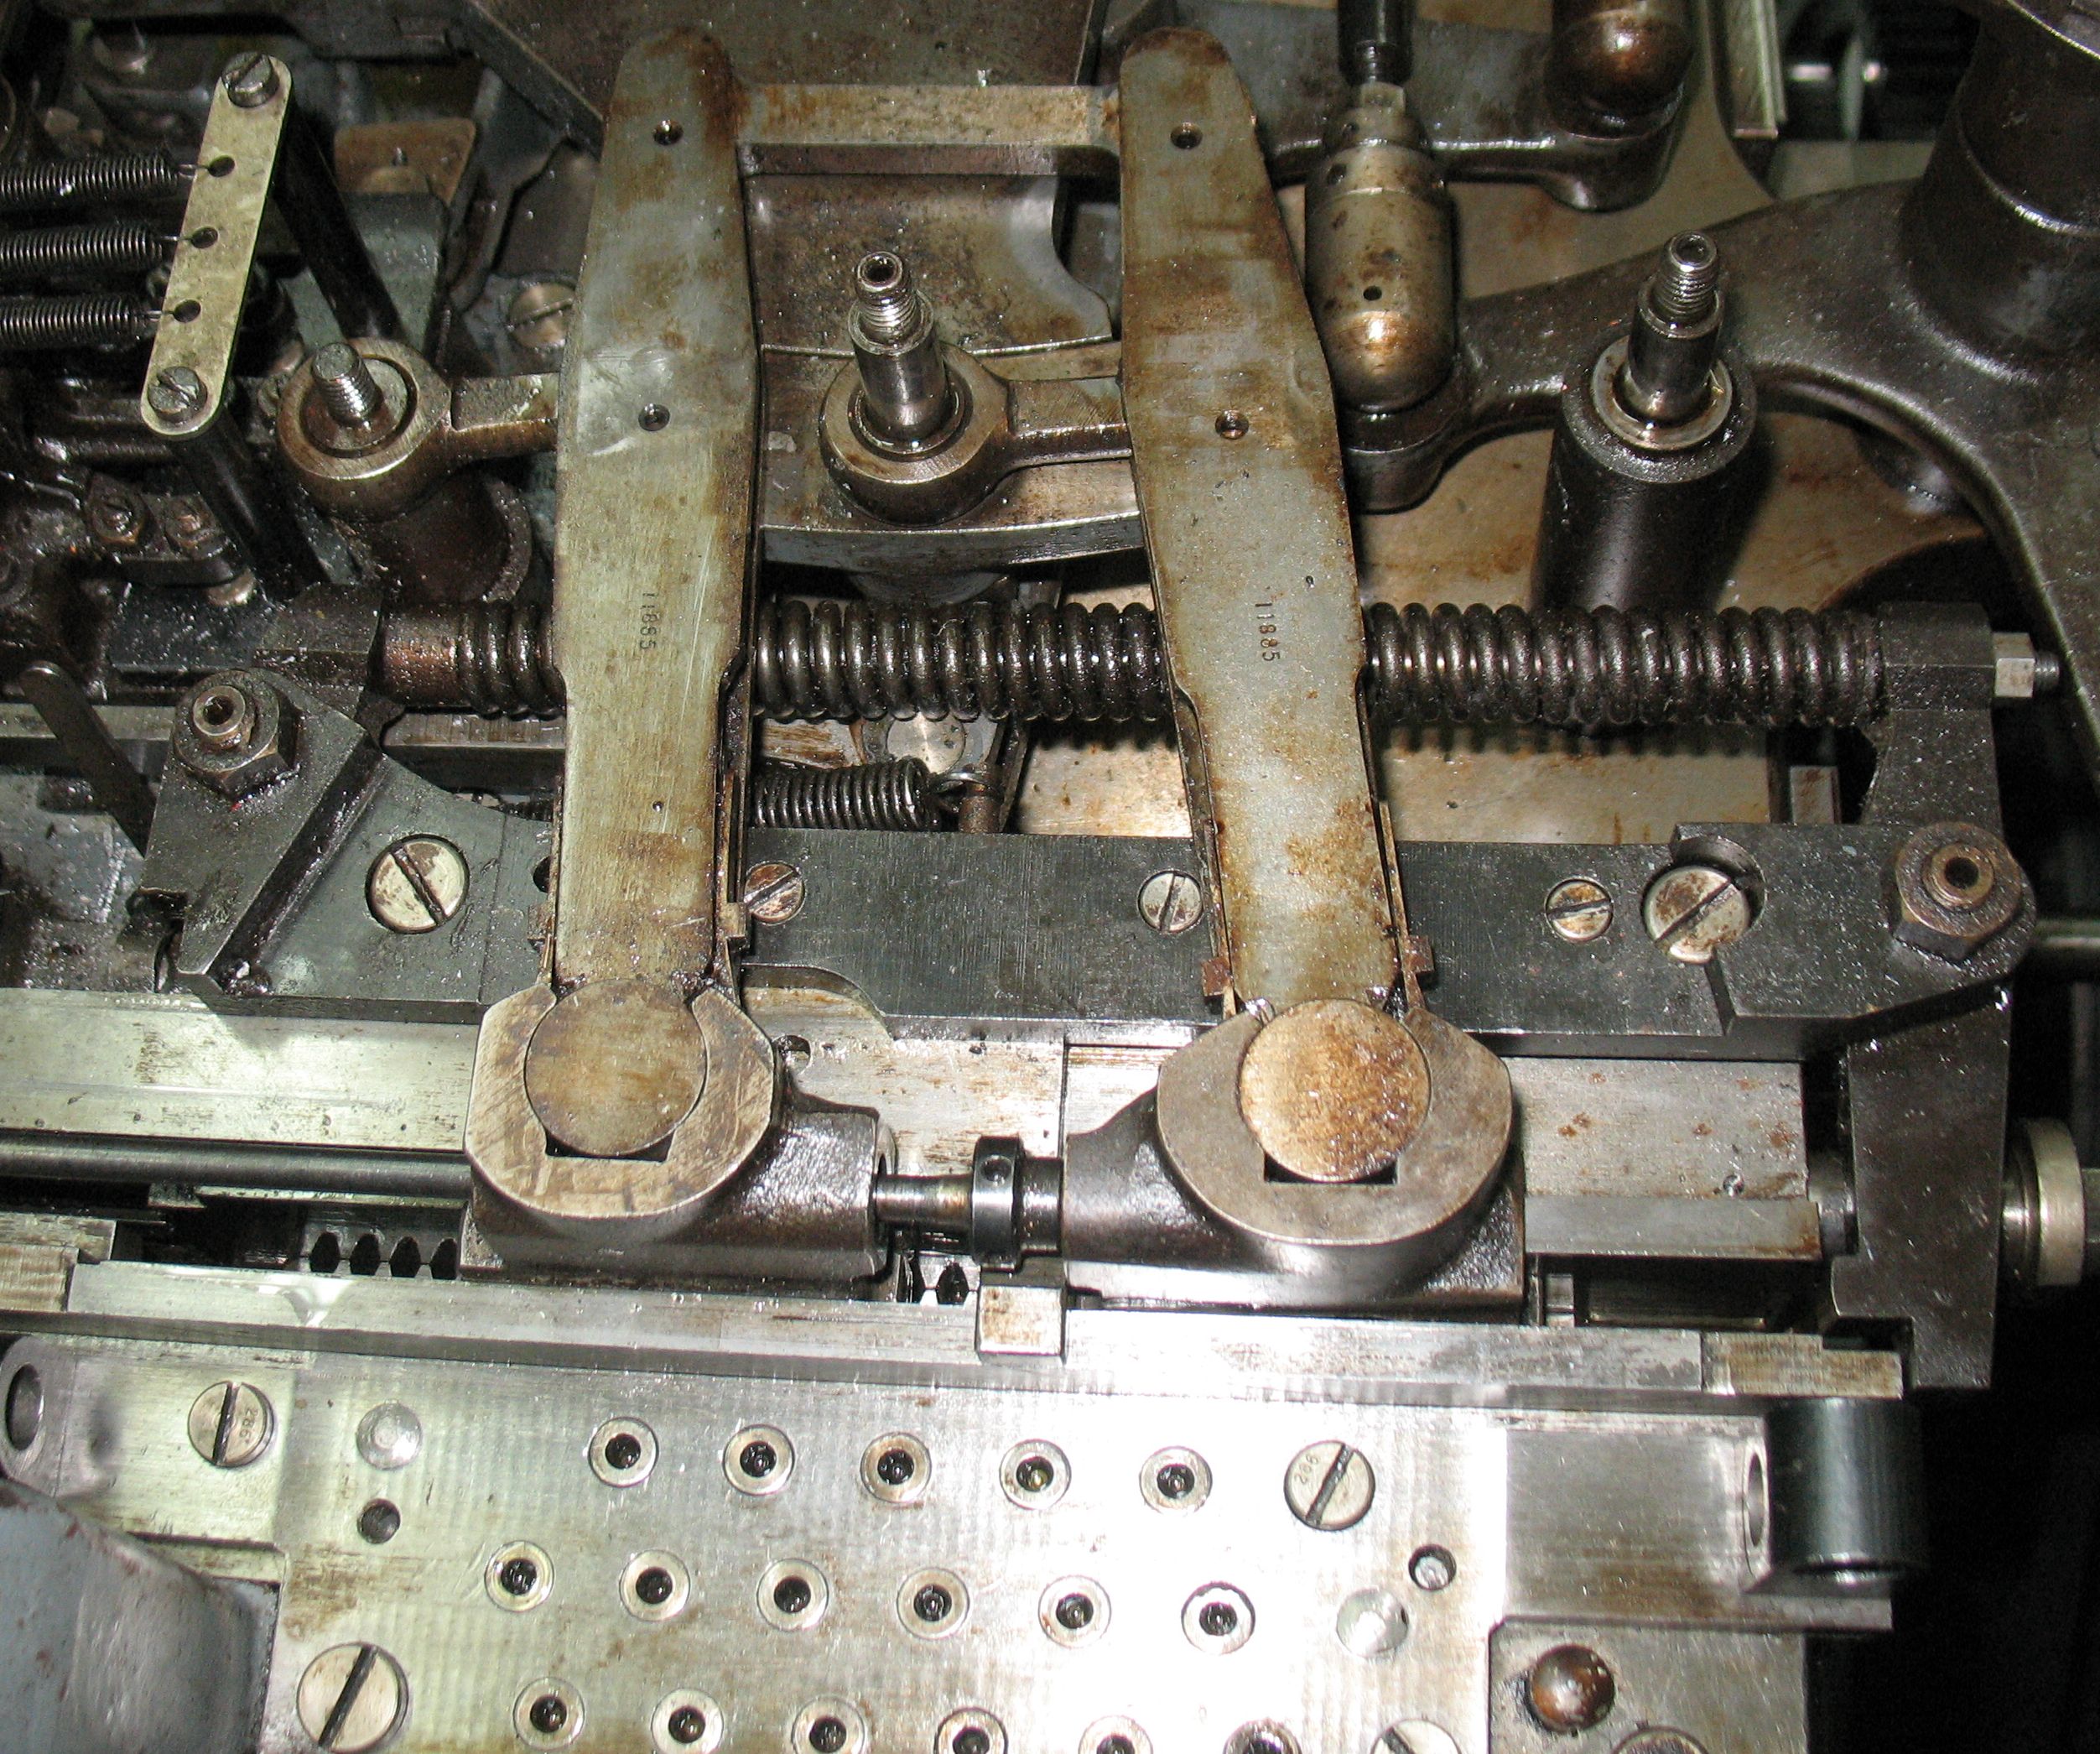
These are the parts I had to remove before I could lift the pin block cover: On the right, the pin jaws still attached to their tongs, and on the left, the rack, matrix jaws, and their tongs.
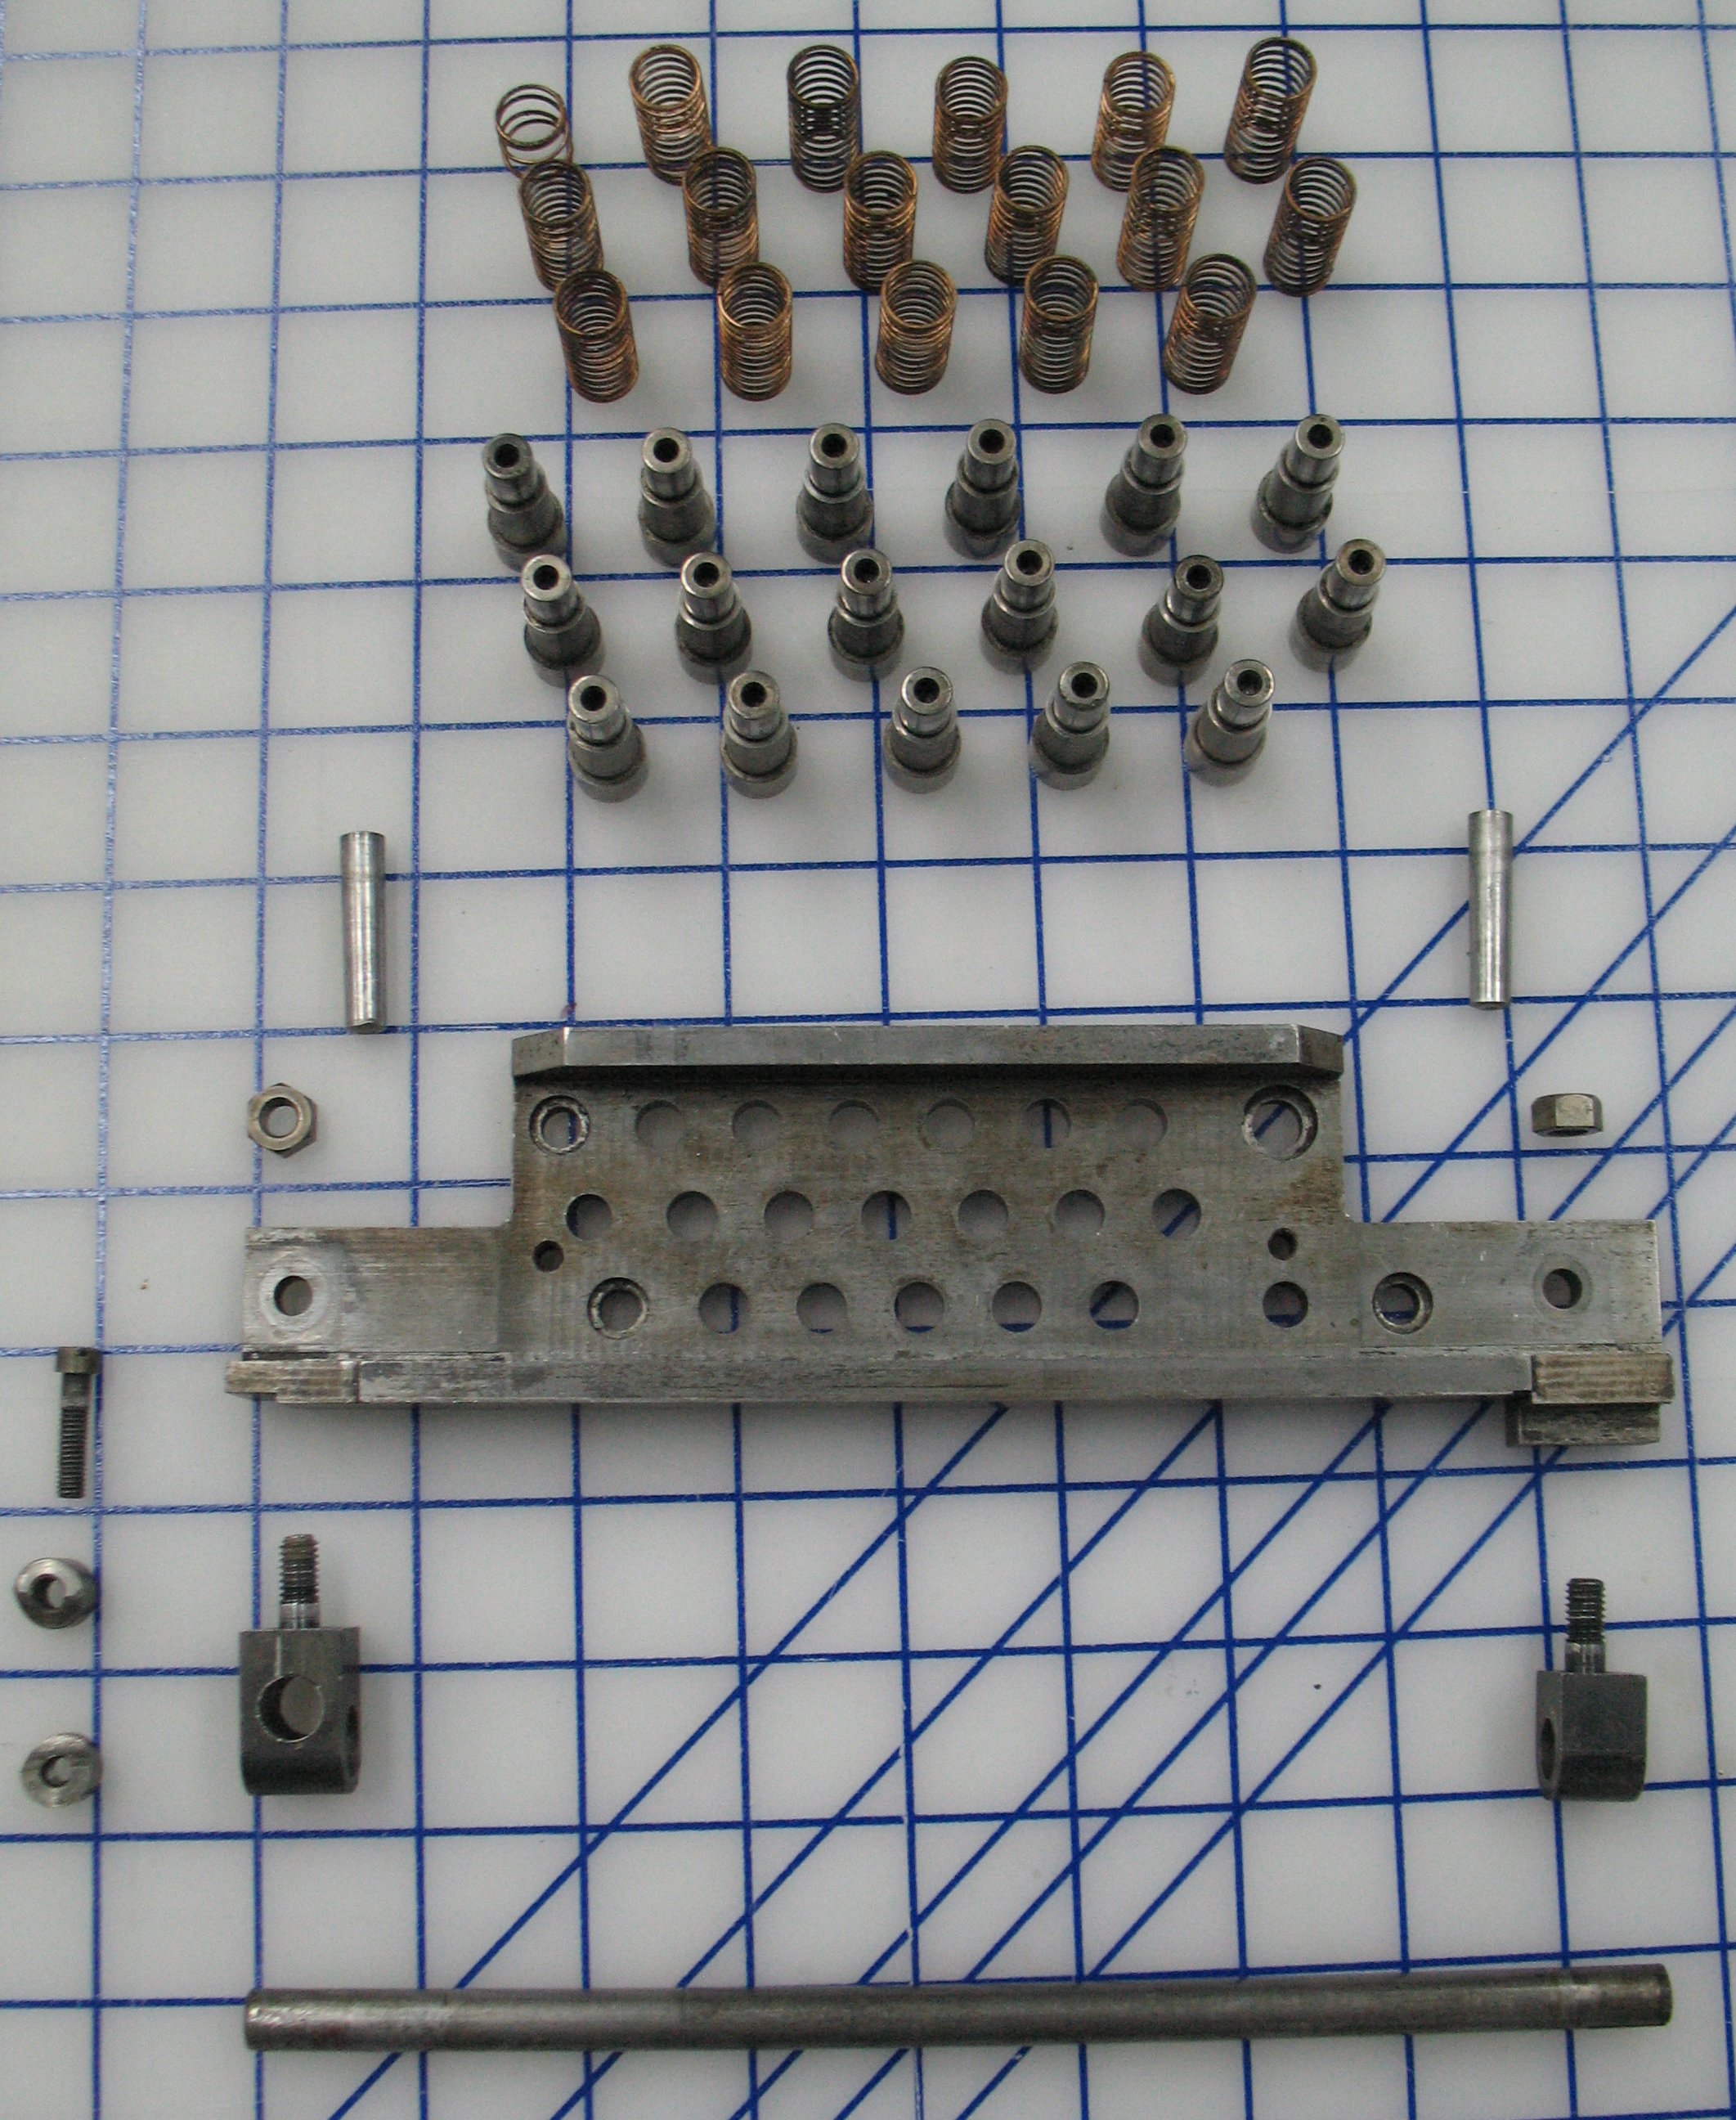
These are the parts I wanted to service: The pin springs, air pins, pin block cover, and guide rod for the pin jaws. One of the air pins (for selecting the O column of the mat case) is held up permanently by its spring but the pin itself is identical to the other pins which are raised by air pressure.
I tested the system airflow into the cylinders and found no problems other than a bit of dirty oil to blow out. After cleaning, the pistons slid freely in the cylinders, but they were binding in their cover holes, which had a layer of dried oil gunk in them.
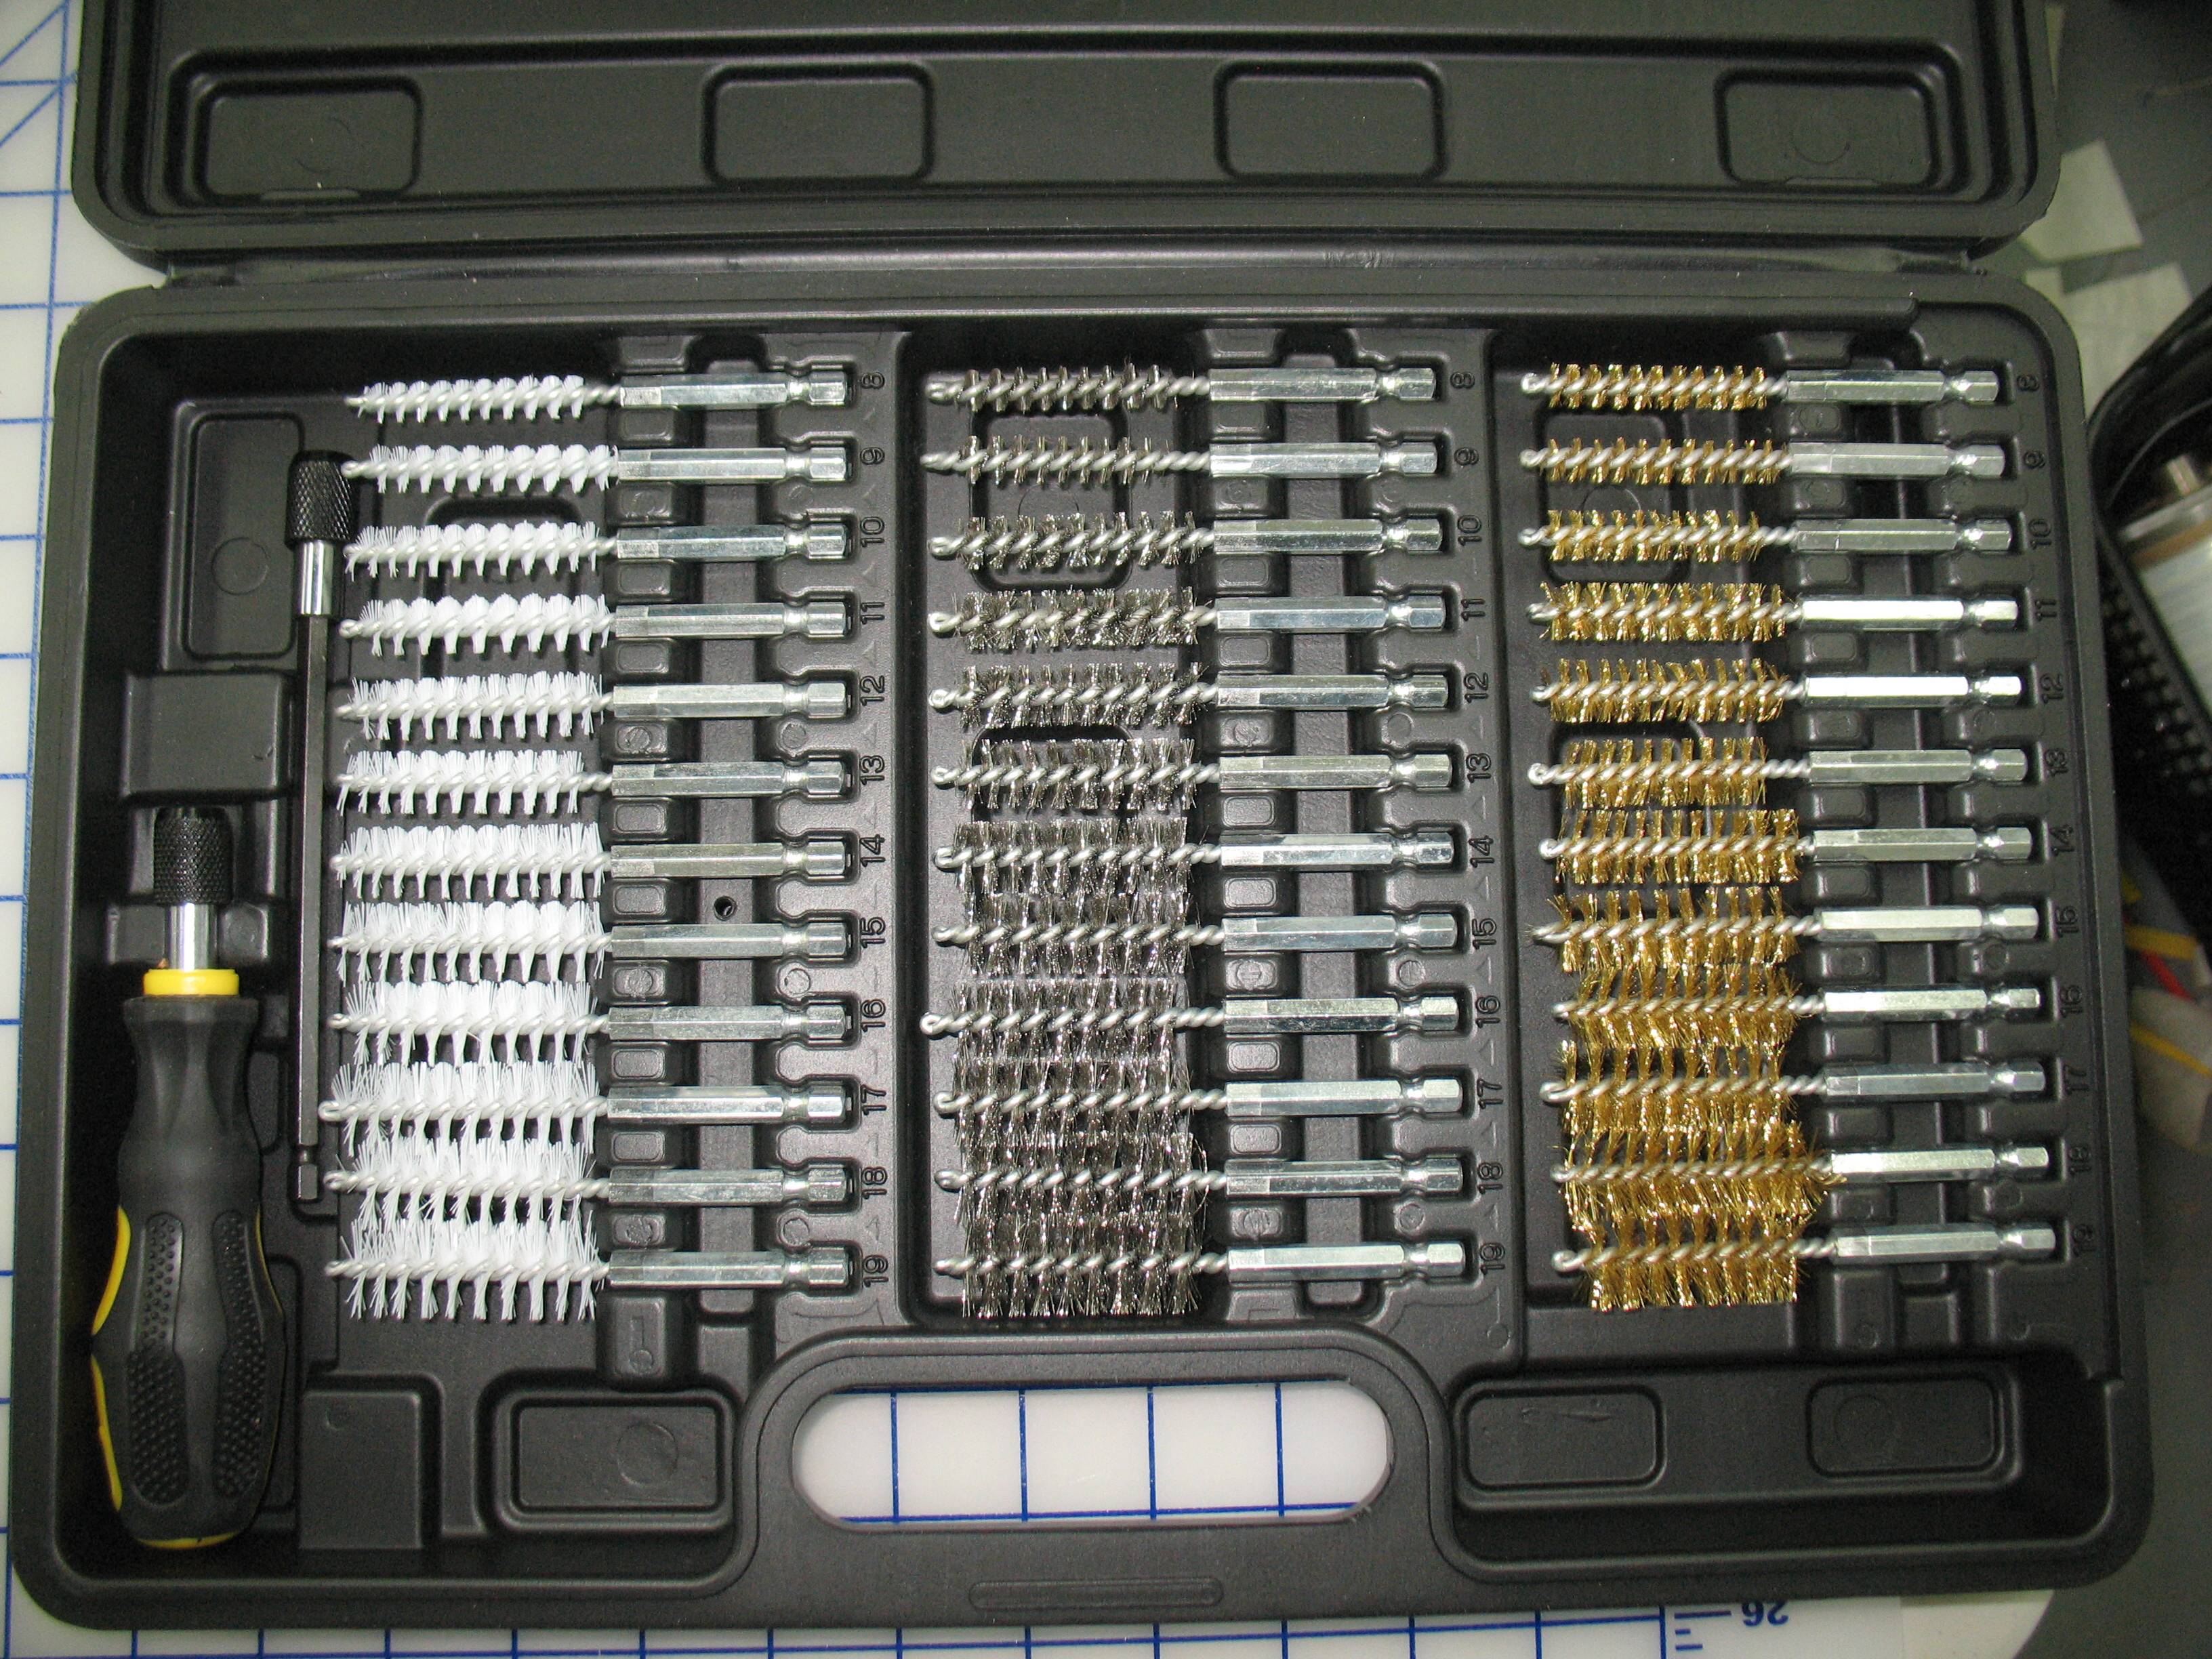
The 8mm size from this brush set (from Princess Auto) was ideal for cleaning the pin holes in the top cover. In and out twice and the pins slid freely in their cover holes. Perhaps a gun cleaning brush of the correct size would have worked but these are not so readily available here as they are in some countries.
Now it was time for reassembly.
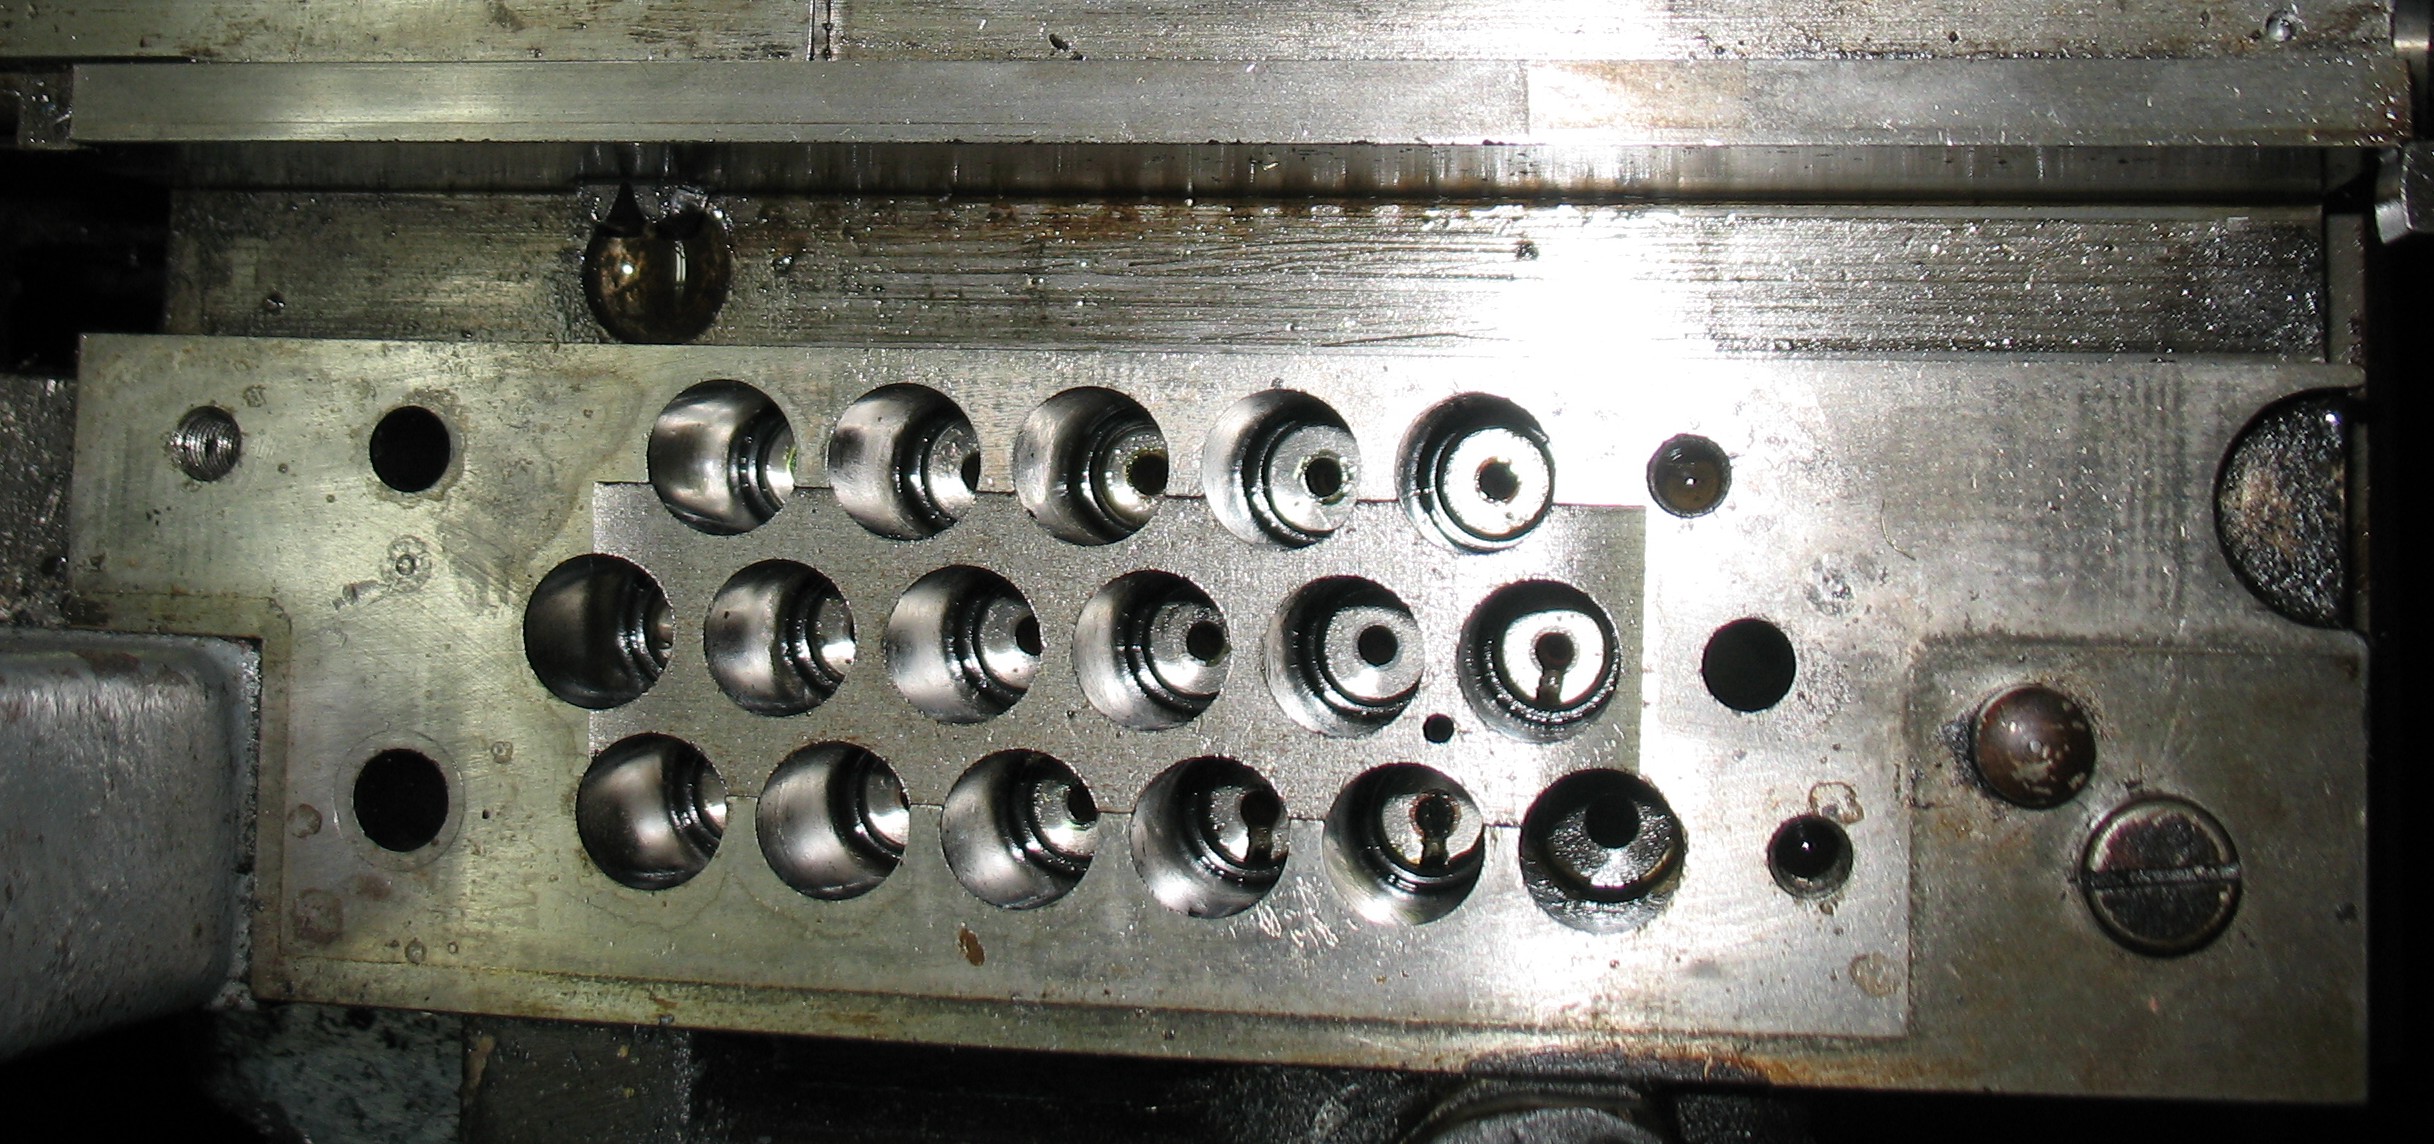
The rear pin block when stripped of its parts but still mounted on the caster.
All the pins are in place. The O (rightmost here) pin is held proud by the spring under it.
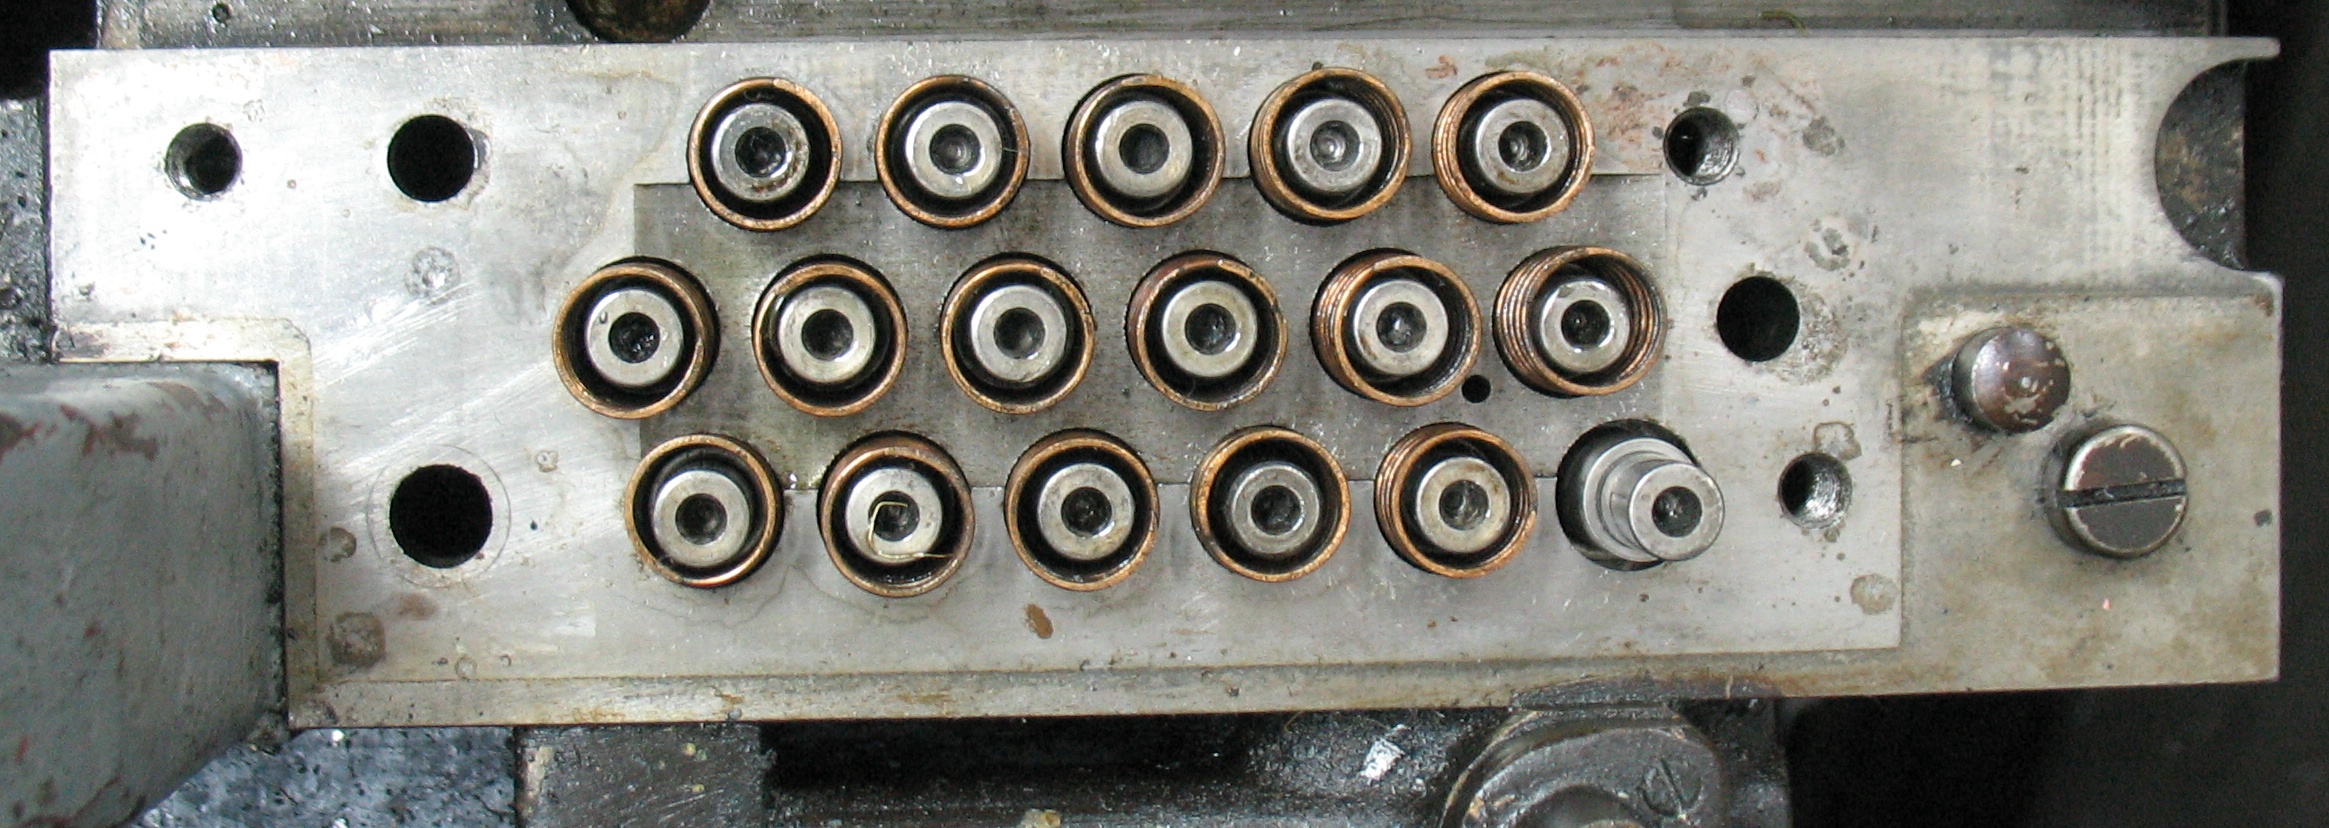
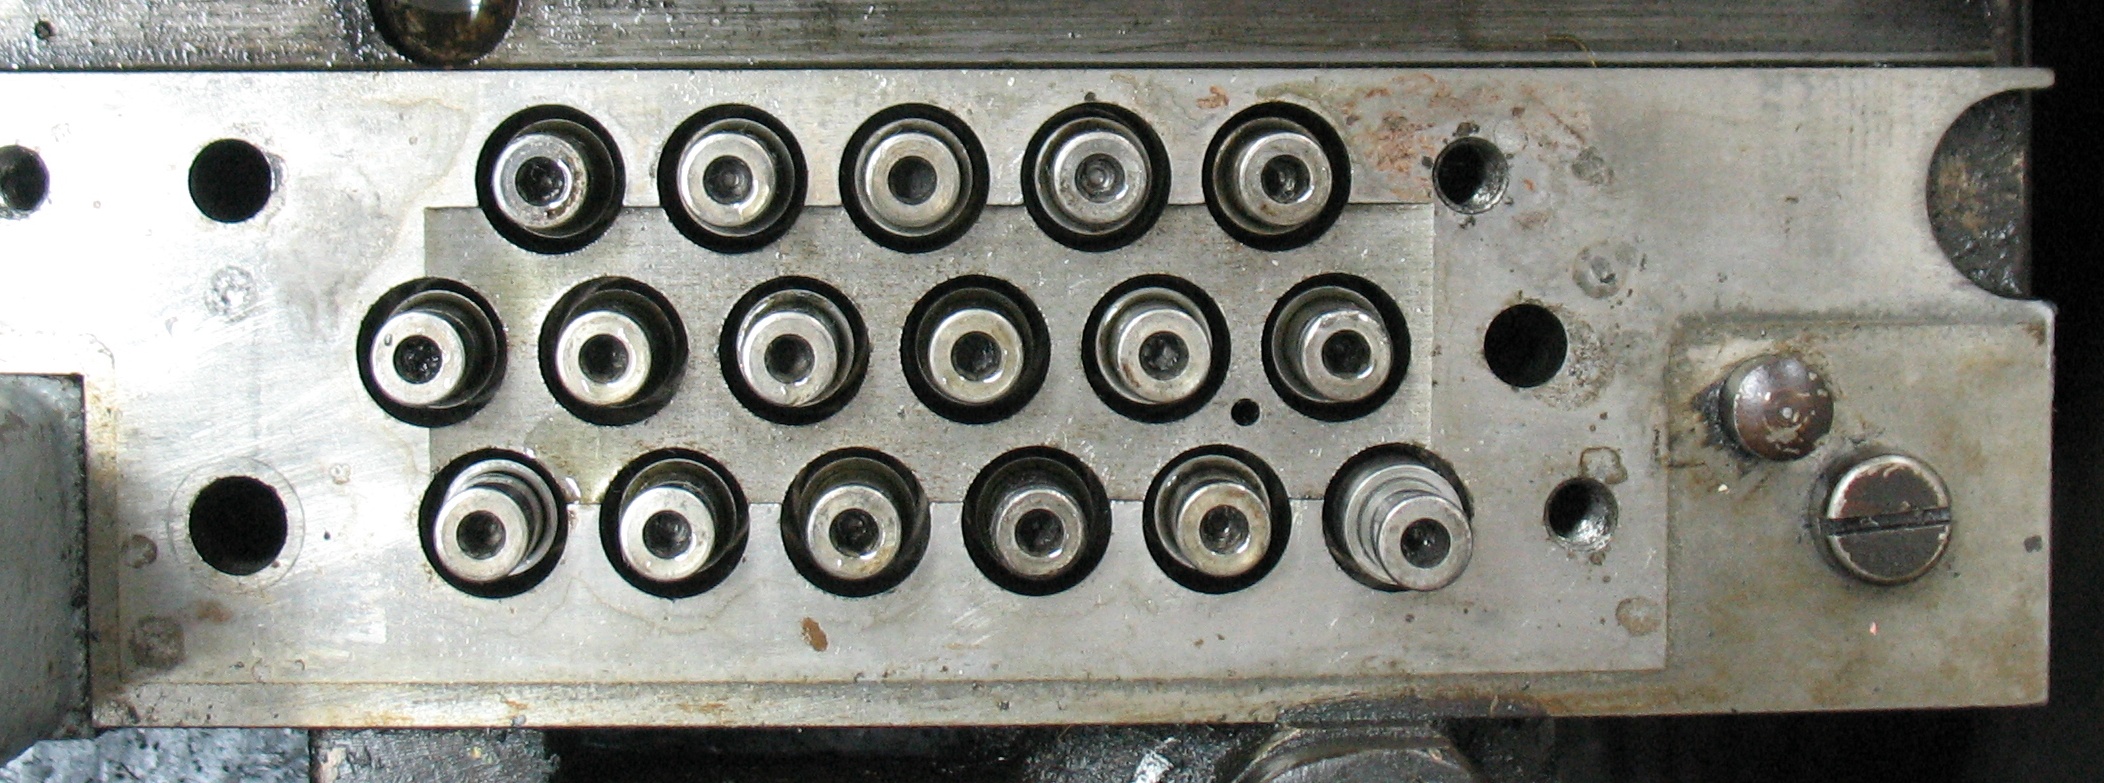
All the hold-down springs for the other air pins have been dropped into place.
At this point, I replaced the cover with just two of its screws and tested the pins under air power. All worked fine except for the A and D pins which seemed quite stuck. Turning these pins with an Allen key (the pins have a hex socket in the top for exactly this purpose) revealed that these two pins were not moving freely. I removed the cover again, swapped some other pin for the A pin and replaced the cover but the A pin continued to stick, implying that the hole in the cover had a problem. I removed the cover (again) and took a close look at the A and D pin holes and found a tiny dent on the edge of each, as if something hard had hit the top of the cover plate.
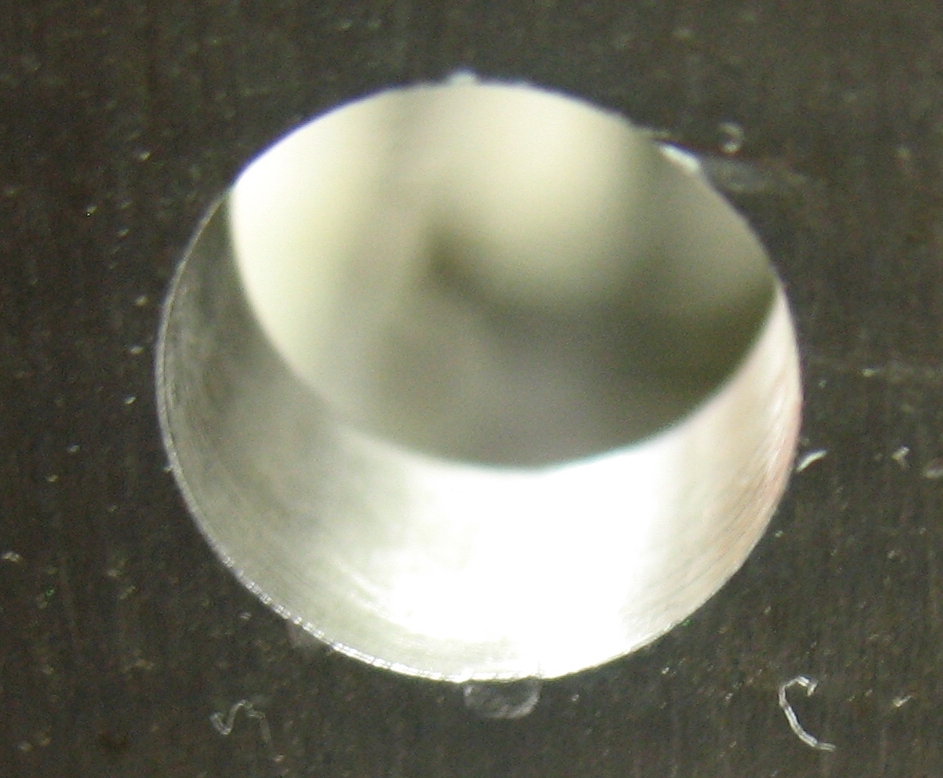
This dent (at the 6 o’clock position here) on the top of the pin block cover peened a small bump on the inner circumference of the hole, causing the pin to stick. You could really only see it by getting the light just right to see the shiny surface worn onto the bump.
I used an adjustable reamer to carefully remove the bumps inside the two holes, and a pin manually inserted into these holes now moved as freely as it did in the other holes. I replaced the pins and cover and tested with air again and all the pins worked (except for NI and NL which I could not test by injecting air into a single line, but they turned easily and could almost be raised using the Allen key). But I managed to miss the photo for this stage of assembly.
Although I had managed to remove the cover, I was finding that reinstalling the cover, the two matrix jaws, and the rack, which all interlock somewhat, was turning into a bit of a juggling act. As it turns out, removing the buffer and properly orienting the washer on the mould blade rod allows the jaws and rack to be slipped into place after the cover is installed.
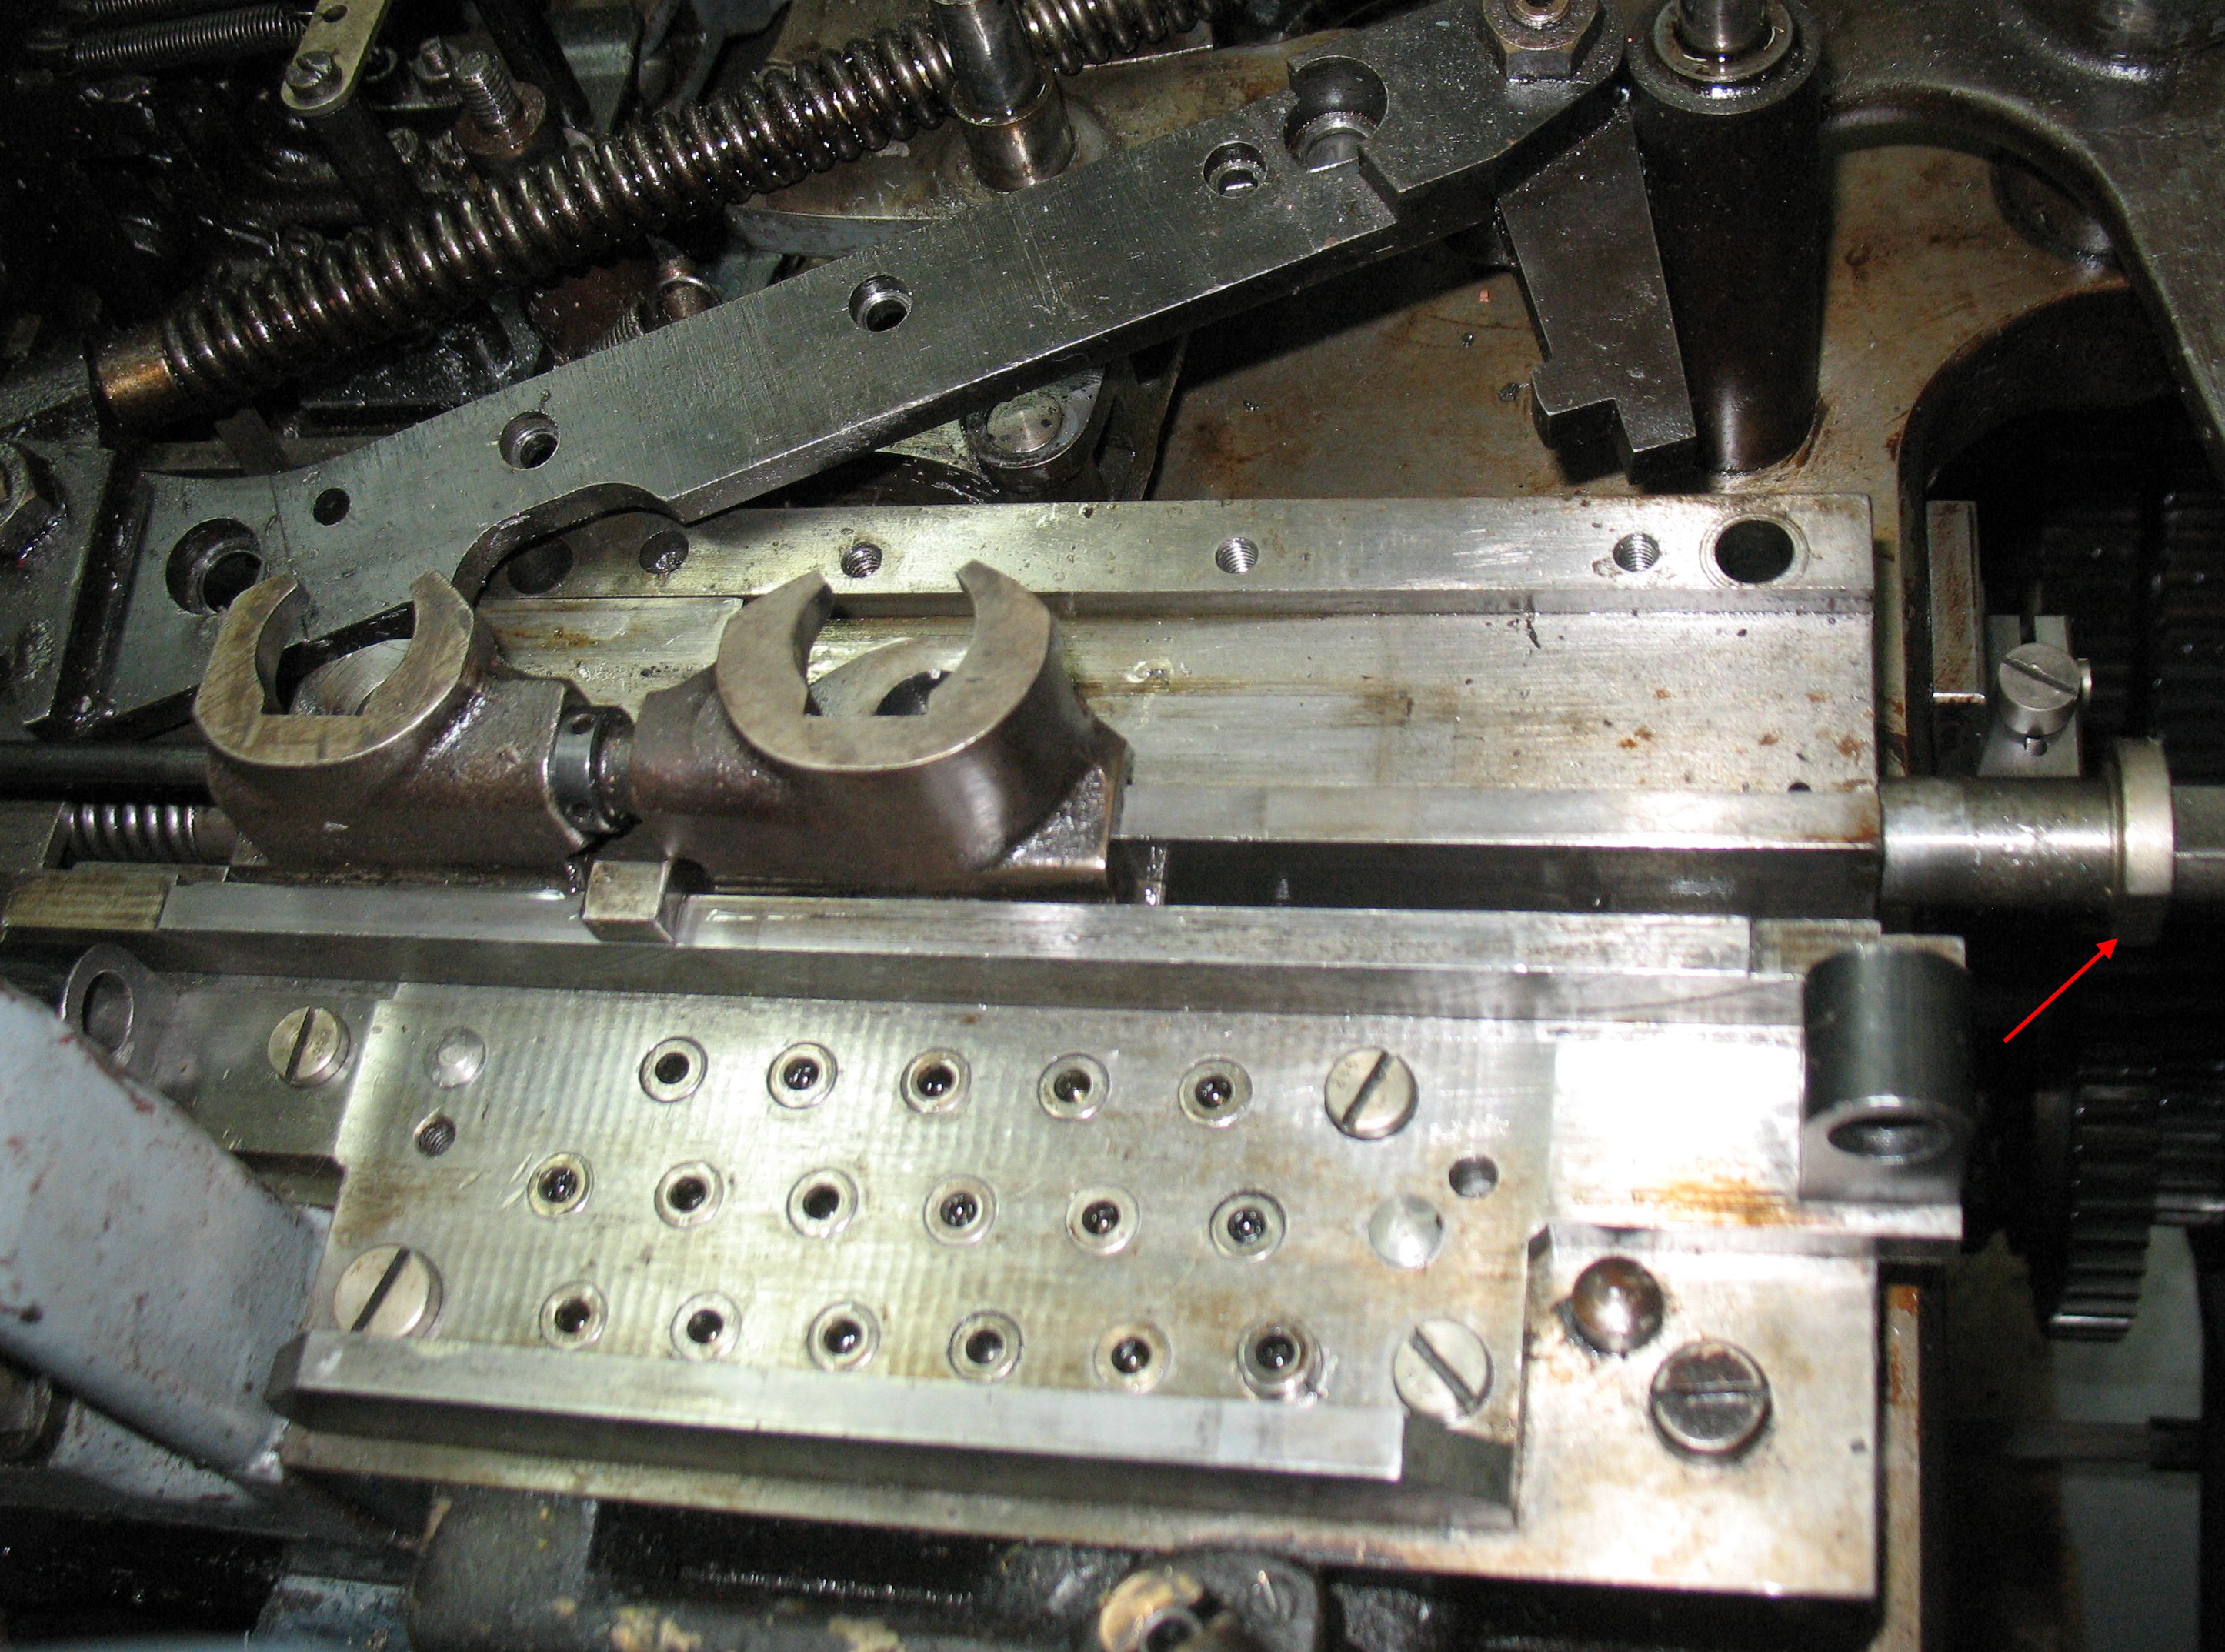
The cover is now all screwed and dowelled in place, and the matrix jaws and rack have been slid into their track. The caster must be cycled to the point where the rack dogs are retracted before the rack can be inserted. Note the position of the flat side on the washer (red arrow) on the mould blade rod allowing the insertion of these parts. Rather than removing the buffer entirely, I left it connected to the spring pulling on the mould sizing slide and just moved it aside a bit.
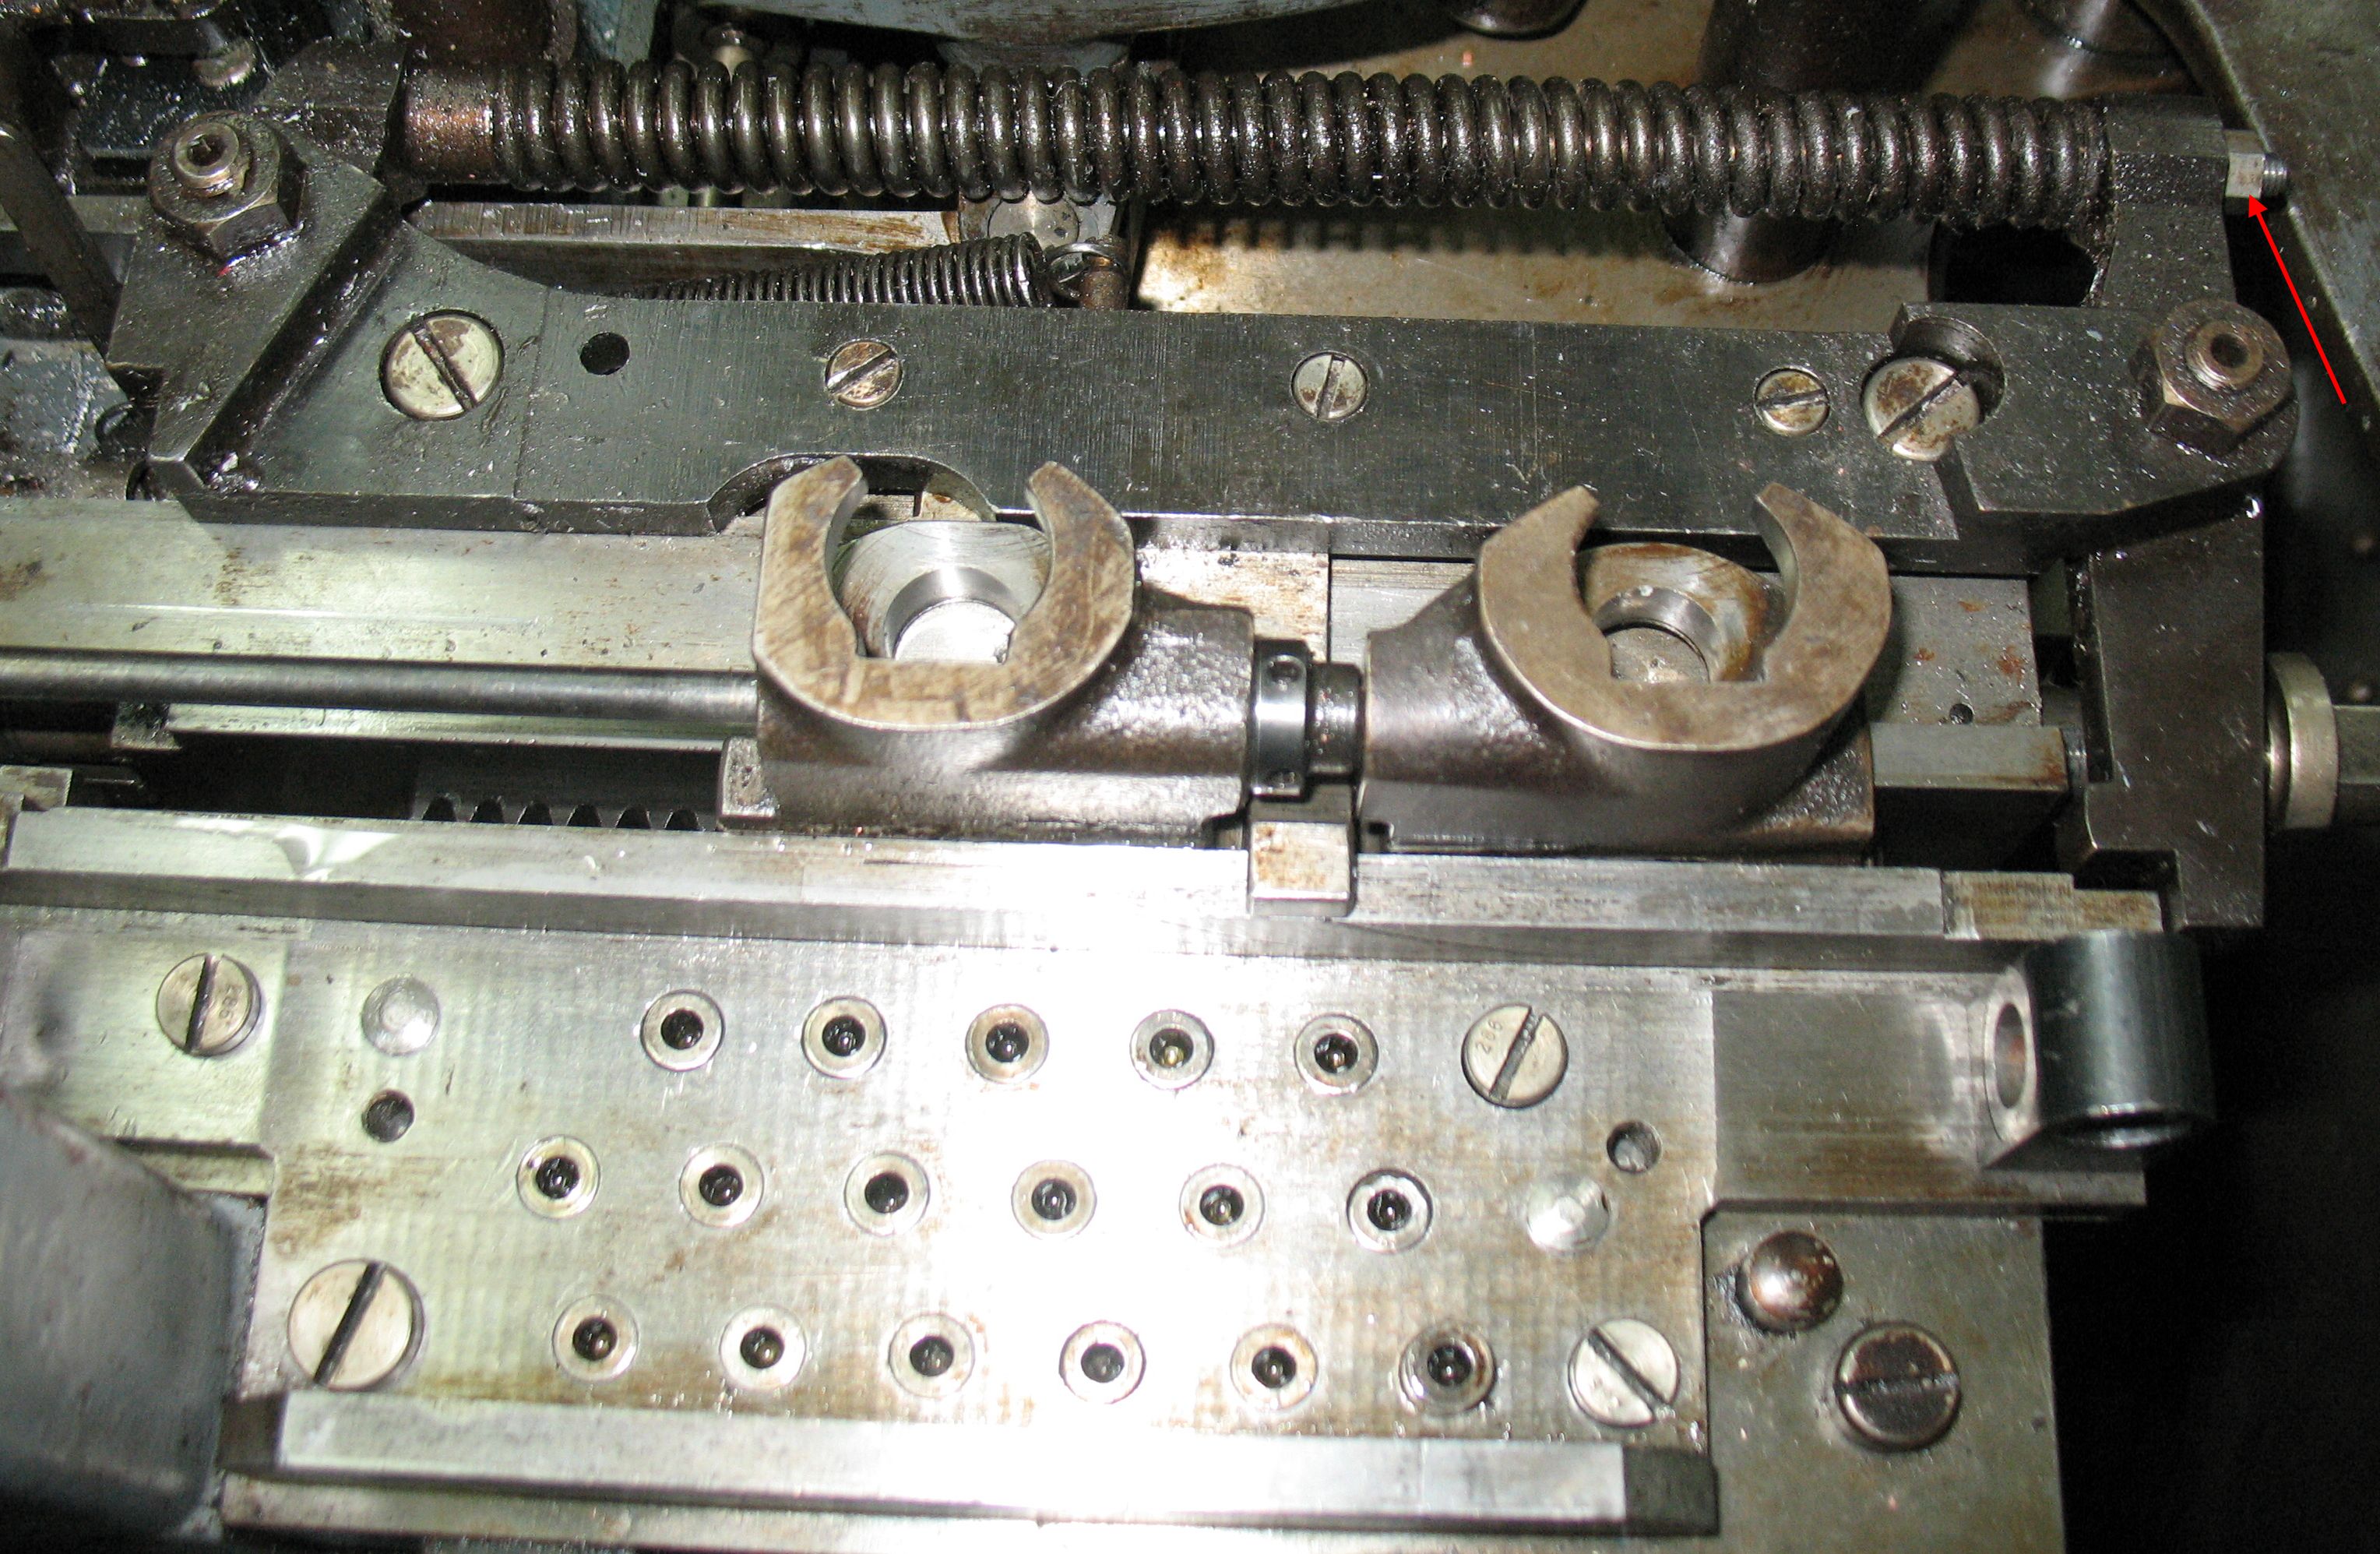
The rear buffer has been re-installed. Note the nut (red arrow) and washer (hidden from view) that are used to compress the buffer spring to allow its removal and installation.
The matrix jaw tongs are now in place and locked onto the jaws.
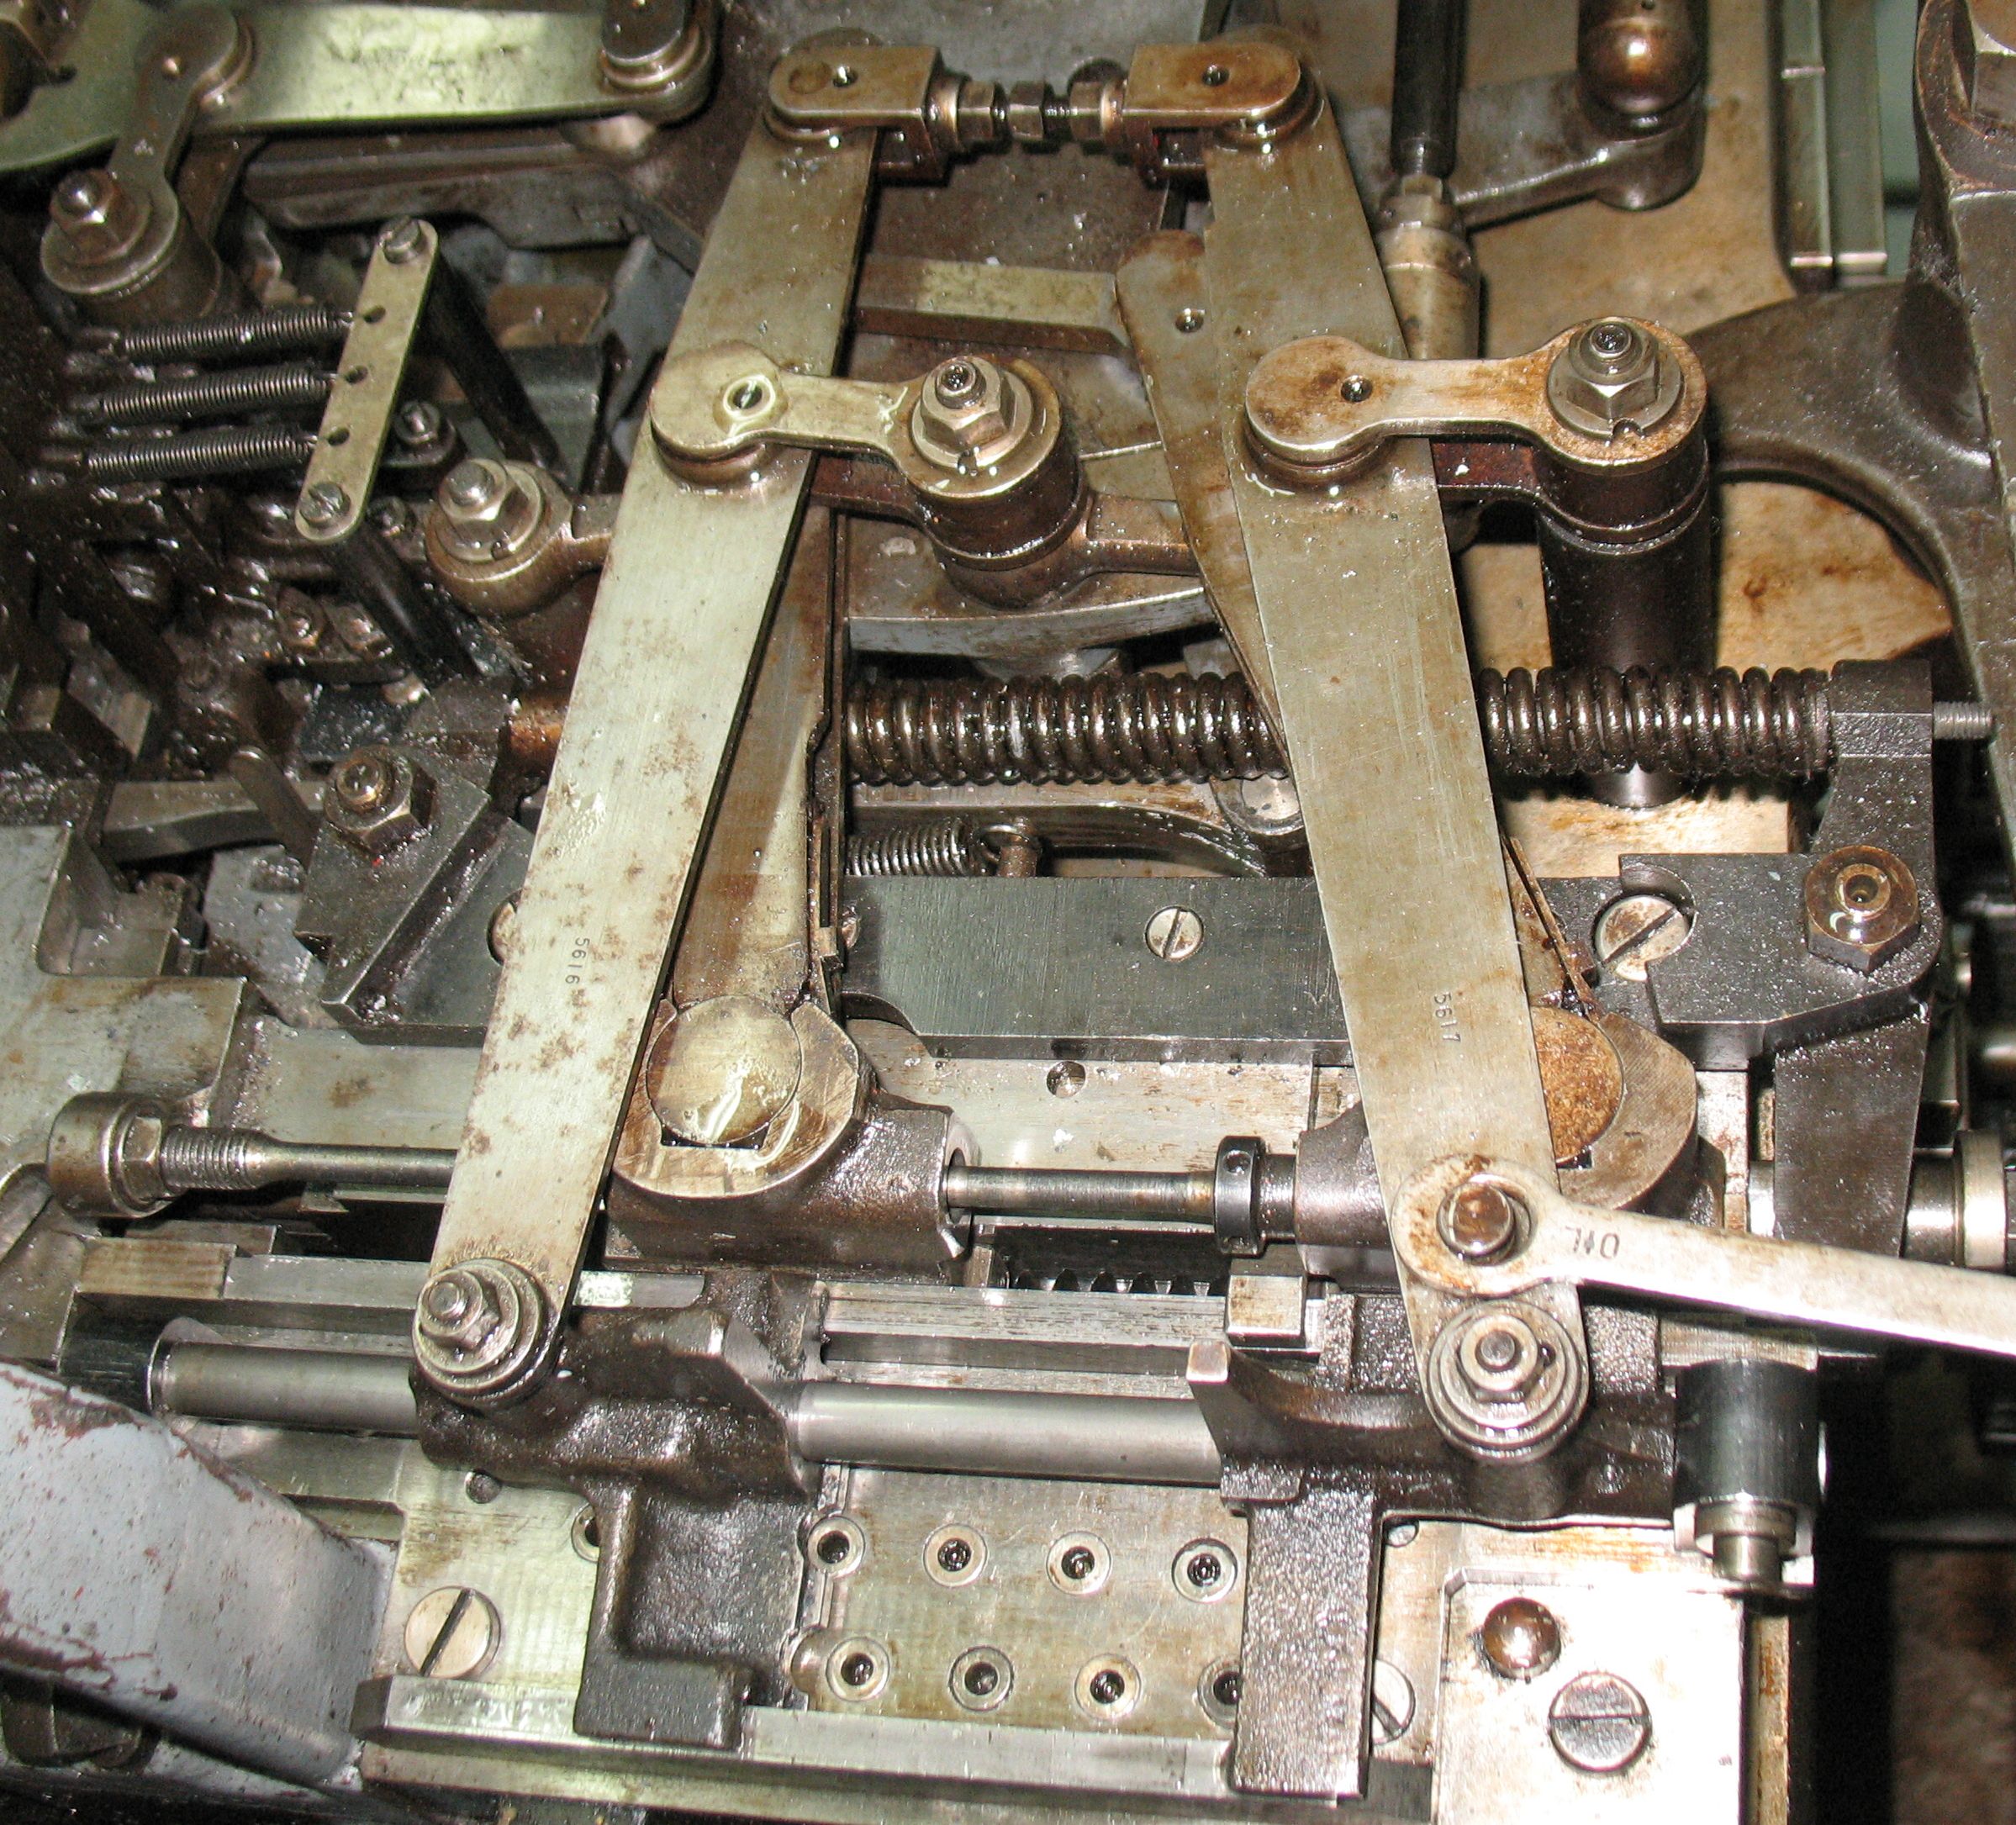
Everything is now back in place, and the temporary nut and washer have been removed from the buffer spring and returned to the tool kit.
Now a similar procedure awaits the front pin block, but it will be a bit more work because I will remove the bridge to give me more open access, and the buffer is trickier to remove, being held down in part by a small bolt hidden under a cover and with only enough access to turn it ⅙th of a turn at a time. As well, the taper pins for the cover can only be punched out by reaching up almost blind inside the base with an 18″-long punch.
Leave a Reply