
Last weekend, along with about ten other people, I attended a 2-day workshop on making (and using) a su (screen for Japanese-style paper making). The workshop was hosted in and around the Molson building at Bishop’s University in Lennoxville (Sherbrooke) Québec. This event was organized by Régine Neumann, who teaches at Bishop’s, and Alexandre Bonton ran the actual workshop. Alex has been experimenting with alternative materials and techniques for making a su because the traditional bamboo splints and silk thread are nearly impossible to obtain locally.
Many aspects of our su construction were guided by Tim Barret’s book Japanese Papermaking, with adaptations for availability of materials. The original plan for the workshop was to use fine nylon thread and the seed-head stems of local grasses instead of the traditional silk thread and bamboo splints. However, recent weather has left the grass plants too green for this purpose, so instead we used the stems of flax plants which Régine and her students had already harvested and dried. These stems were generally about 1.5 to 2.5mm diameter, so this would produce a rather coarse su (in the real thing the bamboo splints are about 0.5-0.7mm diameter), and to provide adequate water flow through the screen, we used a coarser nylon thread for the stitching. On the upside the flax stems were long enough that no joints were required in the su, and the coarser materials made for faster construction.
During Alex’s presentation Friday night before the workshop, he showed various sus he has made, including one made from carbon-fibre composite rod, but he said this material, as well as the glass fibre rod suggested in Tim Barret’s book, was not very suitable because the hydrophobic nature of the resin used to make the rods prevented water from passing between the rods to drain the pulp.
The weaving stands we used were a simplification of Barret’s, with a single notched board and attached legs: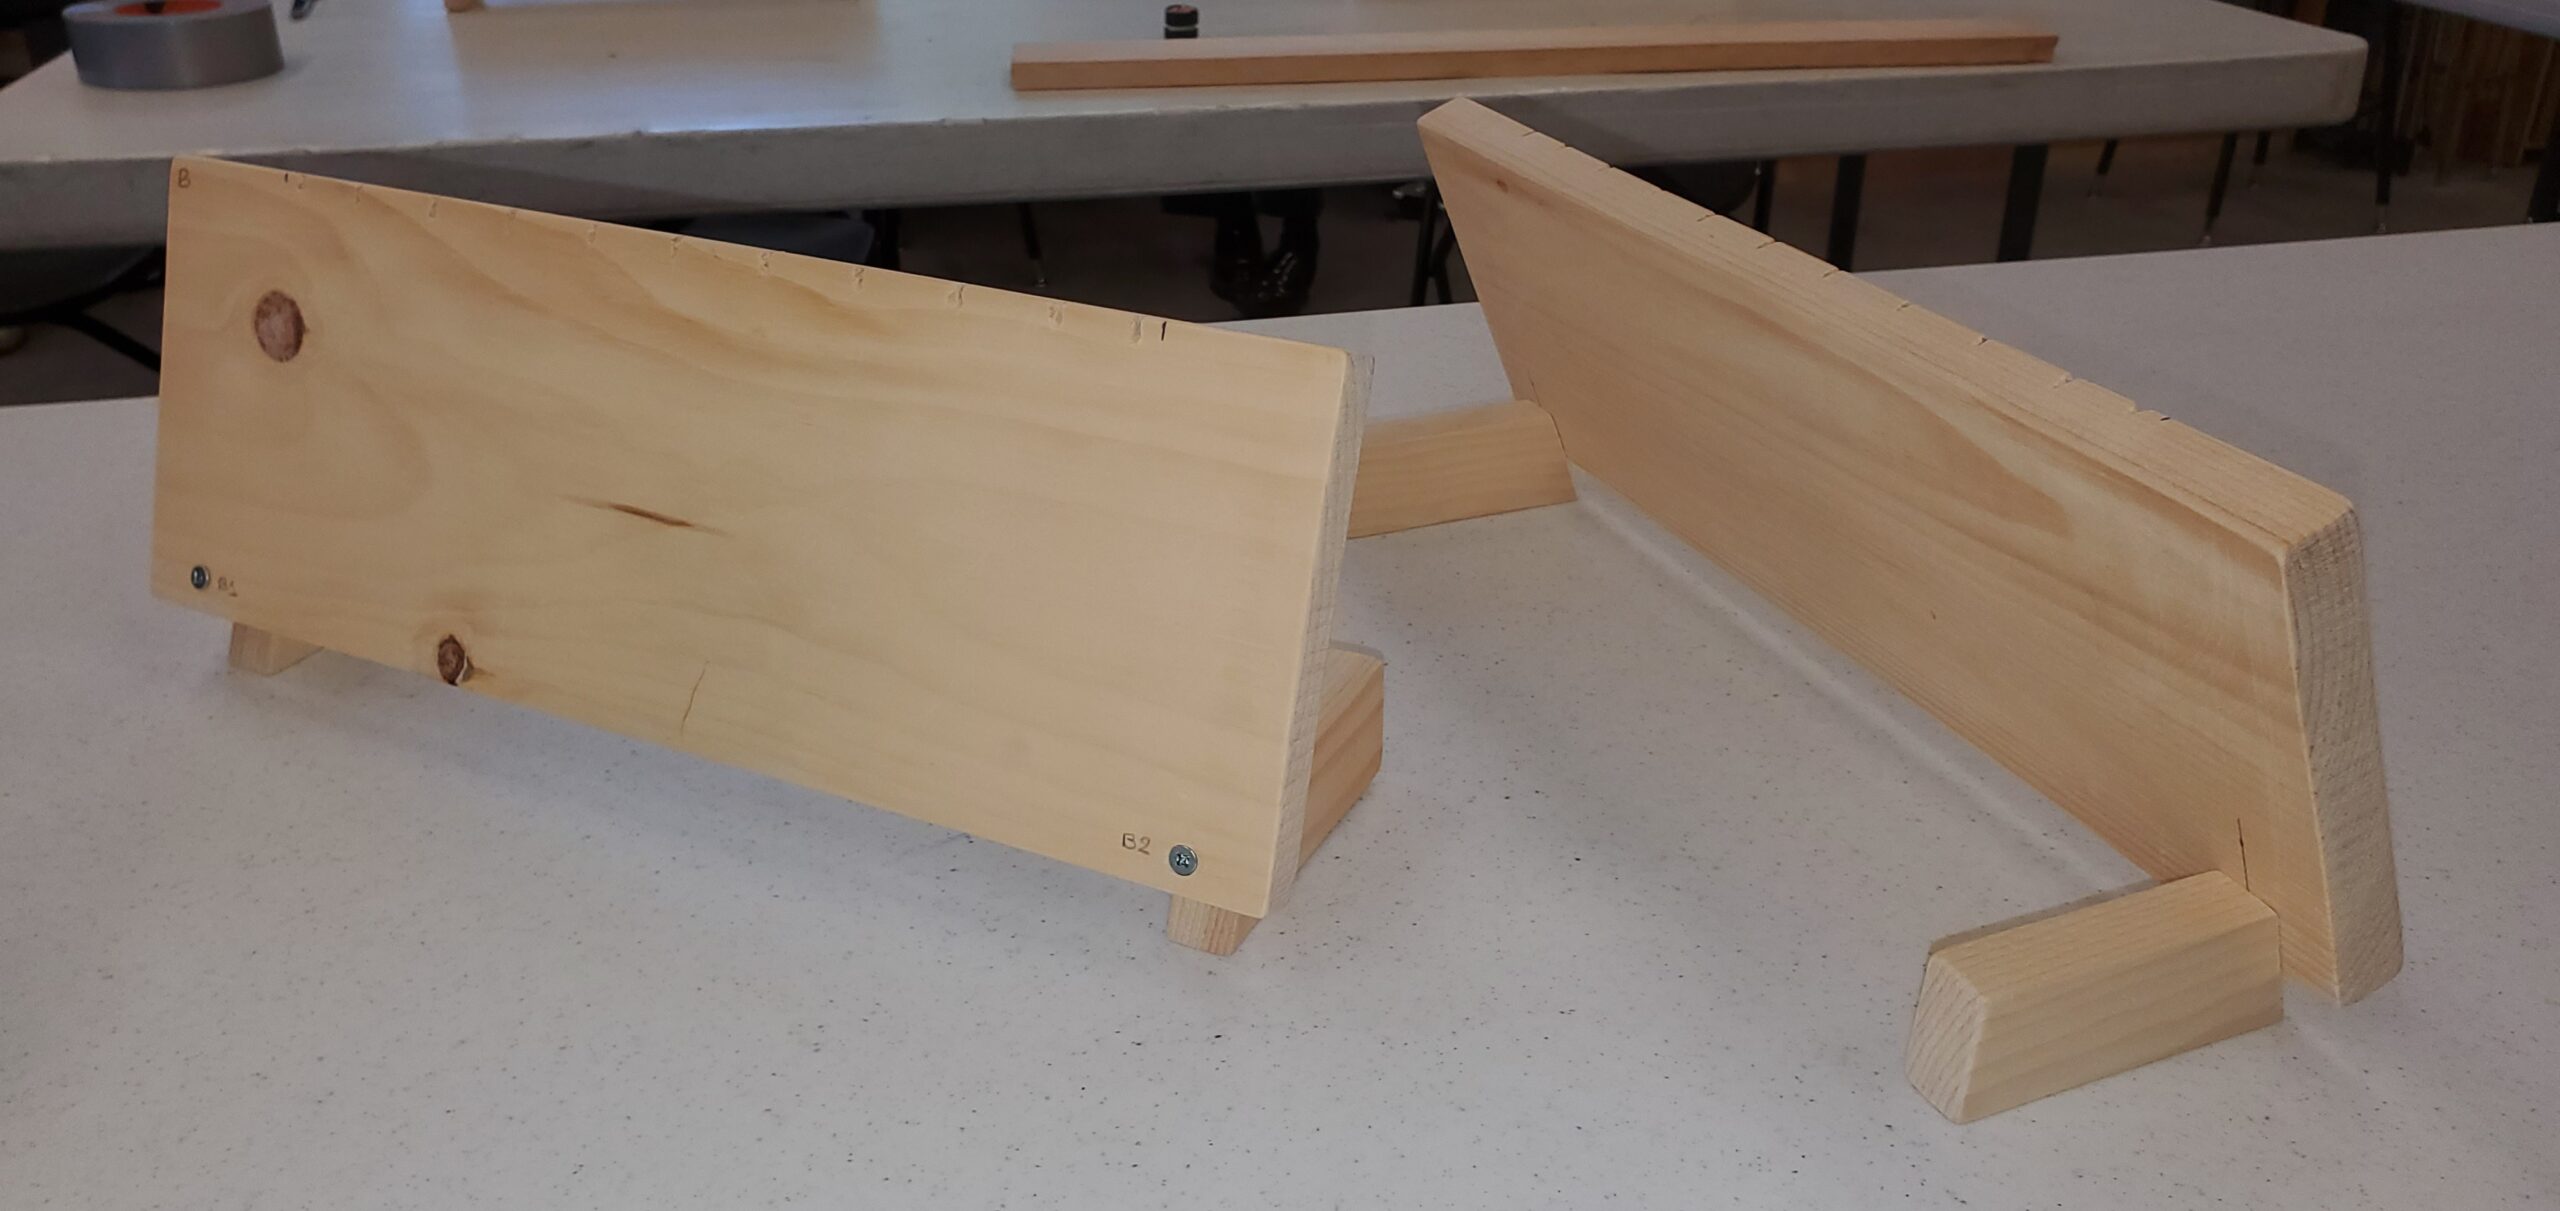 The weaving bobbins were short pieces of ½″ rigid PVC water pipe, weighted with epoxied-in lead shot, and fitted with two rings of ½″ inside-diameter flexible (vinyl, perhaps) tubing to form the “sides” of the bobbin. The groove left for winding the thread was a bit small for the heavier nylon we were using, but otherwise these worked fairly well, and the vinyl hoses made for relatively quiet weaving. Alex had had problems with the epoxy, and also finding lead shot (hunters are moving to other metal shot to avoid scattering lead through the environment), so we discussed other ways of making bobbins, and particularly weighting them. I think a relatively easy method would be to take short (1″ perhaps) lengths of round ½″ steel rod, and add two rings of rubber or vinyl hose to form the sides. These should both be available from pretty much any hardware store; you just need to find hose that fits tight enough.
Alex provided some previously-made rudimentary ketas (the frame that supports the su and forms the deckle), with just two frames and ribs to support the su but no hinges or latches, and each of us made a su to fit, about 30×22cm (12×8½″).

My completed su, waiting to get the threads trimmed
Although making the su was the centrepiece of the workshop, we also spent some time harvesting tororo-aoi (to make neri formation aid) from the community garden, collecting the seeds, and processing the roots:
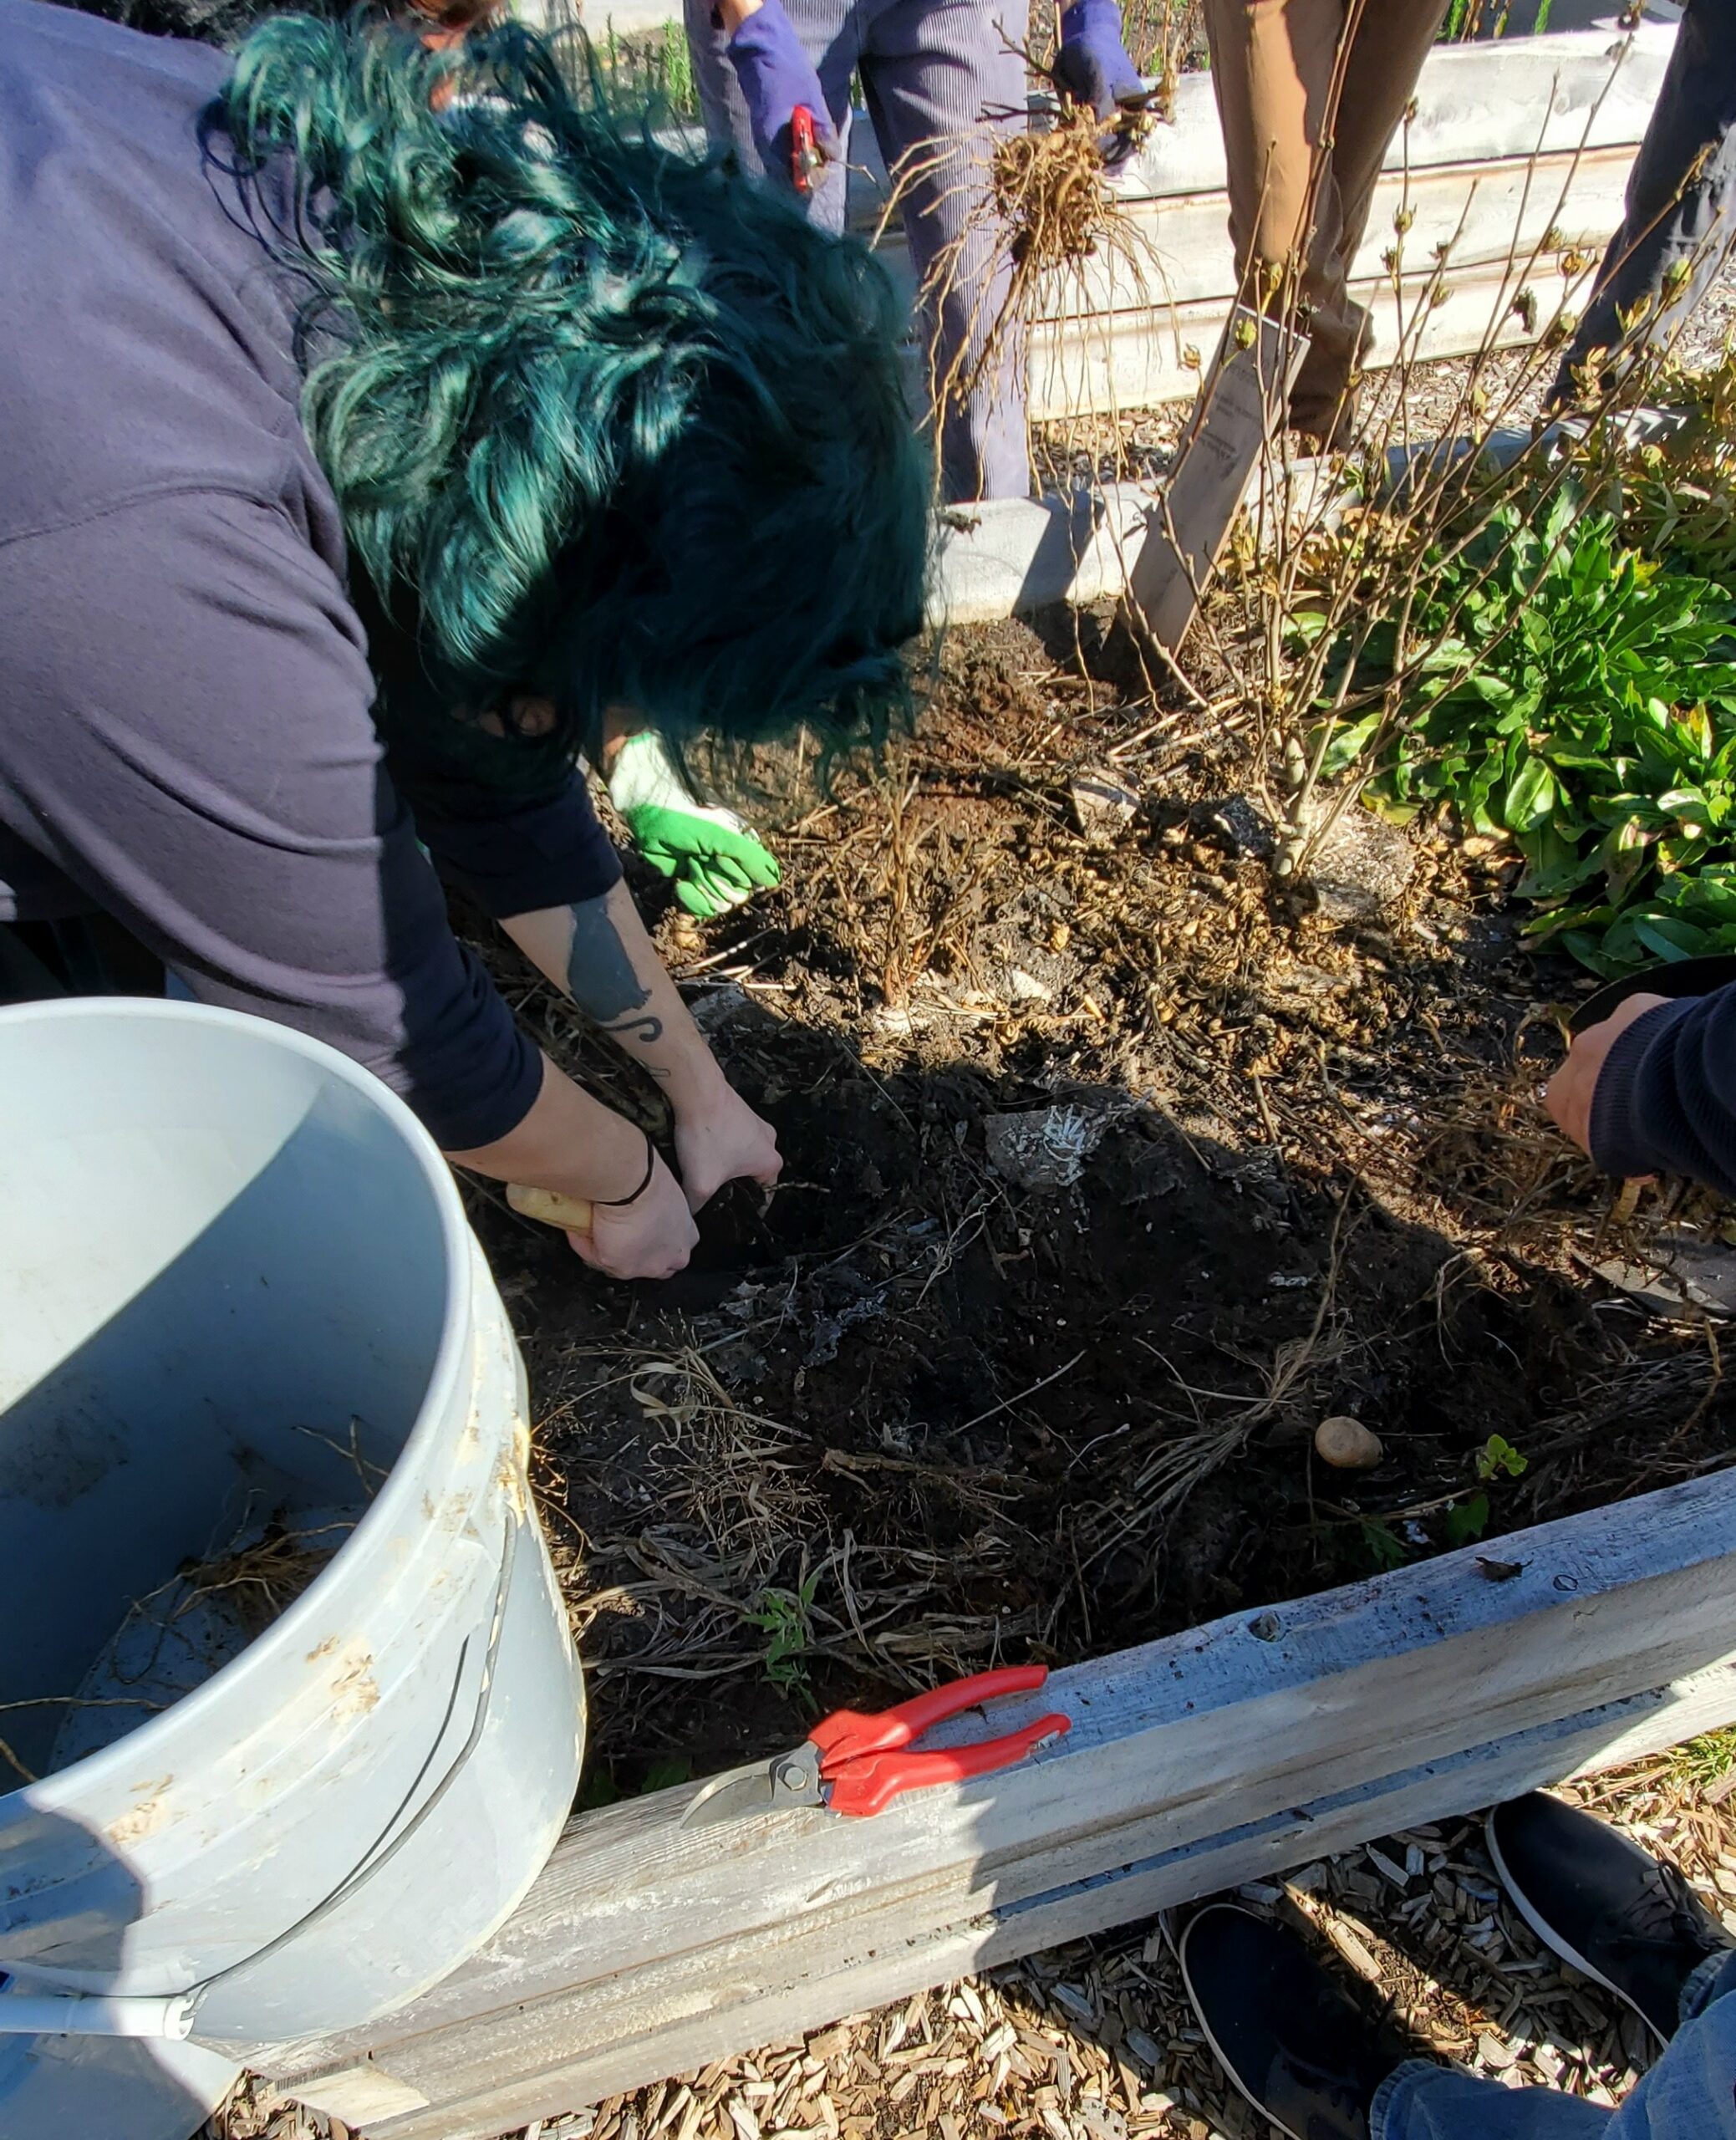
Harvesting the plants, roots and all. Frost has killed the foliage making the plants hard to see in the photo.
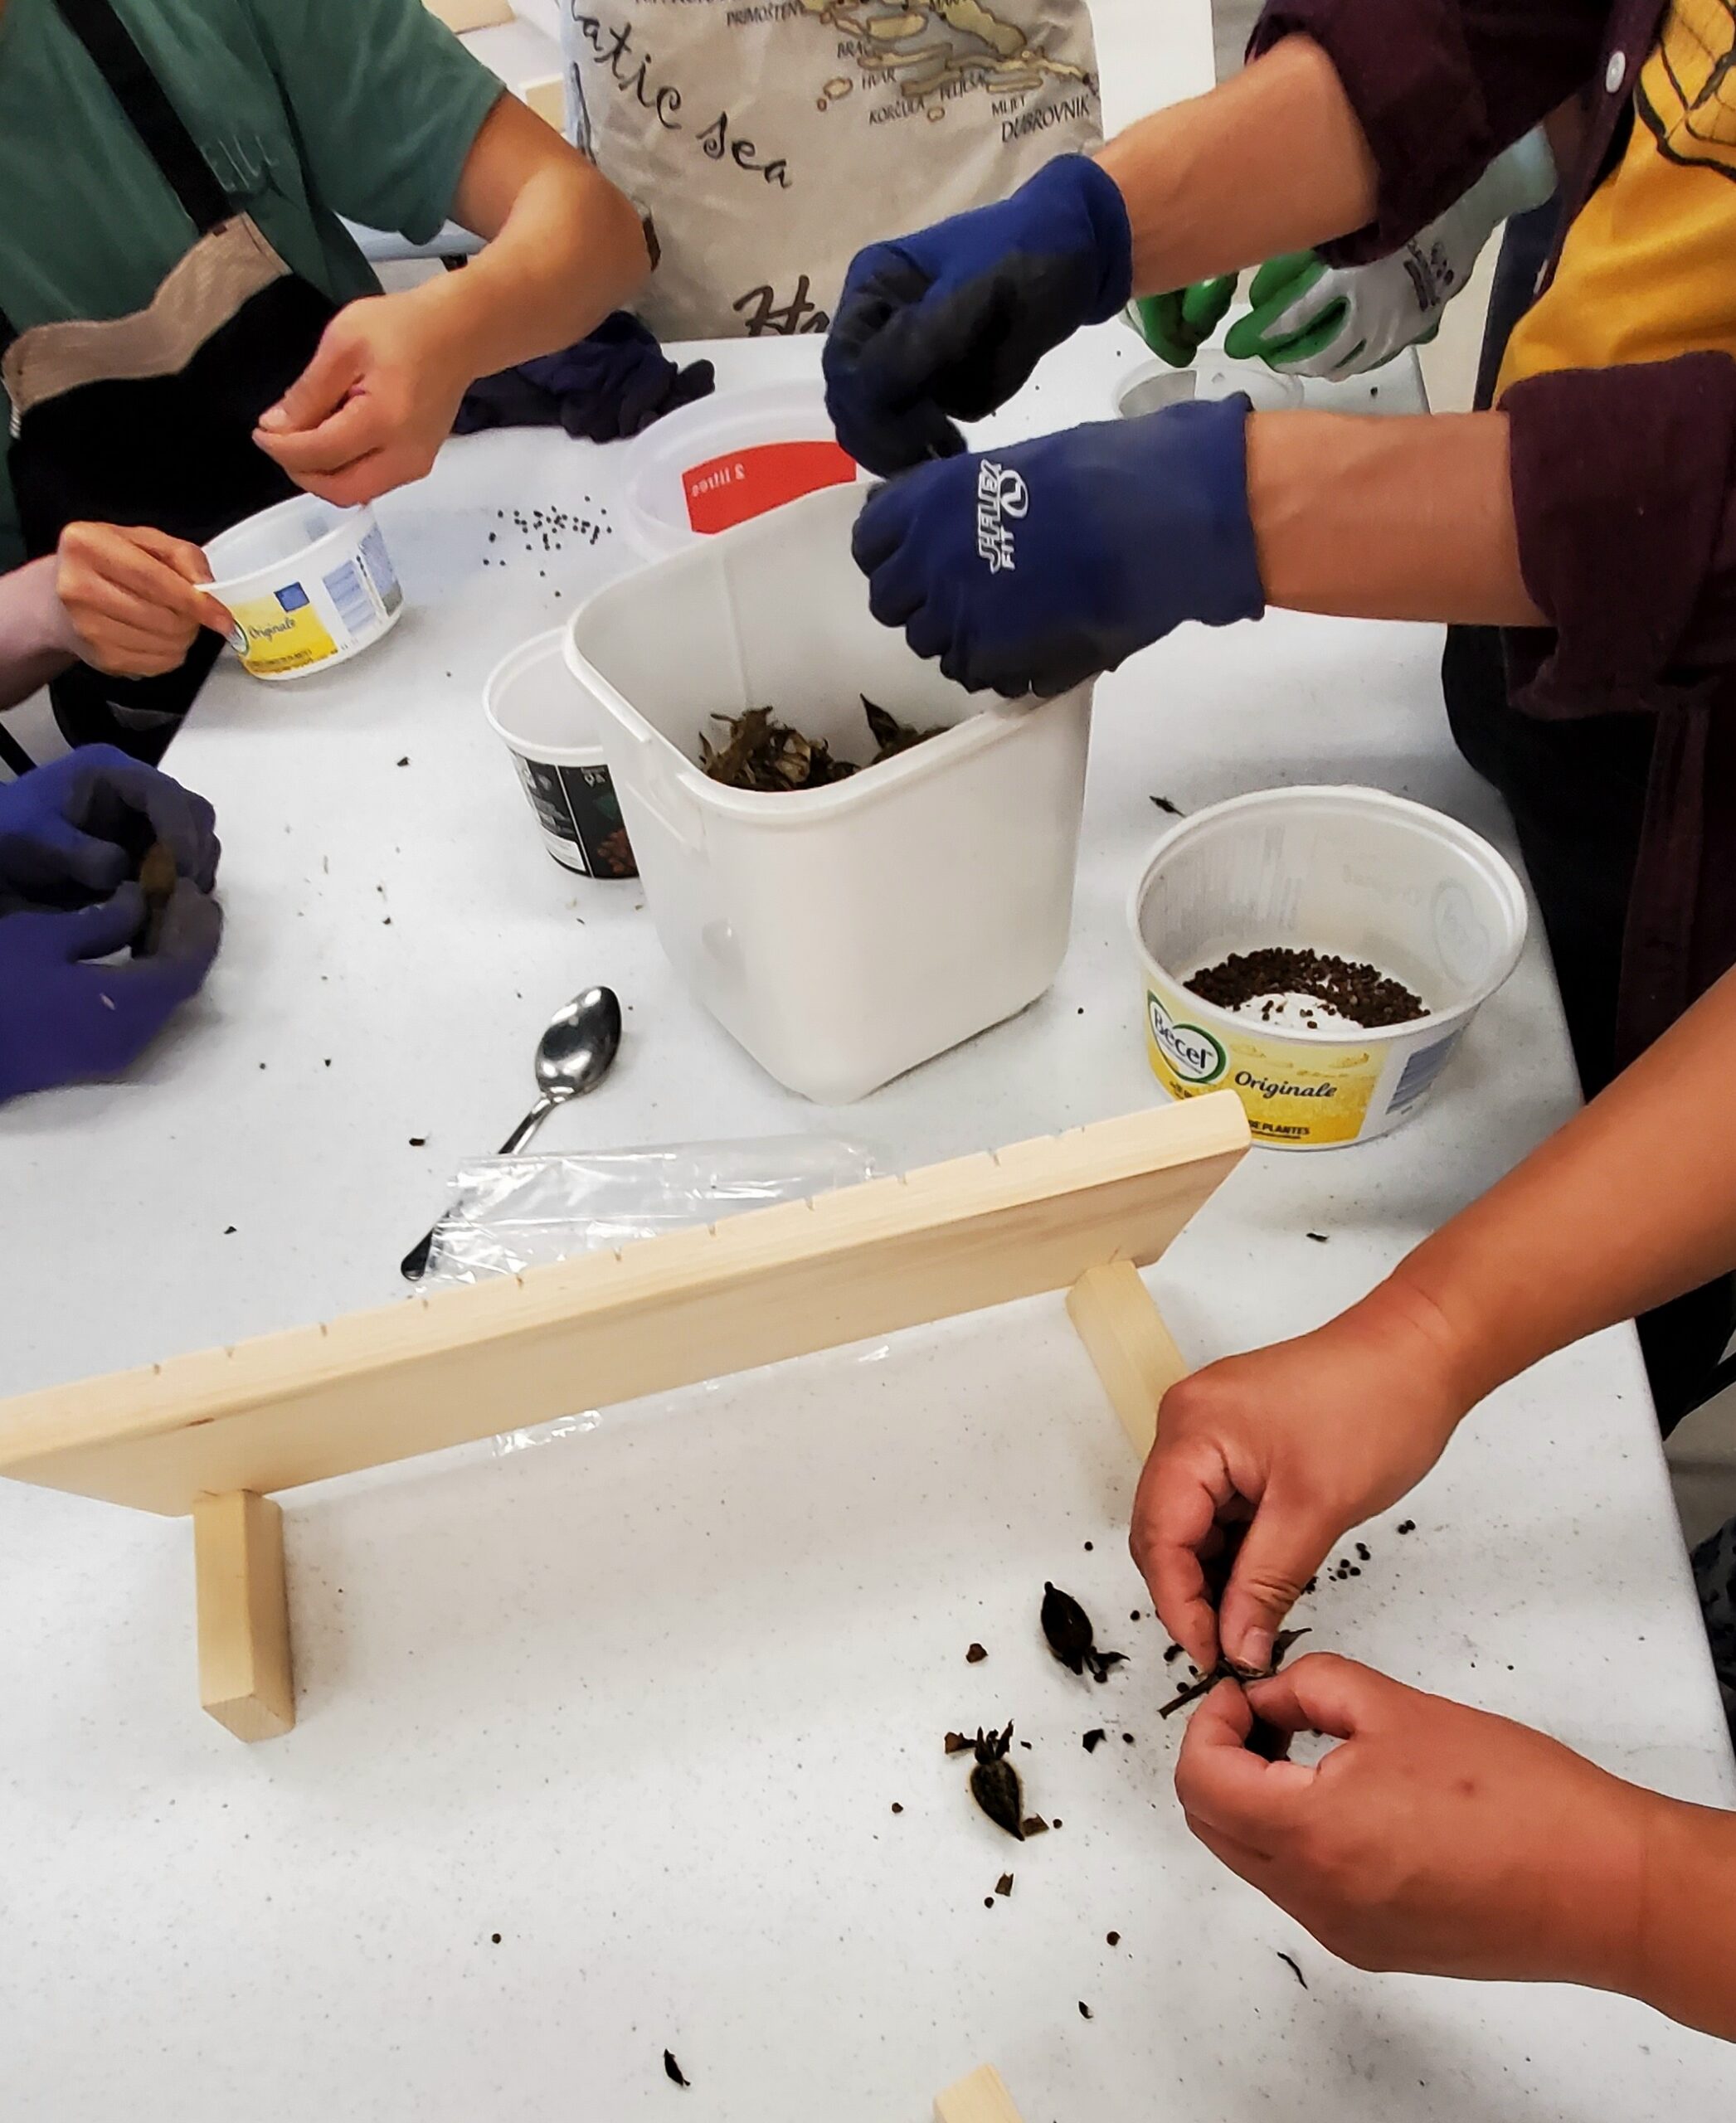
Breaking up the seed pods to save seeds for next year. The pods have fine spines so gloves were recommended but not essential.
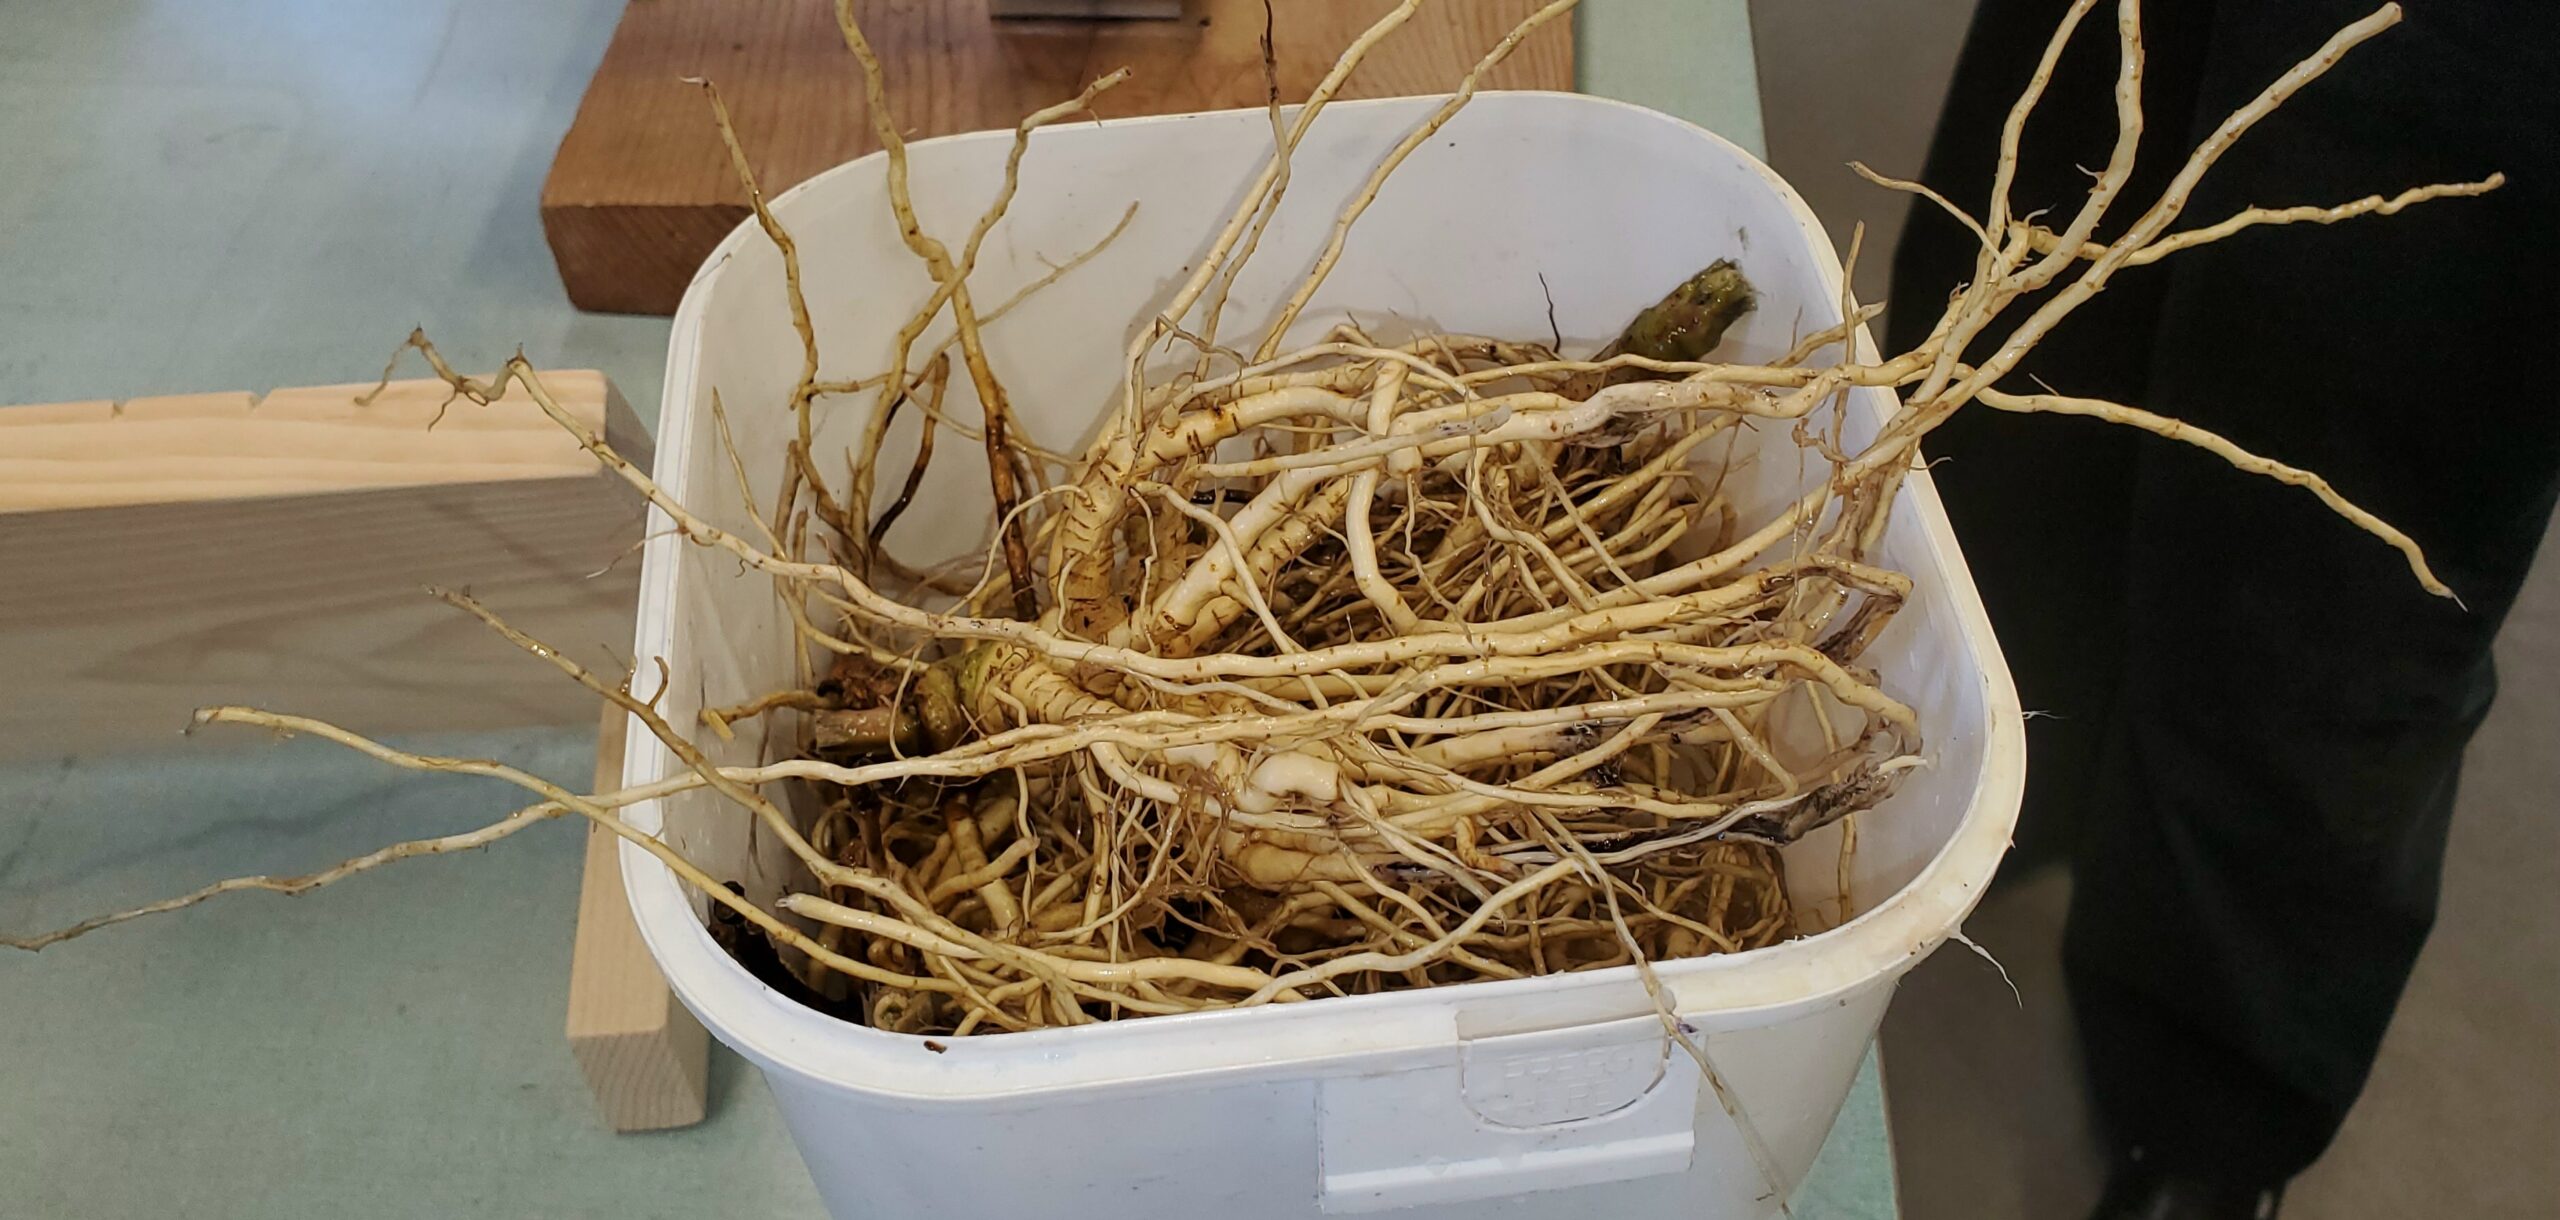
The roots after rinsing off soil. This turned out to be much more that we needed, so unused roots went into the freezer.
Crushing the roots to release the sap. Overnight soaking in cold water will produce the slimy formation aid.
The next day we squeezed the mucilaginous water through a cotton cloth to produce the formation aid which would help to suspend the fibres in the vat and produce the slow drainage required for Japanese sheetforming. After the workshop, unused formation aid was frozen, as an experiment to see if it keeps its slimy qualities when stored this way. Normally neri loses its potency within a day or two, so it would be nice if unused neri could be preserved by freezing (which works for the unprocessed roots).
For actually making paper, we used kozo bark from Thailand which Régine had recently cooked in a solution of soda ash and rinsed off. We each spent some time doing the tedious process of chiri-tori, picking out black bits in the cooked bark generally caused by insect damage or other injury to the plant. These bits are considered undesirable because they form black flecks in the finished paper. This also allowed us to give the fibre a final rinsing before beating.
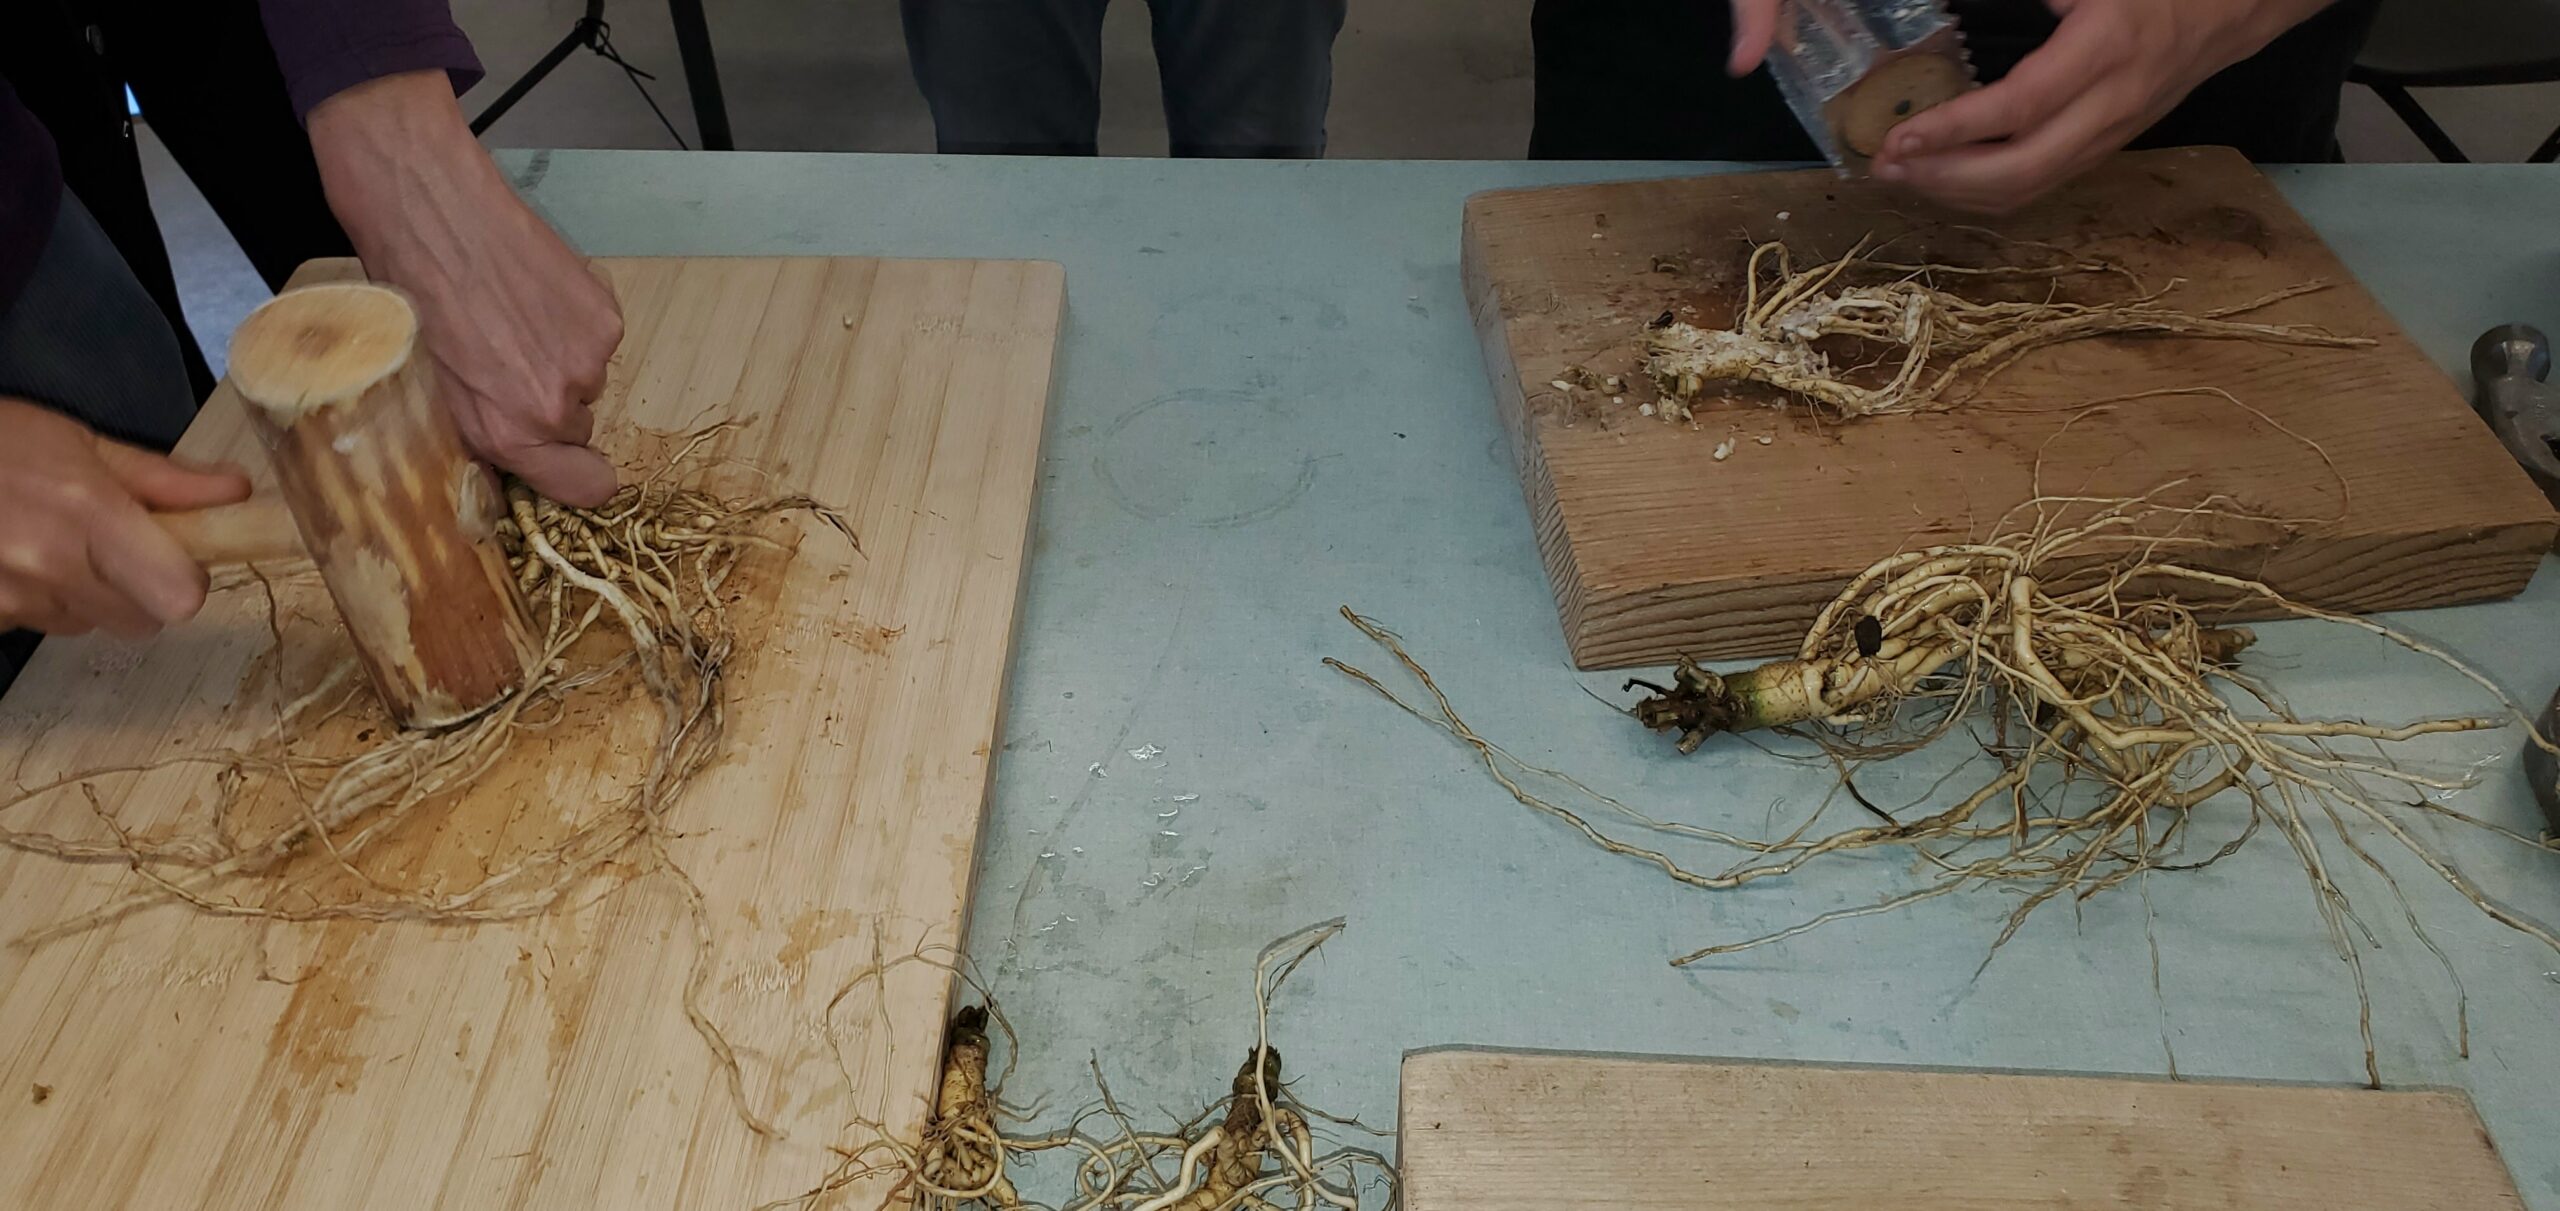
For beating, we would take a ball of fibre about the size of a baseball, place it on a wooden plank and beat the daylights out of it with pounding tools:
We had various beating tools, including hammer-shaped mallets with notched faces, several sizes of paddle-shaped beating sticks, and just plain 1×2″ hardwood sticks, and people took turns with the tools to see what worked best for them. As beating progressed we collected all the beaten fibre in a pail.
Sunday afternoon we made the paper (sorry, no photos of that). We had four vats set up and we took turns forming sheets and couching them off. As with the Japanese method, we did not have any couches; the sheets were laid directly on top of each other in the post. We placed coloured ribbons under the edge of each sheet to allow easy separation and also to identify which sheets belonged to whom.
While we were cleaning up, we pressed all four posts together, using a bucket of water as a weight.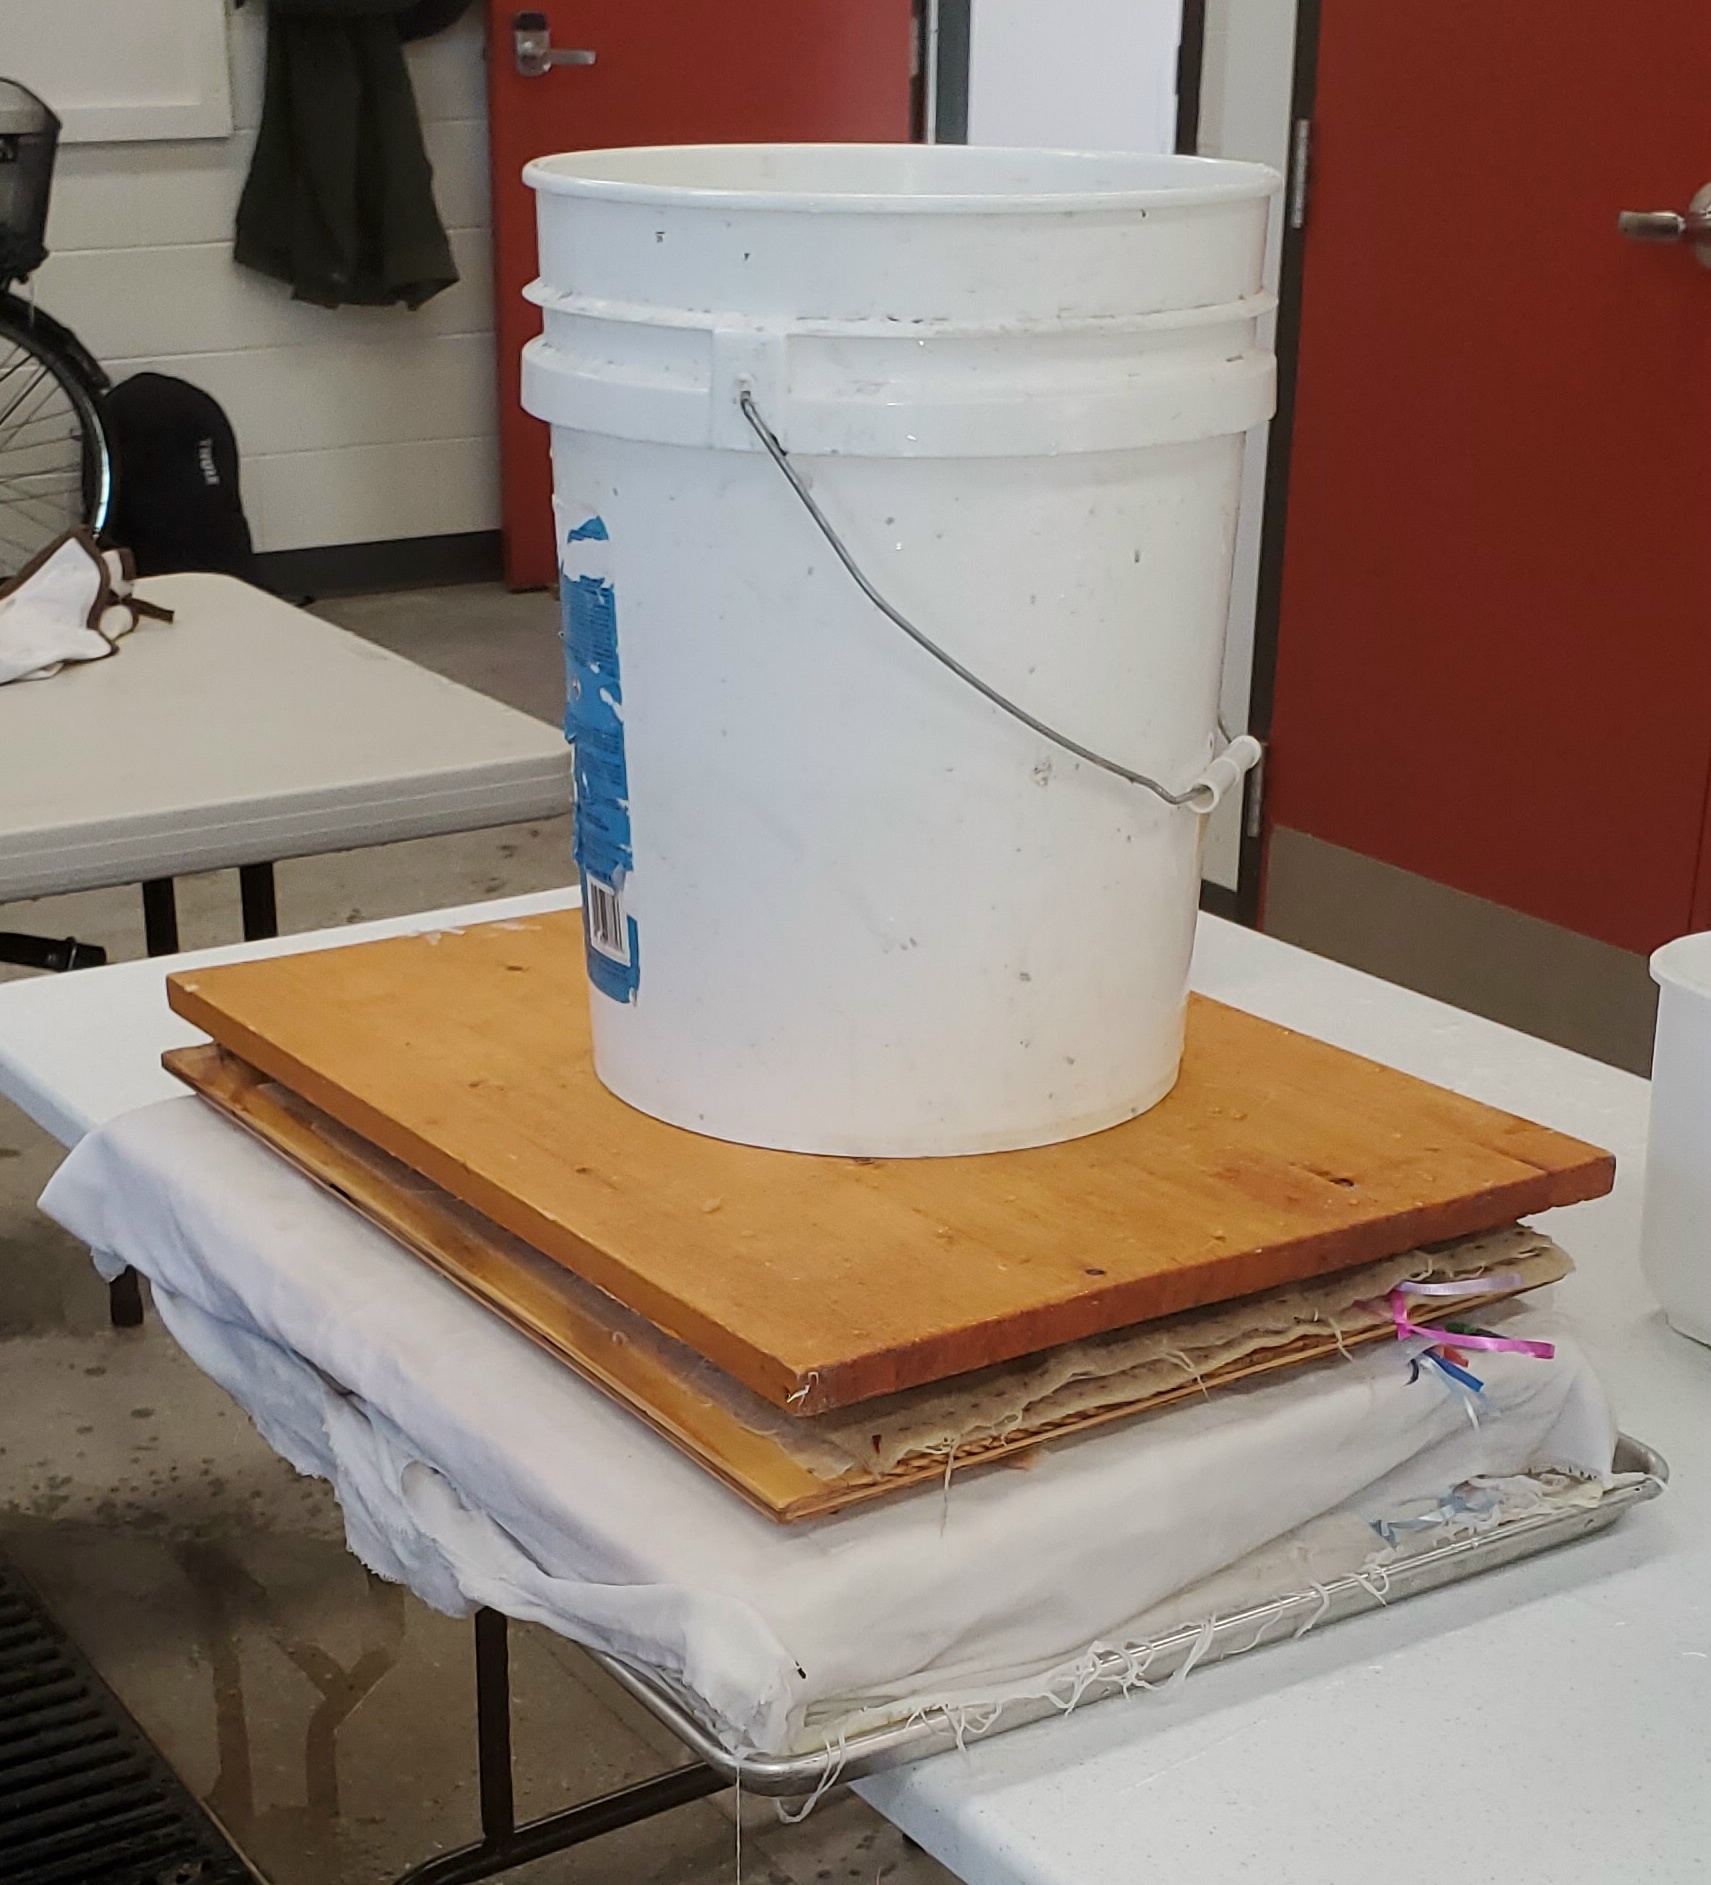 Without couches to separate the sheets, slow pressing is essential, so every ten minutes we would add 2 more litres of water (1kg, or about 4½ pounds) to the bucket. When the bucket was full we added a second bucket (splitting the water between them) and continued adding weight. Over a period of about 2 hours we added a total of about 30 litres of water (30kg or about 66 pounds). This is very light pressure, about 0.7PSI or 5kPa, compared to the pressure used in western papermaking, but it seemed sufficient to allow handling the wet sheets, especially with the ribbon along one edge. We removed the pails and separated the sheets, placing them on melamine-surfaced Masonite boards to dry.
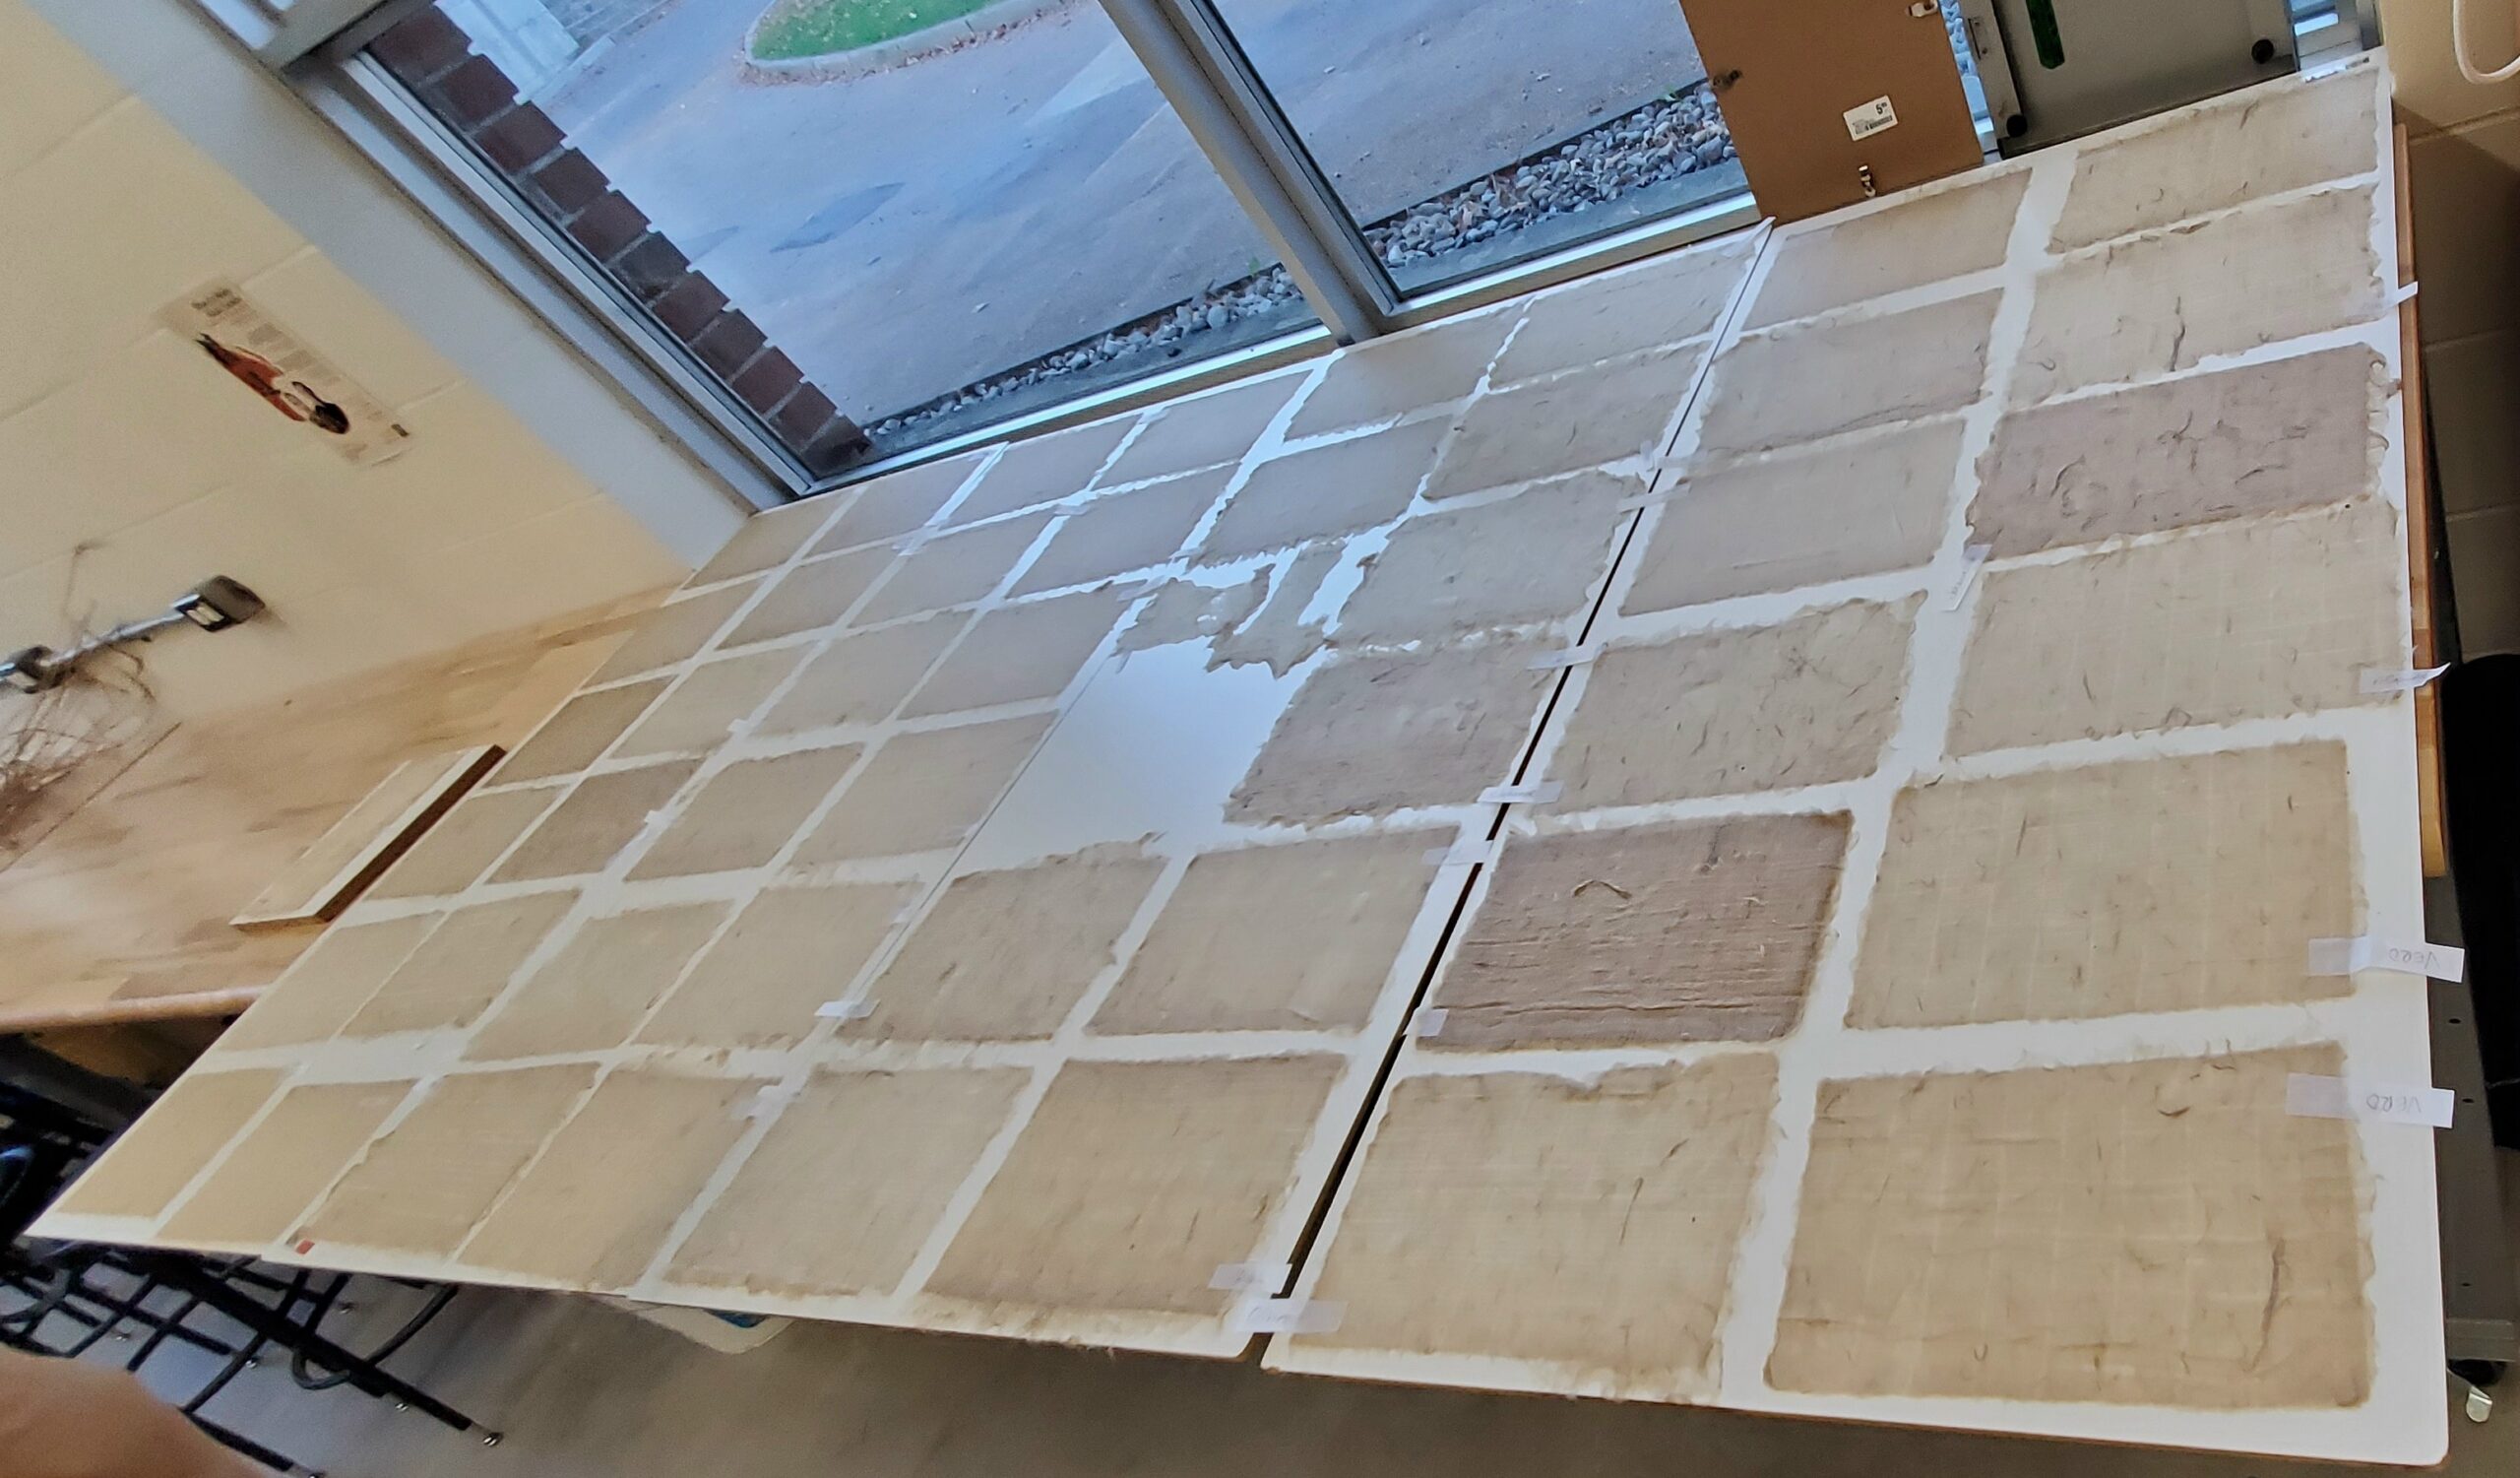 I made 6 sheets, and altogether the group made 48 sheets (including one in tatters). We left them on the boards to dry, and Régine will be sending us our sheets once the postal strike ends.
Despite the coarse su I felt this was my most successful attempt at Japanese papermaking. This was from a combination of coaching from Alex (and other participants; there was a lot of exchange of ideas amongst us throughout the weekend), and the used of real neri rather than the synthetic PEO formation aid we sell (the two interact with the fibres differently). I had little trouble couching off the sheets, and after pressing they all separated cleanly as well, something I’ve always had problems with.
It was great to meet some other papermakers and exchange ideas with them, and I want to thank Régine and Alex for organizing this.
Leave a Reply