
The box for the small kit isn’t quite as pretty…
We sell beginner papermaking kits in two sizes: The large size (shown here) contains 2kg of dry pulp, and makes paper 8.5×11″ (“letter” size, 21.6×27.9mm). The smaller size contains 1kg of dry pulp and makes paper 5.5×8.5″ (14.0×21.6mm).
The kit contains two types of pulp: 1st-cut cotton linters pulp (which makes white paper) and unbleached Abaca pulp (which make beige paper). You can also blend the pulps to make intermediate colours (if well-blended) or mottled paper (if only slightly mixed).
With the amount of pulp included, you should be able to make 150-200 sheets of paper, although this depends of course on how thick you make your sheets.
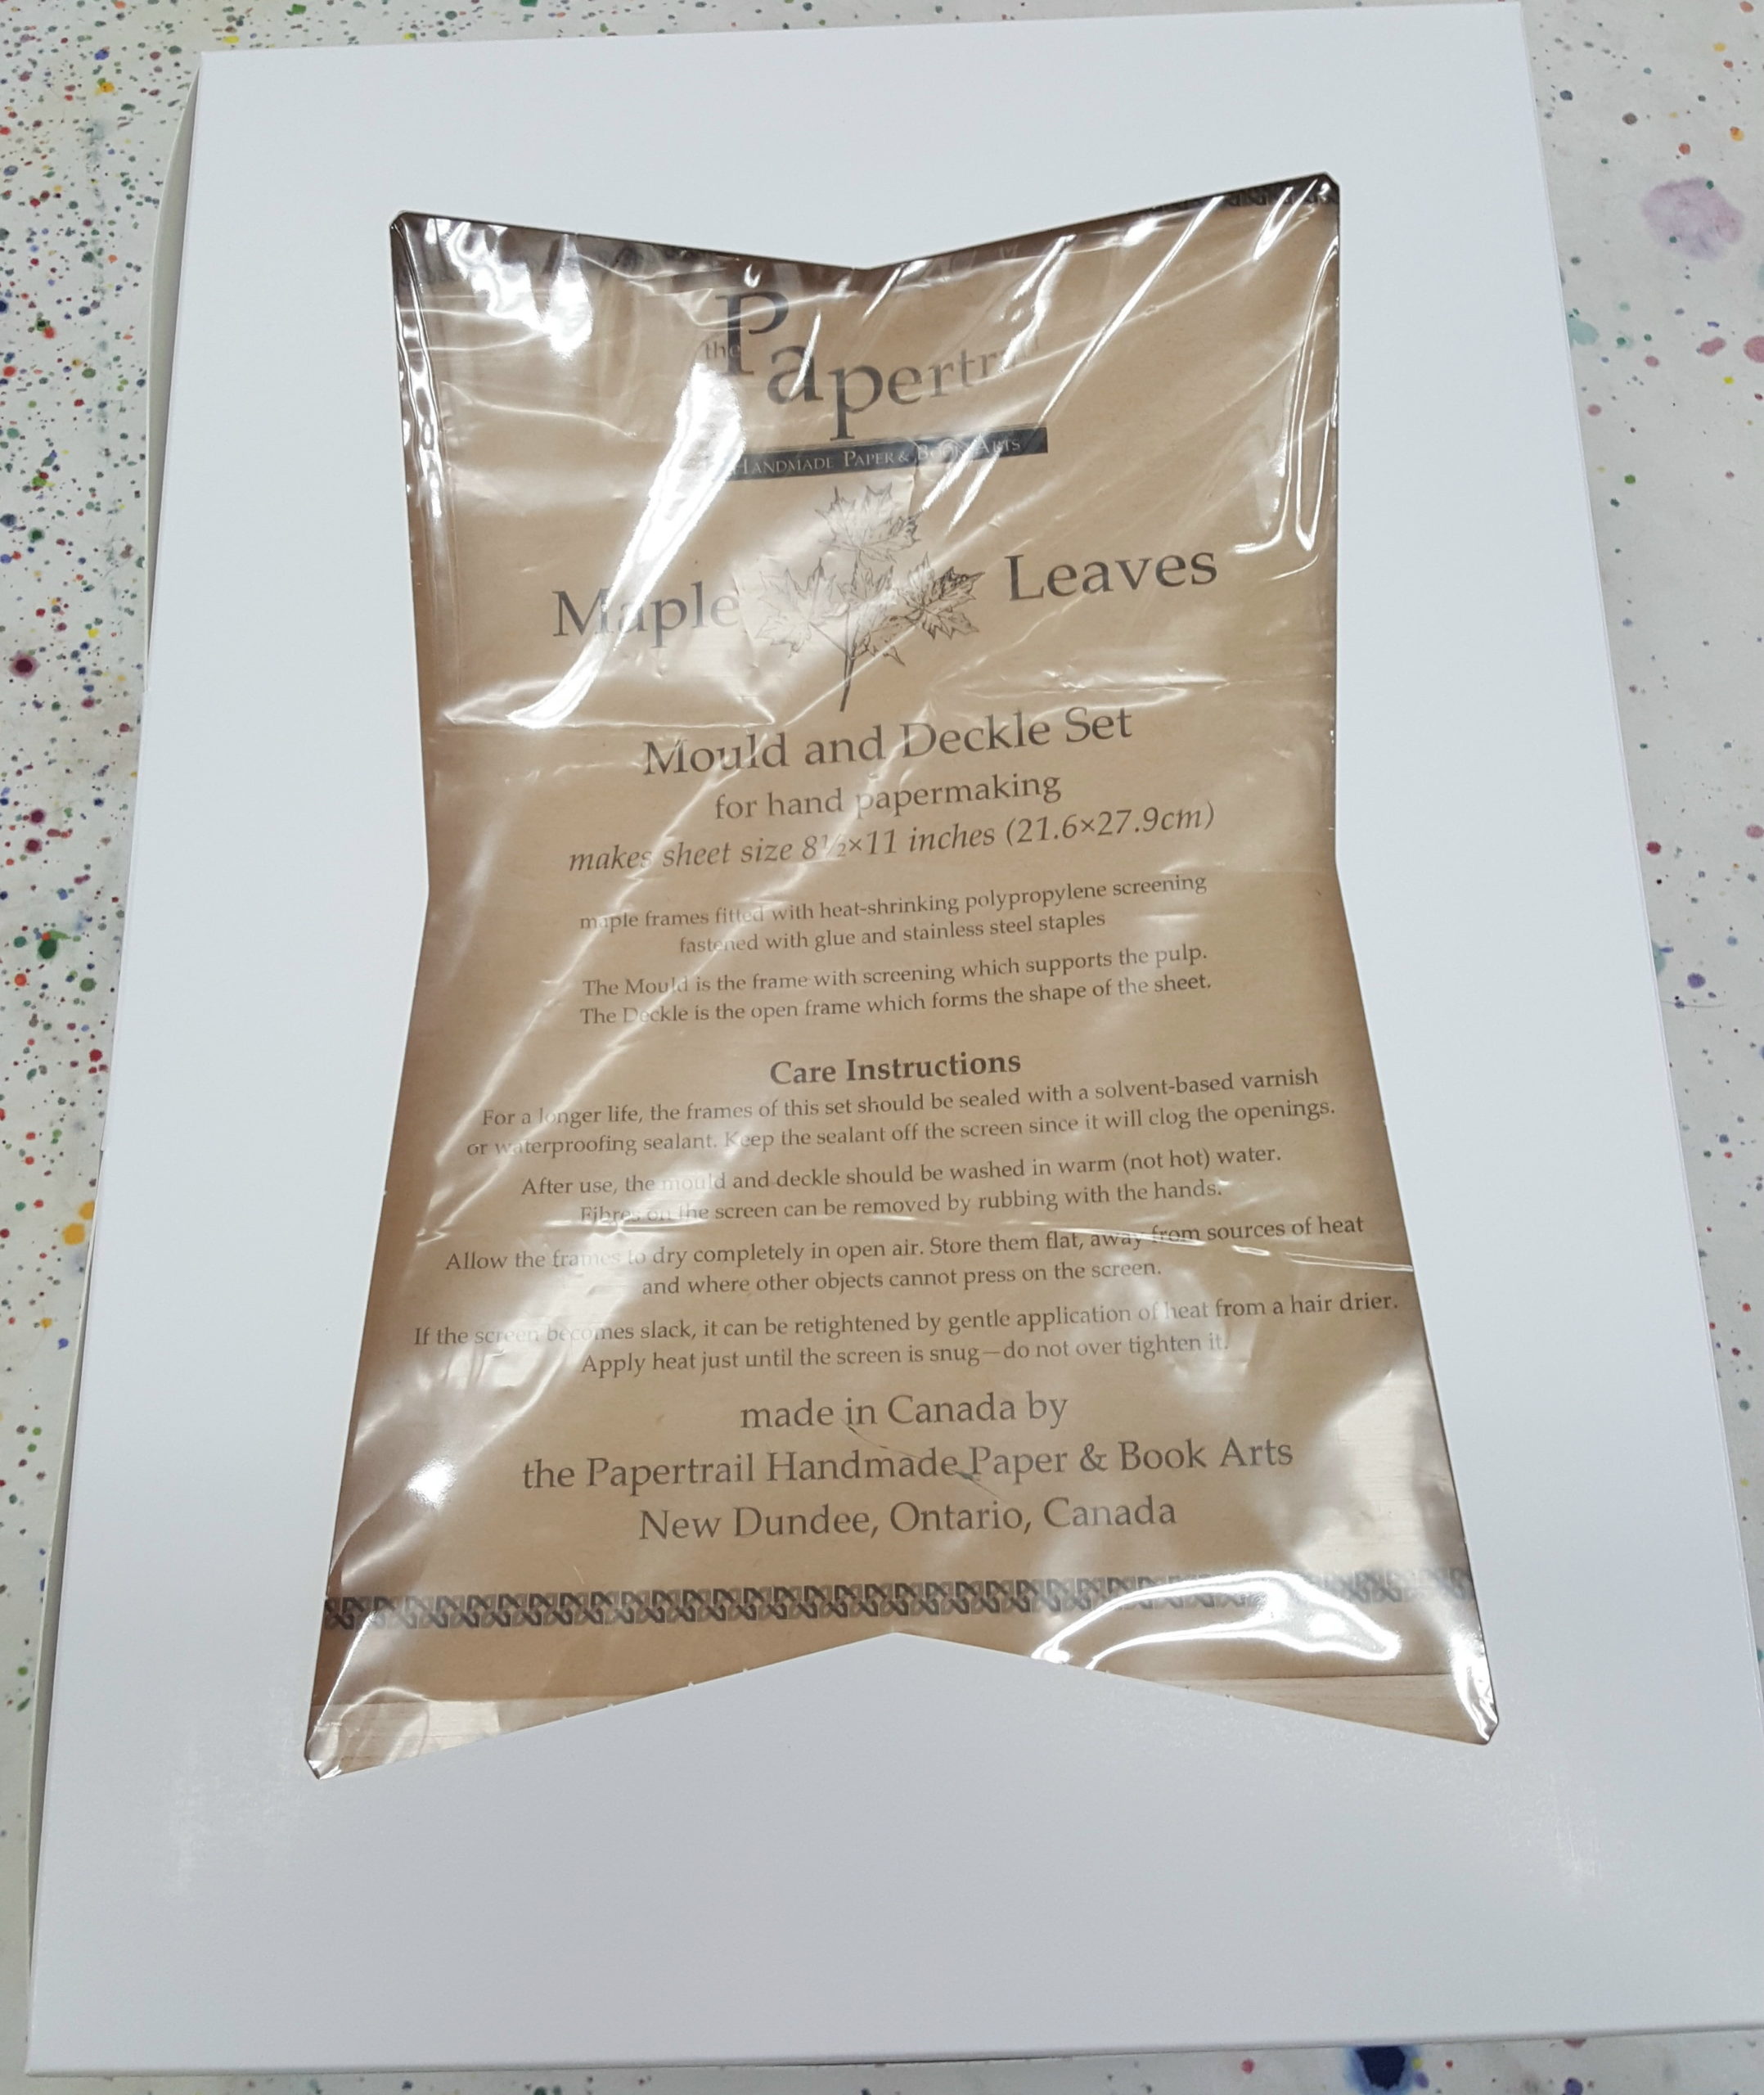
The kit includes a mould and deckle set, which is used to form the sheets, some sizing to add to the pulp to make your finished paper somewhat water-resistant, and a 7-page guide to get you started.
Each kit also includes 20 couching felts which separate your wet sheets, allowing you to make 19 sheets before you have to press out the water and remove the pressed paper for drying. You can then re-use the couching felts.
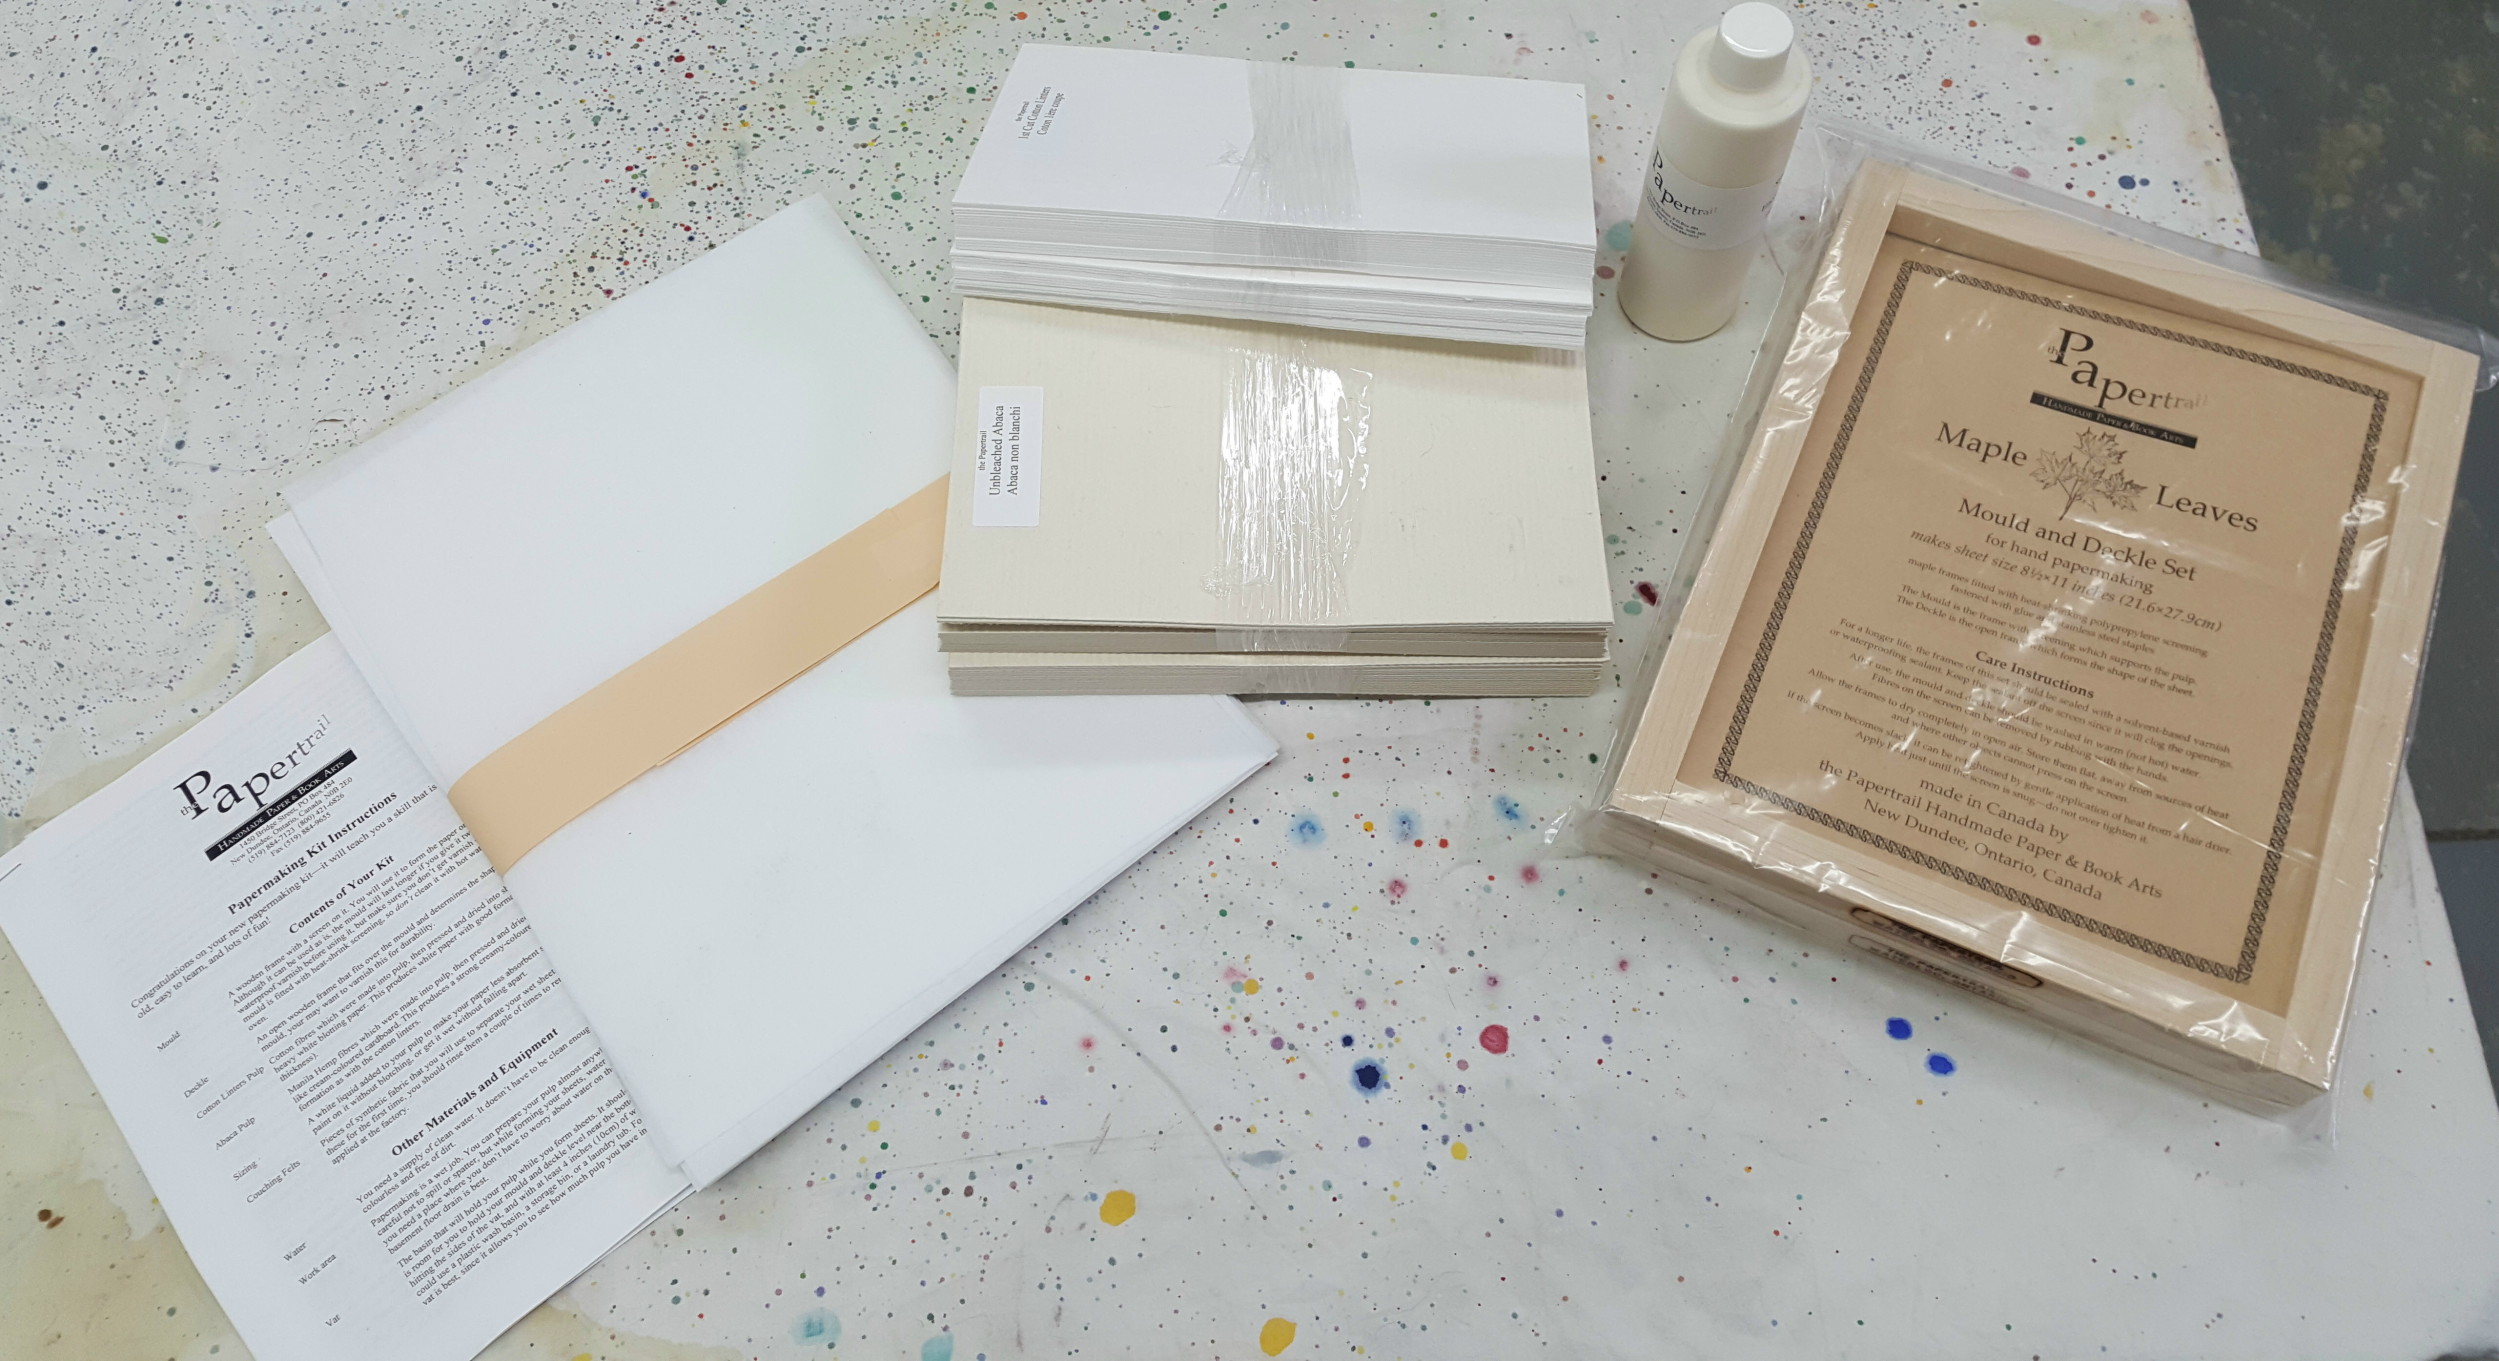
L-R: Instruction sheet, couching felts, Cotton and Abaca pulp, Sizing, Mould and Deckle set
These kits don’t provide everything you need to make paper, but they provide everything you need that would otherwise be hard to find: The pulp, the mould and deckle used to form the sheets, sizing to make the finished paper somewhat water-resistant, and couching felts for separating the wet sheets as you make them.
Other things that you will need that are either everyday items or easy to find at someplace like a hardware store include:
- a Vat: You need a container for the prepared pulp that is large enough that you can dip the mould and deckle into it flat to form the sheets and still have some room for your hands at either side. A plastic storage tote of an appropriate size would work, but if it is too light-duty you won’t be able to move it when full of water. You also want this placed at a comfortable height so you don’t have to reach up or bend over too far when forming the sheets.
- Some pails or buckets for preparing and storing pulp
- A blender or power paint mixer: The pulp comes as dry sheets, like blotter paper. To prepare it for making paper you have to disperse it in water, which pretty much requires some sort of power mixing. A kitchen blender can be used, but you can only process a bit of pulp at a time and you probably won’t want to use the blender jar for food any more. You can also use a paint mixing paddle in an electric drill to disperse the pulp in a bucket, which lets you prepare quite a bit more pulp all at once than with a blender.
- Press boards and some way to clamp them together: The sheets you form are easily 90% water, so after making a stack of them (separated by the supplied couching felts) you need some way to press out some of the excess water. To do this you need to place your stack between two sturdy boards and apply heavy pressure, several hundred pounds/kg at least. Just standing on the stack really isn’t enough force. This can be done using large clamps (usually used for woodworking) or you can have holes drilled in the corners of the boards and use long bolts or threaded rod to clamp down. Heavy plywood (¾″/19mm) would be suitable, and you might want to sand all the edges and varnish the boards to make them nicer to handle and longer-lasting.
- There are several options for drying the pressed paper after removing it from the couching felts. The simplest is to just spread out the sheets, although unless you spread them on a surface allowing air circulation (like a screen) or flip them frequently, your paper will will tend to curl. You can also stack the paper loosely where there is good air circulation, or layer them between some sort of fluffy fabric such as polyester blanket batting. The important point is that they dry within a day or two so that you don’t get mould growing.
- A way of controlling water: Papermaking is a wet activity and unless you’re very careful, water will spill on the floor so you should be prepared for this: Work someplace where spills can just drain away (like a garage or even outside) or be prepared to mop up the water before it causes other problems. You can limit the water spills somewhat by placing your growing stack of wet paper into a second vat to catch the water that squeezes out.
Going beyond the notes in our instruction sheet, we sell some books on papermaking, and there are plenty of other titles available elsewhere (including your local library). YouTube is a great resource as well, although you have to take some of the presenters’ techniques with a grain of salt as their methods may be incompatible with what the kit was intended for. Finally, we occasionally offer papermaking workshops where you can get coaching on better ways of doing things.